Month: April 2011

Picture Book

I know you must have so many pictures on your computer that get stored over time into various files.  Well today, I am going to ask you to open the files and print the pictures.  I know I know, crazy thought that you might put your pictures to use, but hey, your kids will thank you later.

For the sake of this activity, print a handful of pictures, individually, into a word document.  After you print each image out (one image per page), you are going to ask your little one to help you put the events in order.

Let’s say you choose your Easter Day File.  You will ask your little one to remember Easter day.  What did we do FIRST on Easter?  And then?  Etc.  until all the events follow some kind of sequence.  After sequencing the images, you will assemble the pages into a little “booklet” by stapling it on the left side a few times, or hole punch, fastening with ties (however you want to do it as long as it opens “like a book”).

Then, you will ask your little one to help you write a story about your Easter Day, a sentence for each picture.  You will practically just write verbatim what he/she tells you, unless you would like to take the opportunity to “re-phrase” it to make it “sound more like a book,” but re-reading it later using your child’s words is a really special keepsake.

I am going to use my neice’s pictures from Easter from four years ago using my words to give you an example of what I mean:

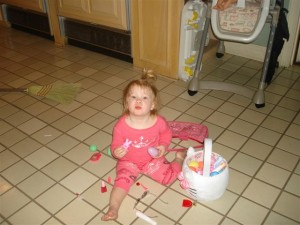
Mmmm….The Easter Bunny filled my basket with candy.

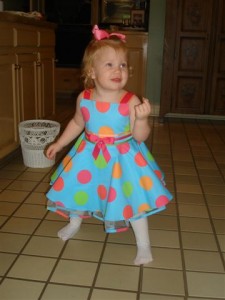
I got ready for church in my new Easter dress!

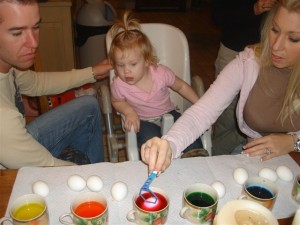
When we got back from church, Mommy and Daddy let me dye Easter eggs!

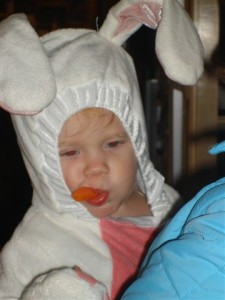
Before I went to bed, I dressed up like the Easter bunny and ate my bunny snack.

*This activity of book-making is a great way to teach sequencing, model writing, and introduce print concepts.  Book-making using your child’s pictures in place of illustrations also makes print more meaningful to your little reader.

Stay Tuned….

I hope all you Mommy Teachers have had a fabulous weekend! Ours was crazy + busy and soooo much fun but now I am crazy tired.

And a not-so-fabulous thing happened this weekend – I have come across a bummer of a computer problem – so I will not be posting until Tuesday, but I am writing to encourage you to STAY TUNED because there will be a giveaway this week and an Easter-themed “Design for Development” that is going to be so fun!

Until then, look through some old posts….click around to see if there are any activities, tips, or insights that you might have missed 🙂

Easter Egg Match

Today I have a cost-efficient activity for all of you frugal moms who are gearing up for Easter and have one too many plastic eggs lying around.

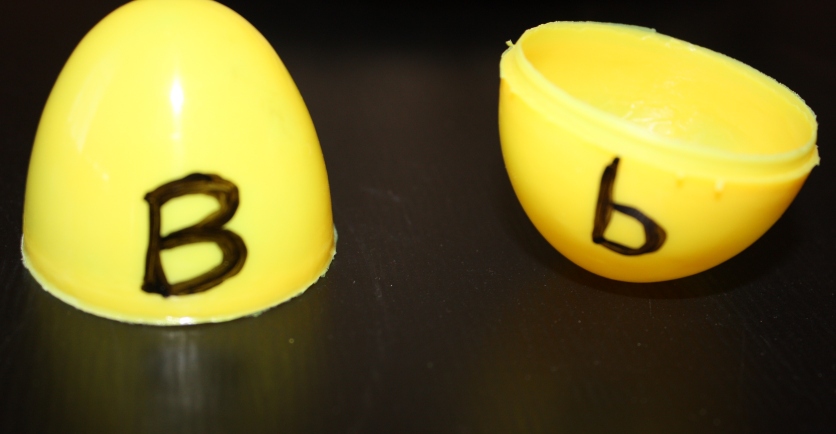
The only materials you will need are the plastic eggs that break apart and a sharpie or other permanent marker. You can also use a dry-erase marker if you want to be able to change what you write on the eggs, but this wipes off easily when handling. If you don’t have any plastic eggs you can find them for super-cheap at The Dollar Tree, Walmart, and almost anywhere around Easter-time. But if I had to guess, some of you saved some eggs in an Easter box from last year because you didn’t want to throw them away.

Take those eggs and write a capital letter on the top half of the egg and a matching lower case letter on the bottom half of the egg. There are two games you can play with your little ones:

The first is to separate all the halves and mix them up and ask them to find the matching letters and connect the eggs.

The second is to fill the eggs with candy or objects around the house that start with that letter. For example, I put a candy egg in the letter “E” egg.

You can vary this activity in many ways to make it age-appropriate for your child: Casey shared the idea to place a letter on the top half of the egg, turn it and write another letter, turn it and write another letter.  Then, write a word ending at the bottom half to see how many words they can make  by turning the top half of the egg (c-at, b-at). Or, you can even write names on the egg and have your child write someone a tiny note and stick it inside of the egg to deliver it to them as an Easter surprise. Be creative and have fun!

Freehand Drawing

One of my favorite things when I was a little girl was to look at an object while attempting to draw it.  My art teacher said to pretend that an ant was crawling along the outside of the object and as it crawled my pencil should move with it.  This was a great visual for me and it helped me to replicate objects the best that I could. 

My goal today is an open-ended “writing” activity, okay okay so it is actually a drawing activity, BUT don’t forget that drawing builds fine motor skills which makes for efficient writers!

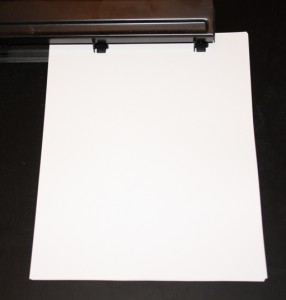
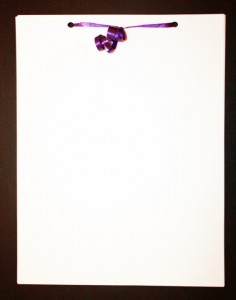
First, you are going to assemble your sketchbook…  That’s right, make a custom sketchbook that is even more meaningful to your little one because ya’ll made it together.  Grab two stacks of computer paper (as thick or thin as you’d like), hole-punch the top of both stacks, slip ribbon (yarn or whatever you have) through them, tie double-knots and then make curls or  bows. Why two stacks?… Because it means so much to your little one to do activities TOGETHER, and you are modeling “how to” draw.  Write your name on your cover and your little one’s name on theirs (or let them do it if he/she can).


I aligned the 3 hole-punch so that only two holes would be punched in the center of my stack of paper.


I then tied ribbon into a tight double knot, and held the bottom of the ribbon between my thumb and the scissors and pulled out toward the end to make the curls. 

Next, ask your little artist to pick something around the house (or in the backyard) to draw, and you will BOTH draw in your own book.  Talk about it: what shapes you see, what part you are going to draw first, if it has a word on it (like Tonka) what letters you are going to write on the Truck and where. 

This can be such an open-ended experience where your child’s creativity and imagination has the chance to shine.

Growth Charts

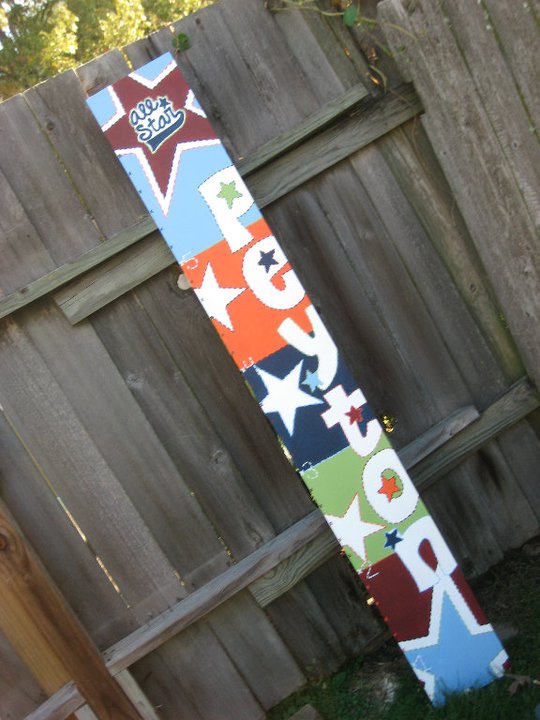
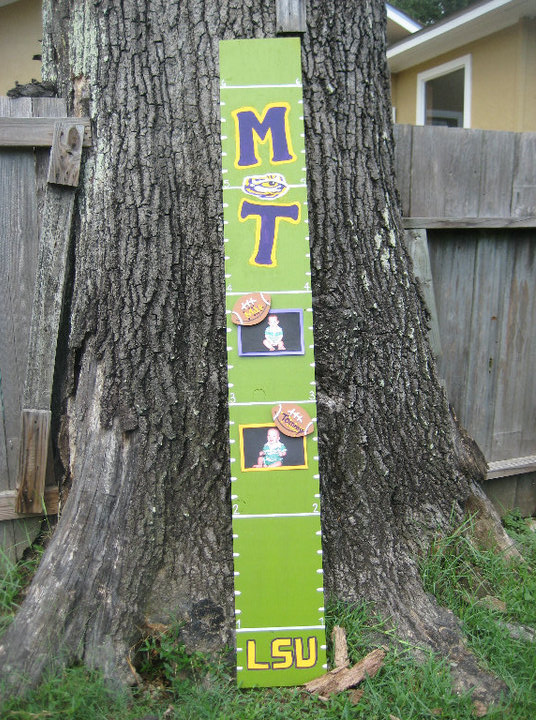
My good friend Casey specializes in making creative decor and one of my favorite things she makes is growth charts because there are so many opportunities to teach math and science skills. Once you are aware of the skills you can teach it makes “talking it out” with your child so much more of a natural learning experience.

Here are the math skills that are my summaries of kindergarten grade level expectations:

1) Treat the growth chart like a number line: identify the numbers that come before or after a given number or between two numbers.

2) Count forward from a number or backward from a number.

3) Use measurement vocabulary: “feet,” “inches,” “taller,” “shorter,” etc.

And the science skills:

1) Use the chart as a “tool” to measure, observe, and keep information (talk about what you have learned from the tool from previous measurements).

2) Compare the human body at various stages of development with language like “You were shorter 3 months ago when you were younger.”

3) Predict and anticipate possible outcomes “How tall do you think you will be in 3 more months?”

Now, make your own growth chart or order one from Casey! She makes everything customized and personalized!

Check out some of her work:


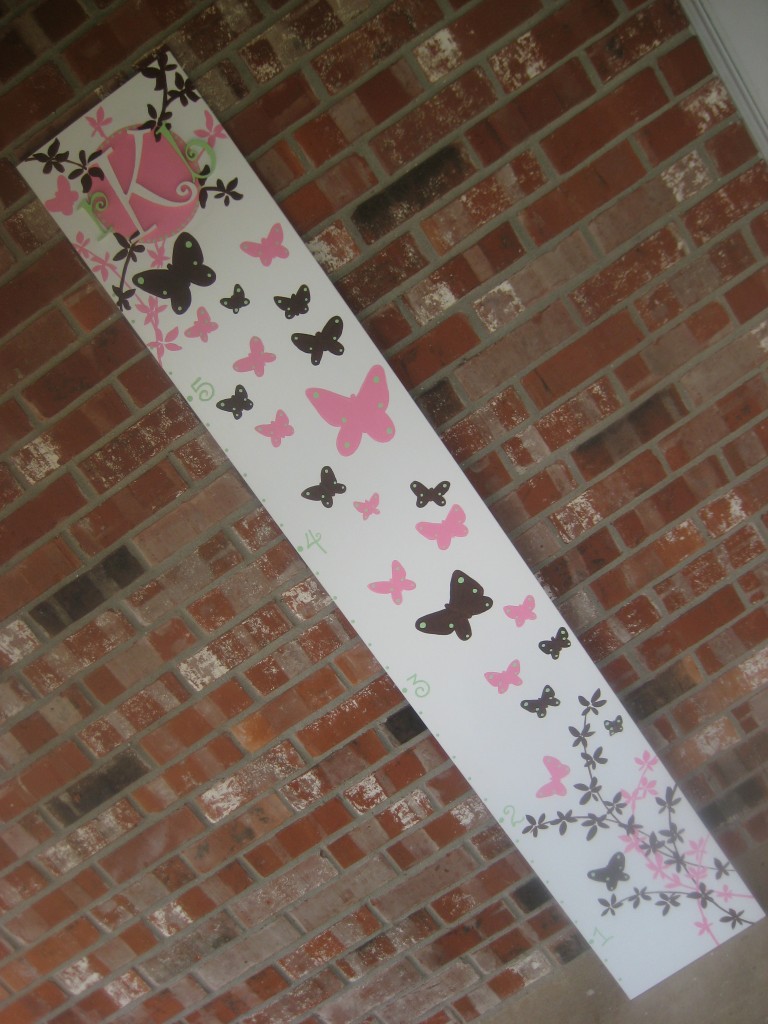
Her latest….butterflies!

Coordinating charts for sisters.

How cool does this kid feel?

LSU theme for two….LOVE!

Related Posts Plugin for WordPress, Blogger...

1 2 3