Month: August 2013

Clap Your Hands to the Beat

My sister and I each grew up playing instruments – our choice, not our parents –  because we had been exposed to music.  I made the decision at 5 years old to play the violin after seeing an orchestra perform on TV.  And what do you know?  My new school that next year had a violin teacher!   Watching that first chairperson on the TV screen sparked a passion in me that lasted throughout all of my school days.

Art, music, dance, and theater education are what mold our creativity, interests and passions, yet they are quickly the first things that are cut from the classroom due to budget cuts or lack of time for core subjects to be taught in a school day.  The exposure to the arts that we once had in schools is quickly diminishing so it’s up to us Mommy Teachers to introduce these “extracurricular” activities at home.

If you have a talent or passion for the arts, share what you love with your child.  If you don’t have a background in any of these areas, you have the world of knowledge at your fingertips!  Google and YouTube can literally teach you the basics of anything you want to know!

Will my children share my same interests?  Perhaps, perhaps not, but that exposure will help guide their interests and interests can quickly turn to passion and yes, I want my children to be passionate about something that they love.

My children have been exposed the few instruments that I dabble in and, to my dismay, this did not make my oldest child interested in music in the least bit – so don’t think you need to be a master musician to get your kids to like music.  In fact, James (age 6) would always say, “Will you please stop playing the violin??? It’s too loud!  It’s hurting my ears!”  I honestly think he just doesn’t like anything making more noise than he does ;-), but, I digress…

What my son DOES like, is MATH!  And music THEORY is basically math!  Half notes, quarter notes, eighth notes… all math!  And then there are (most commonly and for the sake of teaching young kids) 4 beats to each measure, that’s 1 whole note, or 2 half notes, or 4 quarter notes, or 8 eighth notes… or you have to figure out a combination of all of them that equals 4!  WHOA!  My math nerd was instantly hooked to MUSIC after our first lesson about clapping out the music!

IMG_20130724_154359_657 I started off by teaching the different notes, starting with the QUARTER NOTE.

A quarter note is 1 count. So we count 1…2…3…4… and clap on each count… clap…clap…clap…clap.

The half note is 2 counts 1…*…3…*…  (clap on the numbers in bold, and hold the clap for the *.  When counting, still say numbers 1…2…3…4…).

The whole note is 4 whole counts. 1…*…*…*… (only clap on the 1st count in the measure).

The eighth note is half of 1 count.  For this note, we verbally and an “and” between our numbers when we count.  1 and 2 and 3 and 4 and.  clap clap clap clap clap clap clap clap.

If you want to get real fancy, you can also introduce the sixteenth note which is a quarter of a quarter note. 1 ee and uh 2 ee and uh 3 ee and uh 4 ee and uh (there should be 16 claps in there).  James:  “Whoa that’s way too fast.”  So we just stopped at the eighth note.

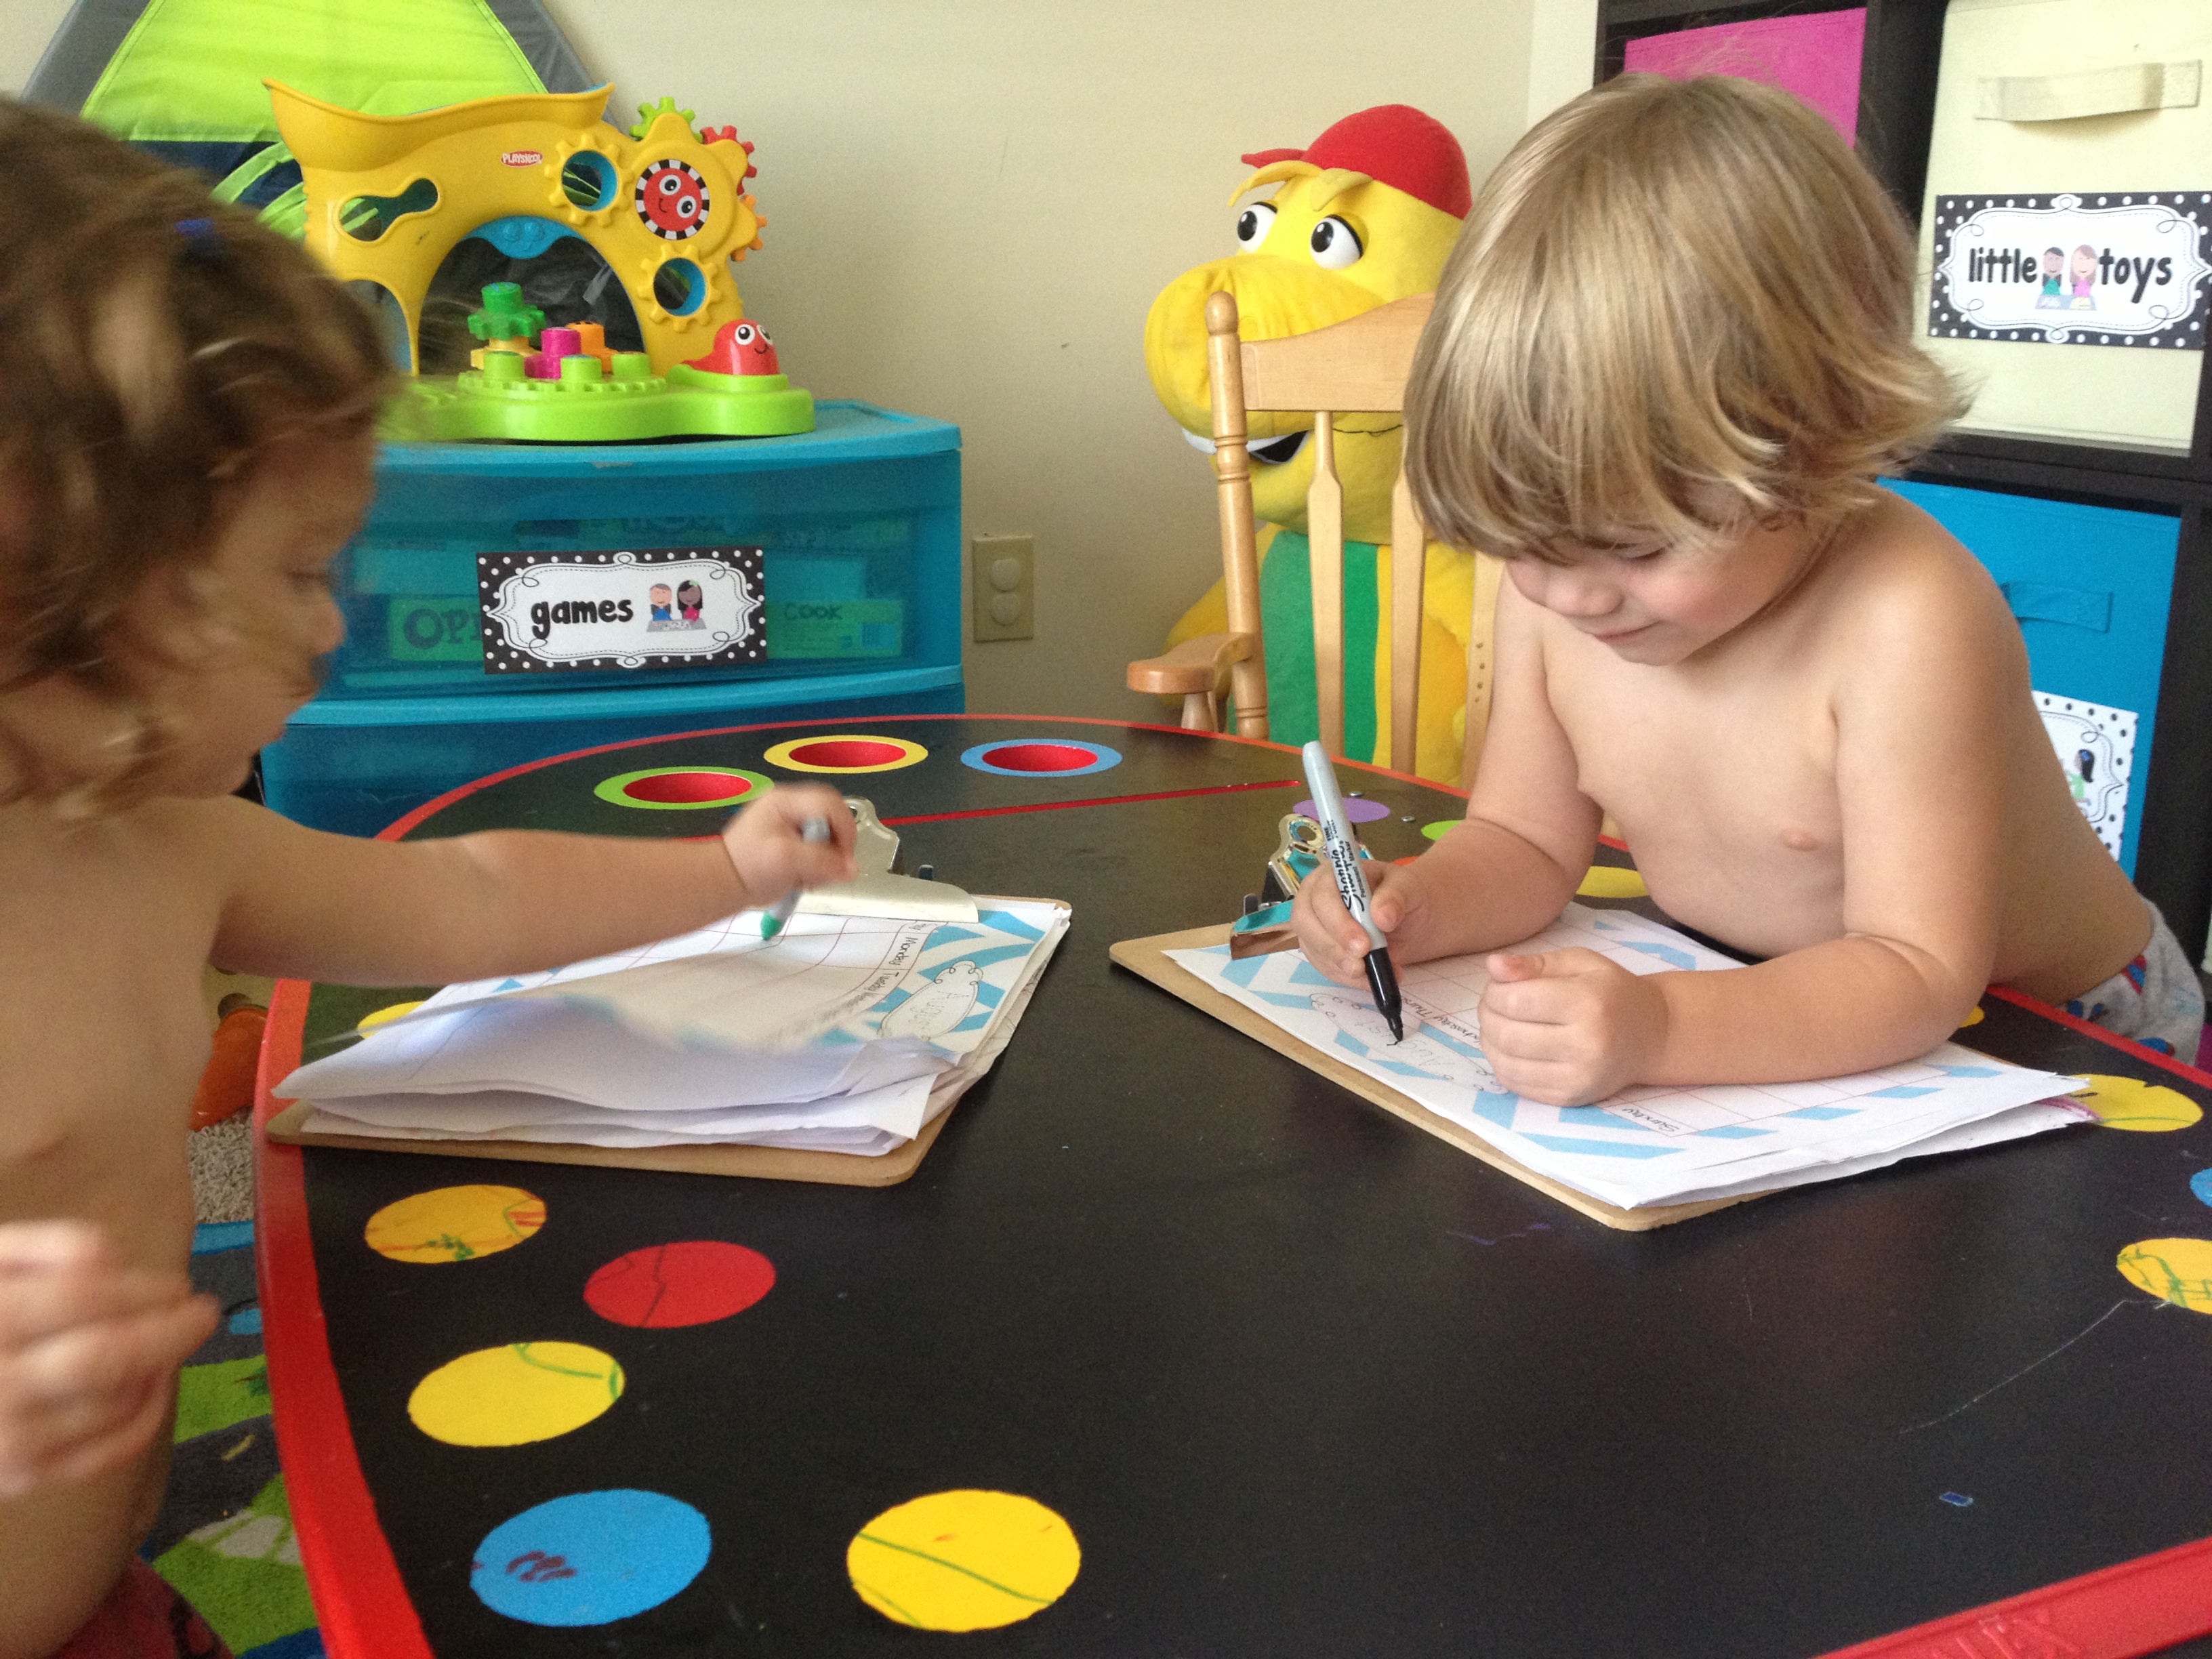
As I introduced the notes, we did a little art projects to put our notes into measures so he could see how 4 counts fit inside each measure.

Bar Lines & Measures Now, I don’t just have blank music sheets lying around my house, so I used lined writing paper that the kids use in Pre-K and Kindergarten.  3 lines, 5 lines… that wasn’t my focus for this lesson.

Materials:

  • 4 small marshmallows
  • markers
  • paint (4 different colors)
  • lined/handwriting paper
  • 4 stirring straws

IMG_20130724_153029_042 1.  Choose 4 colors of paint and decide which color will represent which note (the differences in color help the kids remember the notes better)

2.  Stick each marshmallow on the end of each stirring straw.

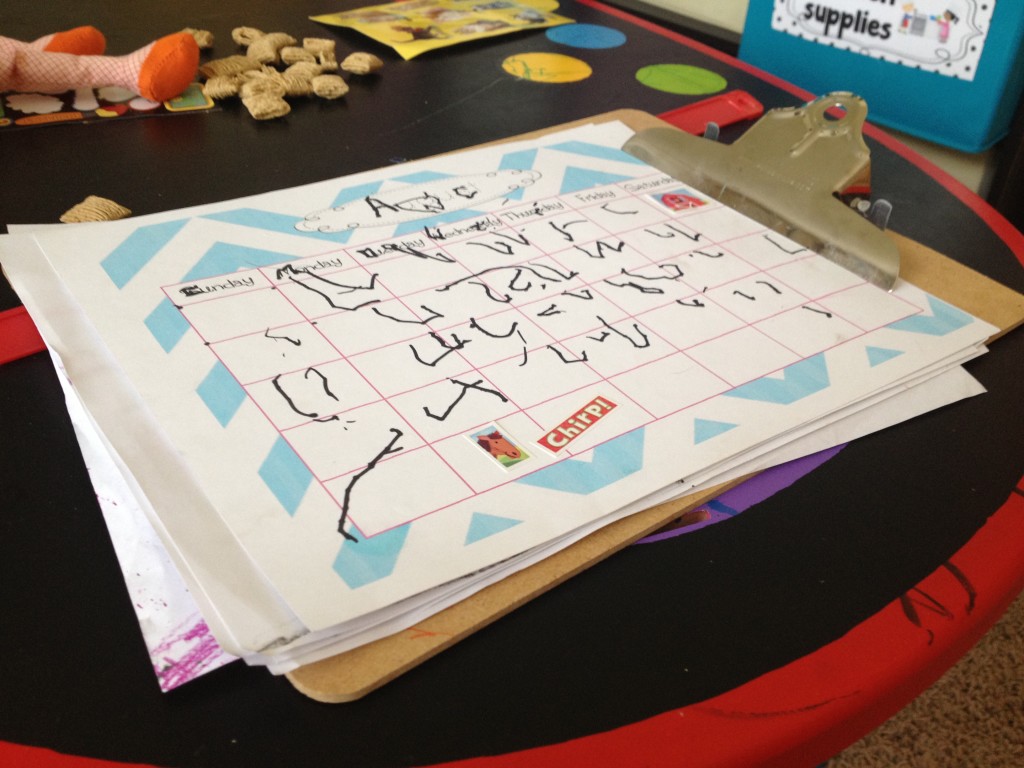
3.  Draw “measure lines” on your paper.  I put them down the middle so there was enough space for all of the eighth notes in one measure.

4.  Start with the quarter note and dip the marshmallow into the paint.  Put 4 quarter notes into one measure.  I did the top line and had my child copy me on the line beneath.  In the next measure, choose a different color for eighth notes.  Dip a new marshmallow into the new color and put 8 eighth notes into the measure.  Have your child copy you on the lines beneath.

5.  Clap out your new song.

1…2…3…4…
1 and 2 and 3 and 4 and
1…2…3…4…
1 and 2 and 3 and 4 and

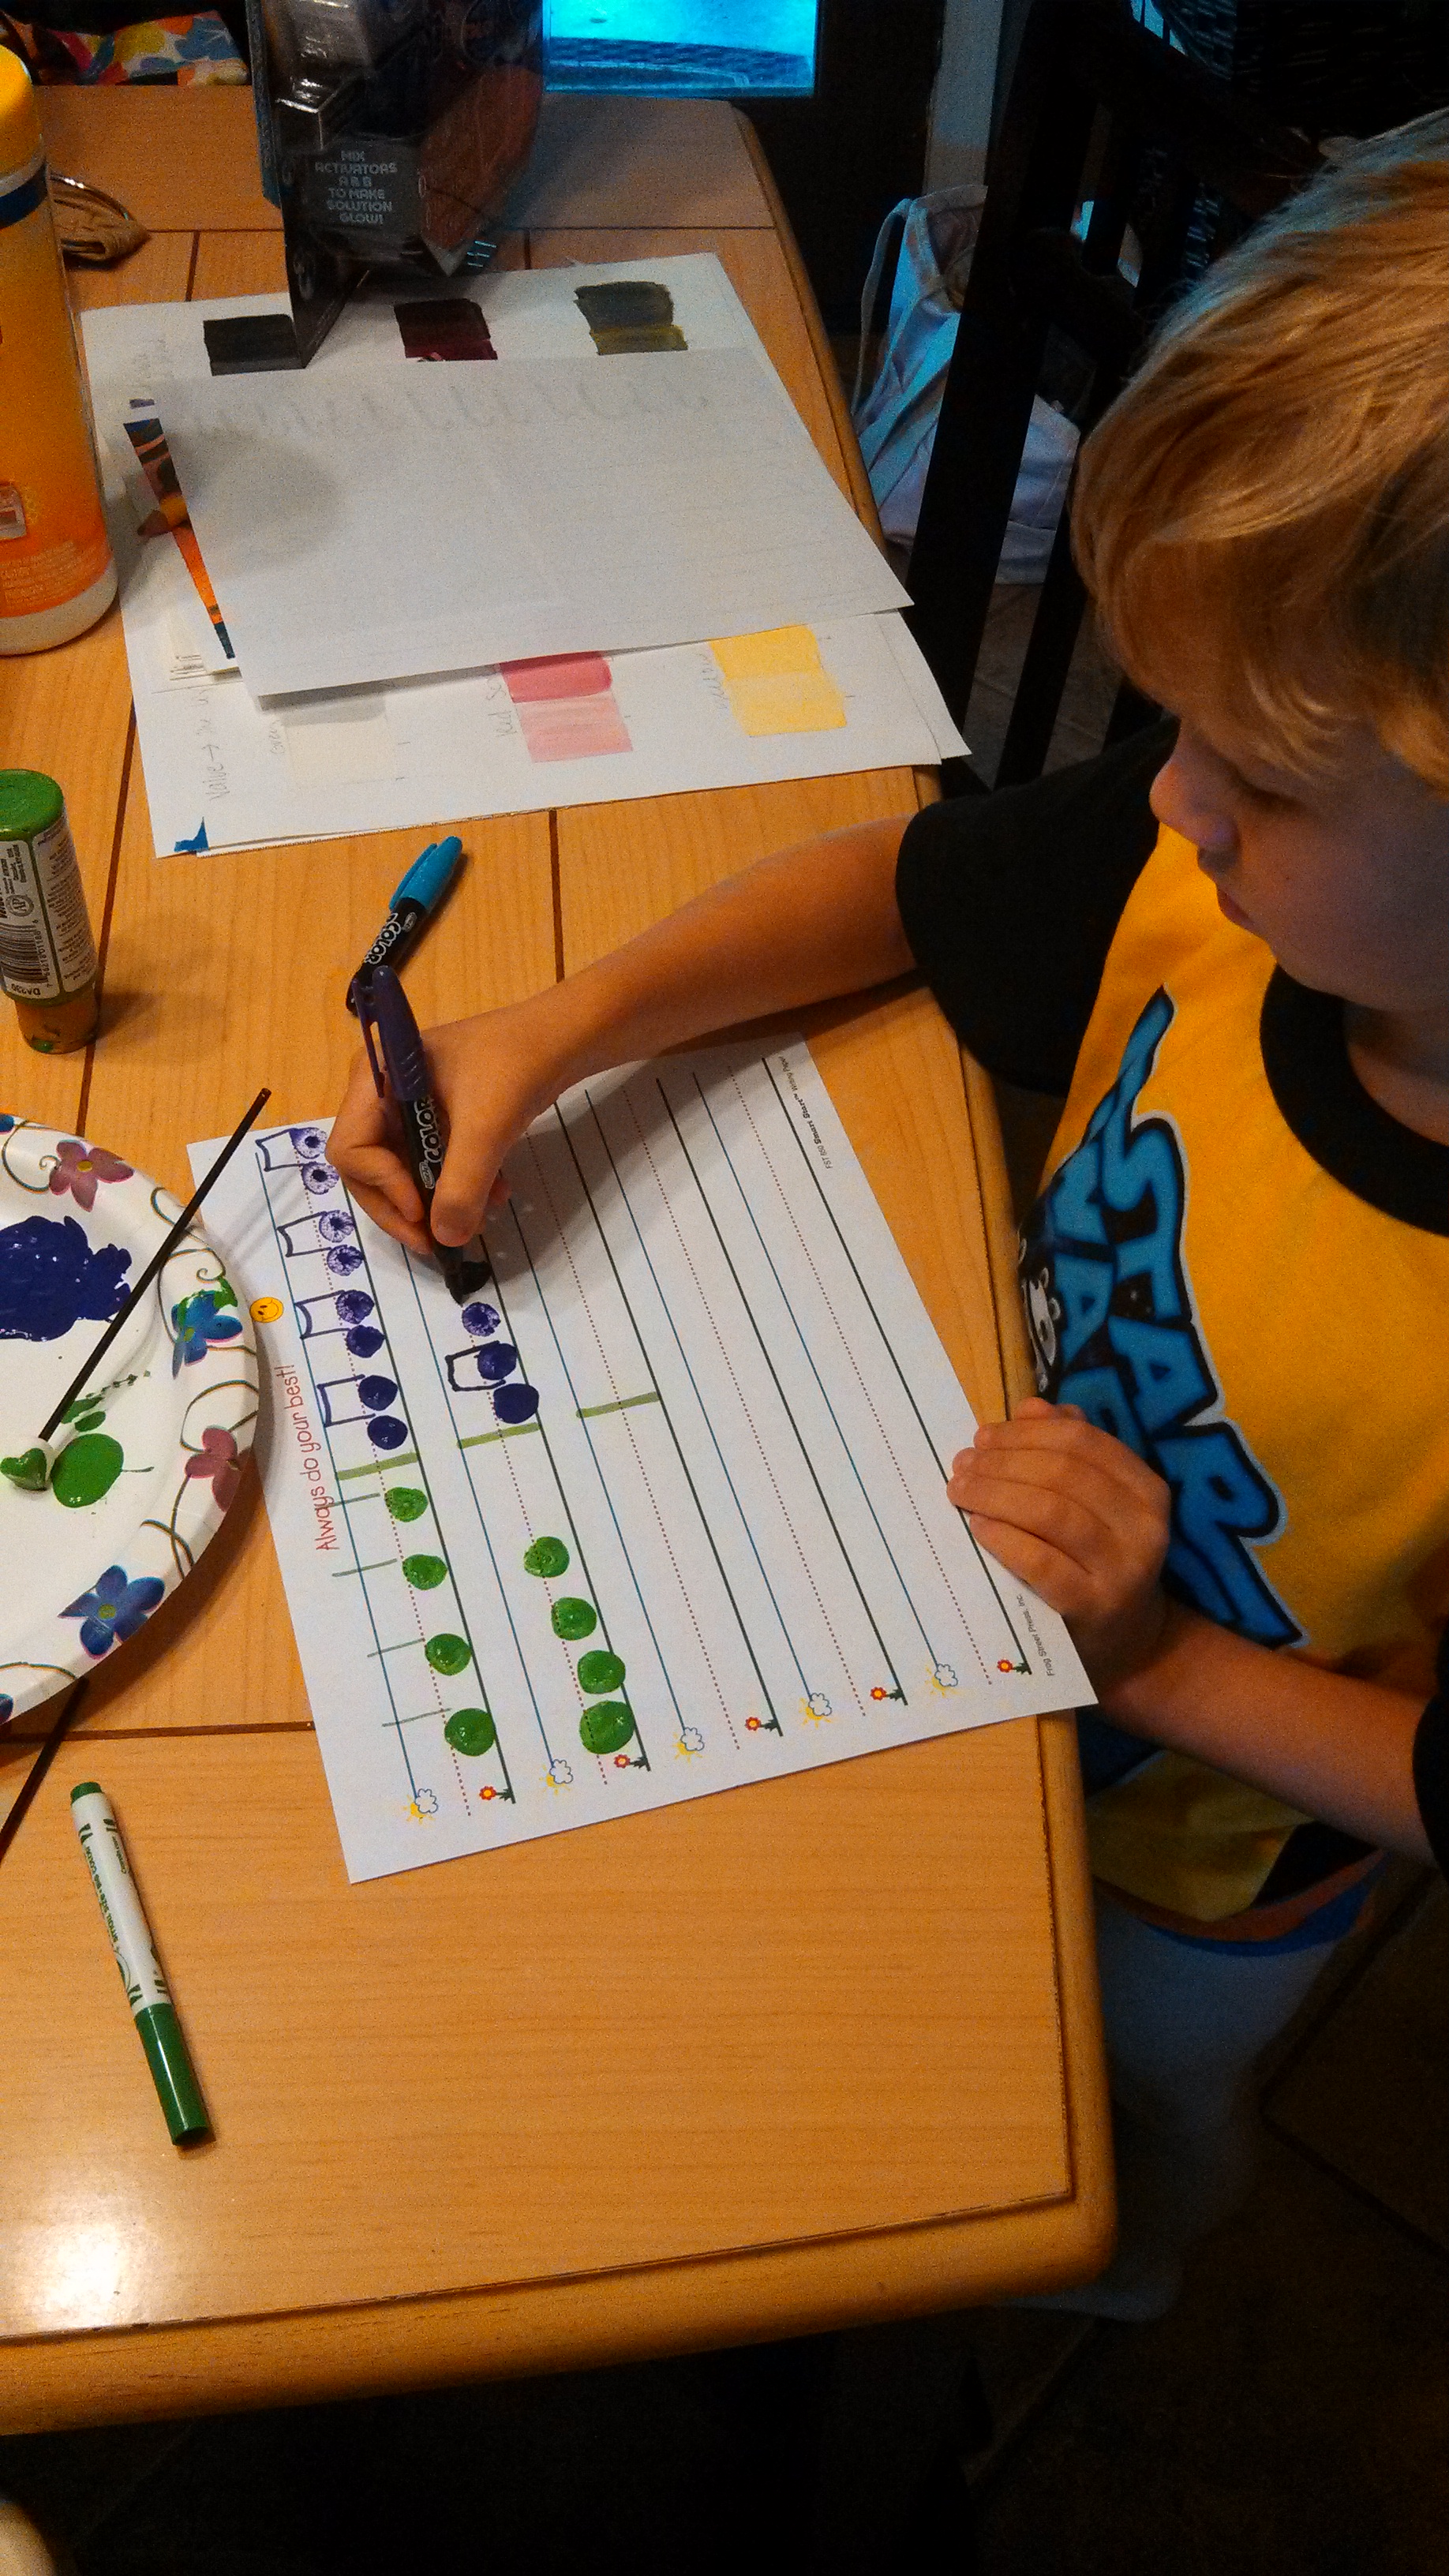
6.  For the half and whole notes, choose 2 different colors of paint.  This time, instead of dipping the whole marshmallow into the paint, just roll the edges of the marshmallow in the paint so you get the hallowed center for the note.

7.  In a new measure, put 2 half notes into one measure, spaced evenly.  In the next measure, put 1 whole note in the measure.  Have your child copy you.

8.  Clap out your new measures.

1…*…3…*…
1…*…*…*…
1…*…3…*…
1…*…*…*…

9. Then clap out your whole song:

1…      2…     3…      4…
1 and 2 and 3 and 4 and
1…     2…      3…      4…
1 and 2 and 3 and 4 and
1…       *…     3…      *…
1…       *…     *…       *…
1…       *…     3…       *…
1…       *…     *…        *…”

Here is a video of my 6 year old clapping the beat out on his own for the first time.  He was so proud that I didn’t have to help him!

Yay!  You and your child have just written your first song together!  Feel free to add words to your music and more!

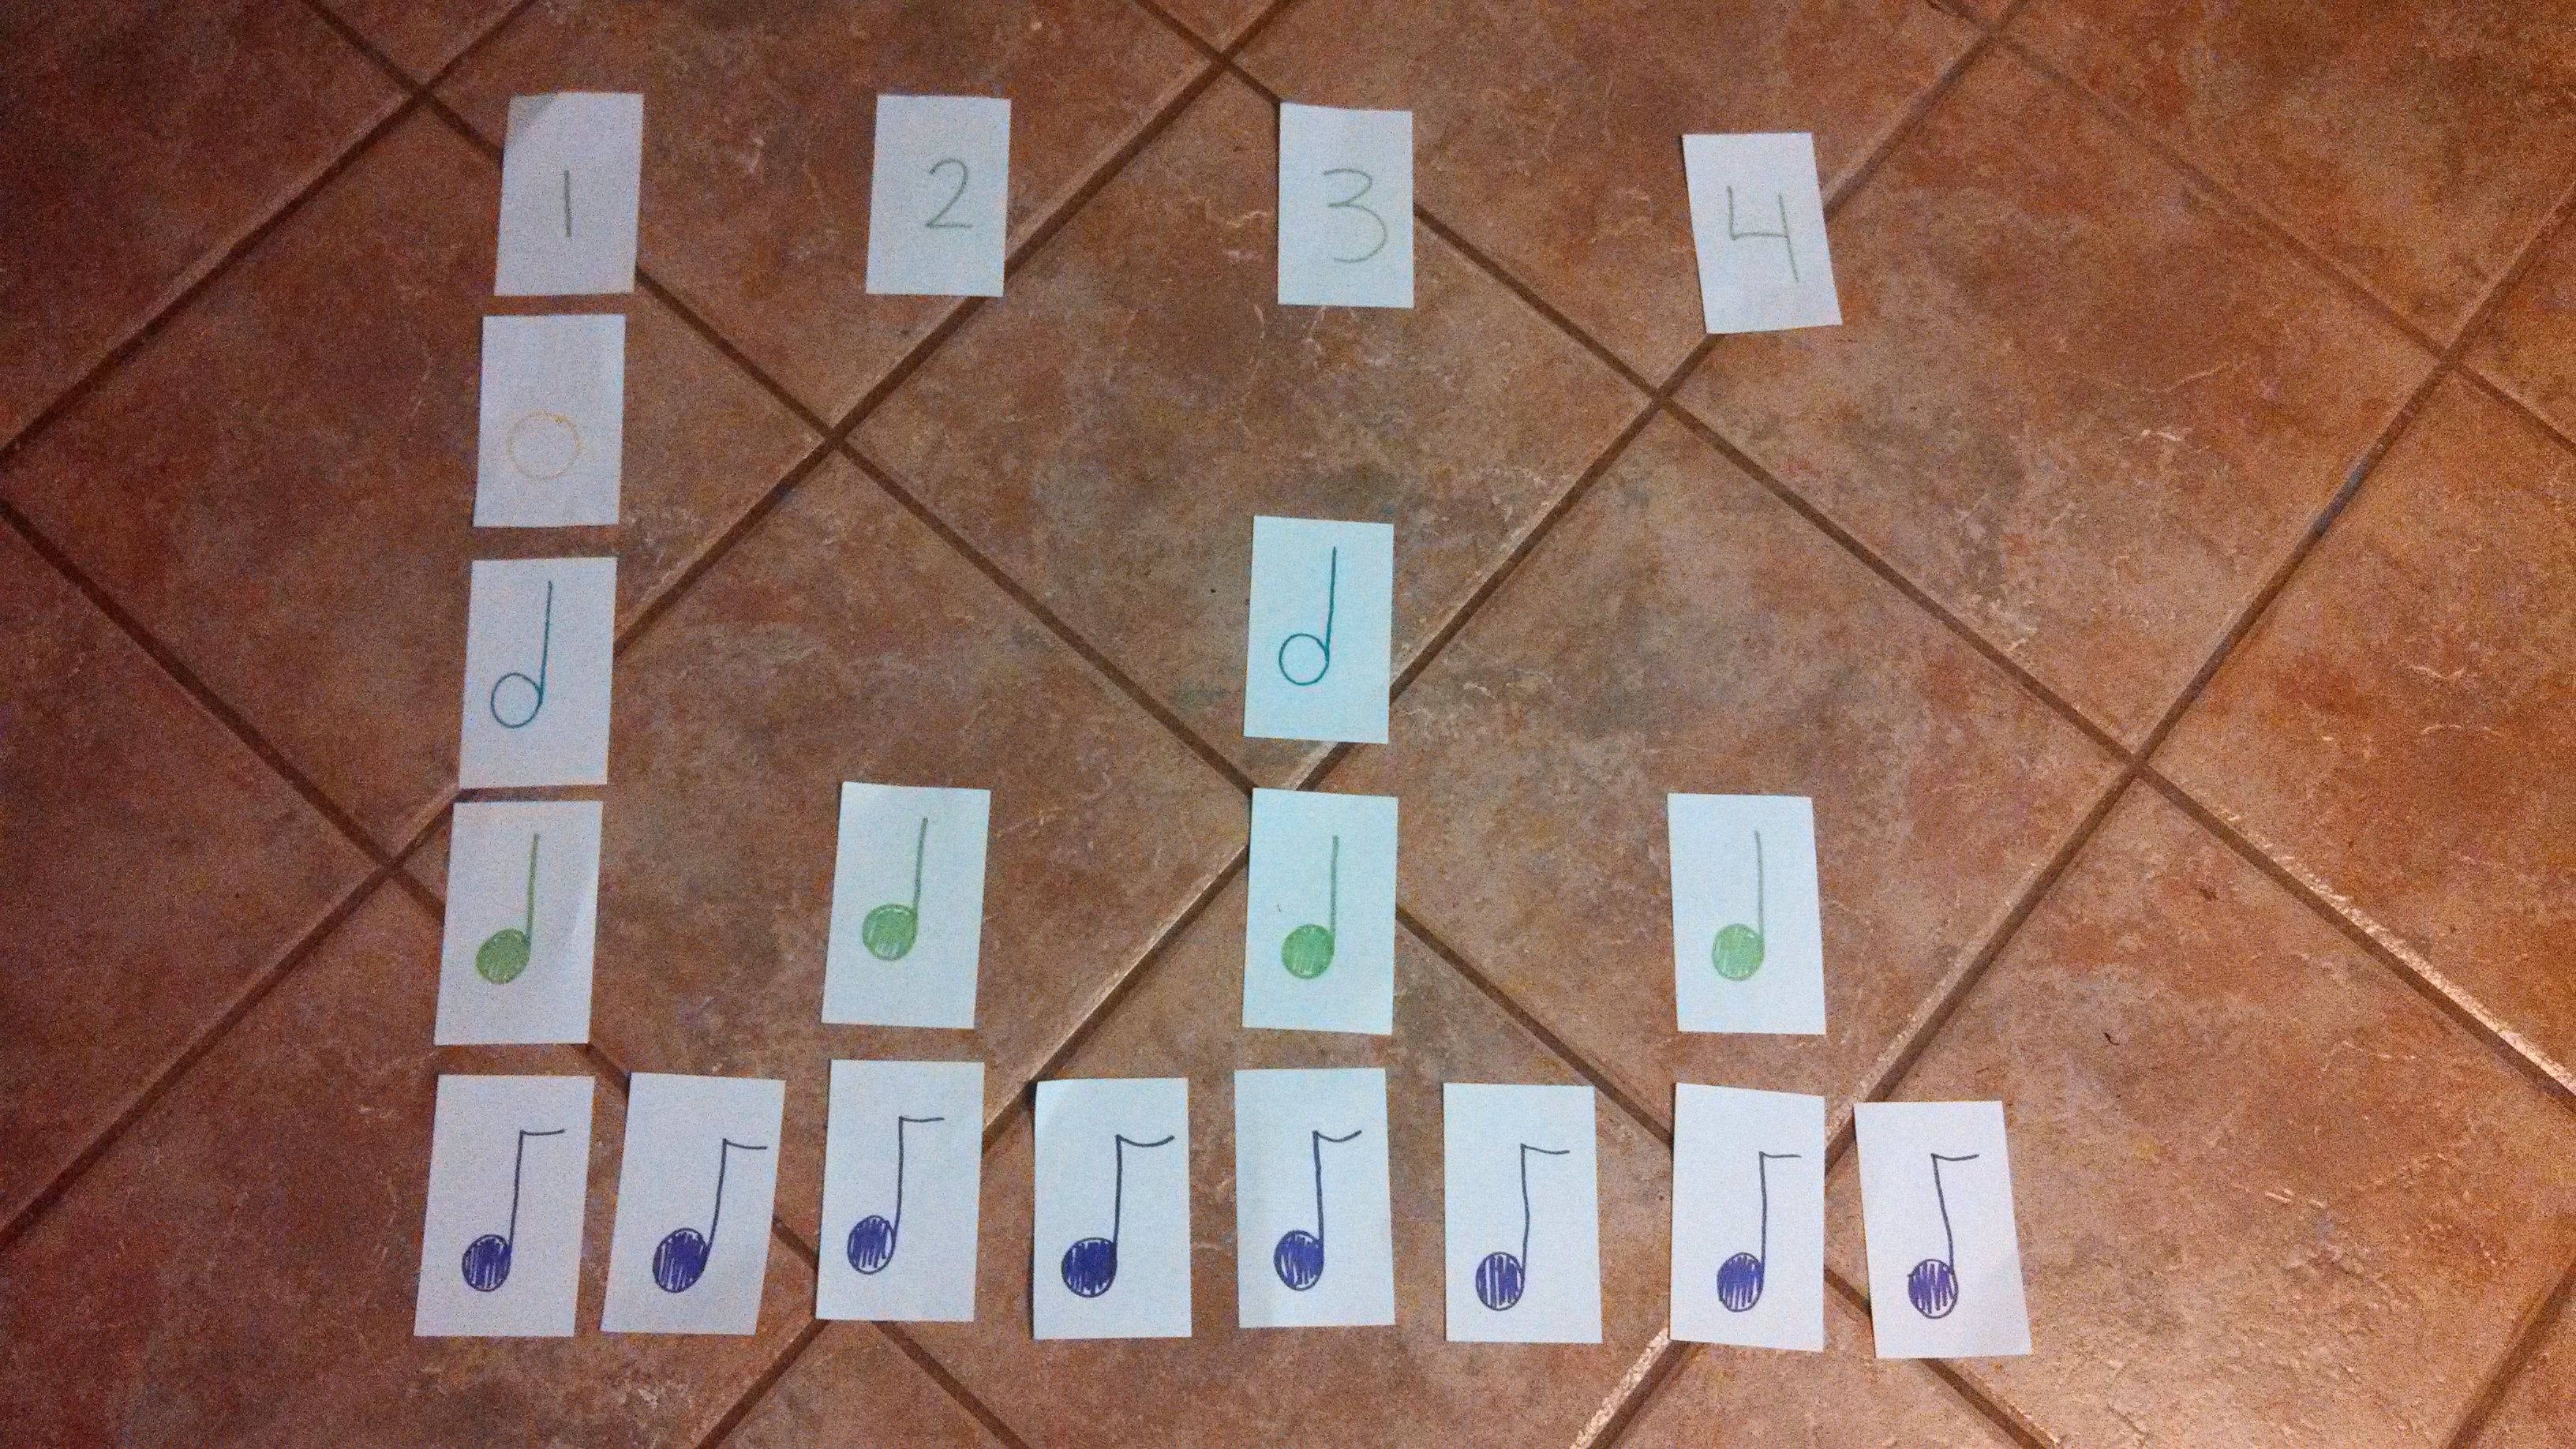
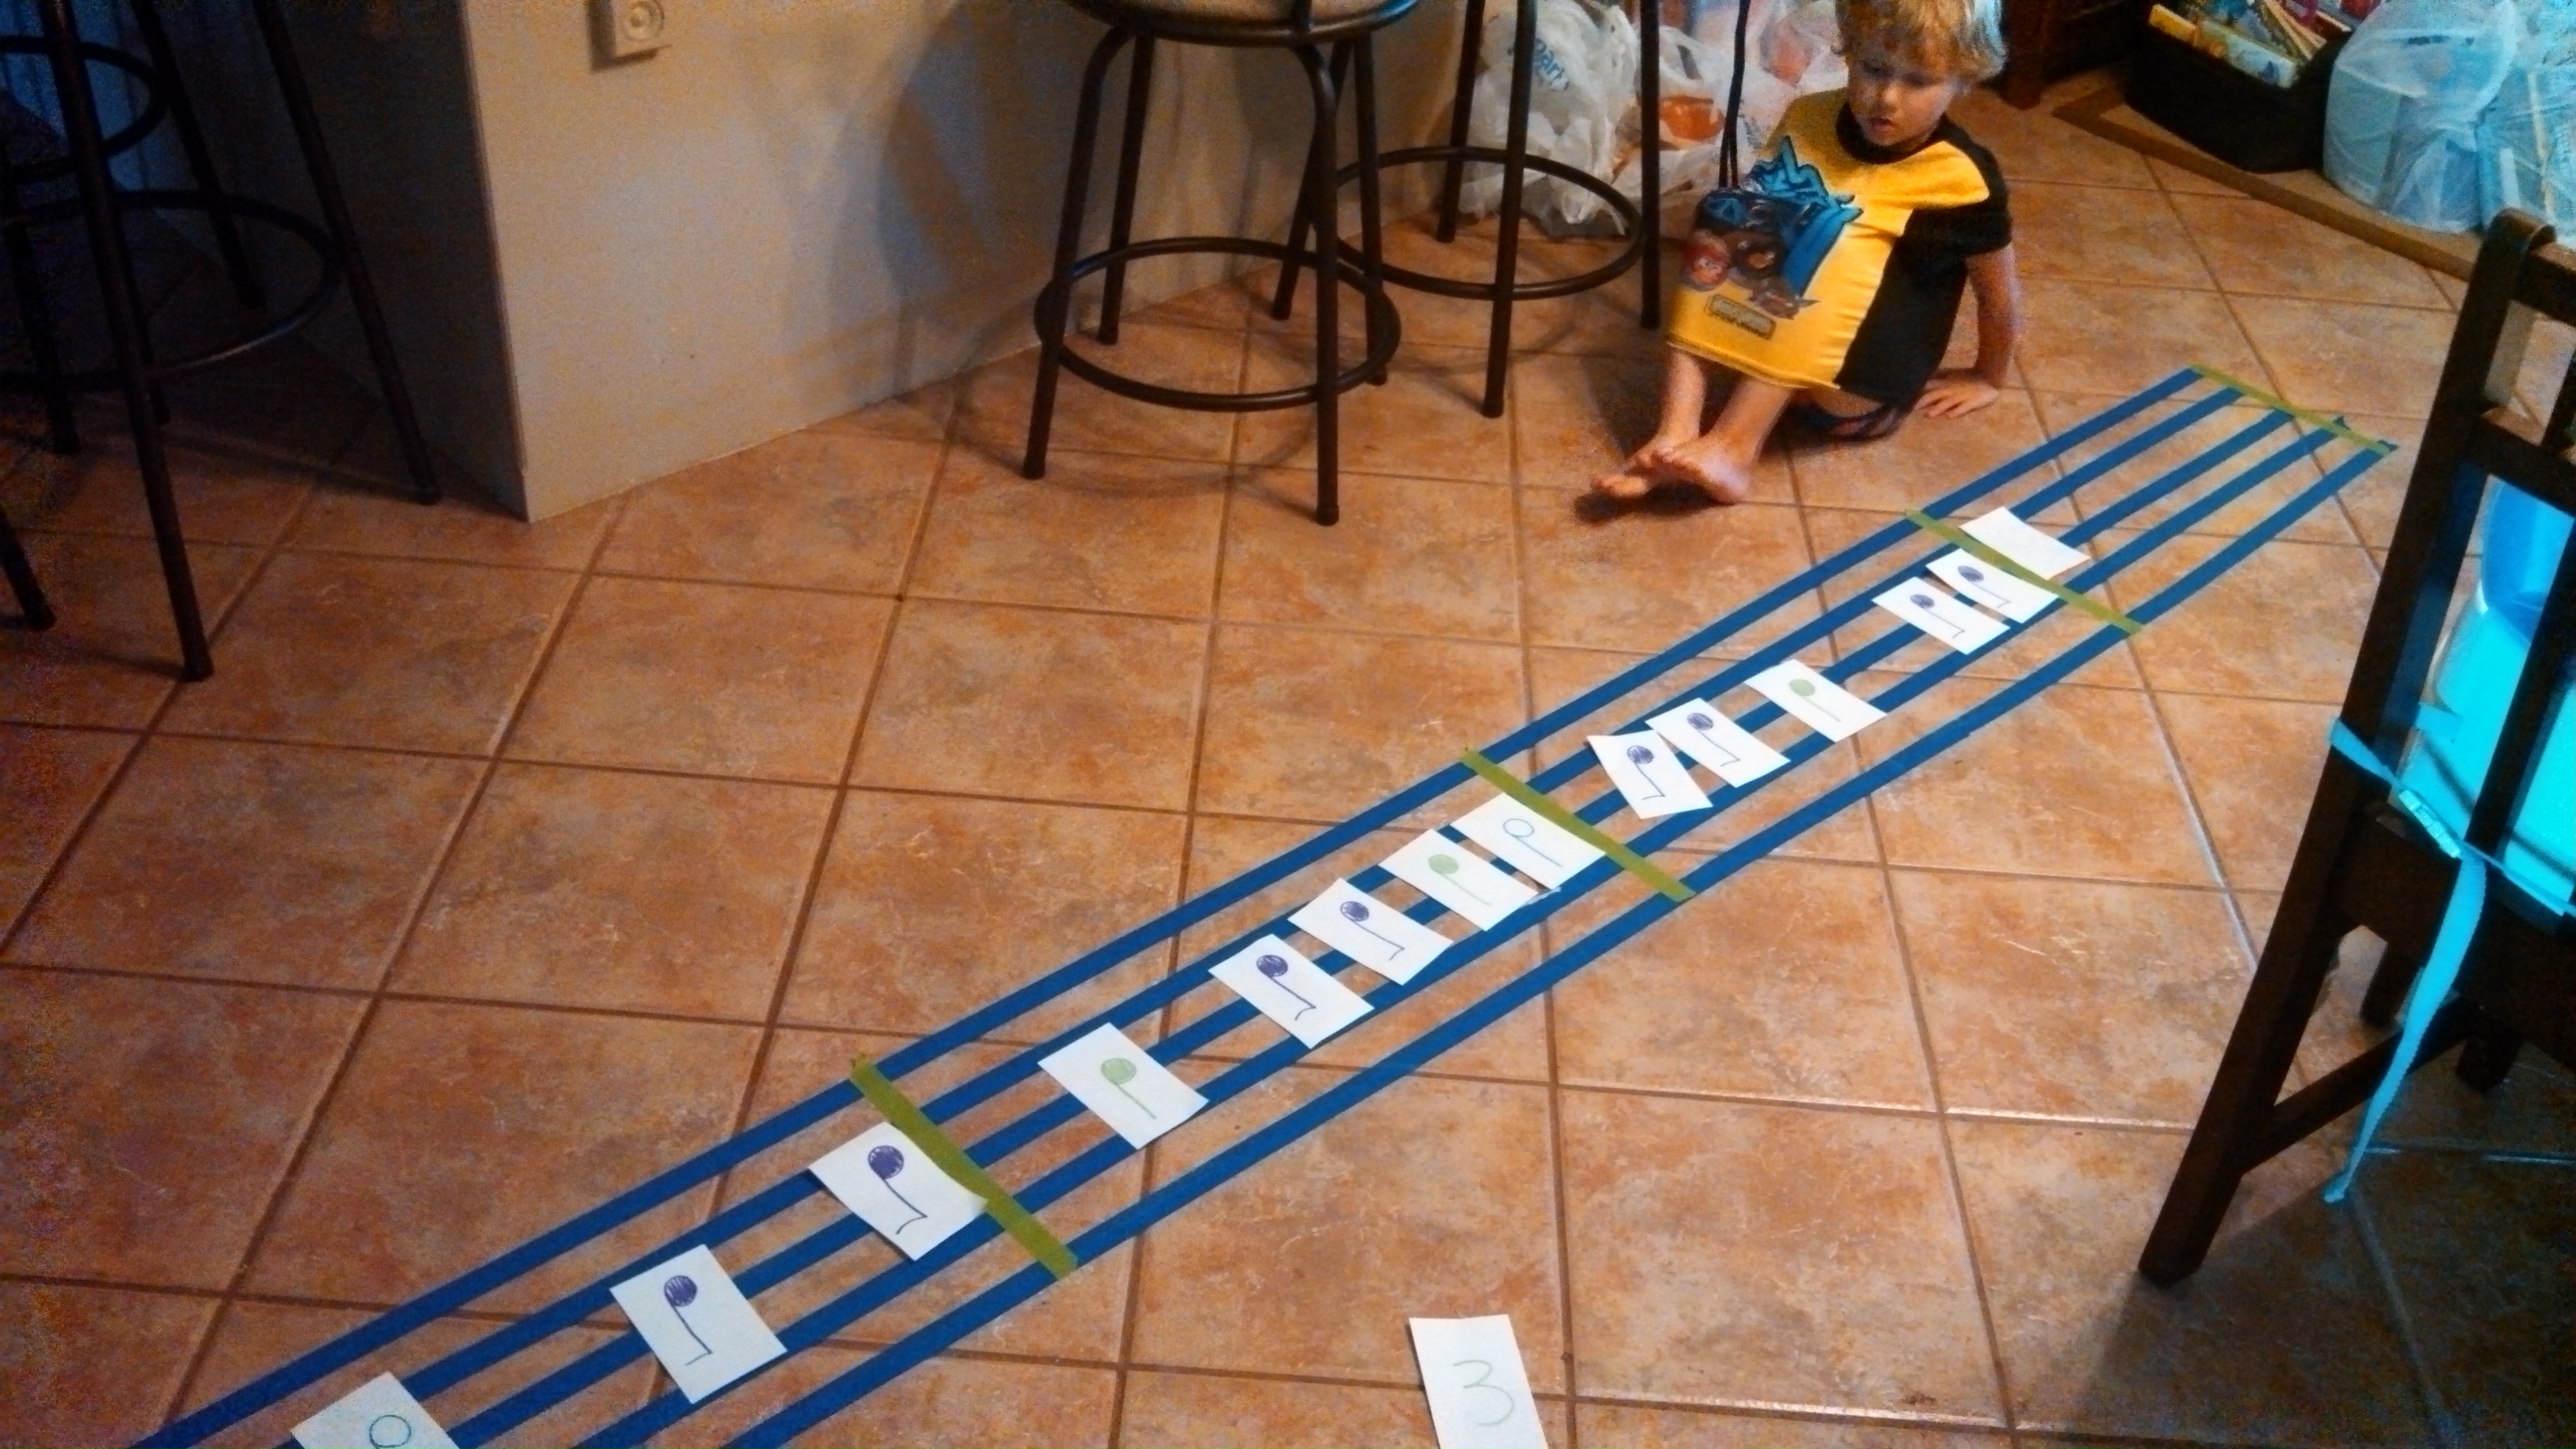
For our next activity, I created a giant musical staff (this time with 5 lines) on our floor using painters tape!  We used our index cards with our notes from the picture above to figure out how we can fit 4 beats into each measure using a combination of all the notes we learned about!  I used a different color tape for the measure lines because it was easier to see.

IMG_20130724_155833_636

OTHER ACTIVITIES AND VARIATIONS OF ACTIVITIES:

  • Clap out the notes in familiar simple songs such as “Twinkle, Twinkle Little Star” or “Mary had a Little Lamb.”  Both of these songs uses quarter notes and half notes.  See if you and your child can recreate these songs on your big musical staff!
  • The song “BINGO” is a great way to practice clapping notes.  “::clap:: I  – N – G – O, ::clap:: I  – N – G – O, ::clap:: I  – N – G – O, and that’s how we spell Bingo.”
  • Use other instruments instead of clapping:  kazoo, pots and pans as drums, shakers, recorders, etc.
  • What other parts of your body can you use to “sing” the music?  Try stomping, jumping, squatting, conducting with your index finger, etc.

The possibilities are endless!  Music is so much fun!

Building Letters {And Numbers too!}

Let me start this off by saying that this book is one of my new “favorite finds” but it can easily be MADE BY YOU so don’t break out your PayPal account email just yet.

Sean Patrick has been having fun with the book How to Build an A

The pages only give a PICTURE of the letters in block form (not step-by-step) so the book just provides a visual of the letter after you have built one.

But, it does come with the pieces to make /build the letters which is why this is one of my new favorite finds.  HOWEVER you can just as easily buy foam at the dollar tree… draw the pieces (straight lines and curved lines) and cut them out to help your little one explore building letters or numbers.

building letter b

Sean Patrick had so much fun with his little bag of pieces.  He carried them around everywhere and he was always either on his way to “Numberland” or “Letterland.”   He gave me a great idea to only assist him in making numbers when we were in Numberland (the den) and only making letters when we were in Letterland (the playroom).  Kids need to be able to distinguish letters from numbers so this was a great way to compartmentalize the two.

Building letter B with book

We had a lot of fun with this… especially for my boy who loves hands-on learning.  We just play with it here and there…we are not structured in how long or how often we play with this, but here is a glimpse into this activity when we play with it:

I might take the bottom part off of his B and say “If swiper swiped this piece what letter would you have left?” (wait to see what Sean Patrick says)  “P” – “I see it too! Let’s find that letter in our book!  That silly old swiper – he doesn’t even know that he is helping us make new letters!  Your turn to be a swiper…. take one piece away and see what new letter we can find!”

The Letter Construction Activity Set is similar but kind of expensive and you can’t make it.  I have an Overhead projector (former teacher here) so I might just have to put it on my wishlist  :/  but I am debating that because I don’t think we could keep track of all the pieces if I am being honest with myself!

Letter Construction Activity Set

‘Twas the Night Before School

SCHOOL STARTS TOMORROW!!!  (A little too early, if you ask me.)  Slowly but surely, there is a familiar feeling creeping into the air… the dreaded last few days of summer, and the excitement/anticipation/apprehension of a new school year.

If your child is starting school this week, or the next, or the next, I bet you are starting to anticipate the schedule change.  If you are a stay-at-home-parent like me, having to get dressed and out of the house at a certain time every single day can be a complete culture shock.

I want to share our school year schedule with you and how we rehearsed our routine that will take place Monday through Friday until the end of May.  In the classroom, the first few days of school are all about introductions, routines, procedures, expectations, and goals… now that our daily routine is changing to accommodate school and homework, Mommy needs to switch hats and do as the teachers do: rehearse!

Step 1:  Make a plan and write it down.

What do you want your mornings and afternoons to look like?  Think about every single thing that needs to happen and plan it out in your head.  Write it down and display your routine for your kids to see it even if your kids cannot read yet.  (Drawing pictures next to each step will help your non-readers.)

Step 2:  Teach your plan.

Step-by-step, moment by moment, what should your child be doing to get ready so that Mommy isn’t going crazy trying to pile everyone into the car, pop tarts in hand?  Walk through getting dressed, eating breakfast, brushing teeth, etc. so when the time comes, your child knows exactly what he/she is expected to do in the morning.

Step 3:  Rehearse your plan.

Practice makes perfect!  Practice bits and pieces of your day just a little bit at a time as to not overwhelm your child.

Step 4:  Remind and refresh.

Short, simple reminders go a long way.  While your routine should go pretty smoothly within the first few weeks of school, if it is not going as planned, perhaps a refresher course is in order.

Remember, in order for your routines and procedures to be effective they need to be:

  • well planned
  • well explained
  • well rehearsed
  • well enforced

And now, I will share with you… OUR MORNING ROUTINE:

  1. Choose your breakfast.
  2. Brush your teeth.
  3. Get dressed.
  4. Pack your lunch.

After they do all of these things, they may then turn on the TV until 7:30.  I have set an alarm on my phone so that we can stick to this time.

IMG_20130808_172913_202 TIP #1:  GIVE OPTIONS – If your kids are like my kids, each morning I hear, “Mom?  What’s for breakfast?” and then I tell them what I have planned… so then I hear, “But I don’t want thaaaaaat.” Giving my kids options that are set out in front of them seems to eliminate whining, because on school days we do not have time for any of that nonsense.

TIP #2:  DO STEP #1 AND WRITE OUT A TO-DO LIST – If I tell my kids, “Go brush your teeth,” all I hear is, “Mooooom, I don’t want to brush my teeeeeeeth.”  For some reason, if it is written on the to-do list, the job is done.  No complaining.  No whining.  Bam.  It’s done.  Let the to-do list do the nagging for you.

We walked through and rehearsed this schedule about 6 times.  We had fun acting how how we brush our teeth and eat our breakfast and even practiced turning on the TV when we finished walking through each step (their favorite part).

OUR AFTER SCHOOL SCHEDULE:

  • Homework (and snack)
  • Bible Study
  • Unplugged Free Time (no electronics)
  • Chores
  • Dinner
  • Clean Up
  • Free Time (electronics allowed)
  • Bath, Teeth, Stories, Prayer and Bed – the typical end of the day stuff

IMG_20130808_174115_530
Painters tape outlines the spot for the homework folder

There are so many things to do when your child gets home from school, and homework is just the big thing on that list.  What about all the little things like, “where do I put my backpack when I get home?”  If you do not explicitly tell your child where to put his/her backpack, it’s going to go in the middle of your floor.  I’m not a mind-reader, it’s just where my kid put his backpack last year until we designated a place for it. So make your plan:  where will the backpack/belt/shoes/folder go after school? Make an outline or label where exactly you want each item so your child has a good visual of where everything needs to go.  After a few weeks, you shouldn’t need the visual reminders anymore.

IMG_20130808_174148_330
If we do not have a special spot for belts and shoes, every morning we go crazy running around trying to find them. Lesson learned:  designate a spot.

IMG_20130807_172039_325
In our supply cabinet, we have pencils, paper, crayons, markers, glue, scissors, coloring books, activity books, chalk and accordion folders for work/art that is brought home from school.

TIP:  GET ORGANIZED – Make a special zone specifically for homework and supplies.  Changing homework spots daily can be distracting for a child.  Having to search for supplies eats up the precious homework time that is limited by your child’s short attention span.  By giving your child his/her own little work space can help get them excited about homework and it also establishes boundaries and expectations for designated homework time.

In Pre-K and Kindergarten, homework should only last 10-20 minutes.  In 1st grade, well, we’re about to cross that road this year!

IMG_20130808_165421_850 Ironically, making what visually looks like an extremely busy schedule, ends up being more relaxing even for Mommy.  As soon as we have a well established routine in place, we all breathe a bit easier and enjoy our free time together – that’s right, MOMMY TEACHERS get to partake in free time as well!  We are able to pack more into our short, few after-school daylight hours than we do if we do not have a strict routine.

Kids really respond well to structure, and you know what?  I think secretly, WE respond well to it too.  We all like to have something to look forward to, times set in place, to know what is going to happen next, to be able to have enough time to fit everything in, and if it’s on the list, chances are, we’re going to get it done… that includes spending free time with your kids.  It’s written on the schedule… that means, you gotta do it 🙂

So, speaking of, I’ve created my own weekly calendar to give myself set times to work:

IMG_20130807_174100_257 As you can see, I gave myself Fridays off for play dates 🙂

Well, after all of this organizing and rehearsing, I think my big boy is ready to start first grade today!  Me, on the other hand, I’m not sure if it gets any easier to fight back the tears on the first day of school… time is flying by way too quickly.

IMG_20130808_084322_971

What Is Your Favorite Coloring / Activity Book? Share in a comment!

The other day a friend instagrammed a picture of her and her son coloring as she drank her cup of coffee.  It made me think of my mother-in-law because she is so great about sitting down and participating with my kids as they color or as they play with play dough and many other simple tasks that she makes the most of.

You can purpose tons of learning sitting down with a coloring book…. one page at a time.

You are teaching color recognition, but you are also helping to build your little one’s vocabulary by discussing the pictures.  And activity books have lots of little problem solving opportunities to teach with mazes and categorizing (which one does not belong?

Here is one great activity book that teaches the ABC’s and some other problem solving strategies as well…

ABC Animals (Dora the Explorer) (Color Plus Card Stock)

There are MILLIONS of books like this but I want to share this one to share a FEW quick  IDEAS that can apply to most activity books…

1) Trace over black with white ….

Tracing with white crayon
Make use of your WHITE crayon!

2) Color inside of bubble letters (not just on pages like this one that are made for them)… I ask “What letter do you want mommy to color?”  Then I talk through the formation of the letter “climb down the ladder, frog jump up to the monkey bars, hop across, climb up and down on the other side to make an H” or whatever silly way you want to say it.  Then I say…. “Your turn… what letter do you want to color?” IMG_9605

3) For little writers you could draw speech bubbles on your color pages and make your characters talk to each other.

Speech bubble on color page

4) Count how many times you see the same object on a page (like the balloons in the next picture)…

Count the balloons

Share your favorite coloring or activity books in a comment below and share any tips that you may have for us.

Here or on Facebook

Calendar Templates!

It is August 1st & a few days ago I realized that I needed a new Calendar template for my “To Do” board but also a calendar template that my little man could explore with.  So, I spent a good chunk of time developing calendar templates that I liked and that also had TRACEABLE month titles and also included the identical set in the printable with regular month titles.

Calendar Screen Shot-tracing Months

[Click HERE to become a member – get unlimited access to ALL The Mommy Teacher Printables including this one!

OR CLICK HERE to purchase any one of these Calendar Templates individually from my TeachersPayTeachers Store.]

What can children learn from calendar exploration?

Patterns – The days of the week repeat their same order every week.

Vocabulary – Yesterday, today, tomorrow, weekend, days of the week, month, months of the year, holidays, etc.

Organization – Graphic organizers (like calendars) are so great for kids to be exposed to.  They show order and give meaning to our everyday routines.

One-to-One Correspondence – We wrote one number in each square.

Weather Recording – Check out my weather tracking post with the September template attached for free!

Ordinal Numbers – When you say the days of the week in a sentence you would say “Today is August FIRST, tomorrow is August SECOND,” etc.

What did my calendar experience look like with my 3 year old?

Kids marking their calendars

I put our calendars on clipboards and we sat down at the playroom table and talked about them while we doodled on our calendars.  I sang the days of the week song, the months of the year song, and then we counted how many days were in August.  We “x’d” out the days that had already passed.  We marked upcoming events with stickers.  I prepared him in advance for days that mommy or daddy had something to do so that I can remind him by pointing to the calendar and he can visually see that the event will come and go.


Sean Patrick felt so “official” with his calendar on his clipboard.  While I wrote the numbers and upcoming events on my calendar attached to the clipboard,  he “wrote” what he wanted to do on his.

3 year old Calendar Markings

He made a lot of markings and said things like “I will go to Maya’s house on Friday, and MeMe will be 70 on Tuesday.” Haha I loved his made-up events.  And his MeMe is only in her mid-50’s but one of her sisters told Sean Patrick that she was almost 70 haha.

He even asked me for another “August calendar” yesterday so that was my indicator that he actually had as much fun as I did with this activity.

Related Posts Plugin for WordPress, Blogger...

1 2