Art

My 5 Favorite Dot Paint Activities

 “I want to paaaaaaaiiiinnt mom” was all I heard from my little Mckayla yesterday haha. I encouraged my little girl to re-phrase with “Mom, can we paint please?” and then of course we headed to the playroom (like 5 times yesterday). We hadn’t pulled out Dot Paint in a couple weeks so I thought it was time to re-visit it.  My kids treat the dot paint sticks like drumsticks sometimes and just bang on the table, but there are plenty of uses for this art experience.  So, I wanted to share some ideas with you. 🙂

[Click HERE to become a member for just $5 a month and get unlimited access to ALL The Mommy Teacher Printables!

OR CLICK HERE to purchase any one of these Bubble Letter Printables individually from my TeachersPayTeachers Store.]

There are definitely days when I simply put all different types of paper on the art table and just let my kids jump around from one new creation to the next.  Other days I use the printables I make specifically for these activities, and we focus on a few skills at a time.  Today I’m all over the place y’all haha so bare with me…  I felt like sharing my five favorite dot paint activities AND because one of those five activities involves using my home-made printables I am also going to share my five favorite dot paint printables!

5 great dot paint printables.001

So, my five favorite dot paint activities are:

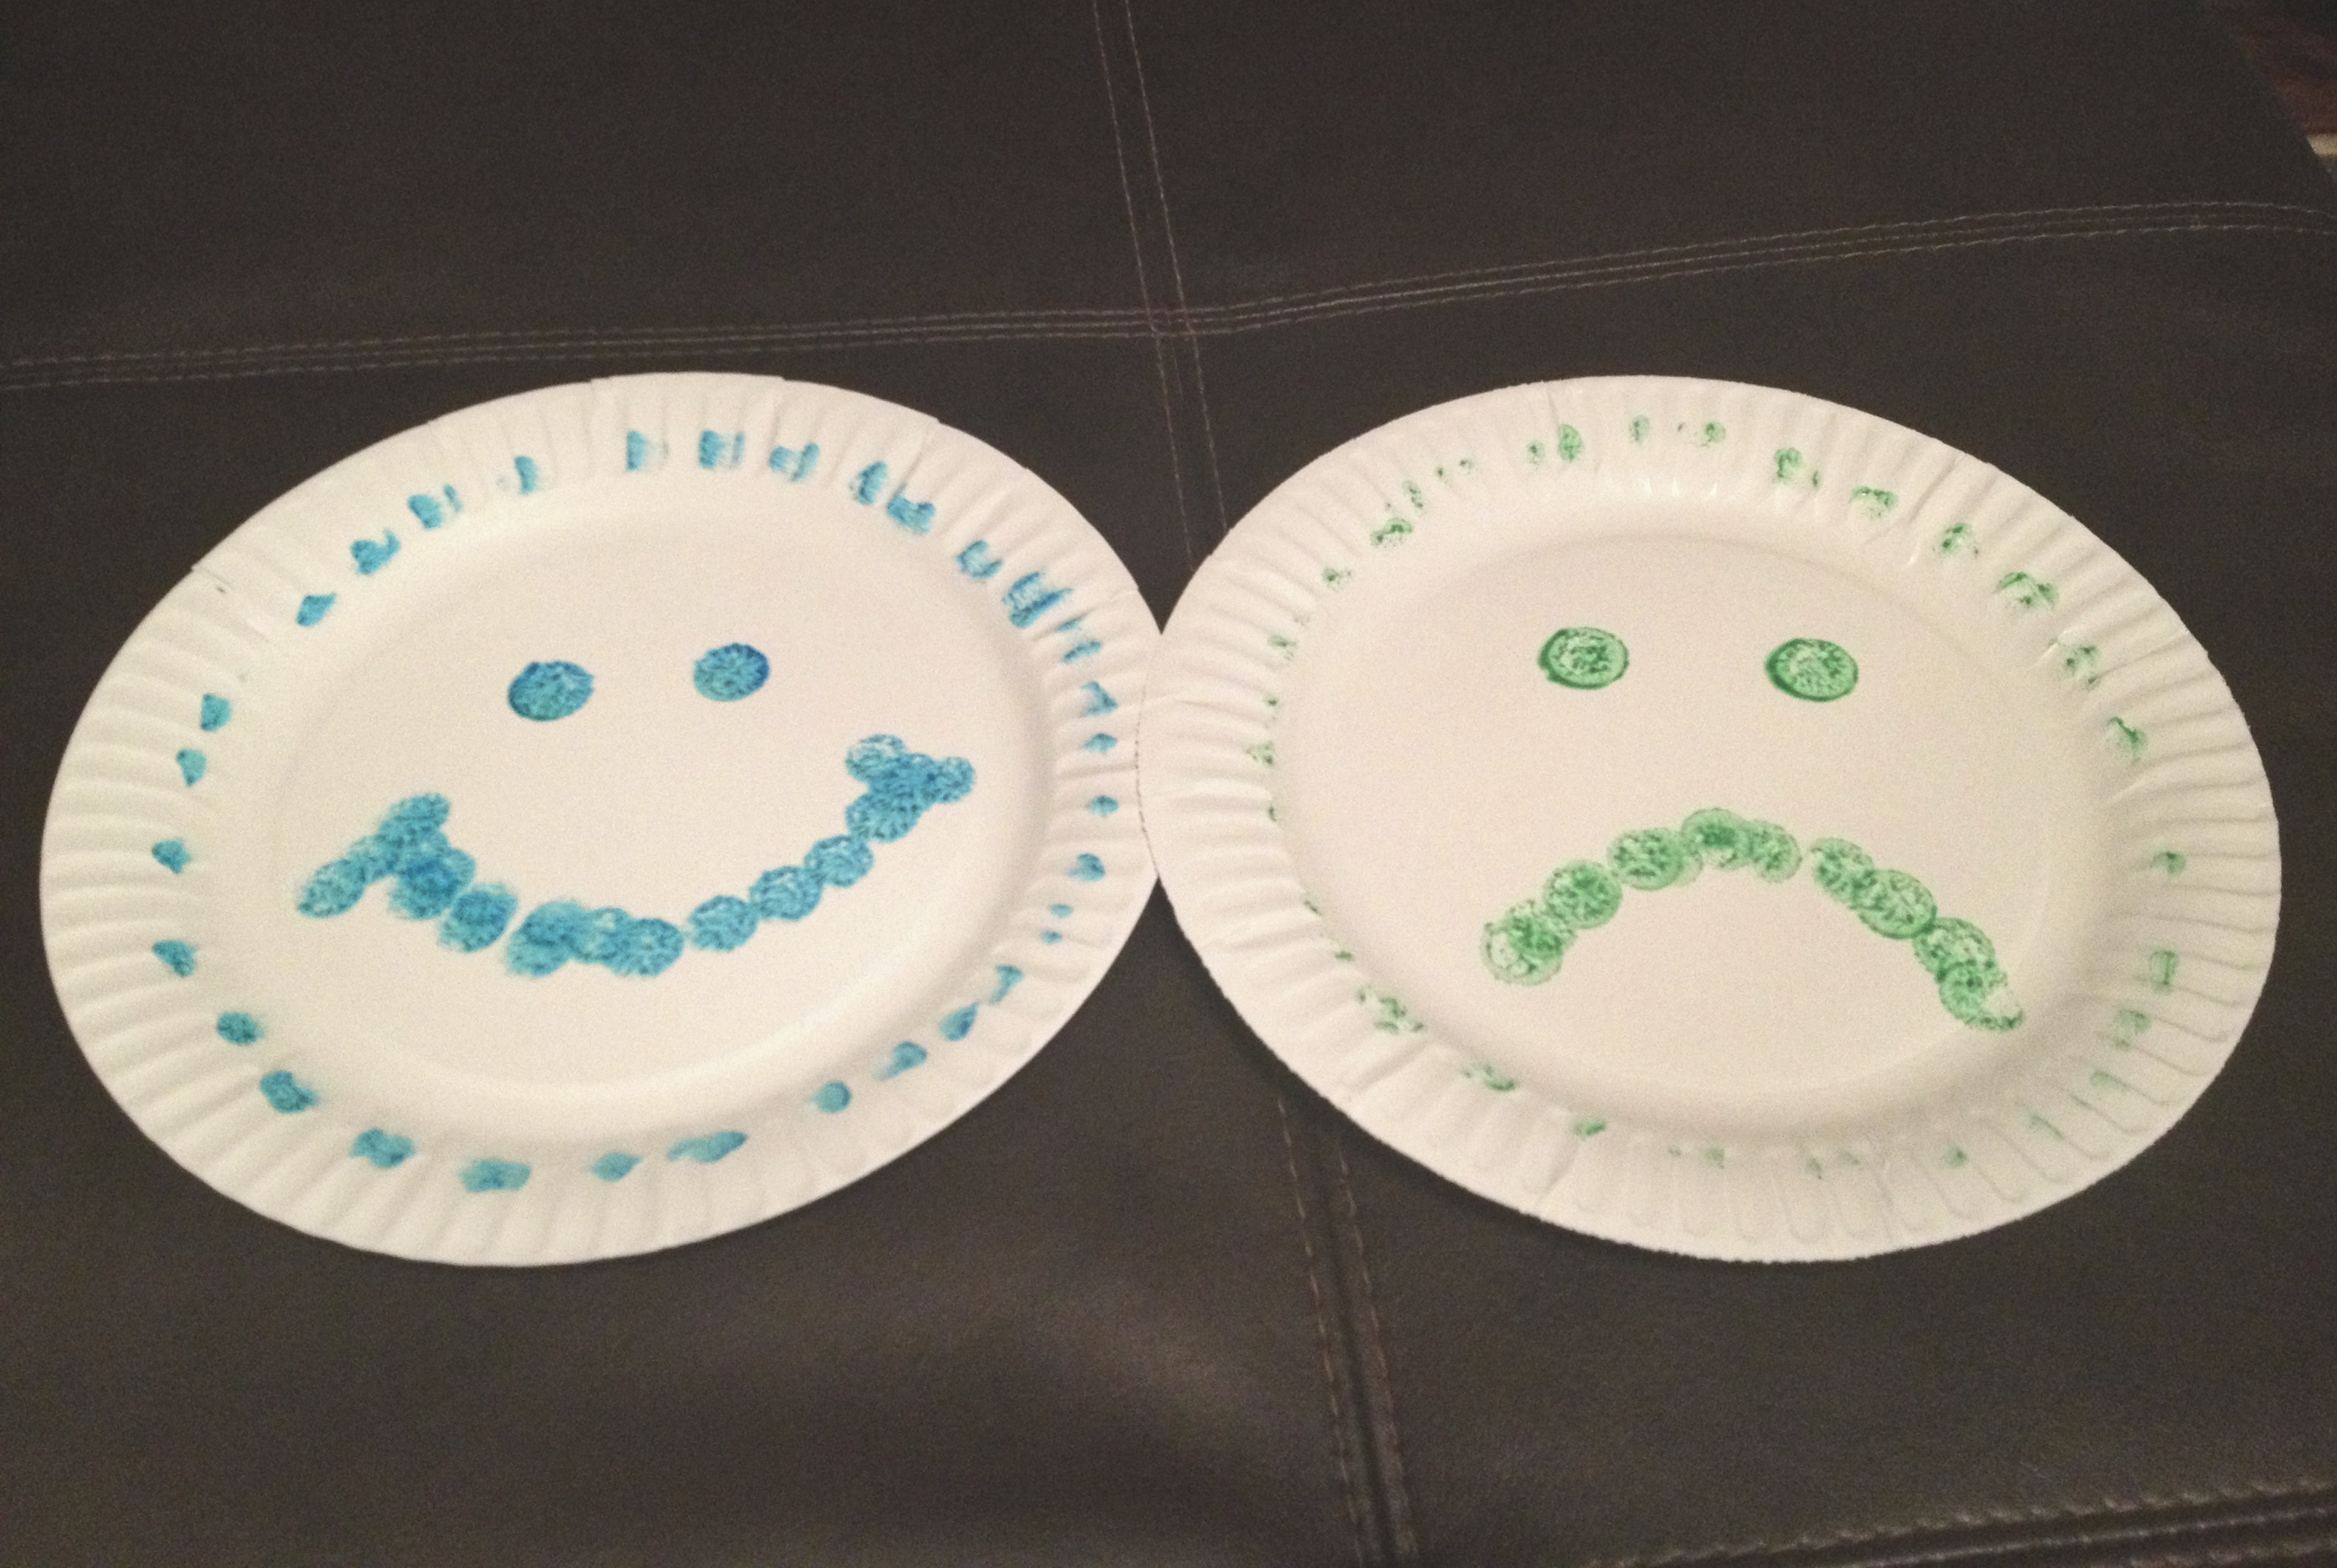
1) Making faces using the dot paint on paper plates  – this can be a great tool for discussing emotions.

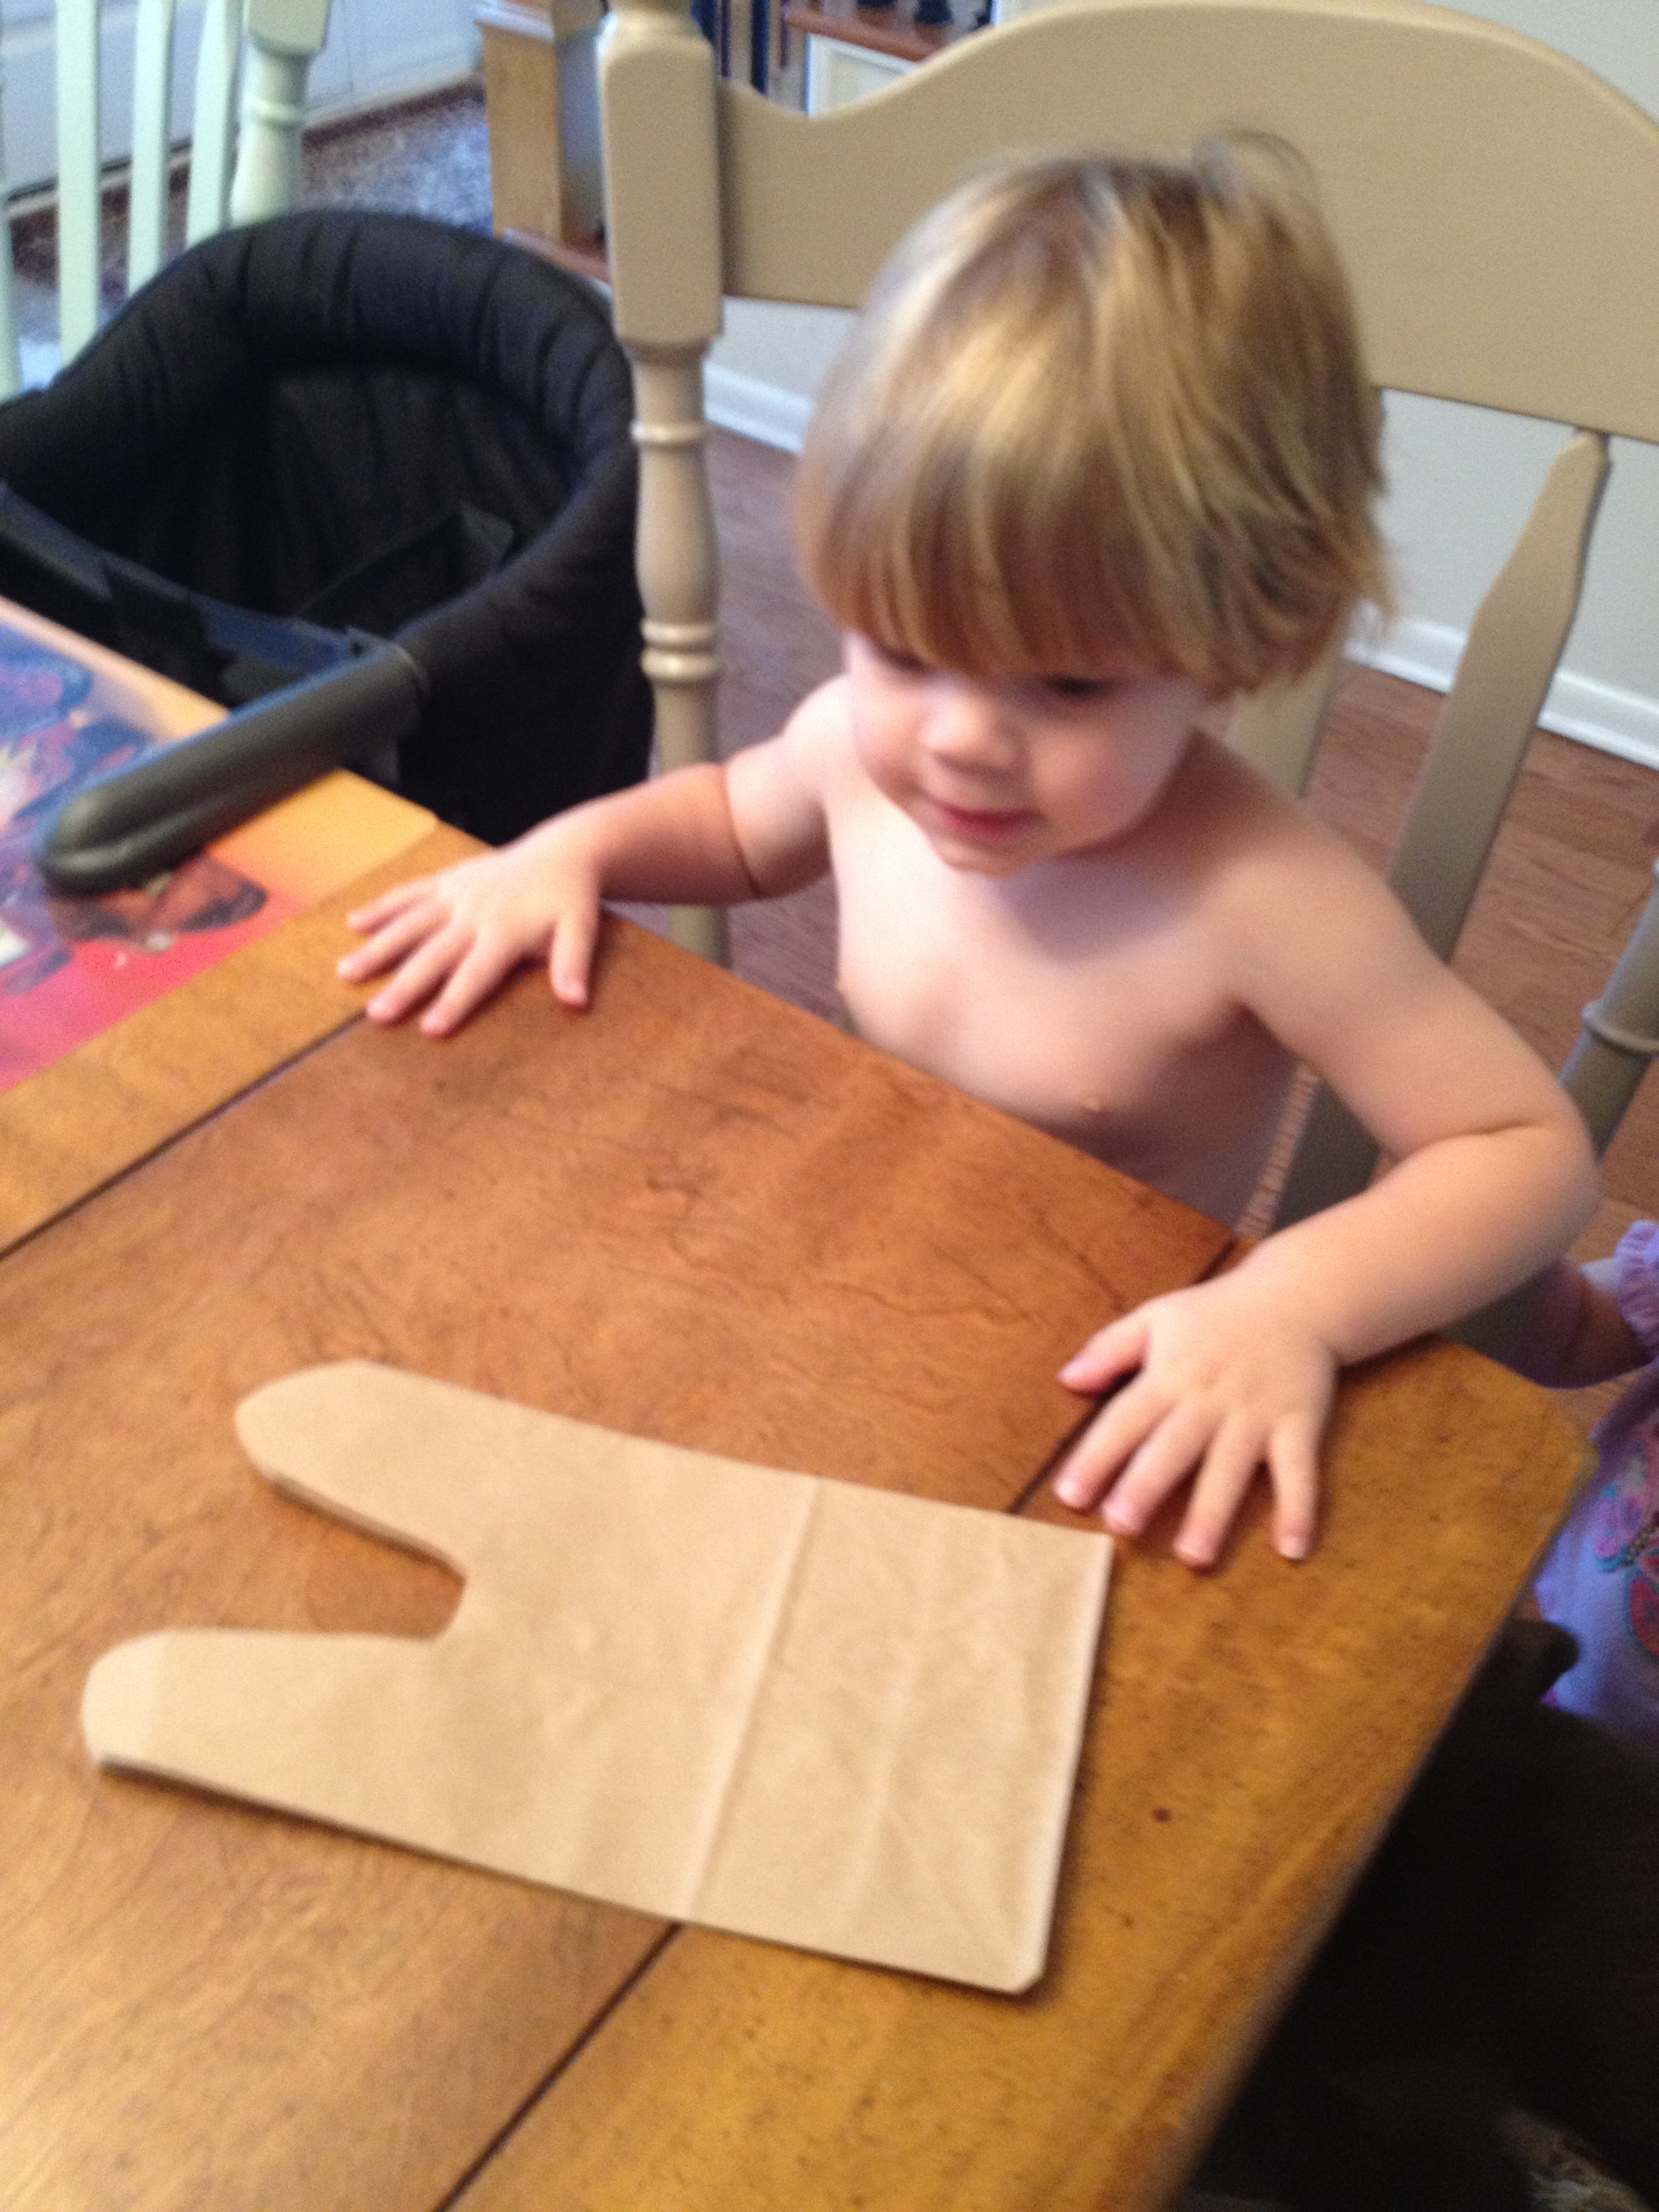
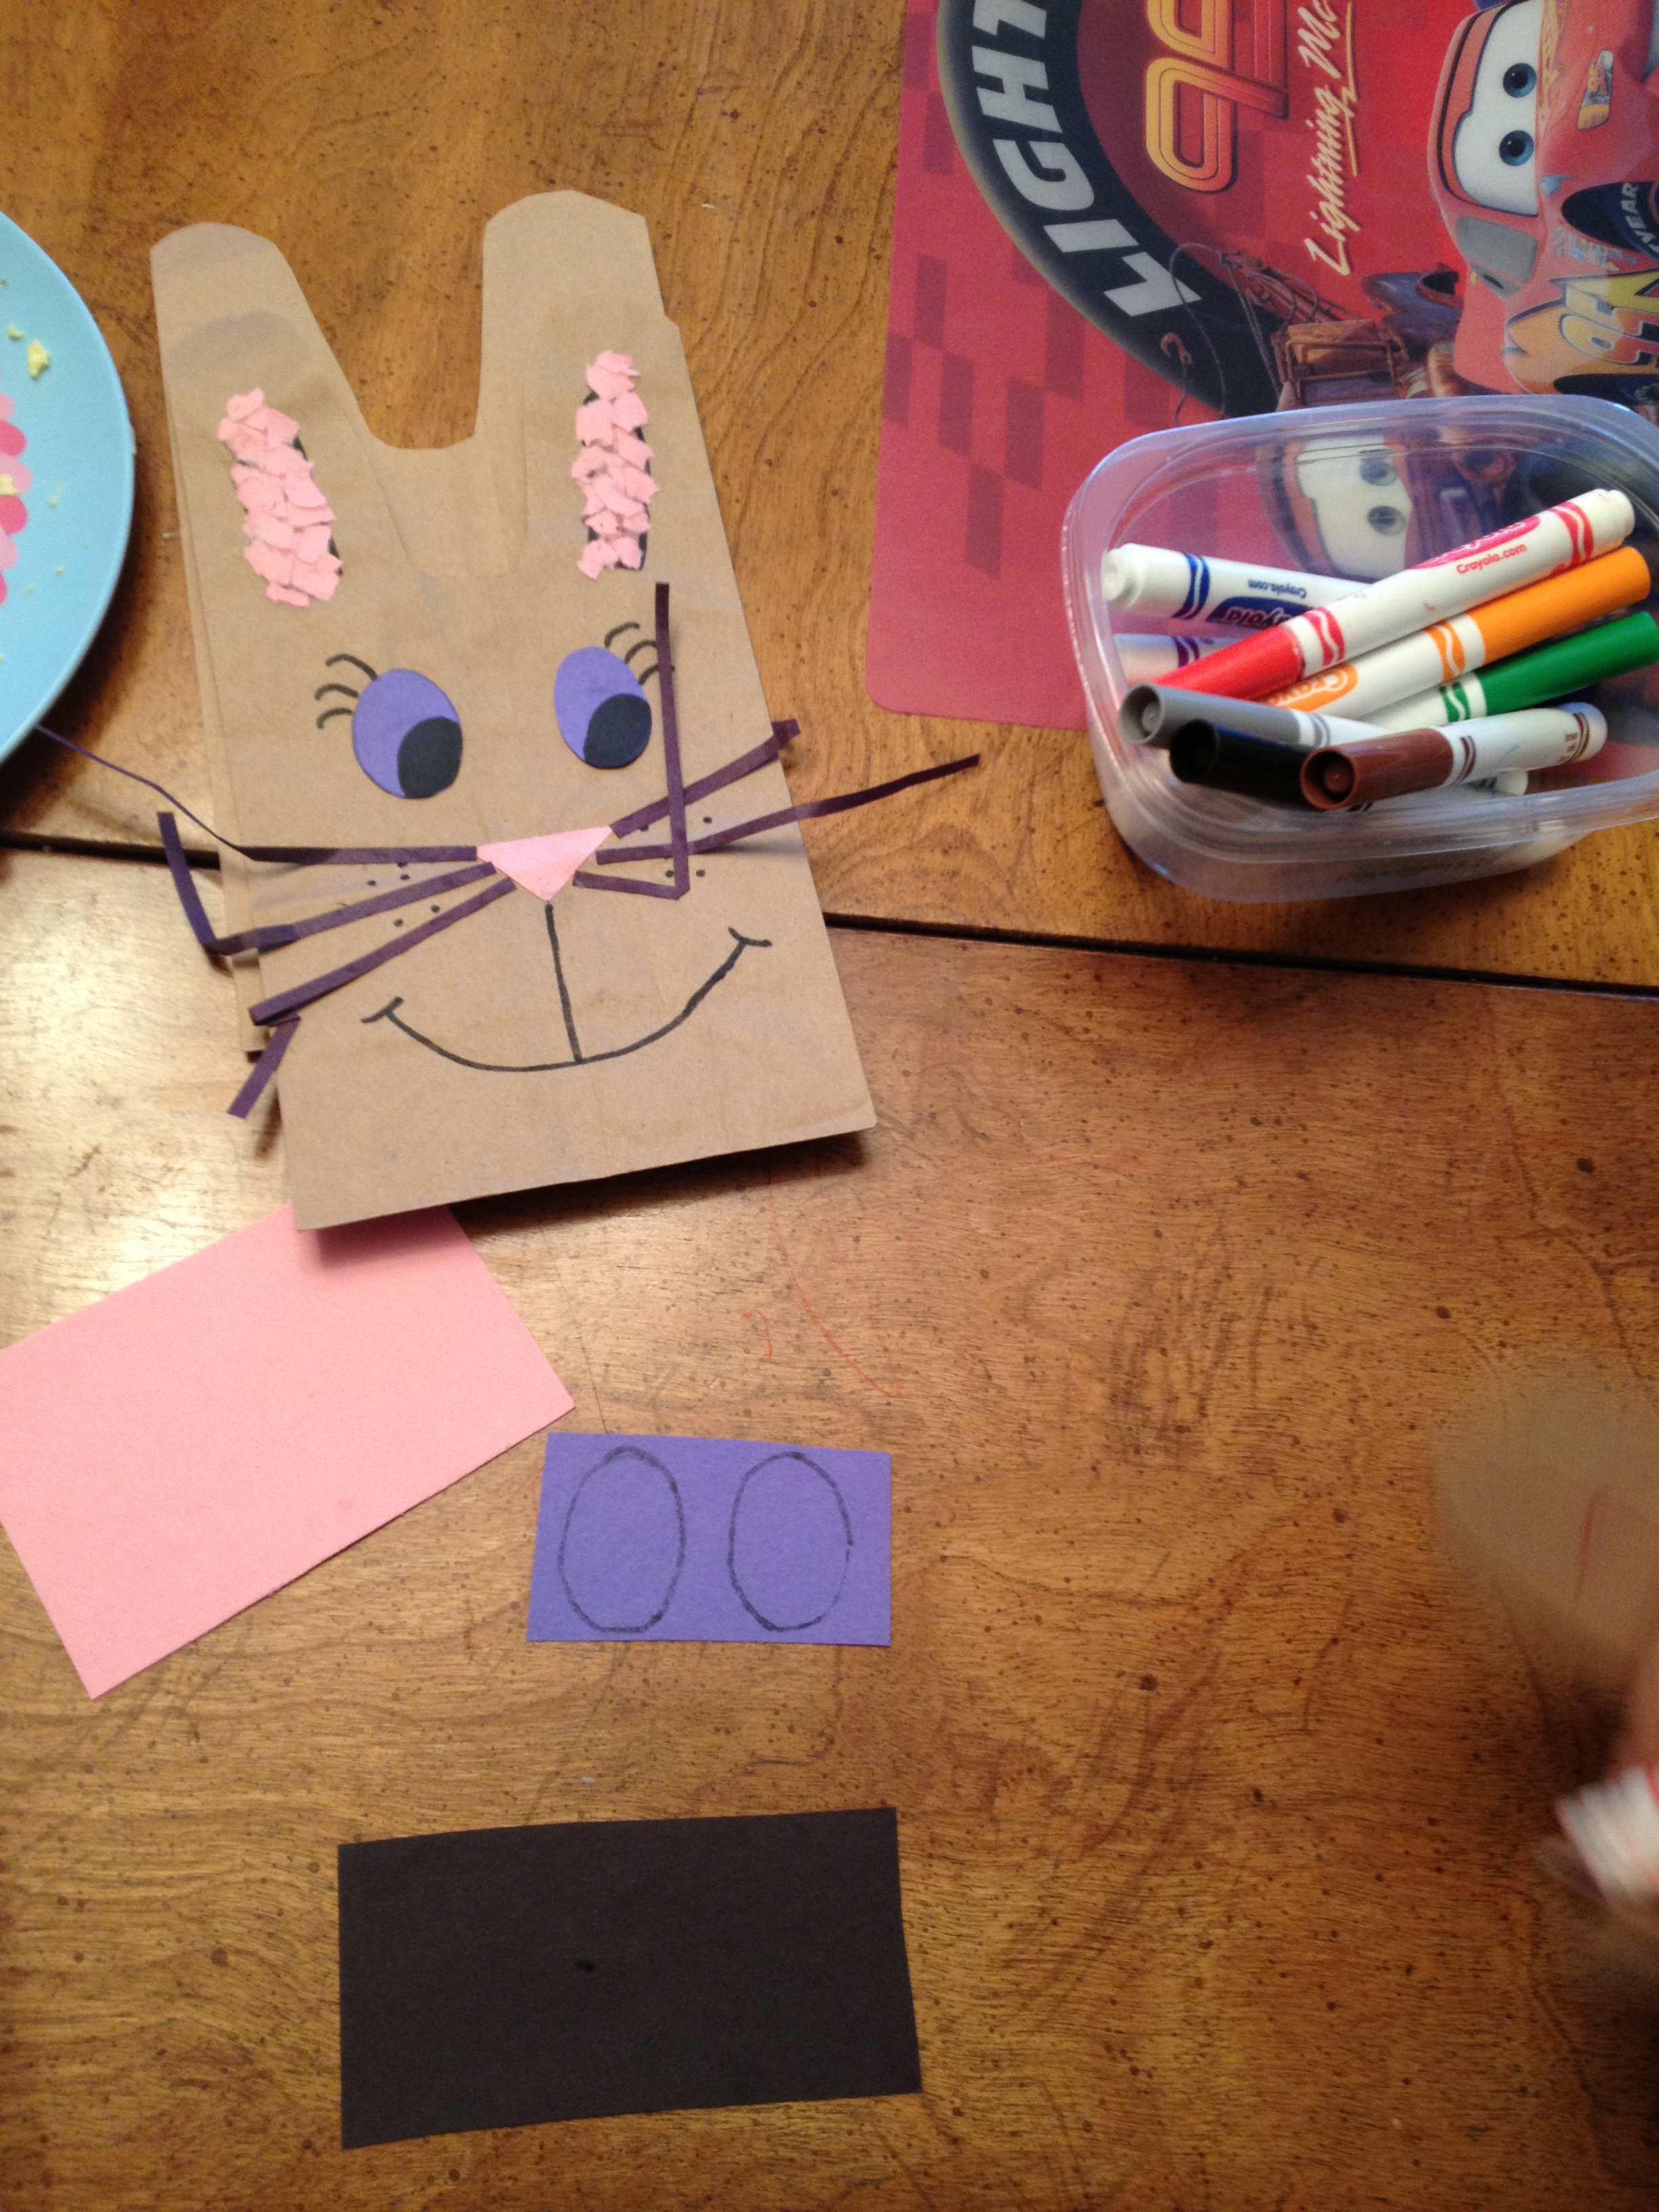
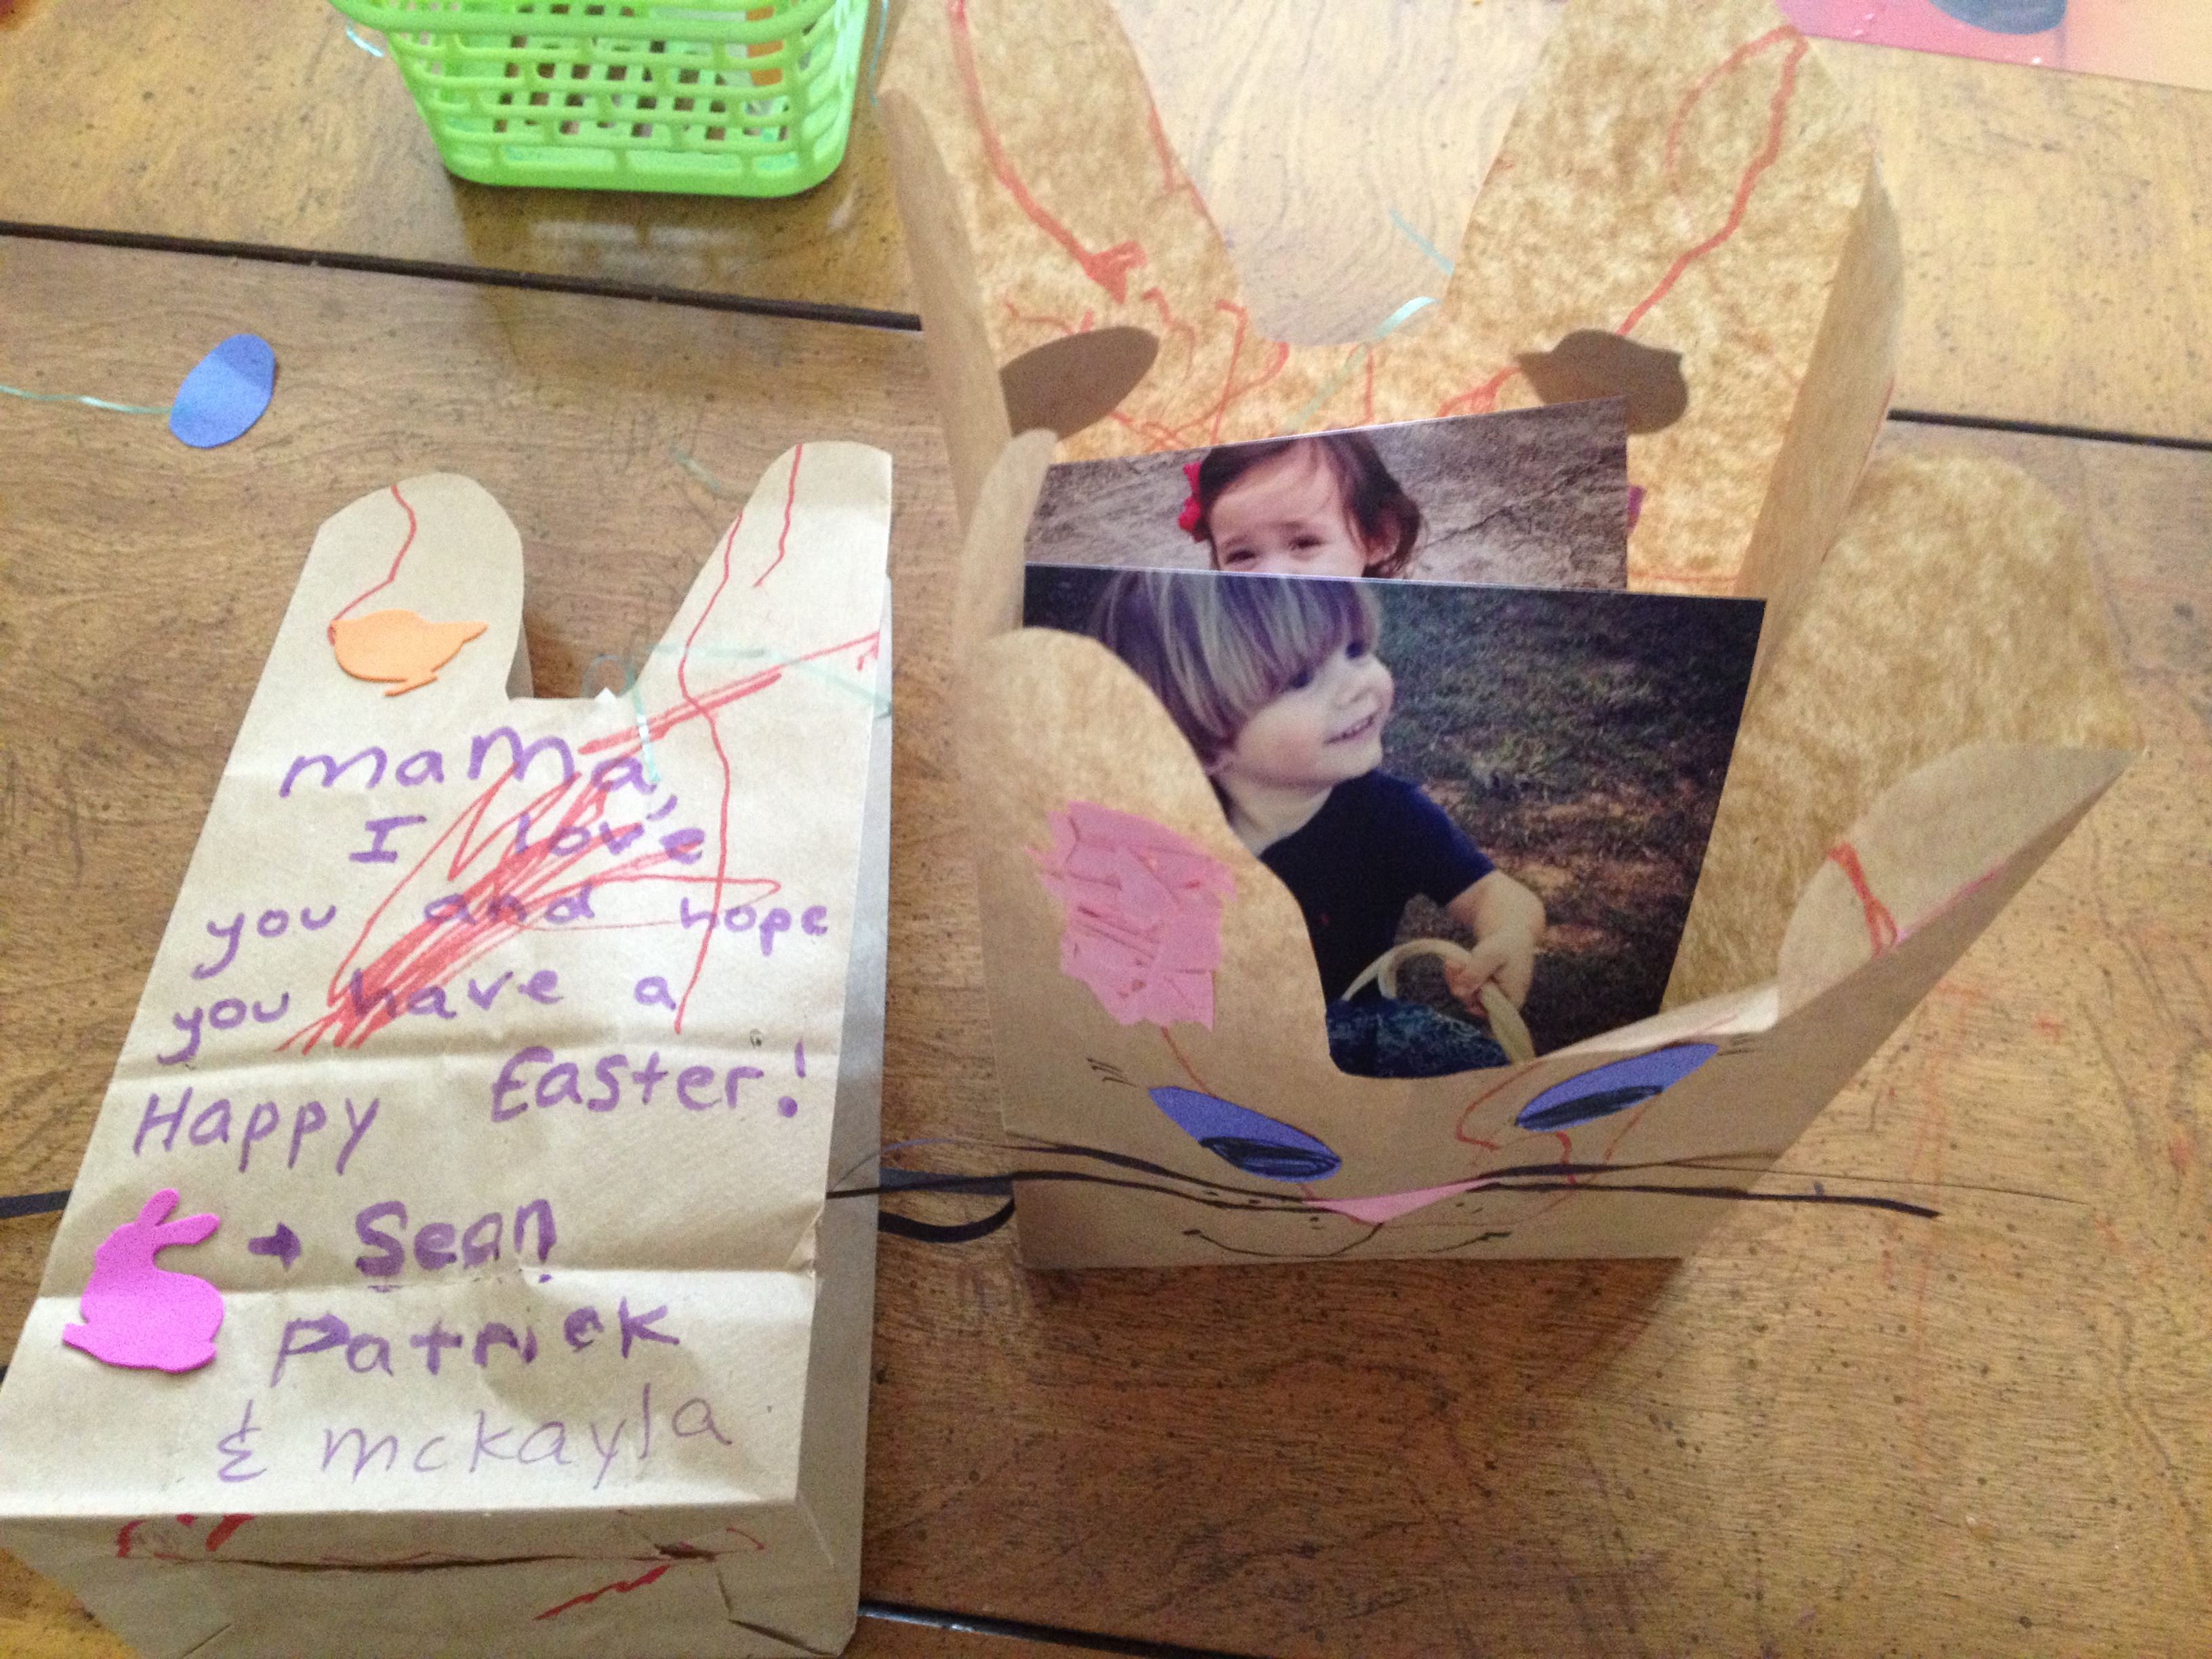
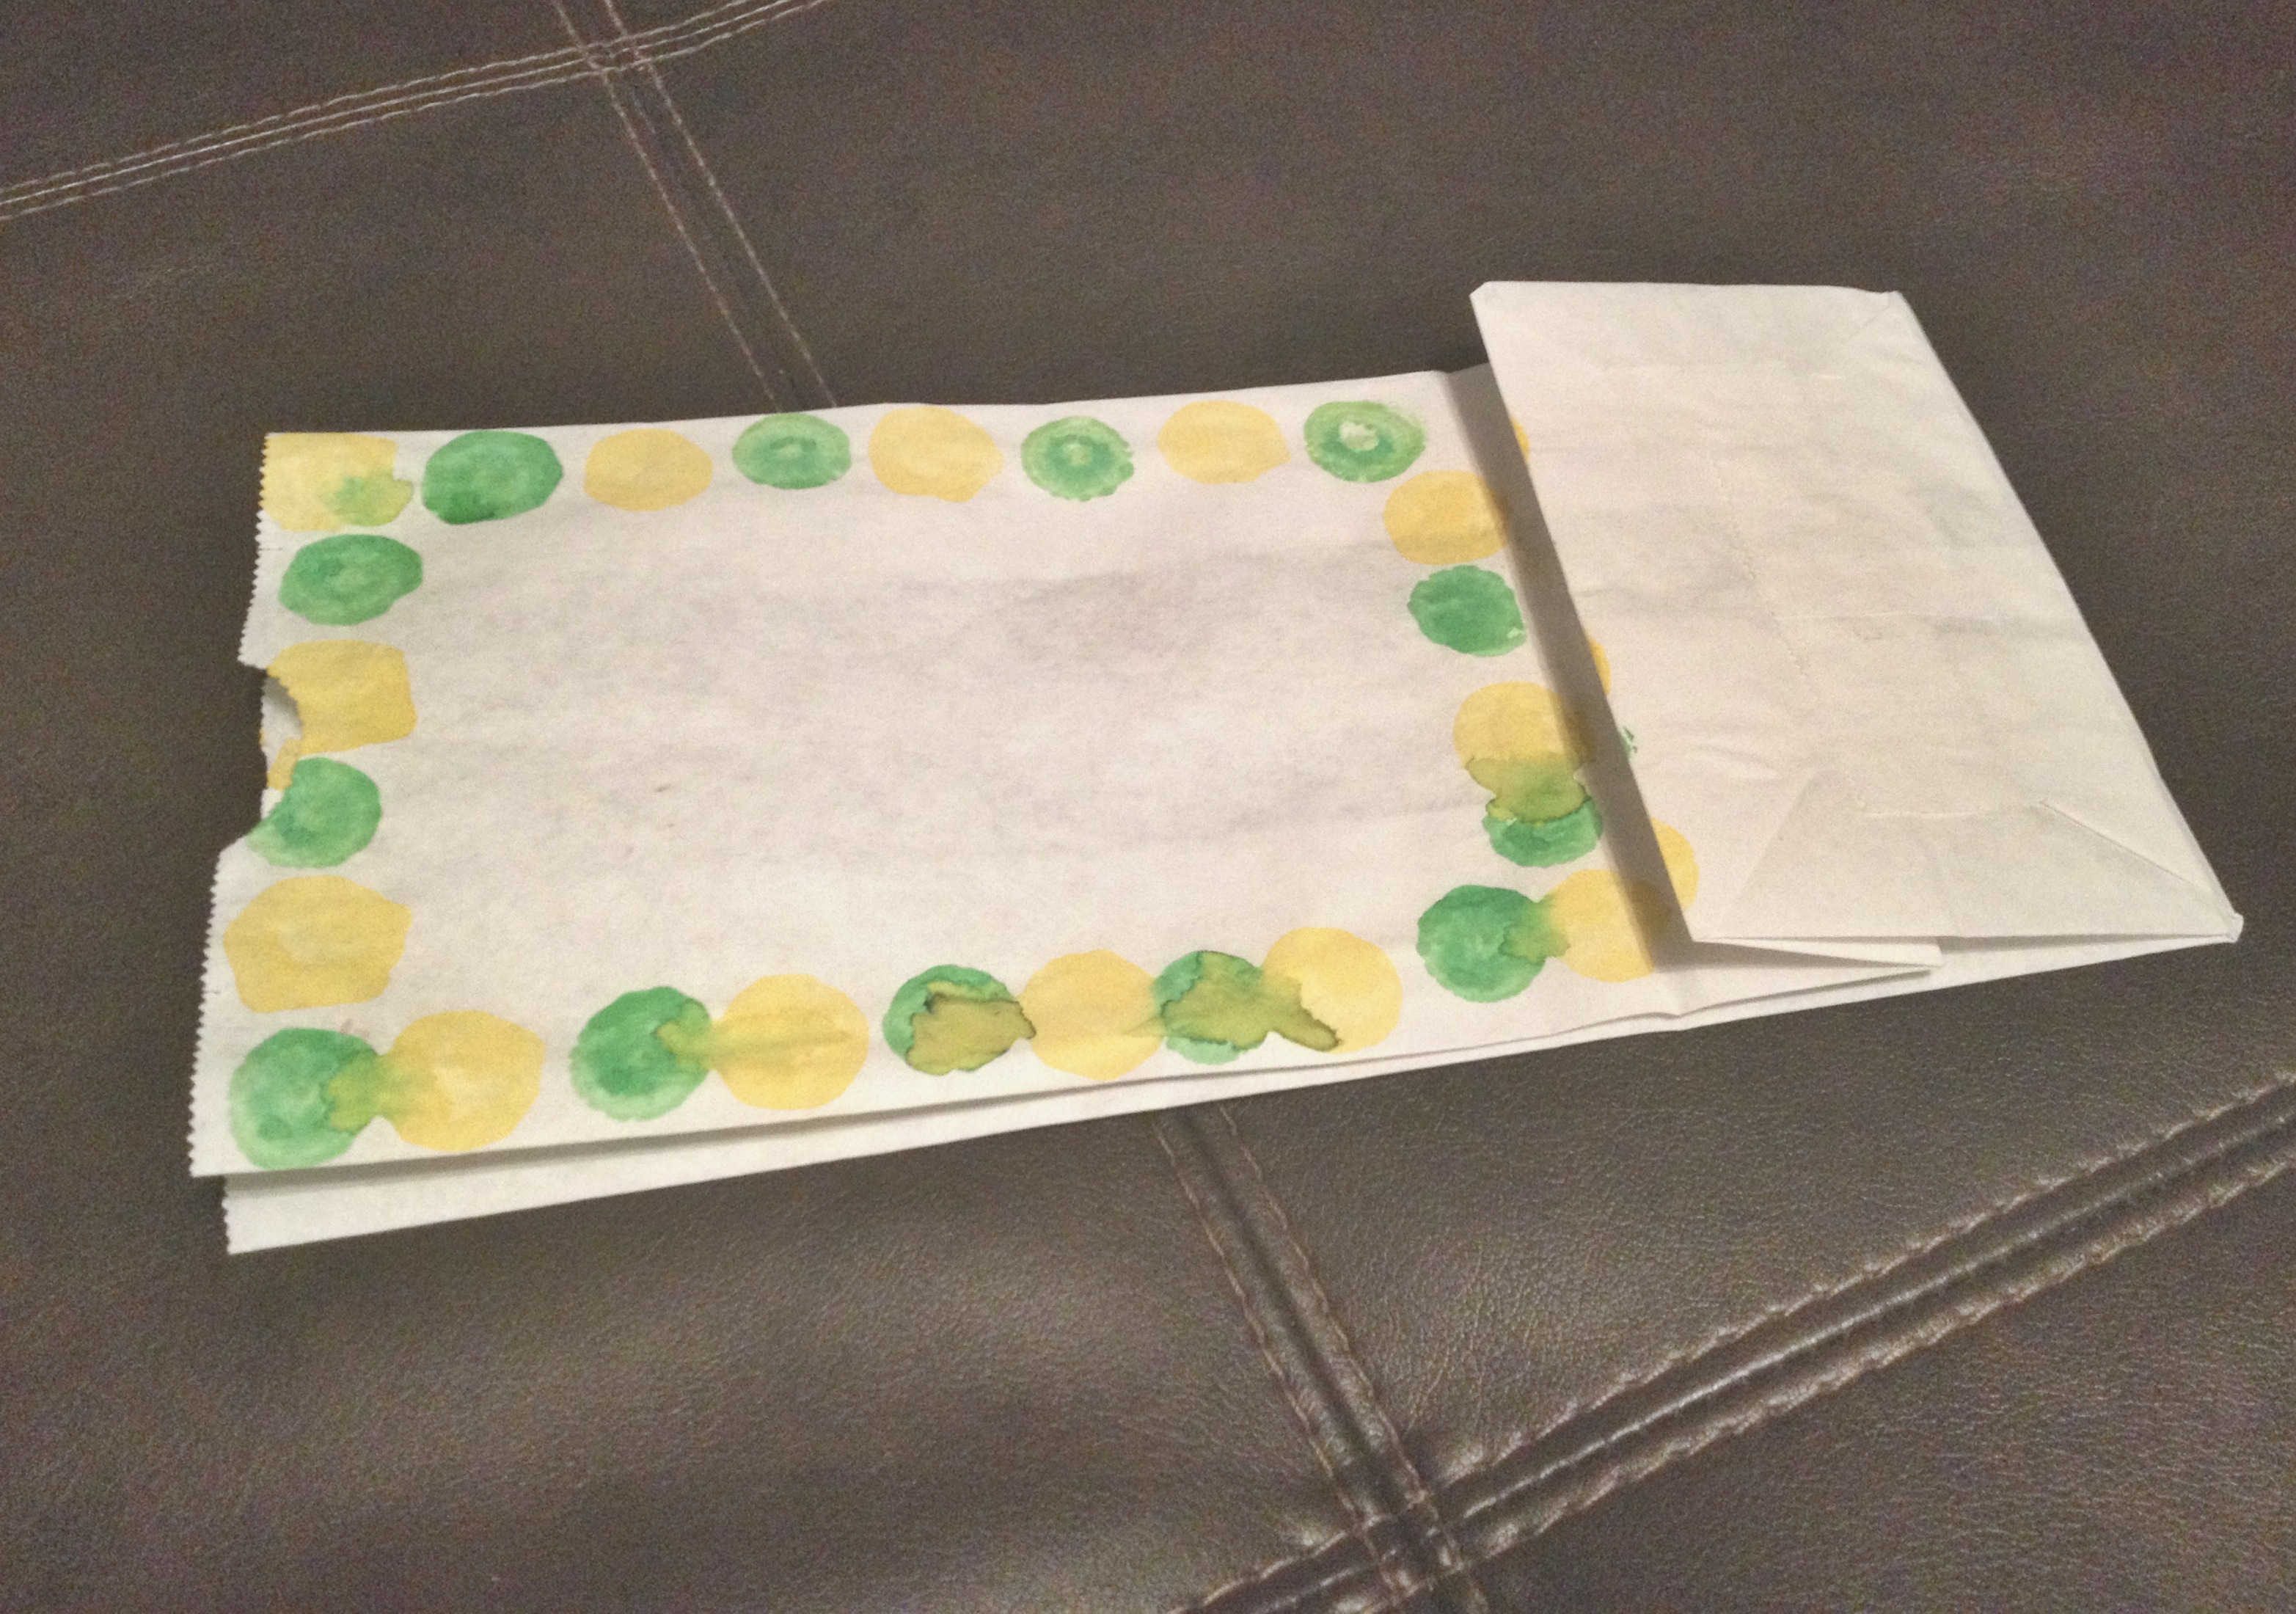
2) Decorating white paper bags (you can teach your little one to make a pattern around the edge of the bags).

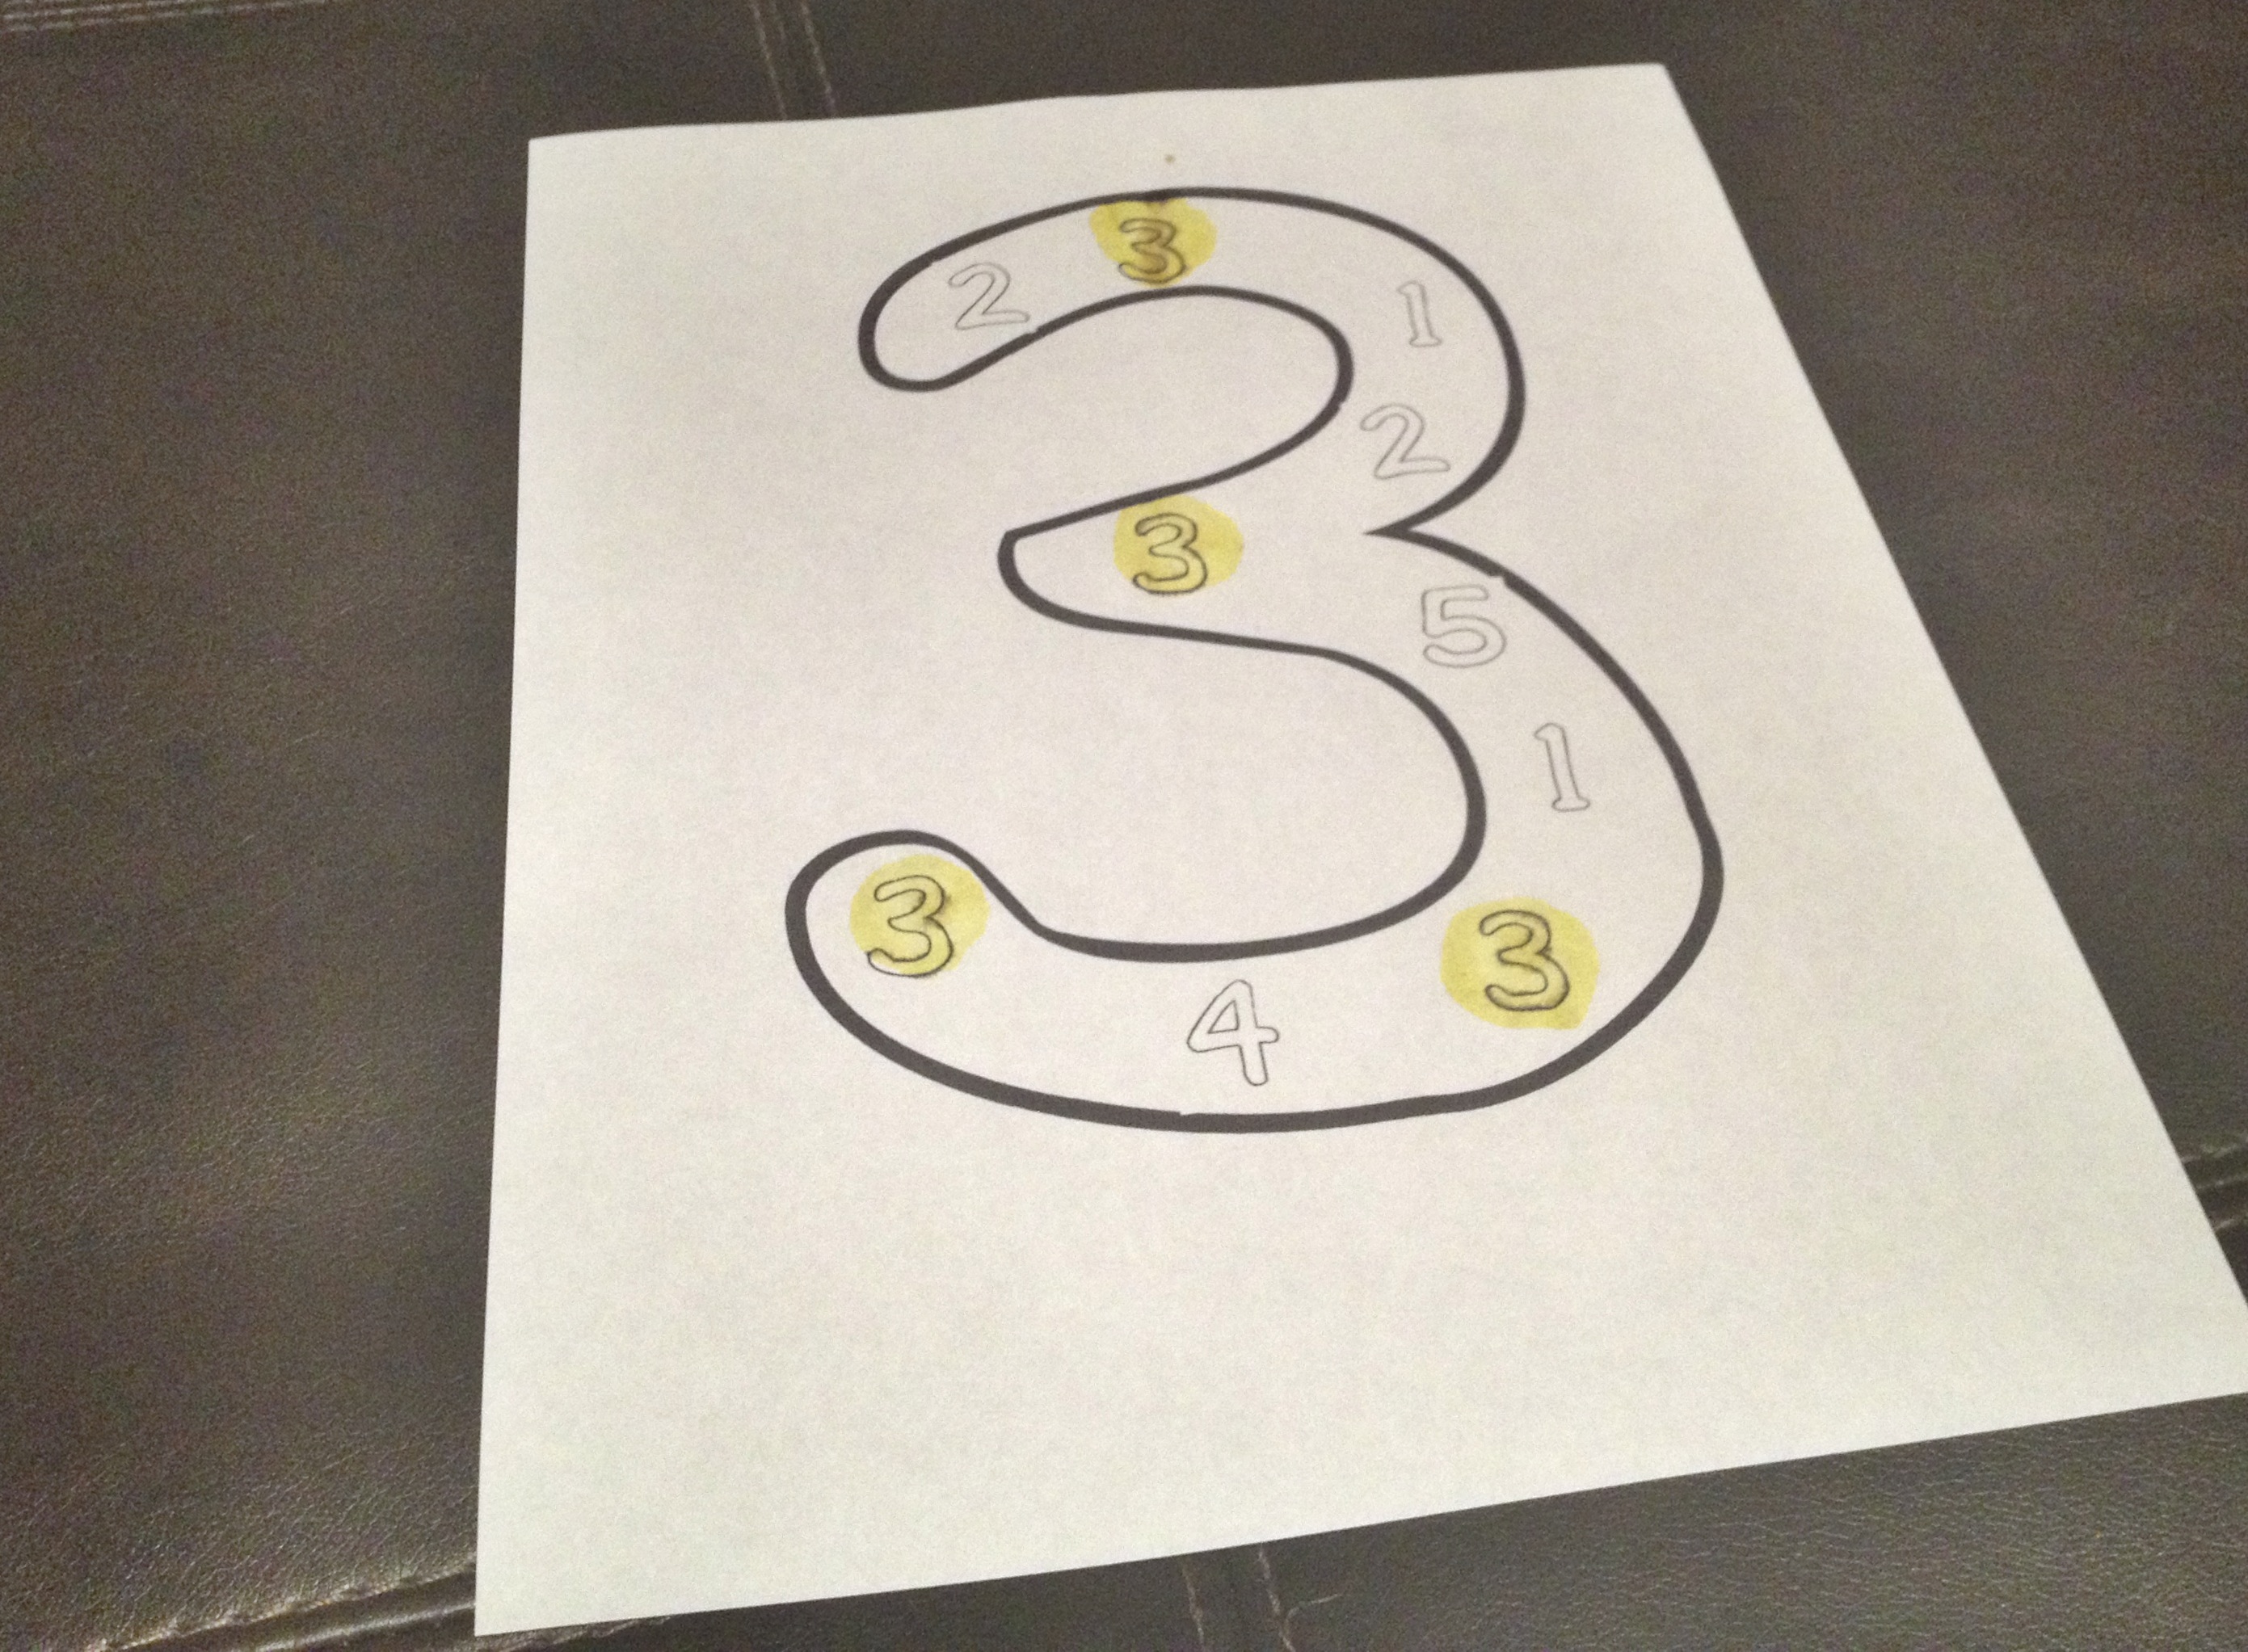
3) Practicing Number Recognition with my Simple Number Search Download.

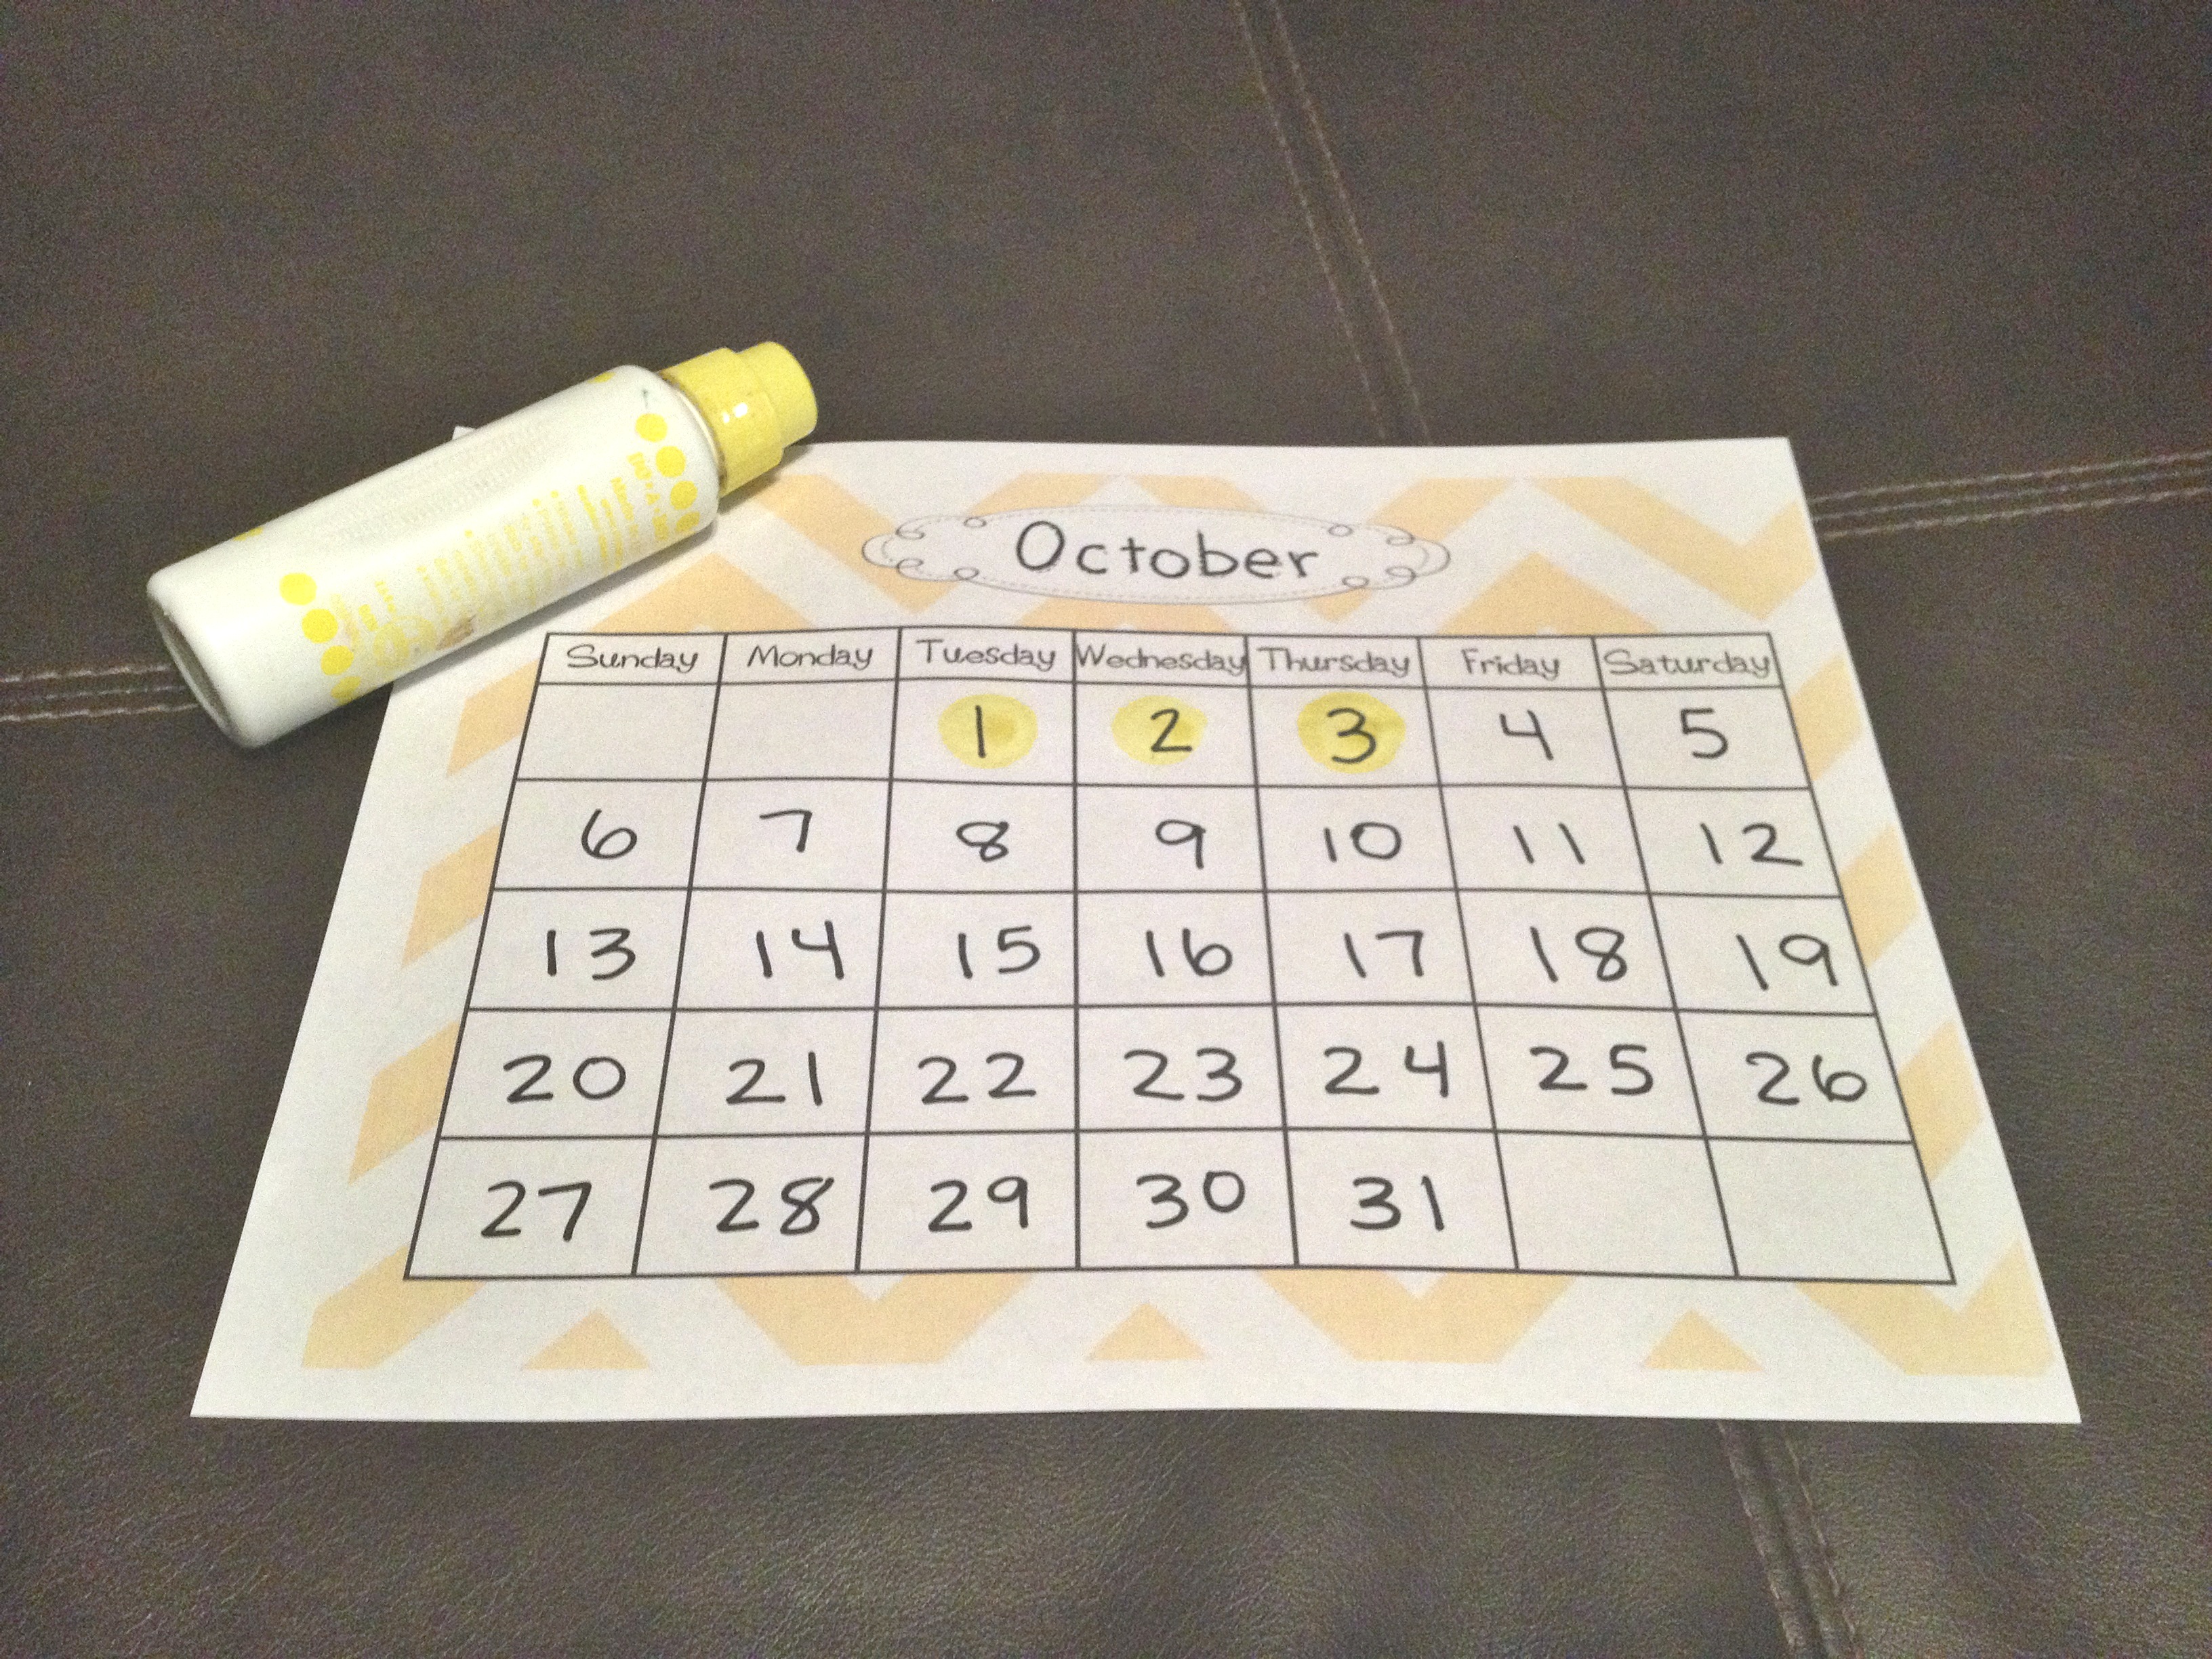
4) Decorating one of my calendar templates (practice one-to-one correspondence by marking only one square at a time with only one dot).

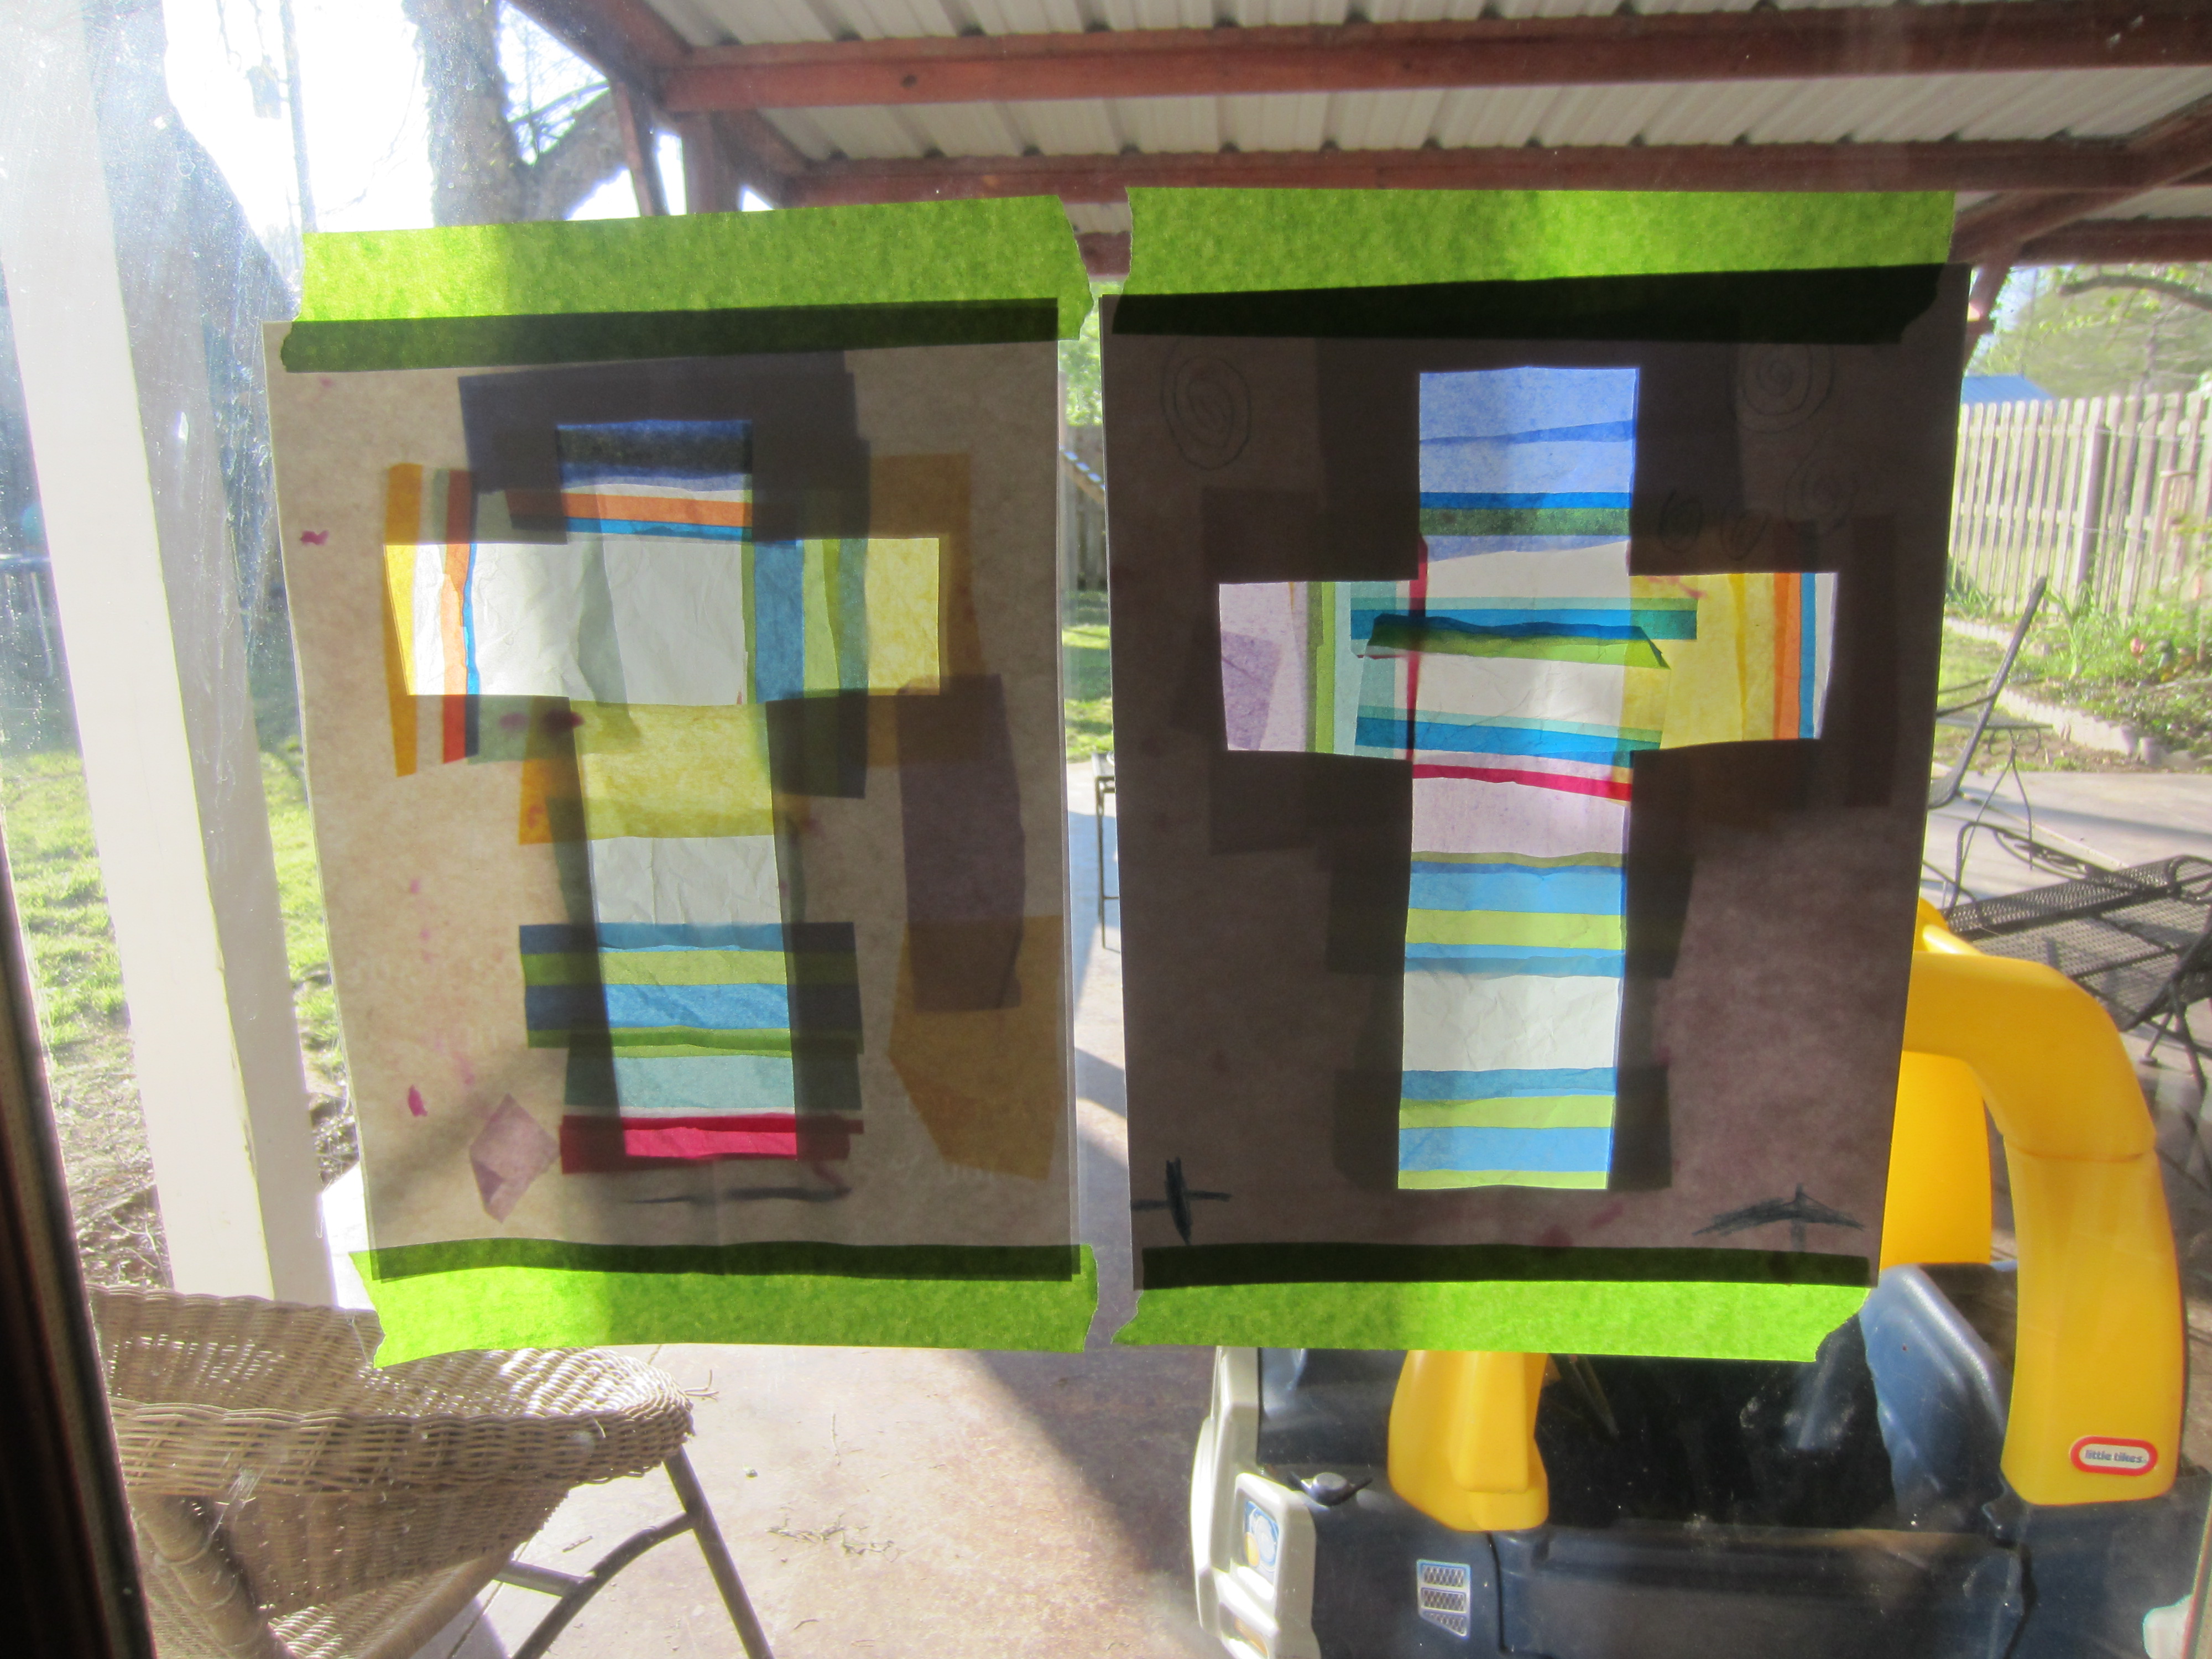
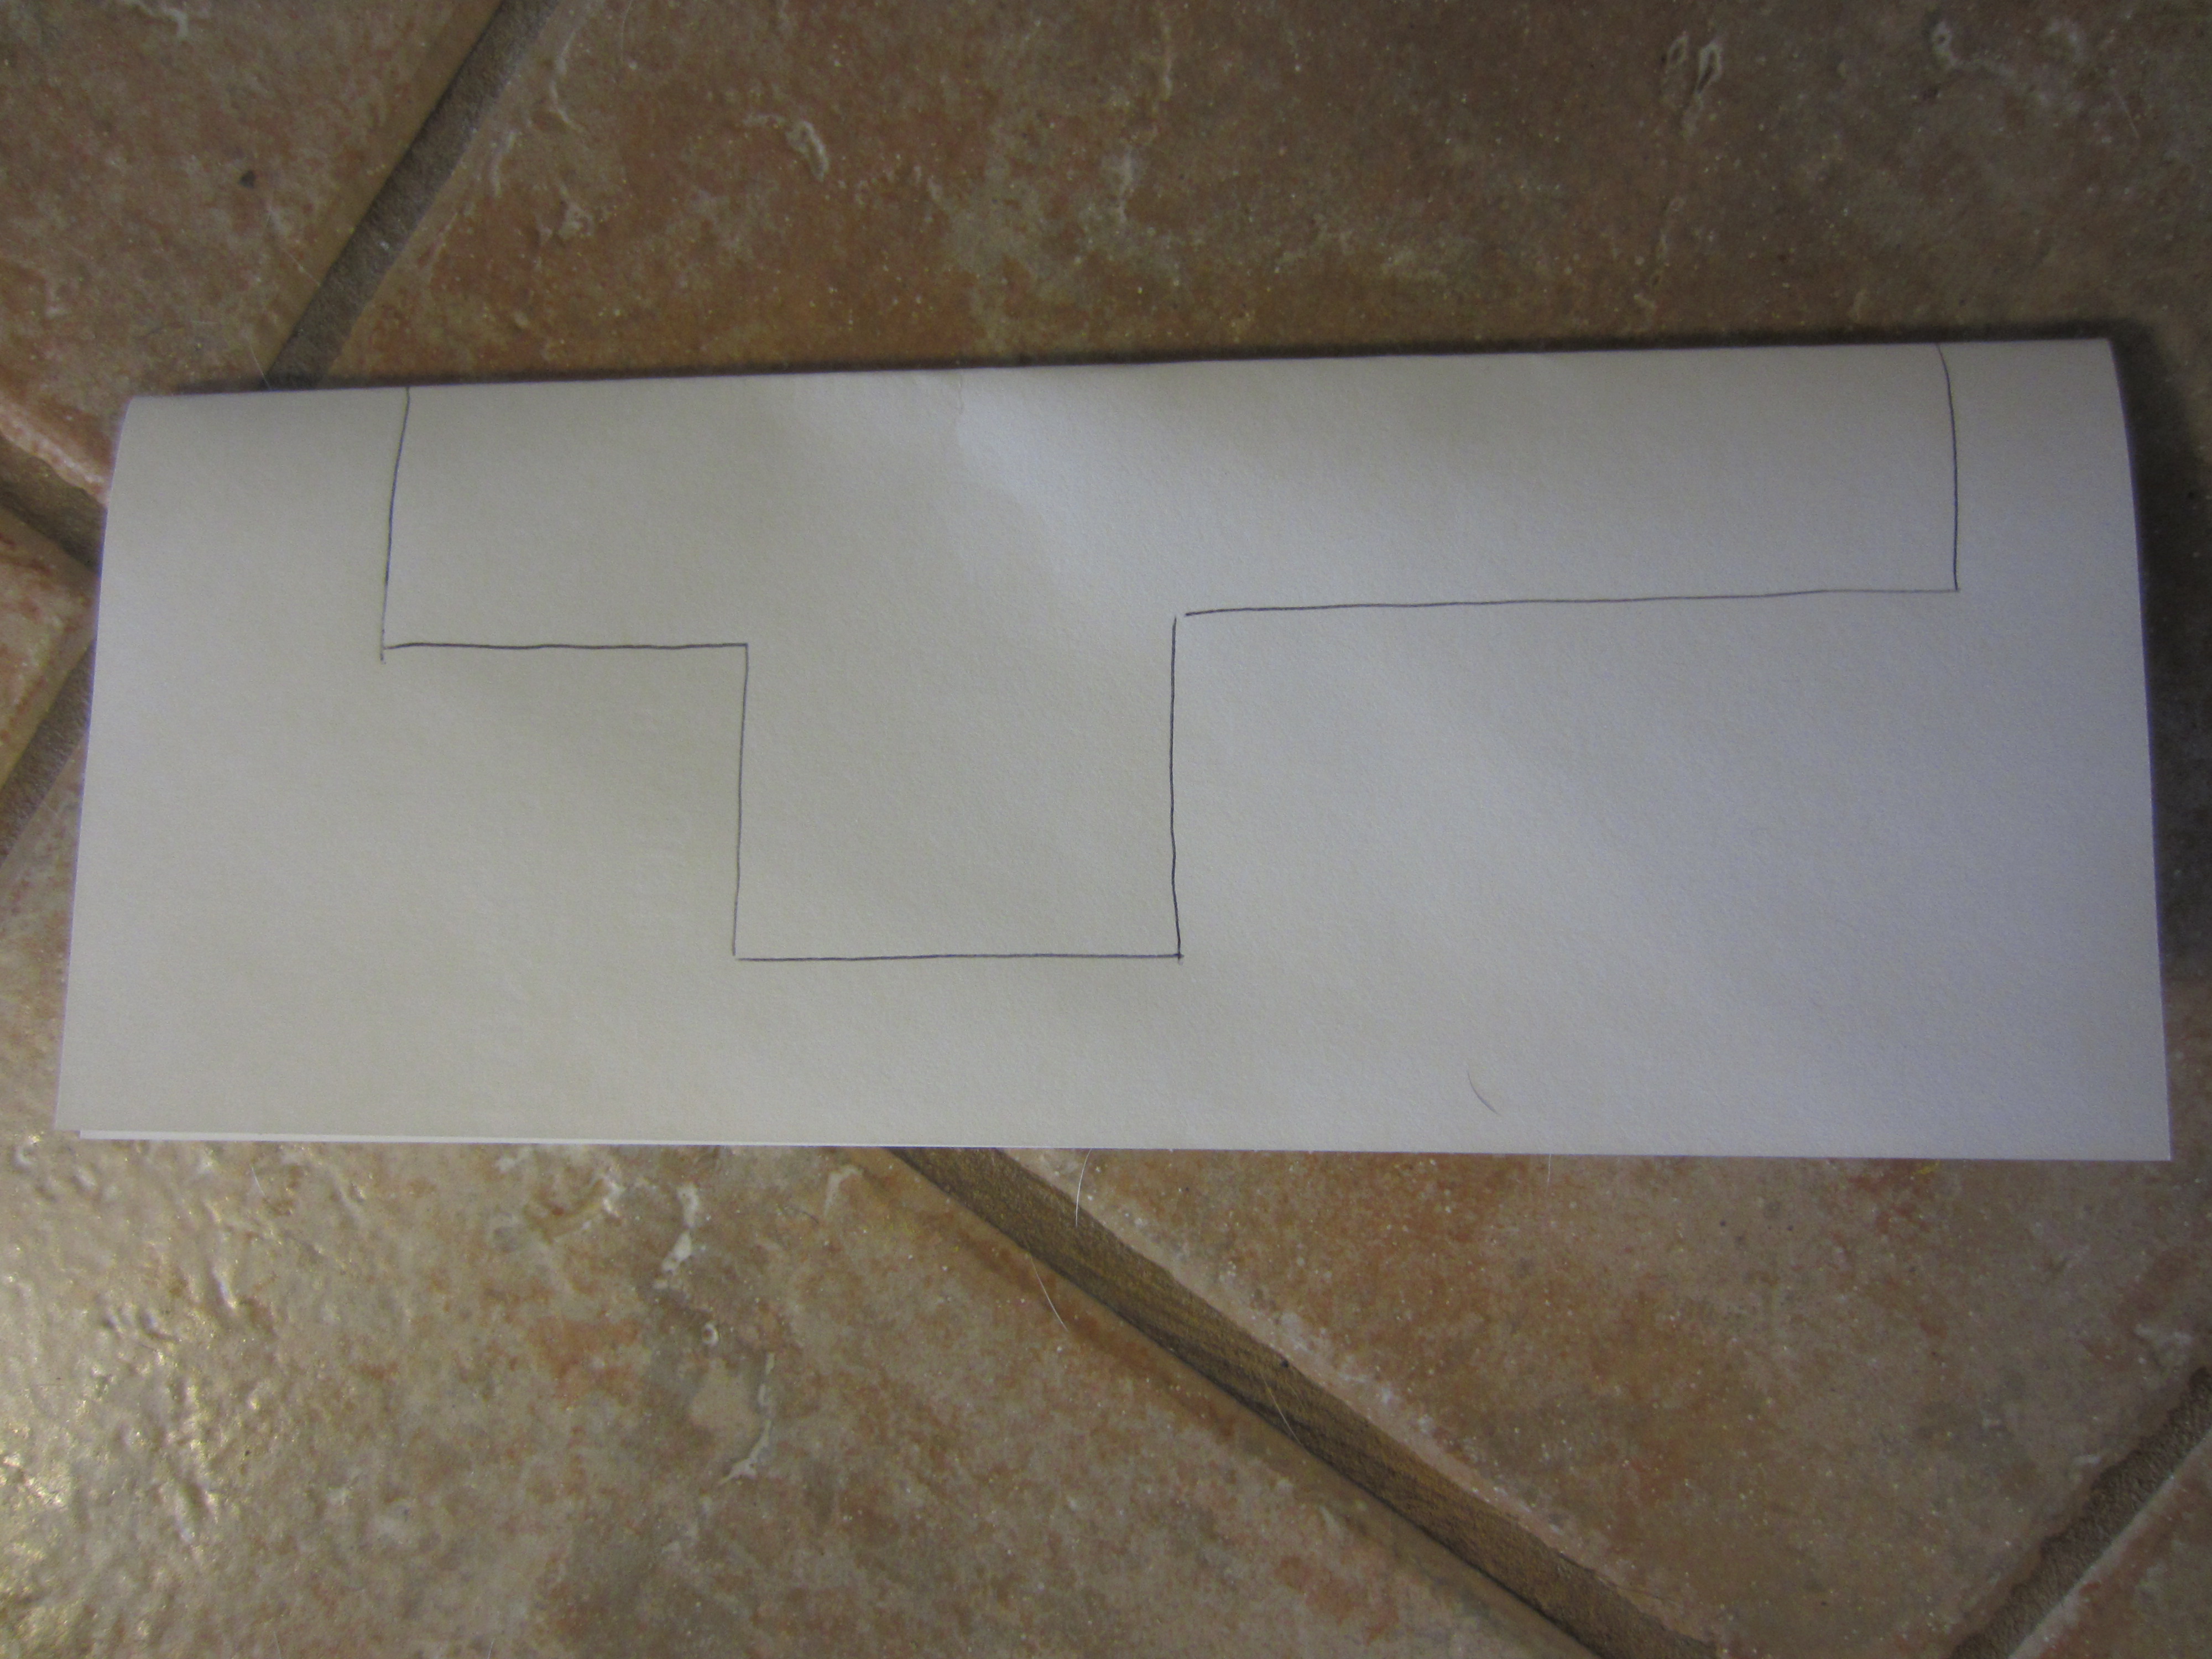
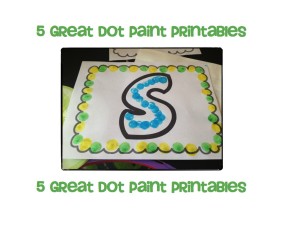
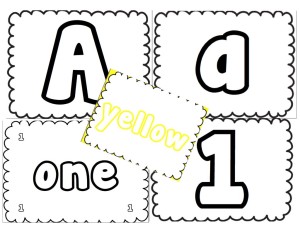
5) And number 5 of course is filling in any one of my FIVE Bubble Skill Printables!

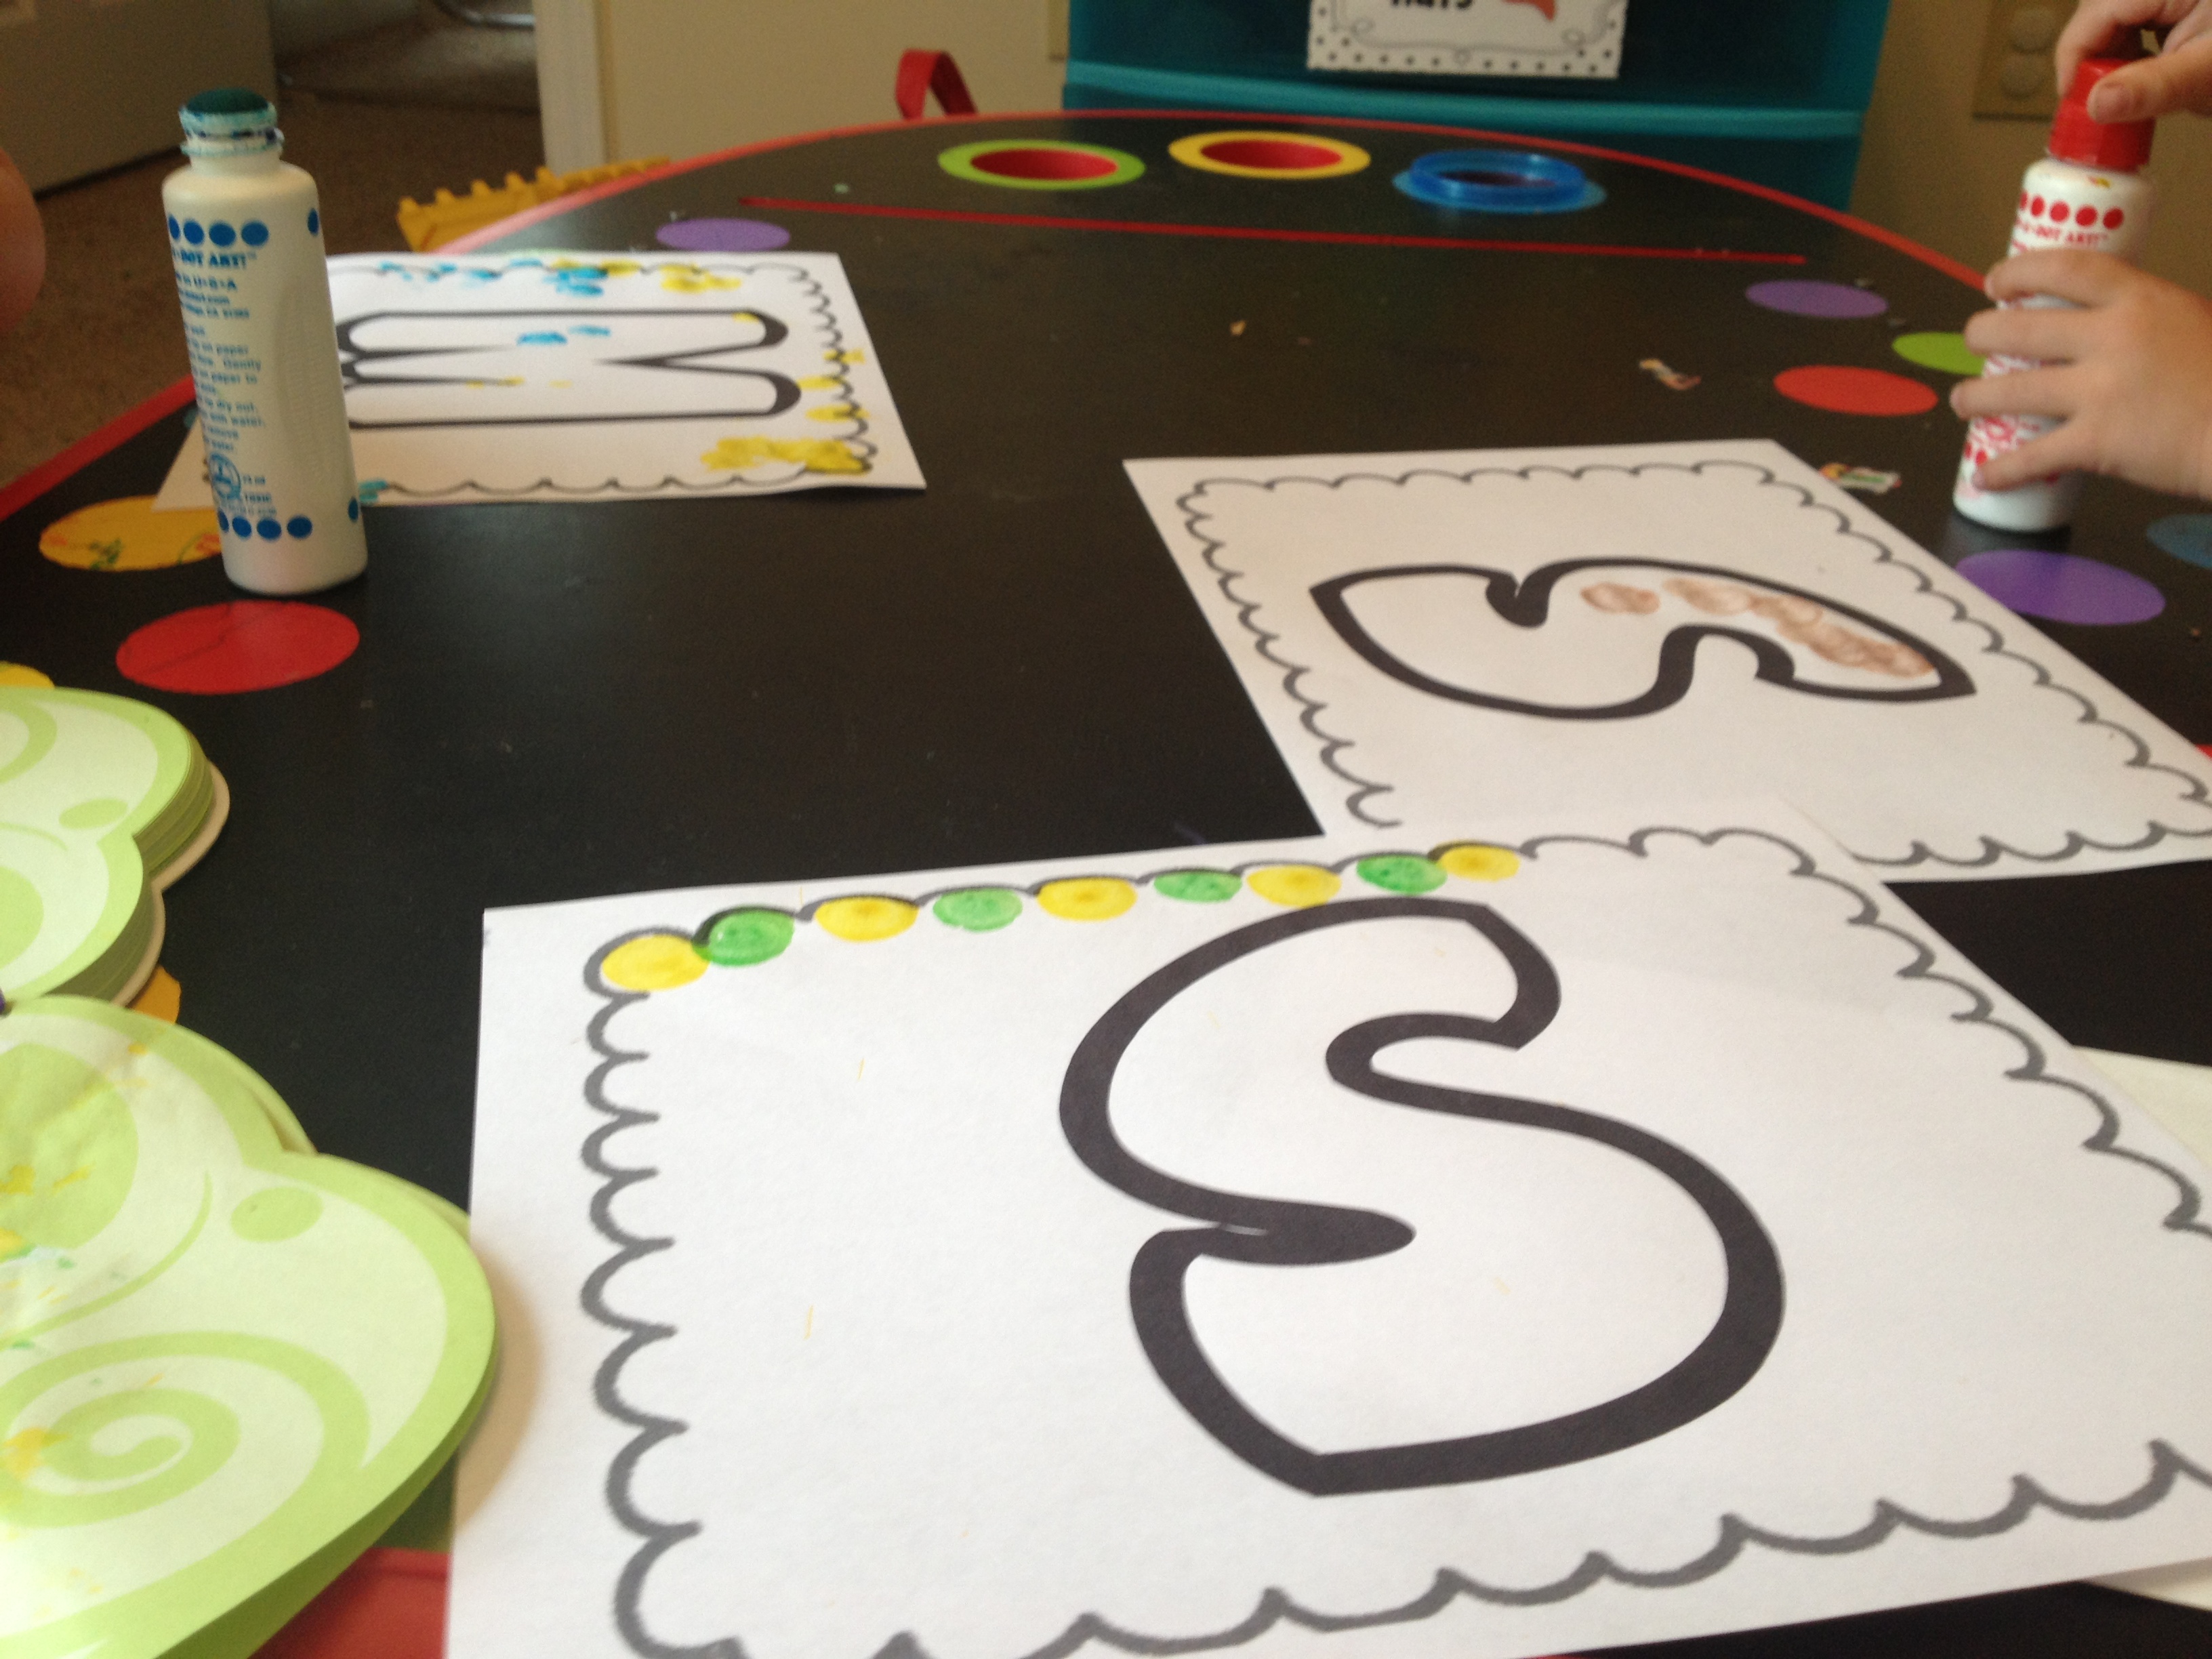
I have an upper case alphabet, lower case alphabet, numbers 1-20, color words, and number words set.

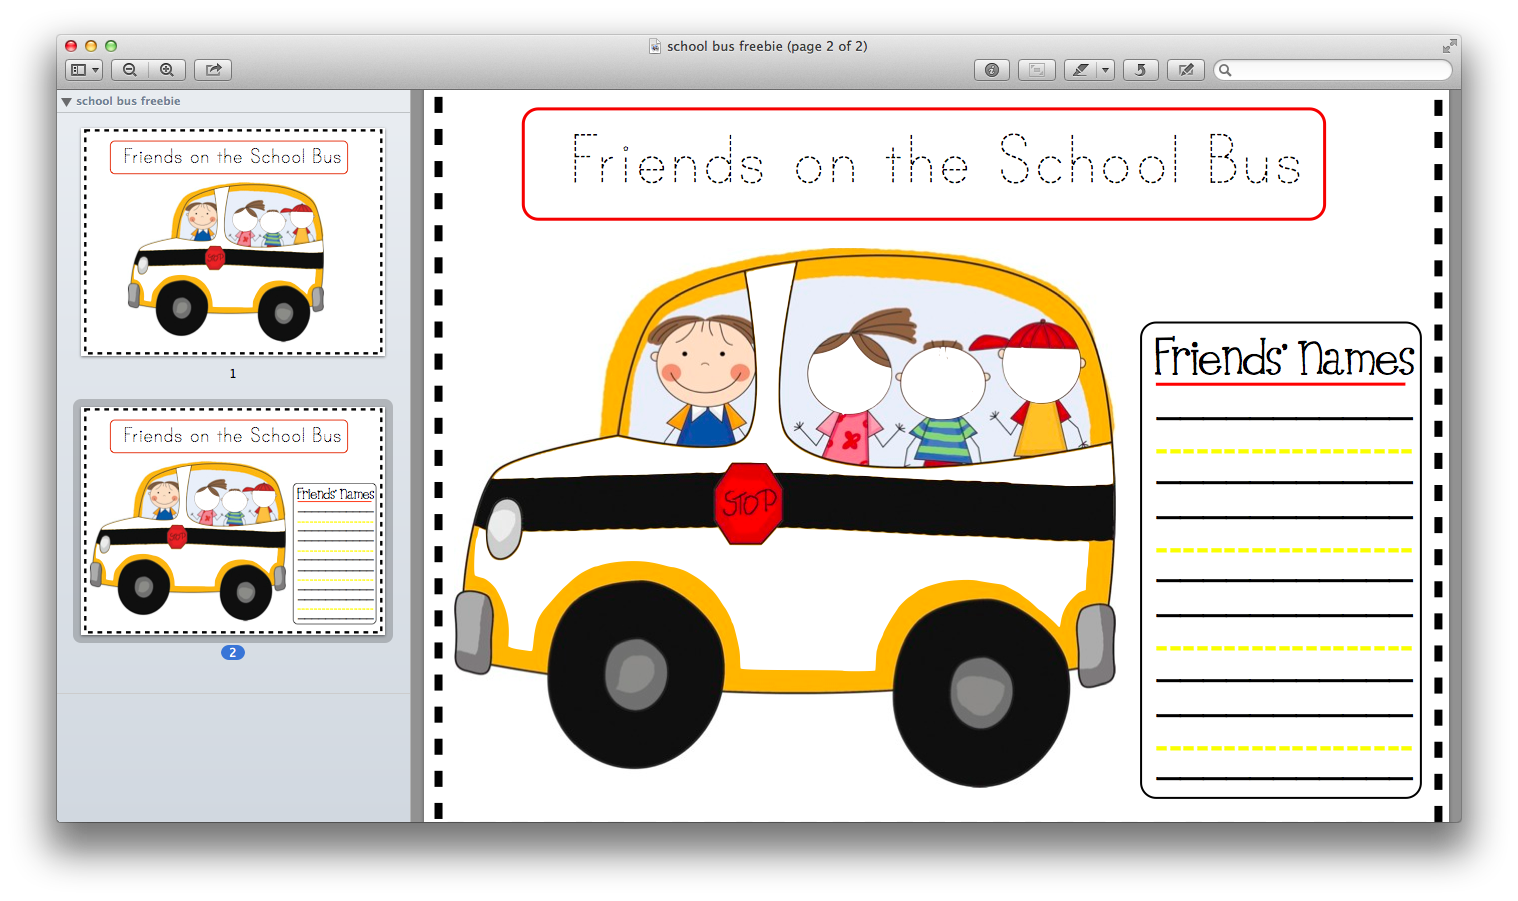
Here is a glimpse for you:

Bubble Letter SS.002

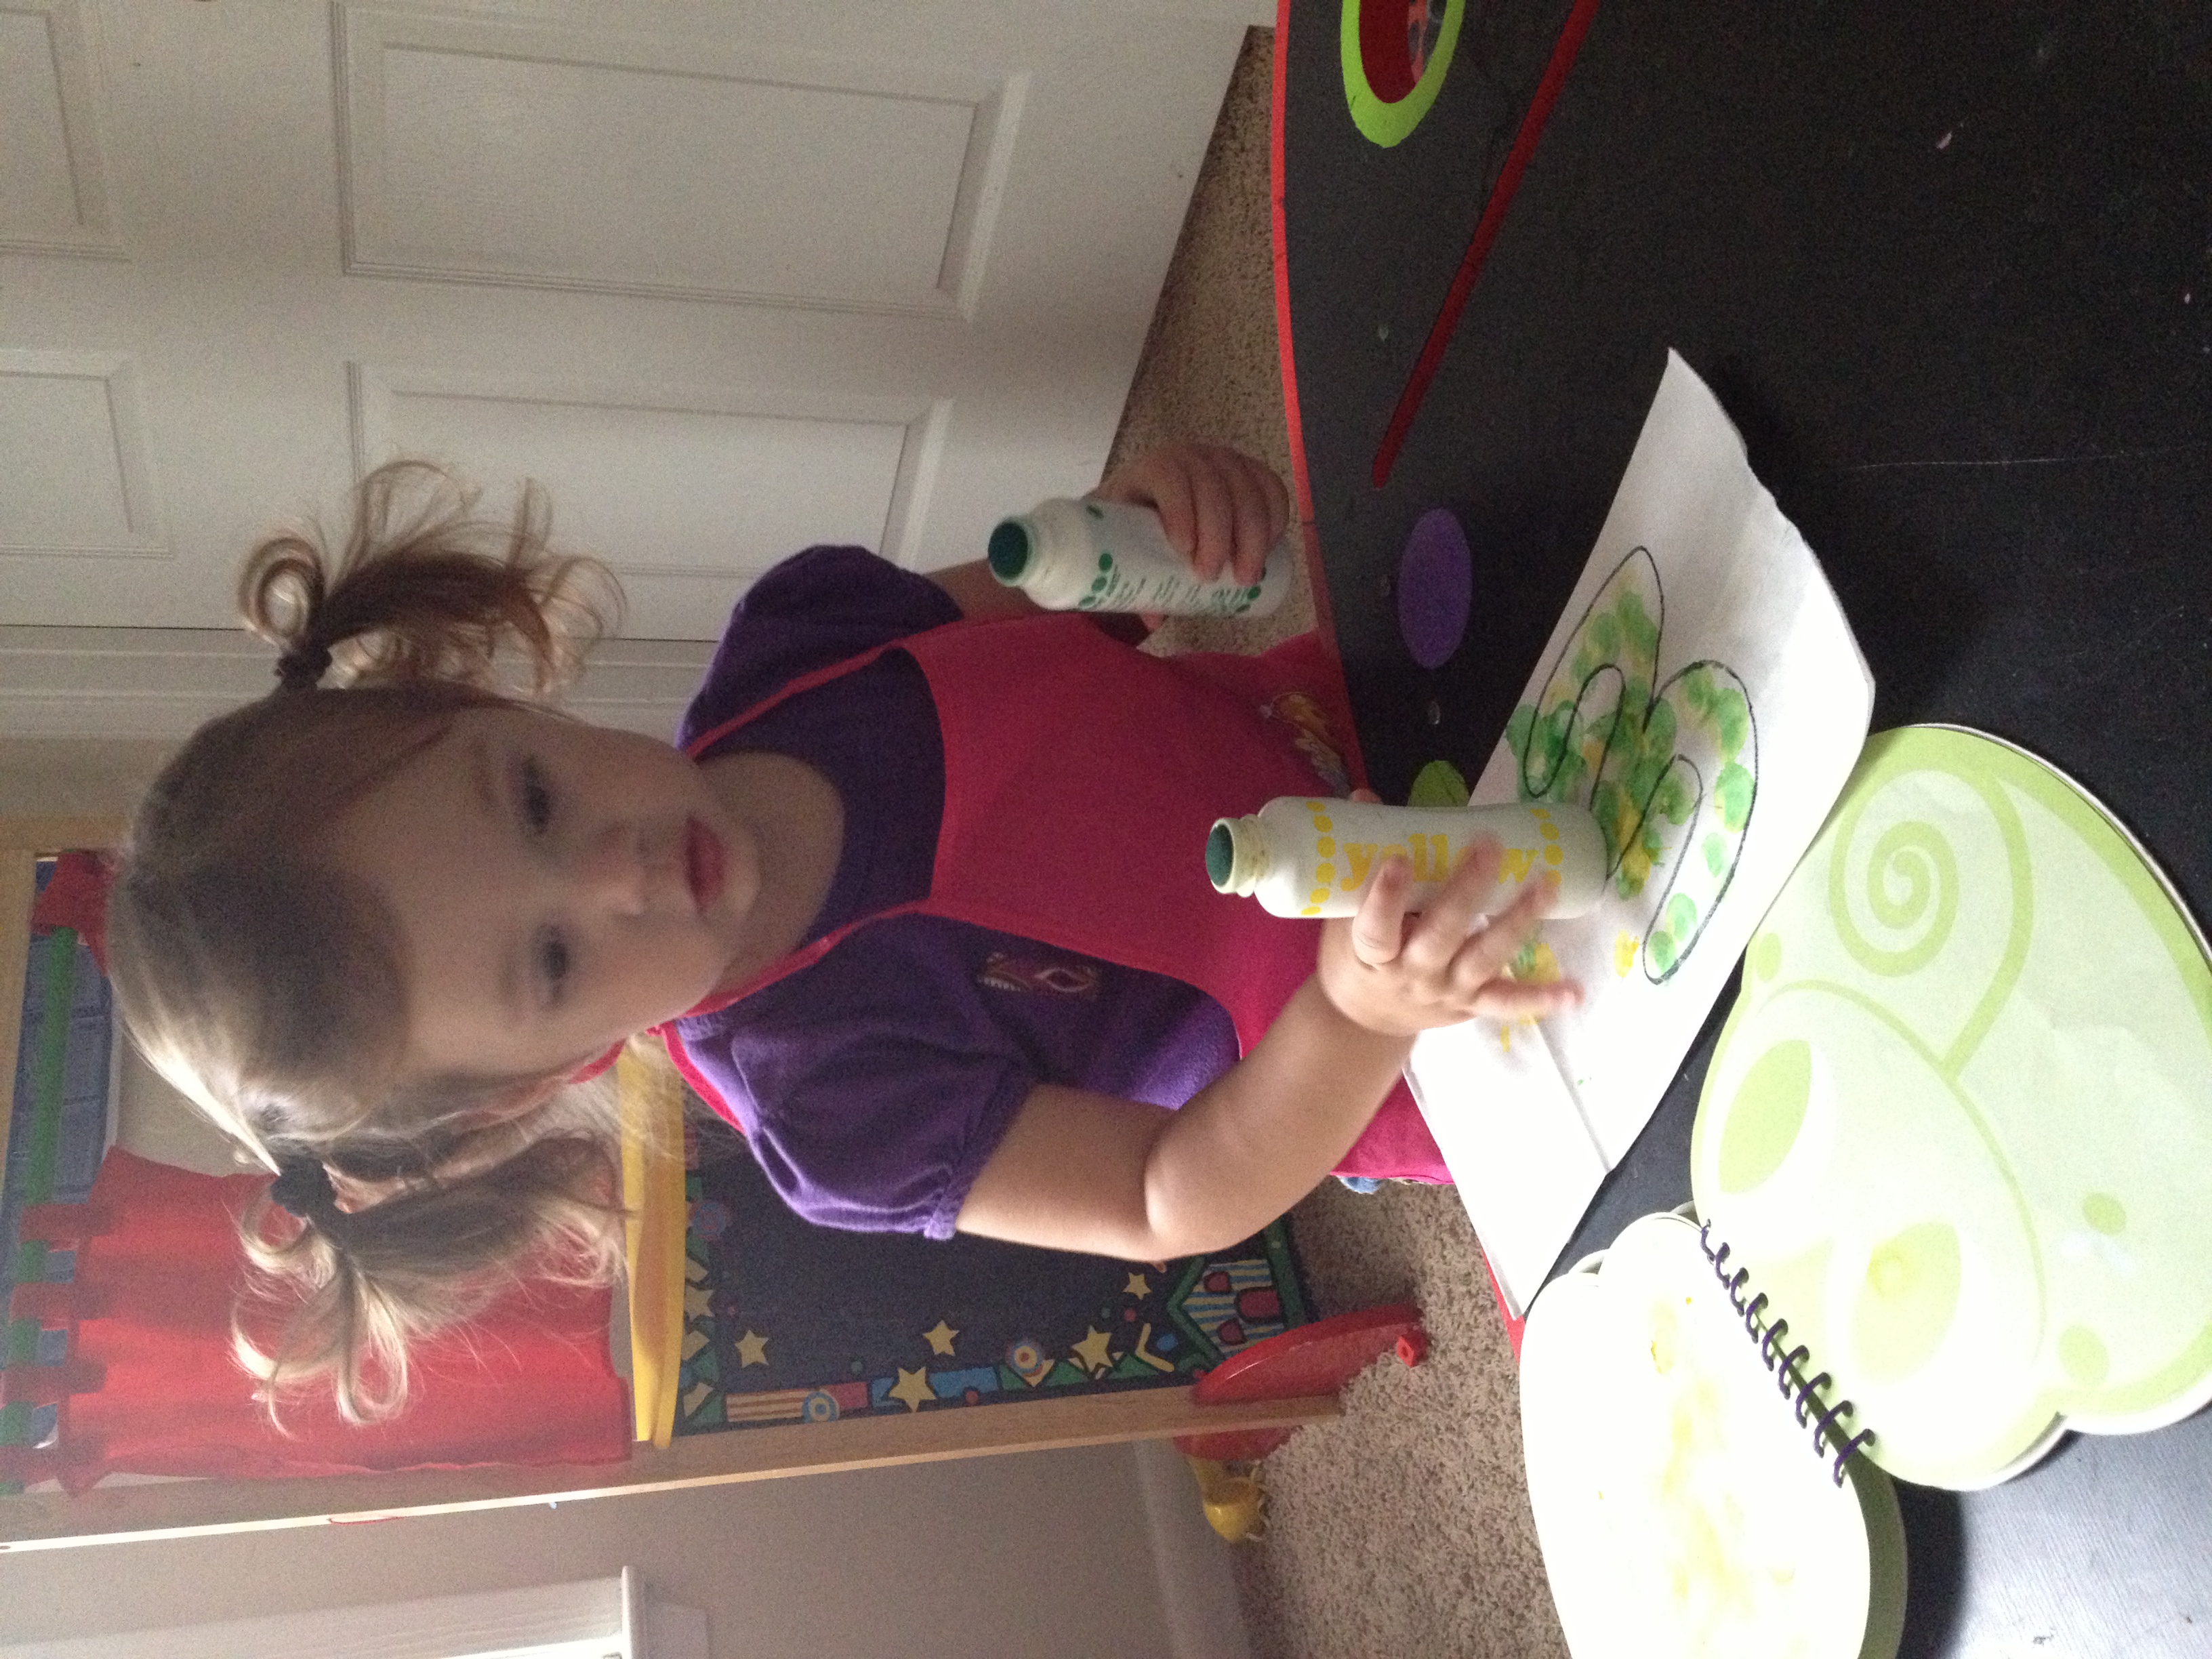
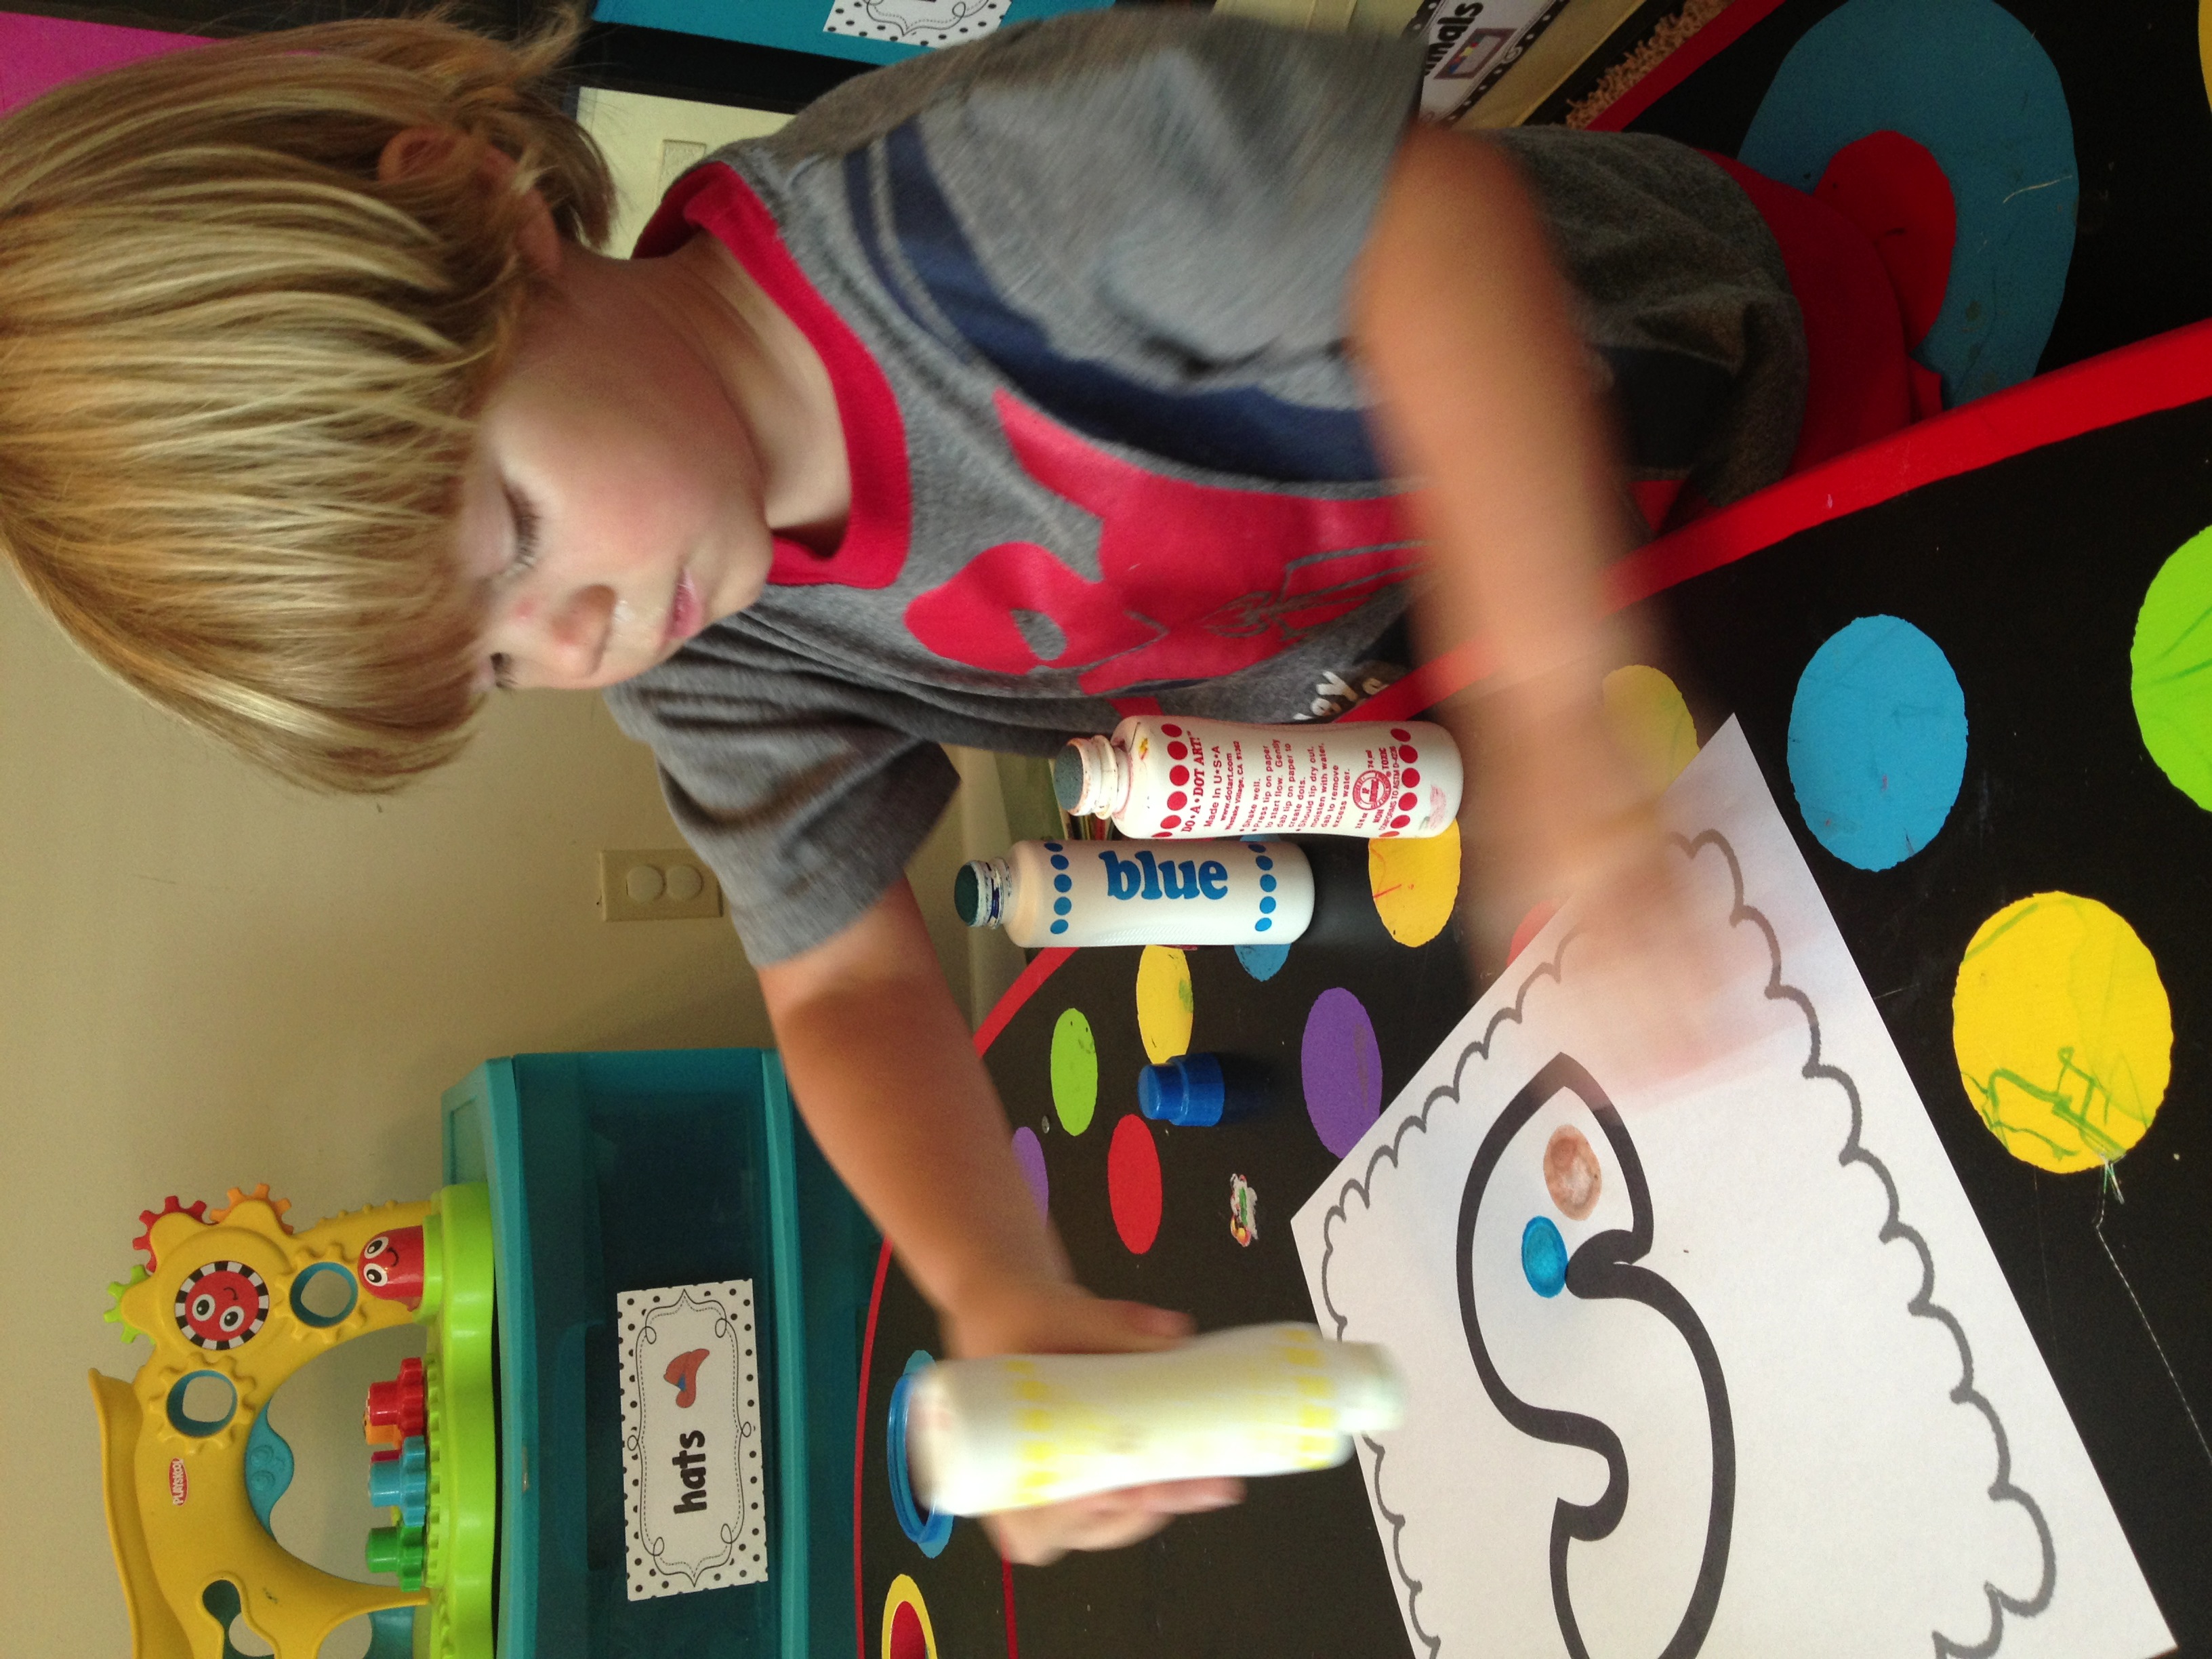
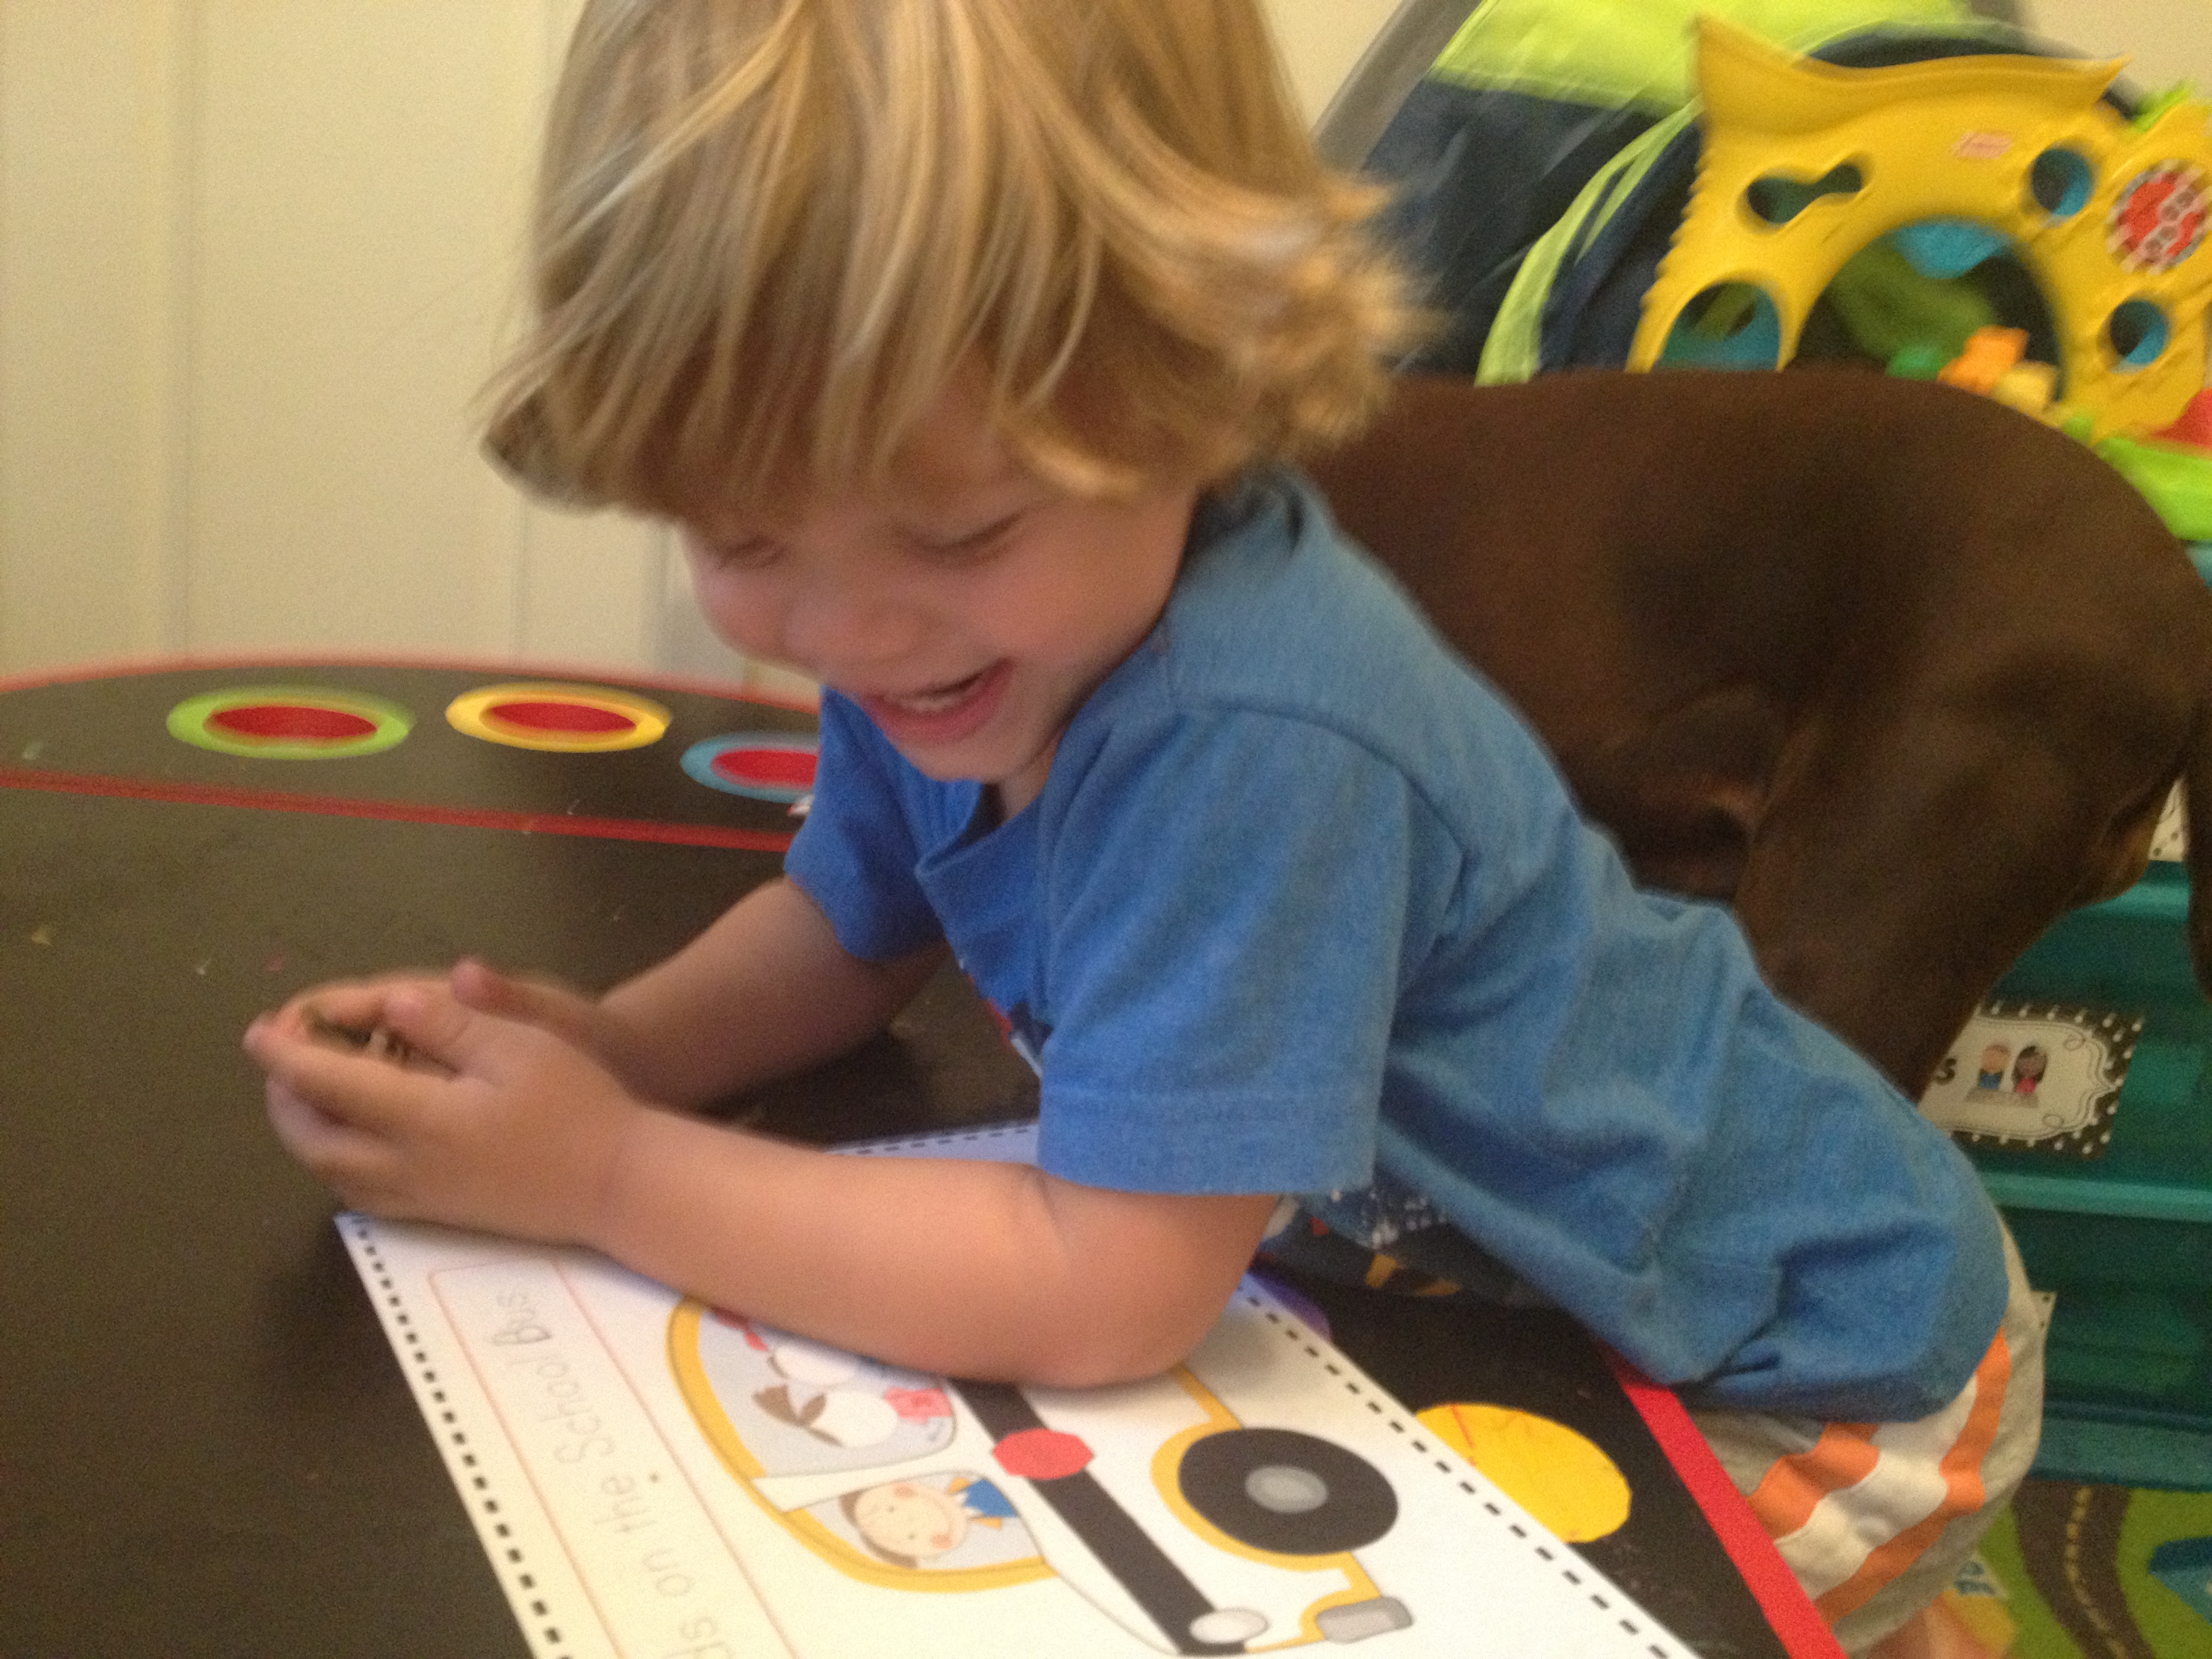
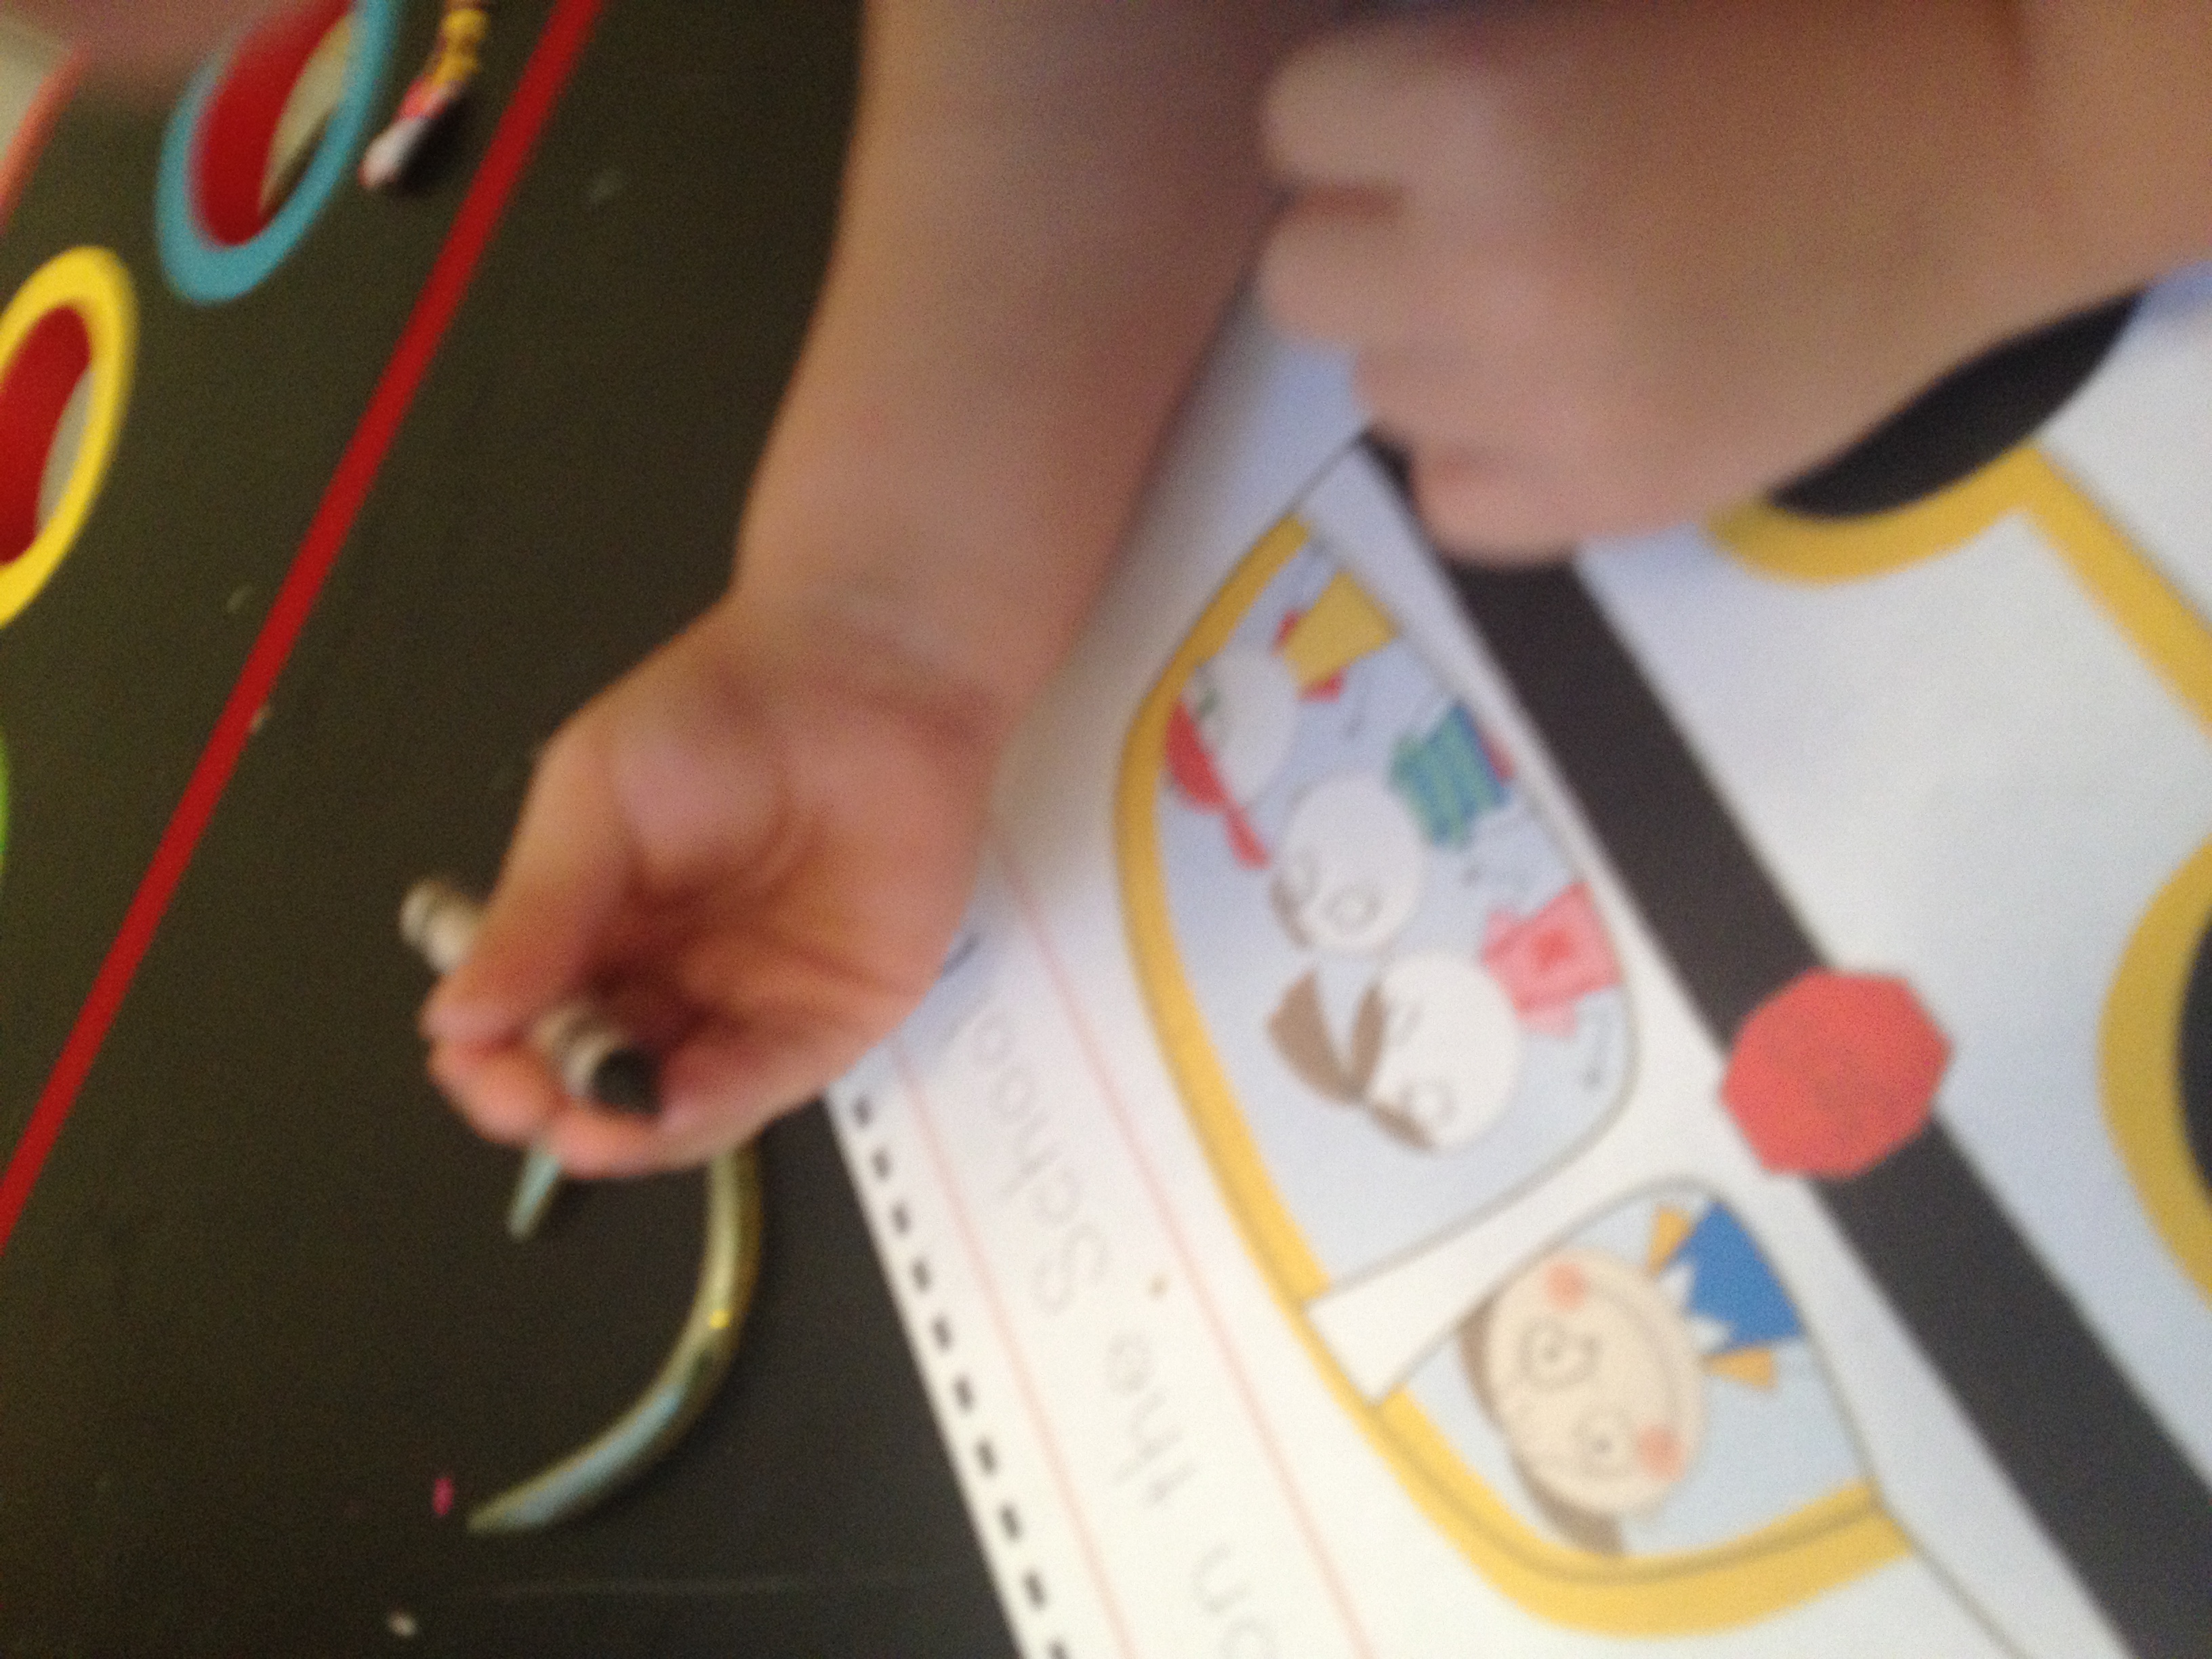
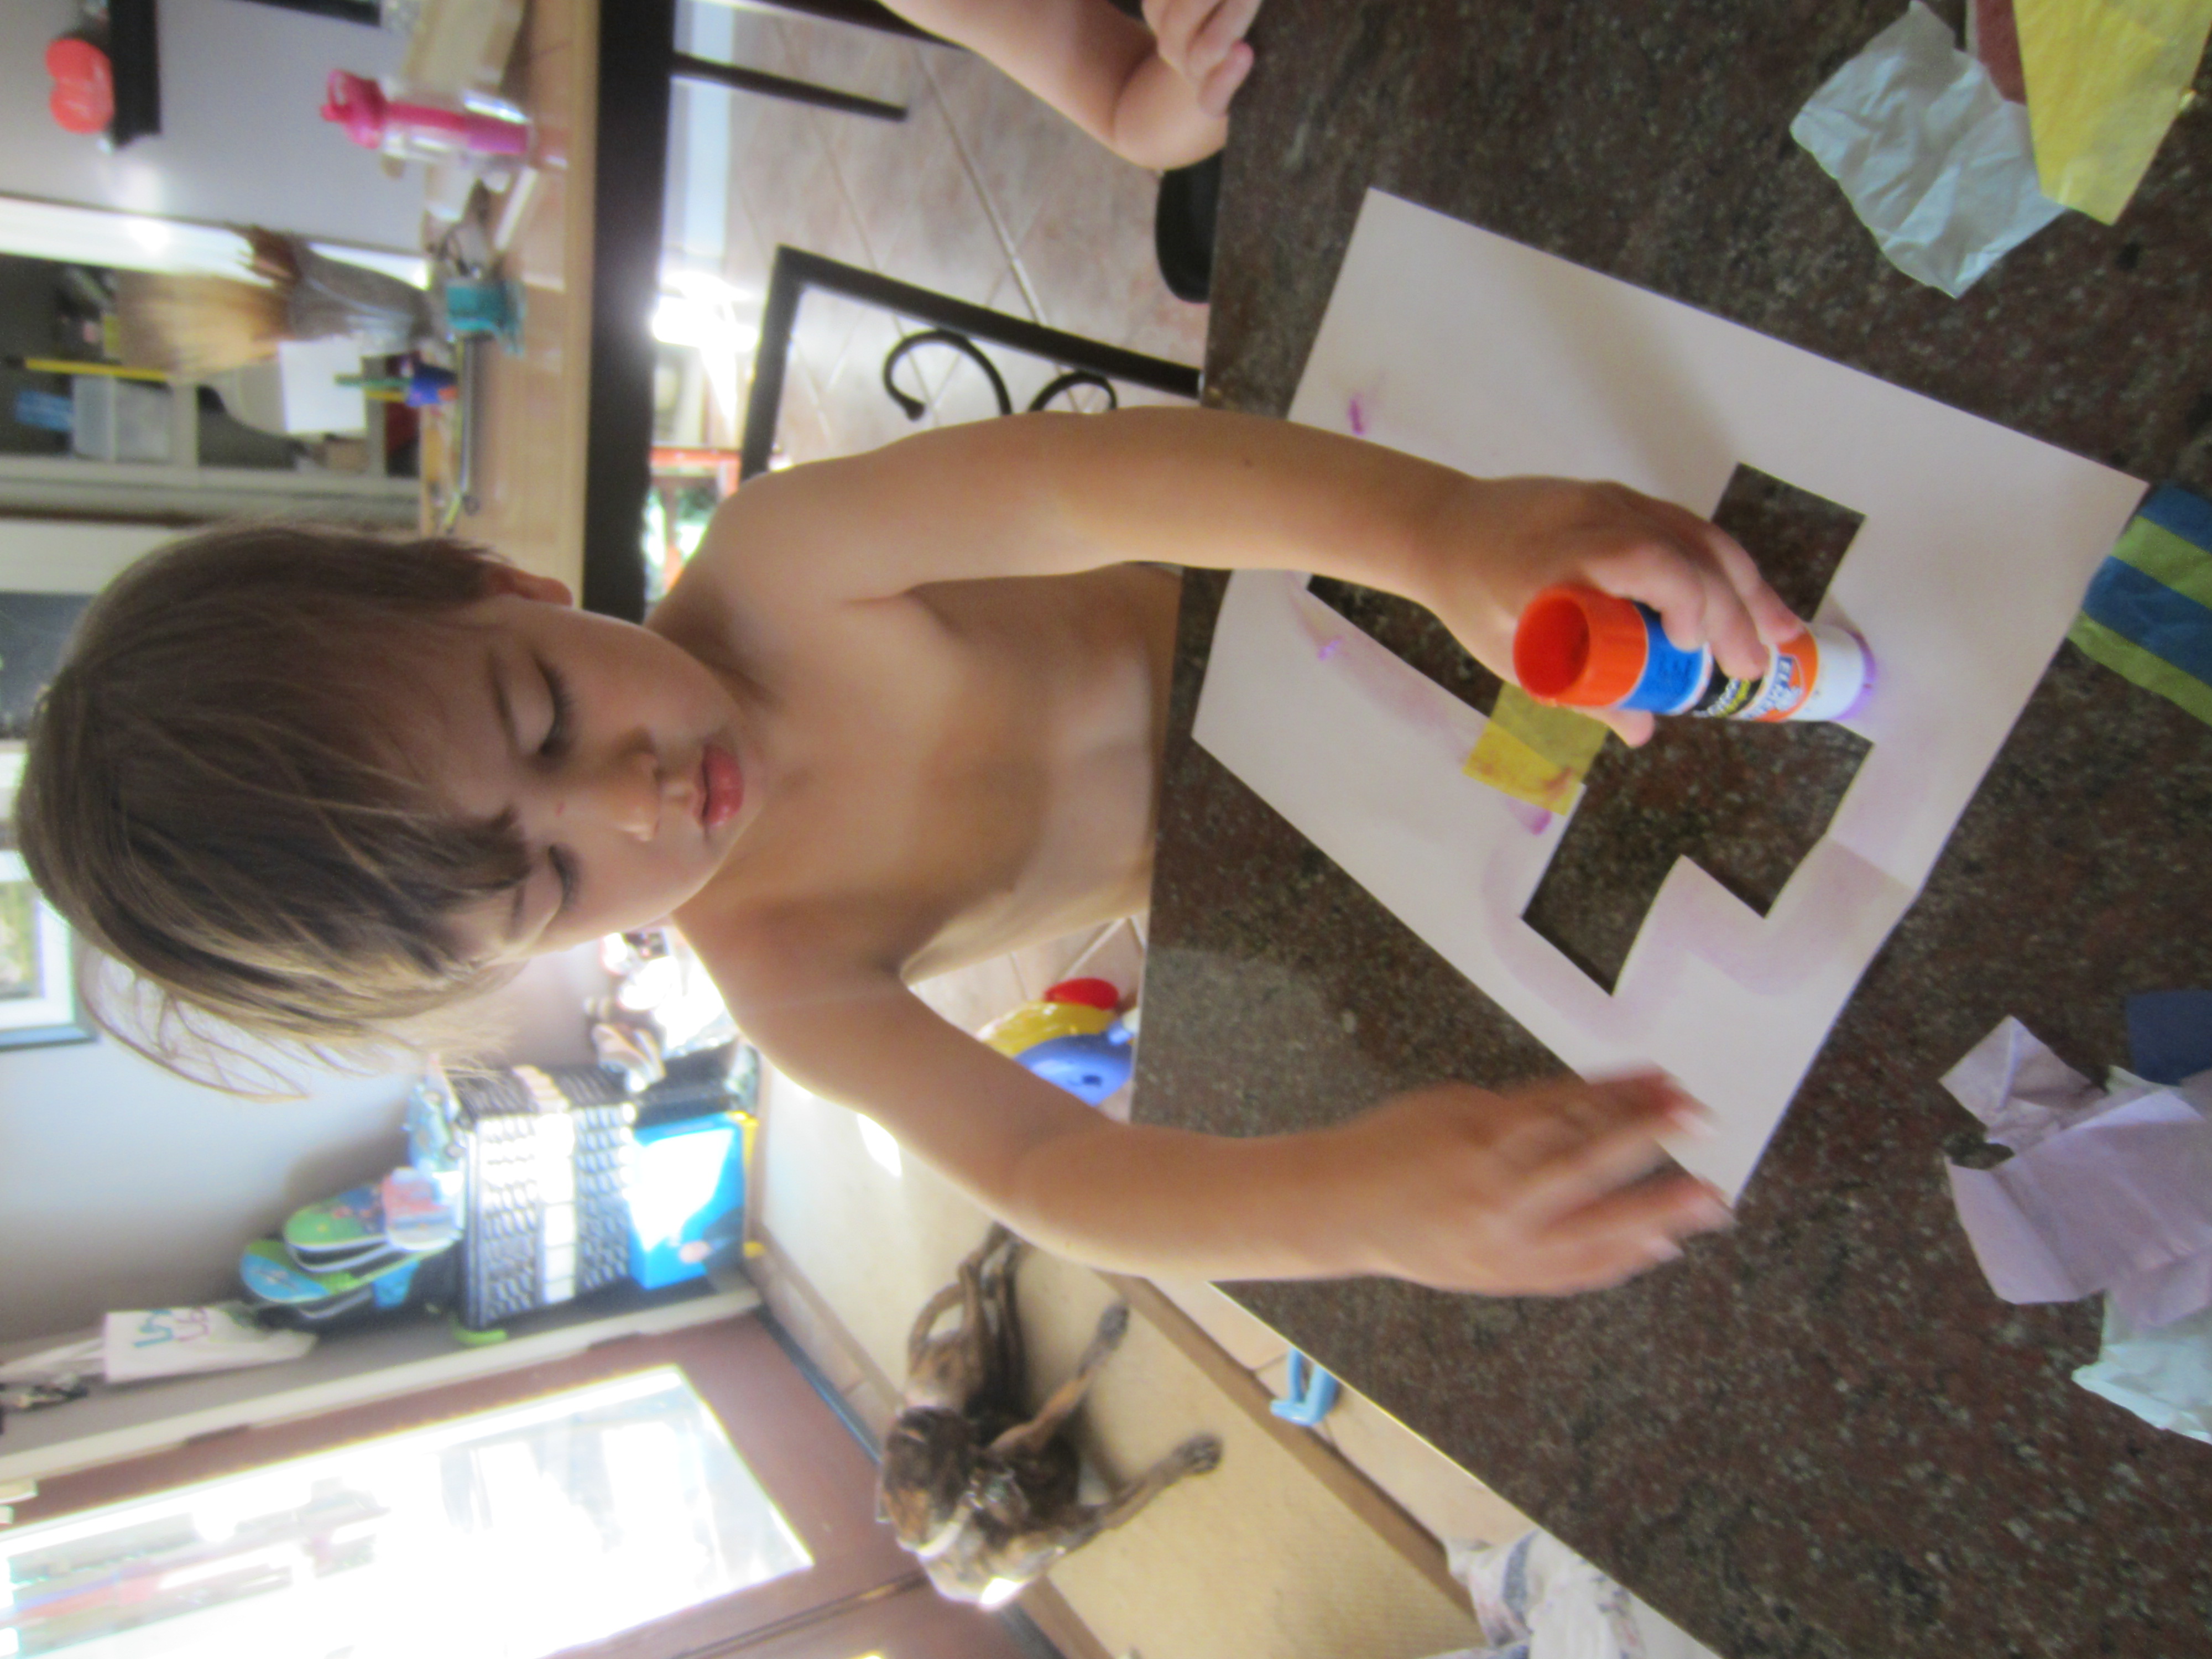
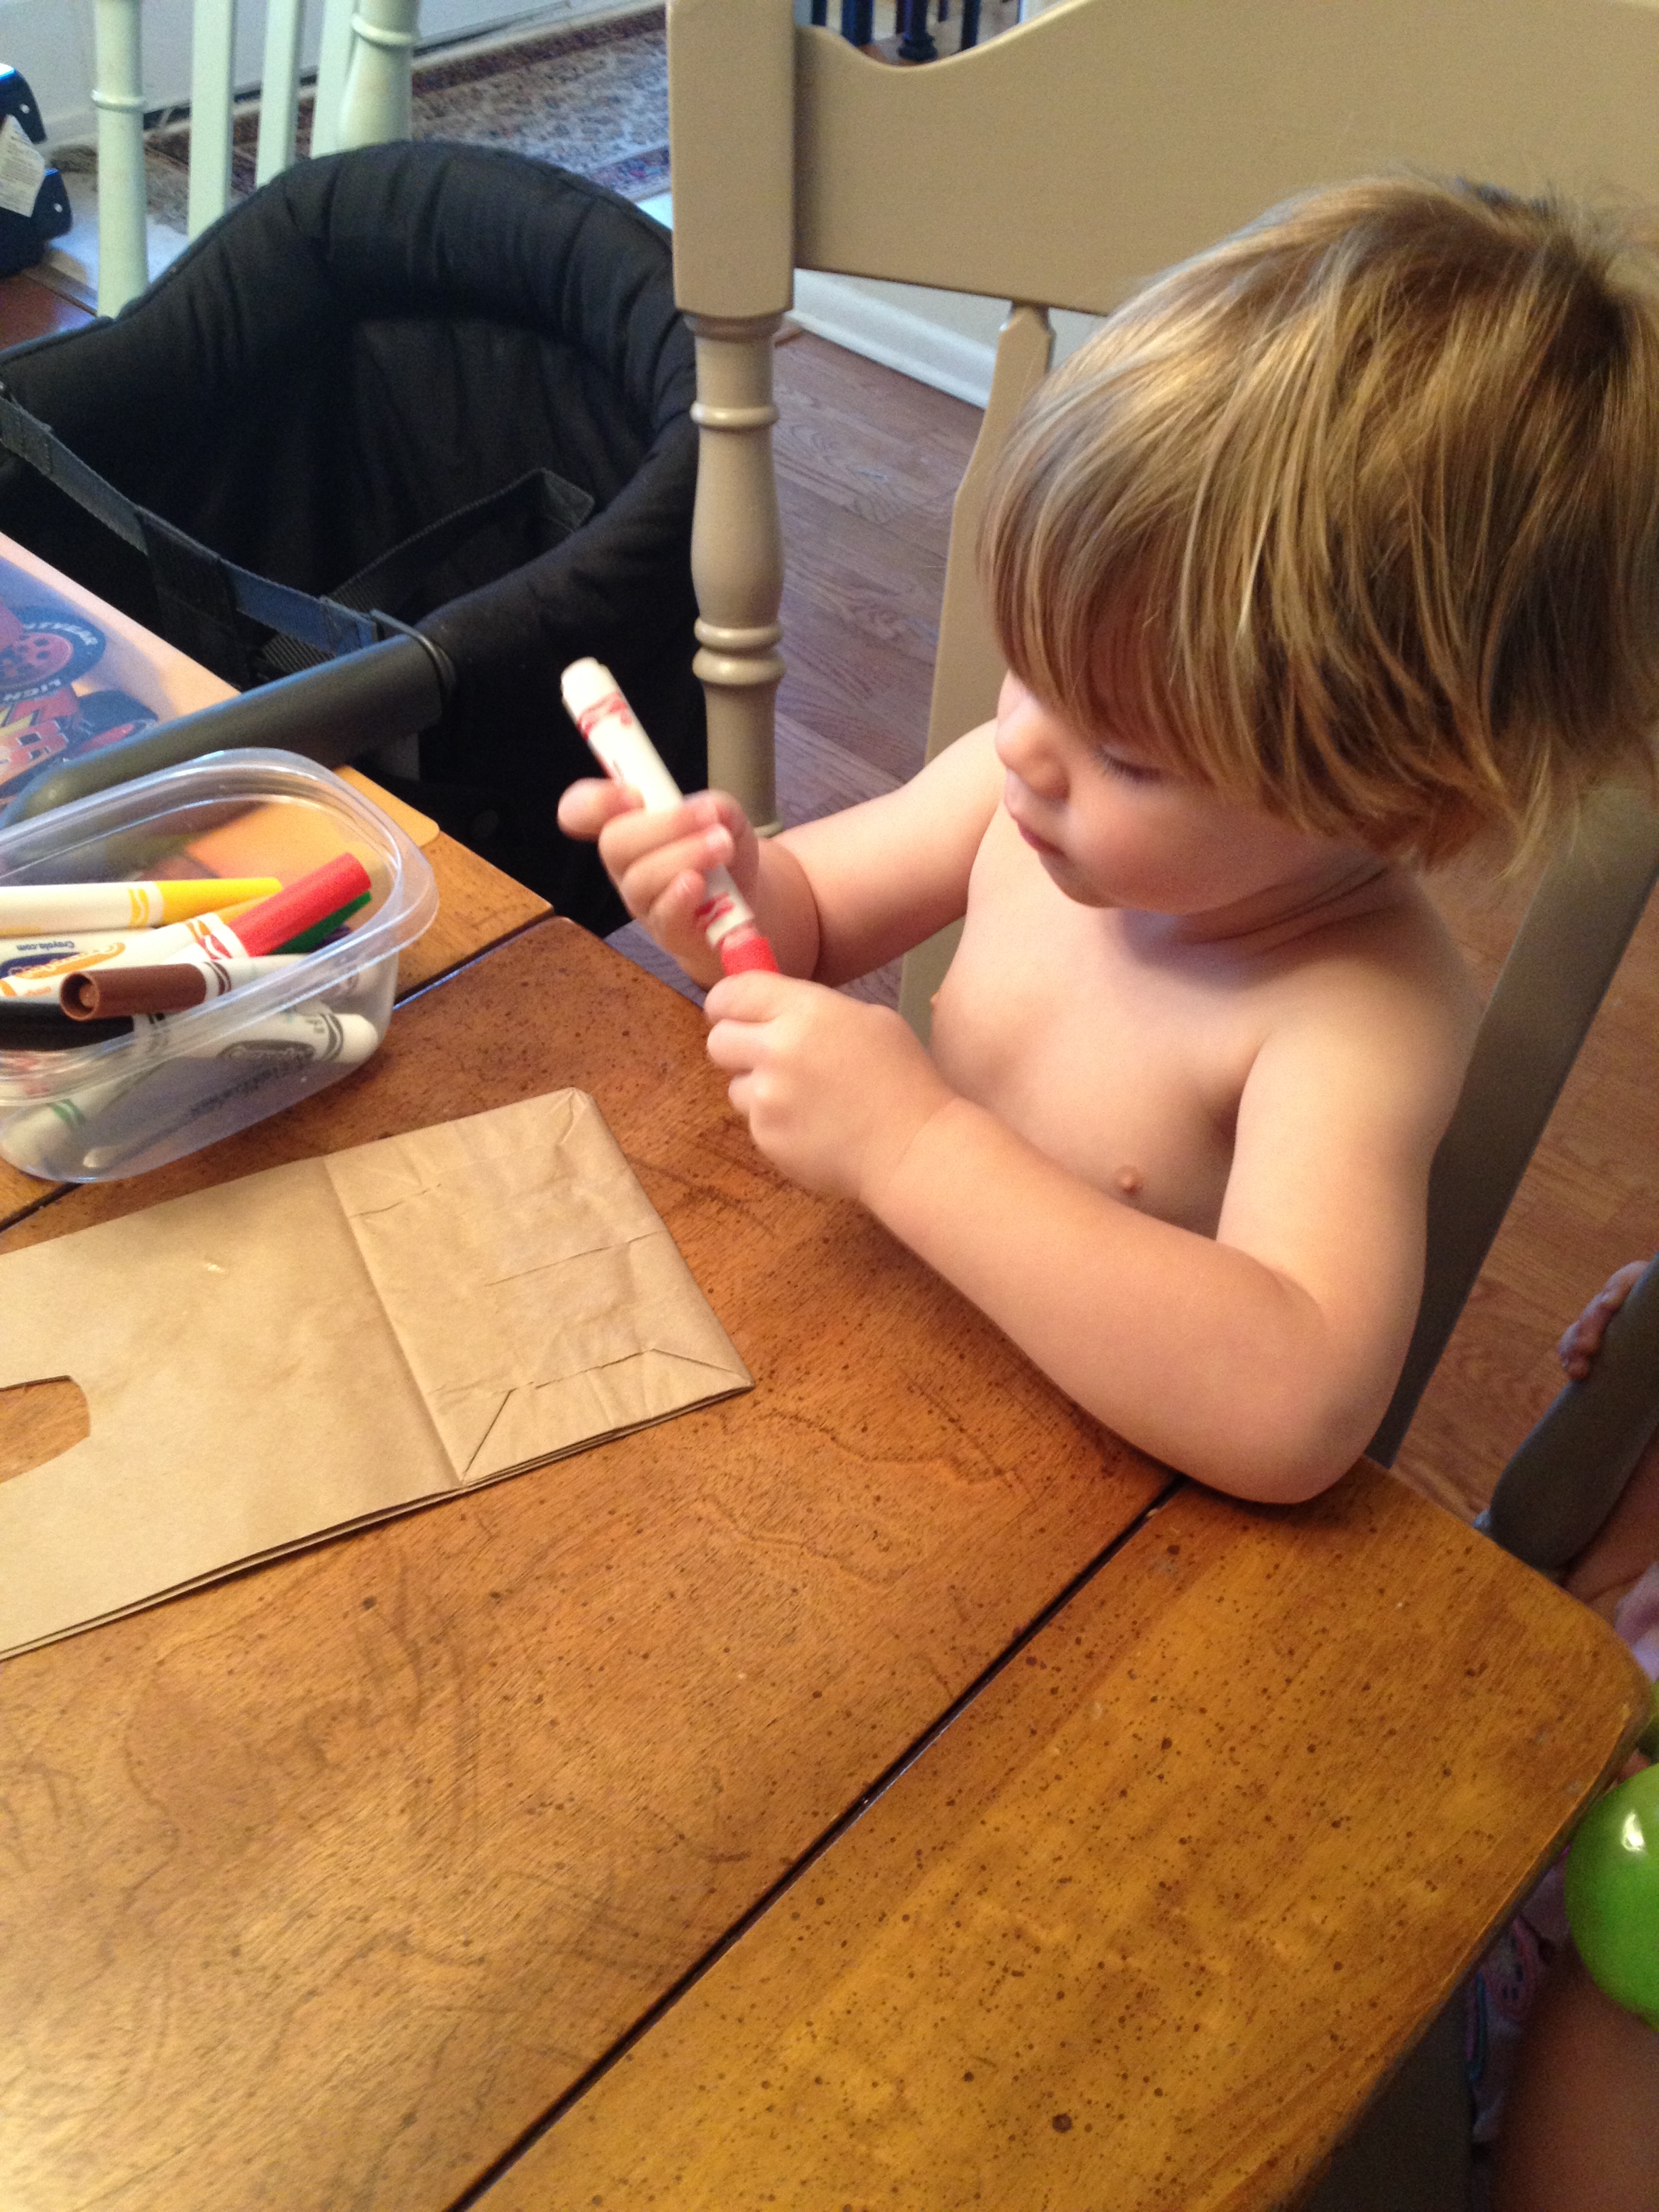
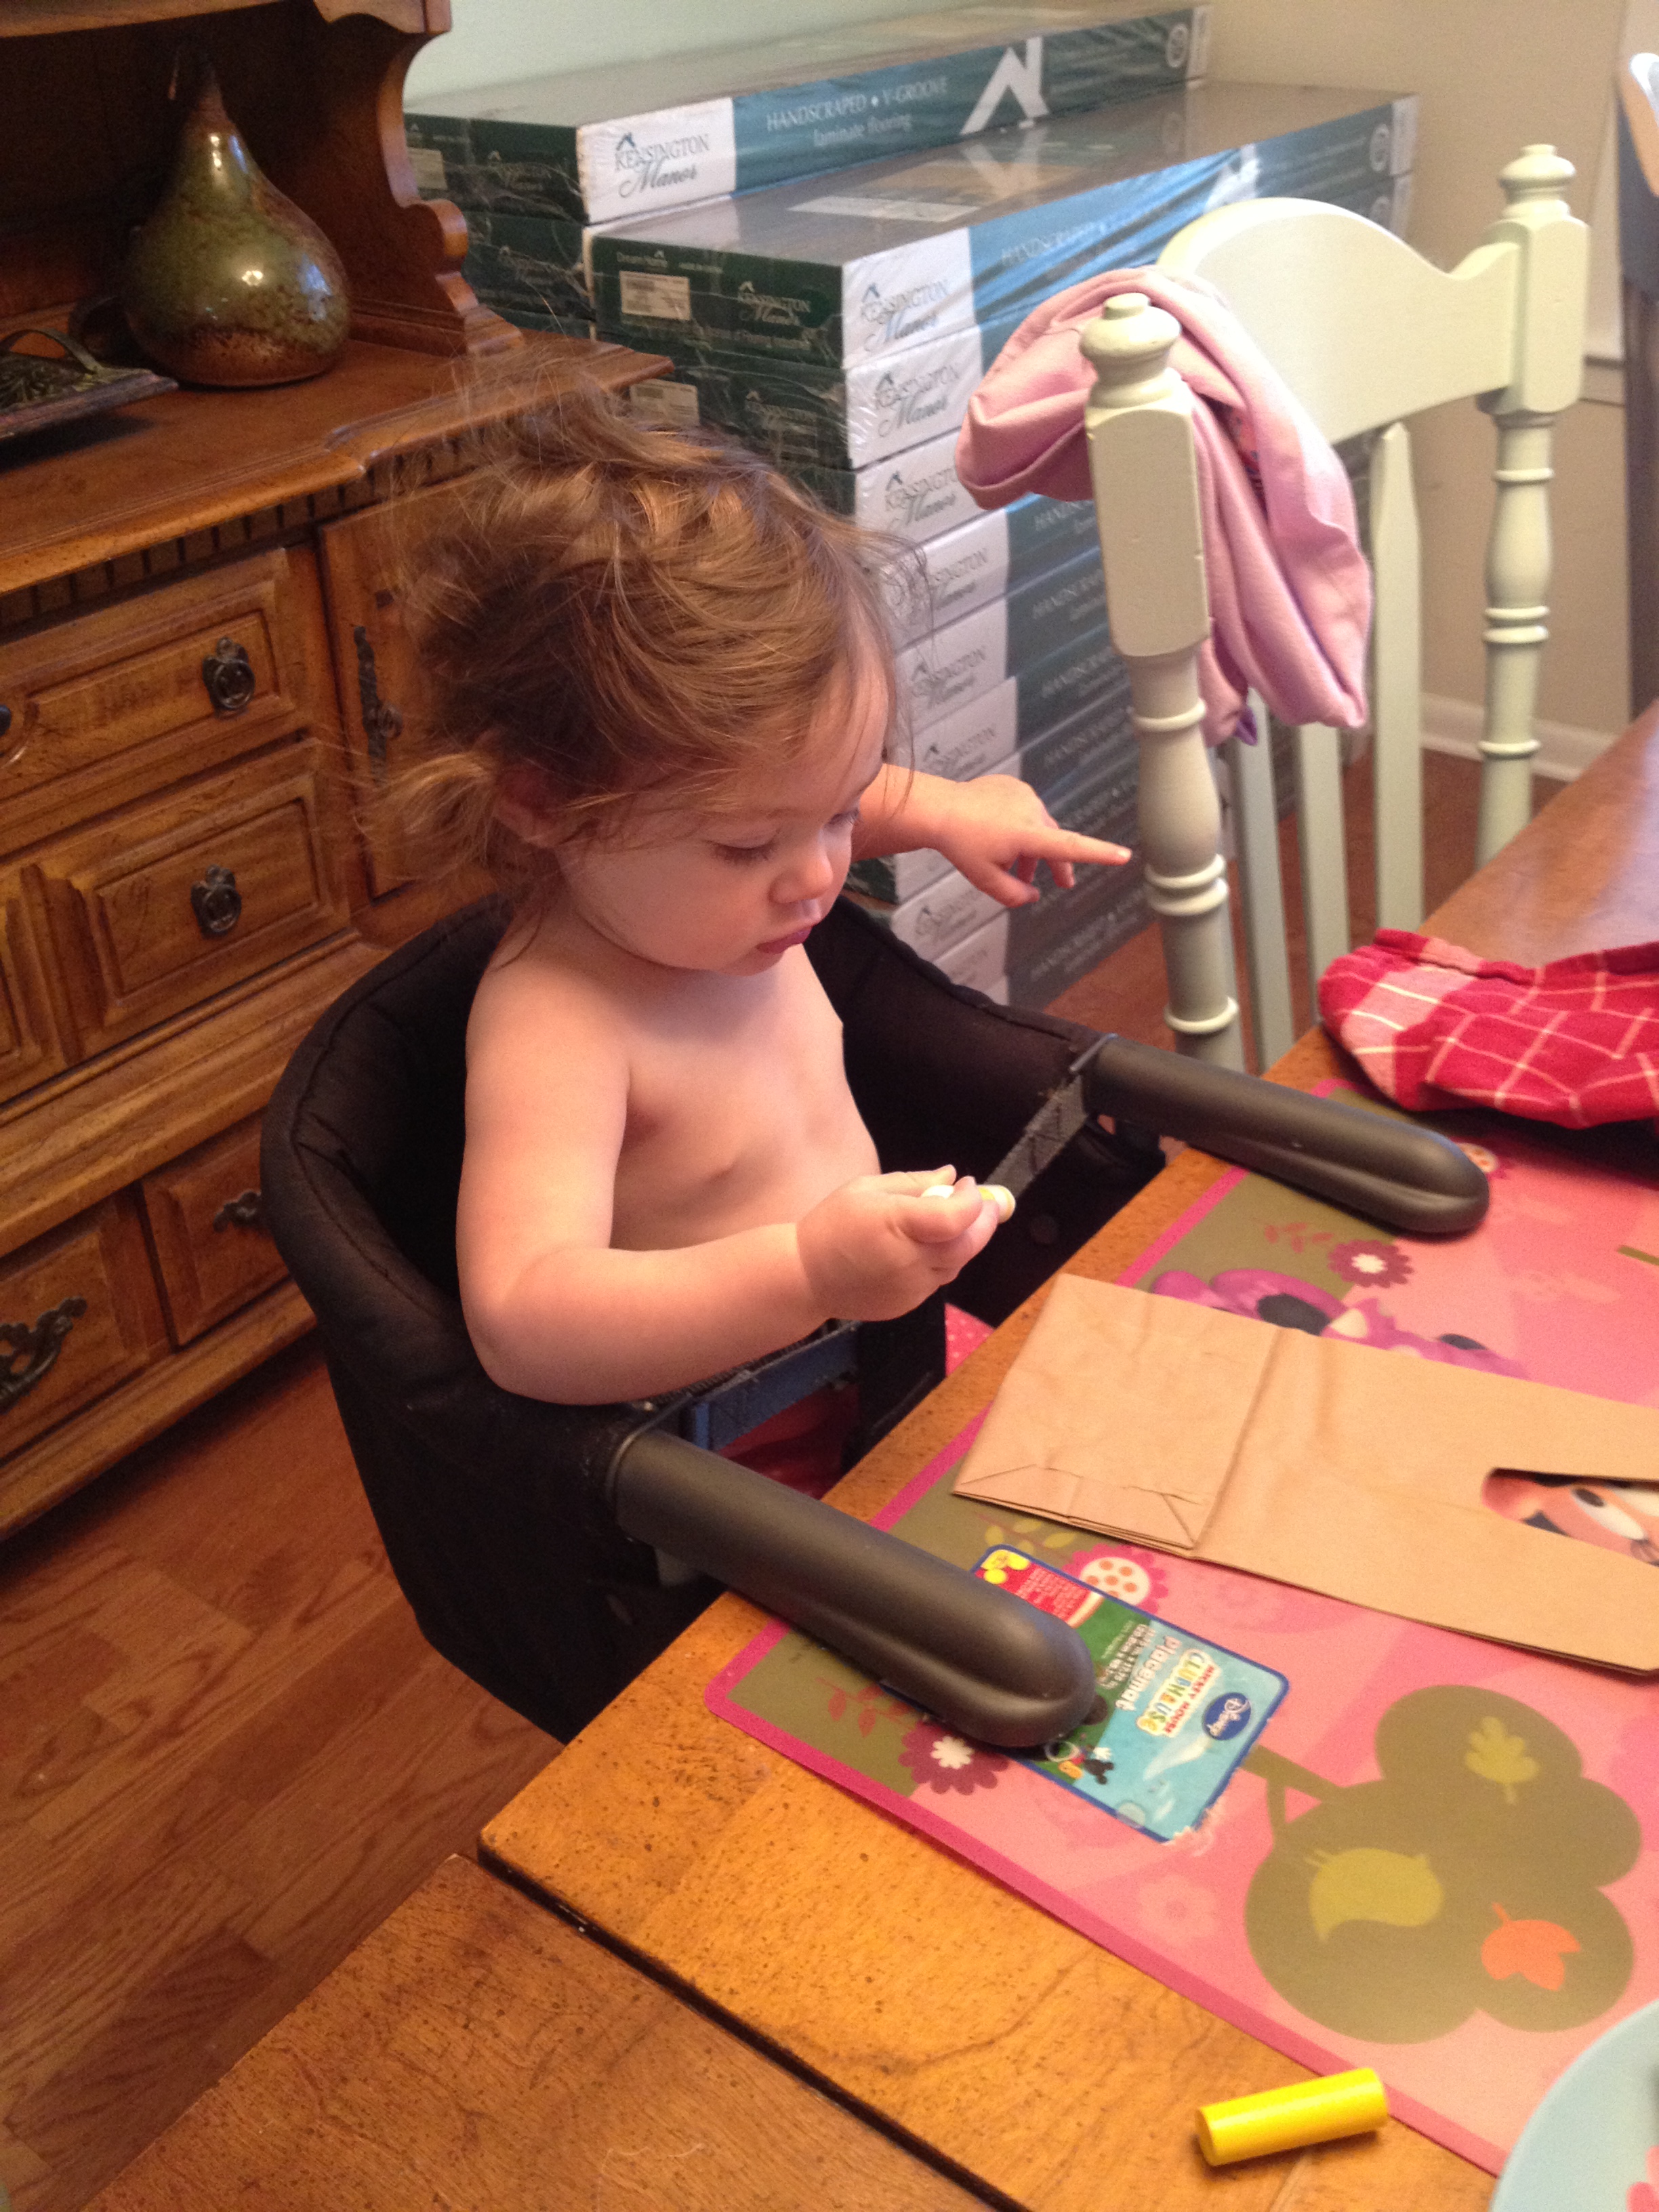
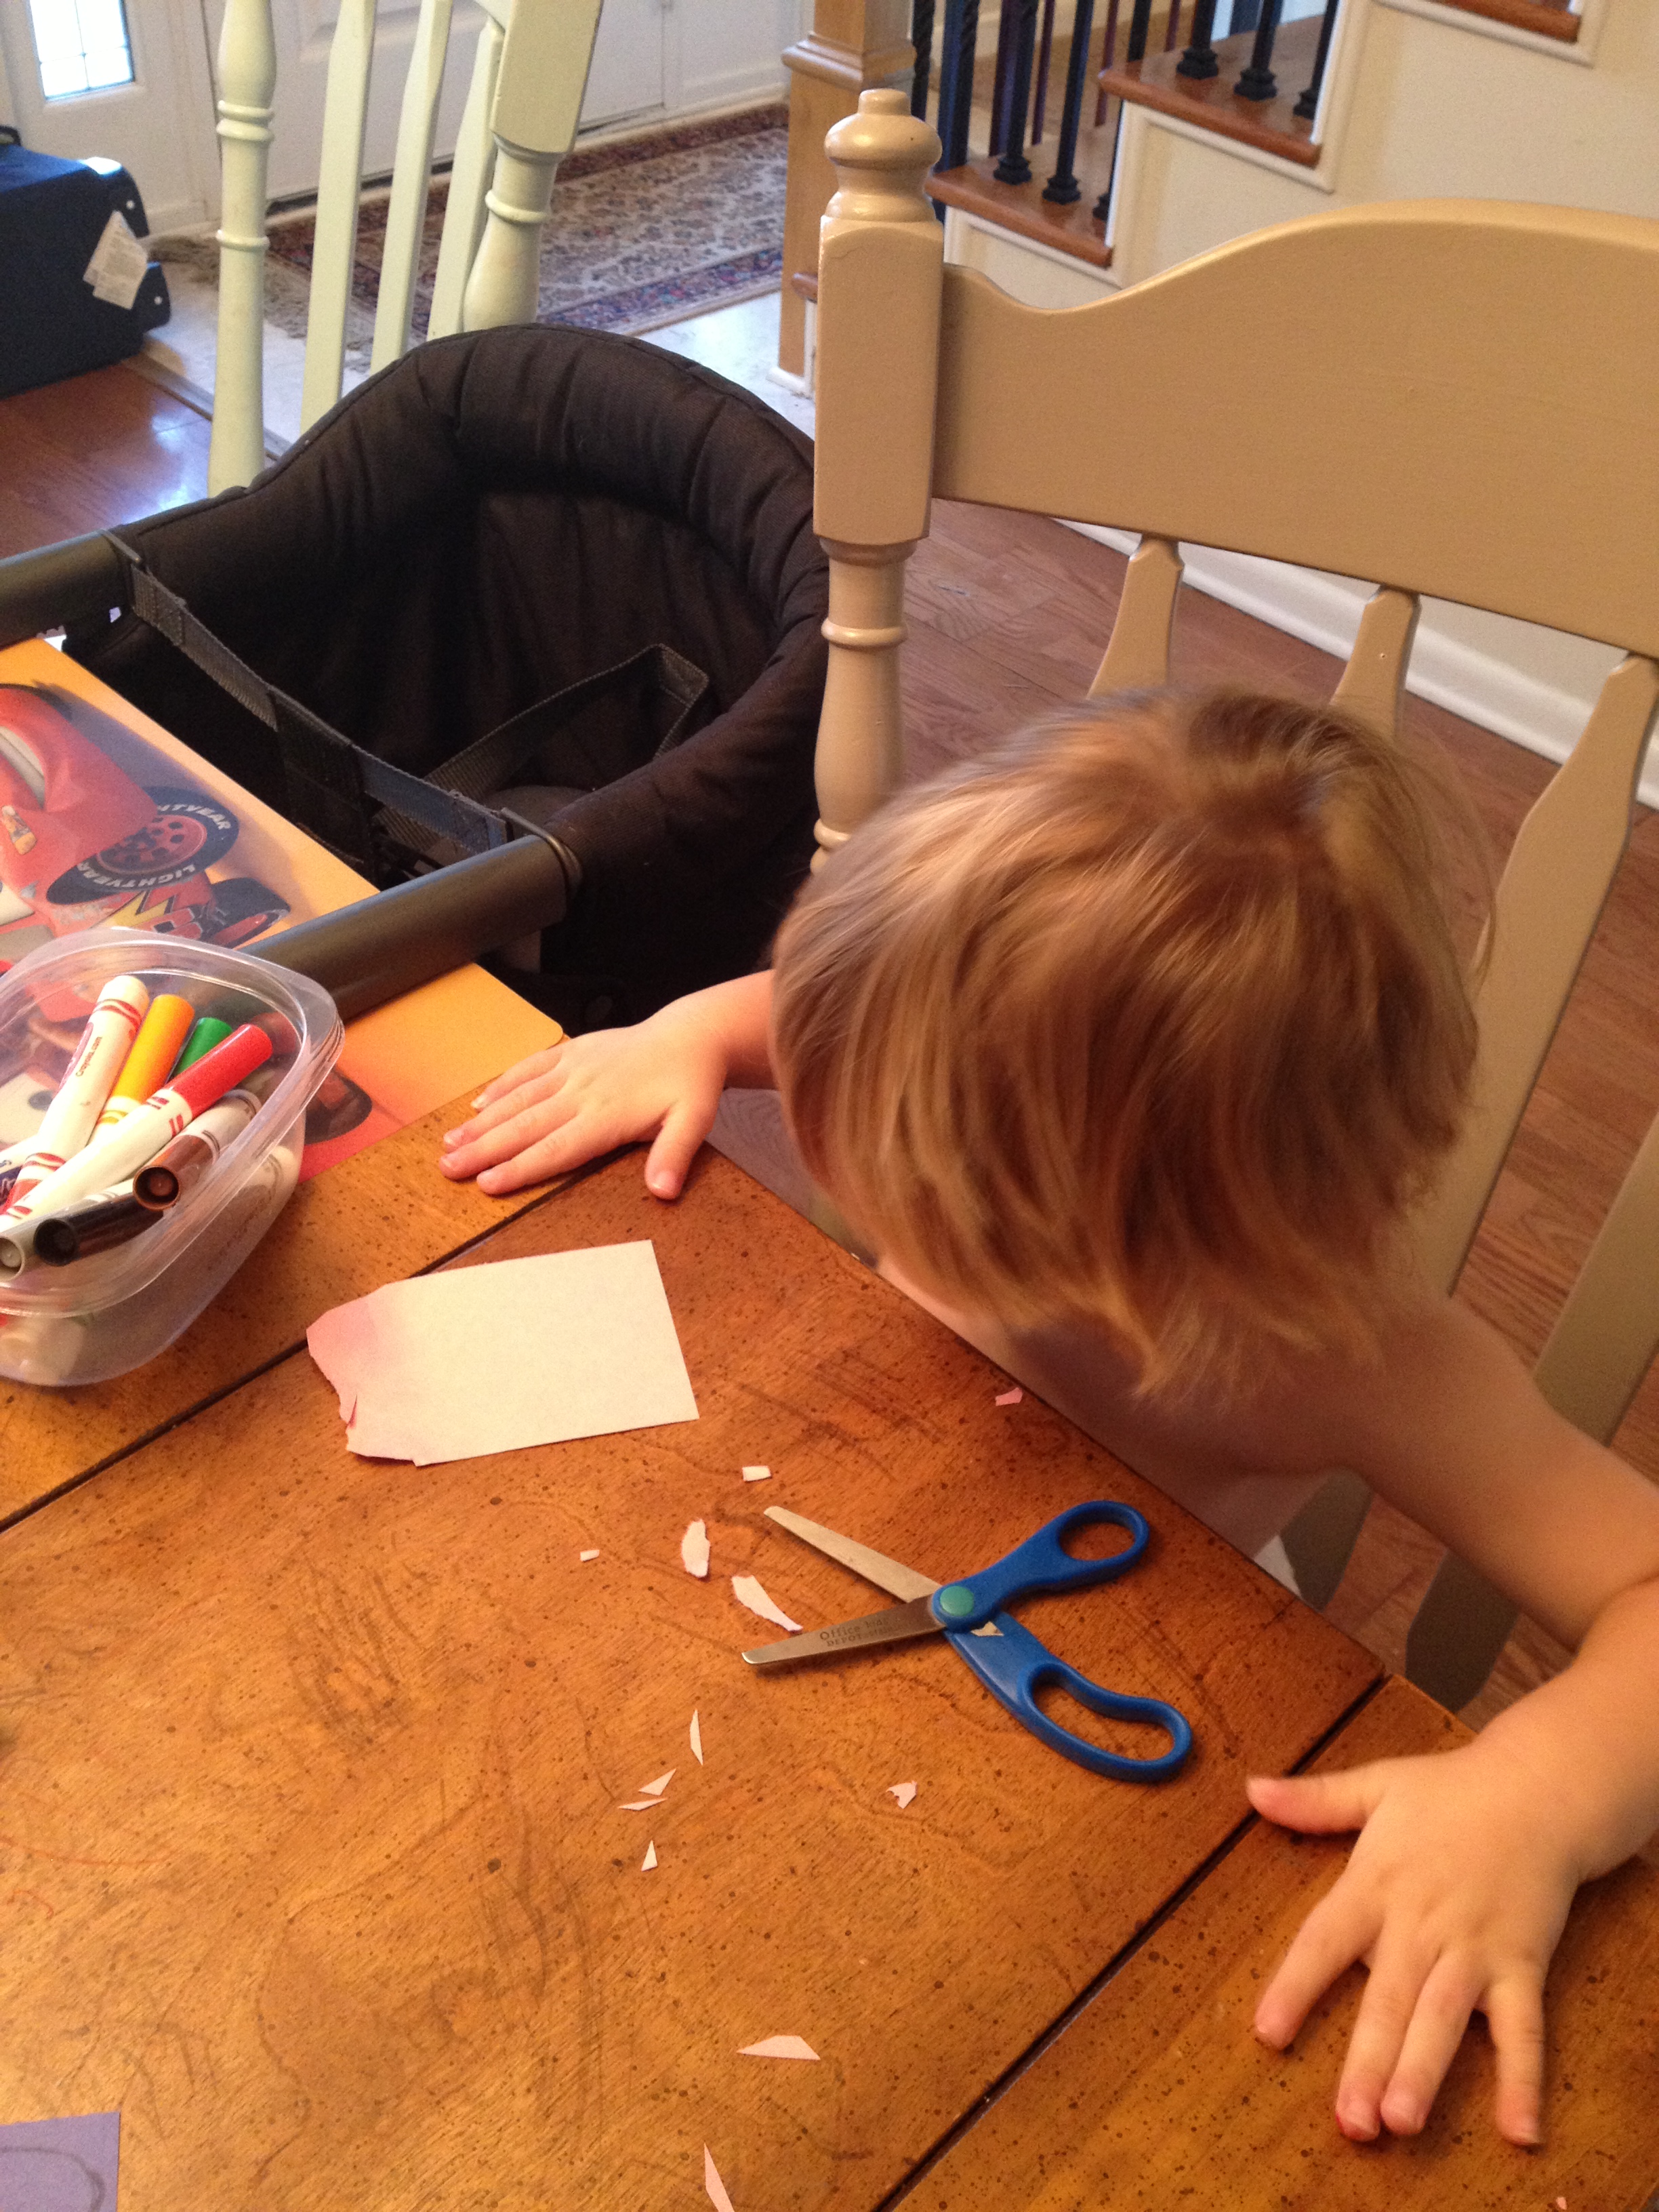
And the momma in me “needs” to share the pictures of my kids in action:

Grandparents Day 2013

HEAD’S UP, MOMMY TEACHERS!  This Sunday is Grandparents Day!  My kids love their grandparents so much and wanted to make them a special gift for their big day!

My 4-month old niece, Marley Kate, recently sent me a cute letter and it inspired our Grandparents Day gifts.

IMG_20130904_112815_535-1 Since our printer is broken, I decided to hand paint ours, and leave a spot open for my niece, Abby, to stamp her foot, too.  This one below is on its way to Oklahoma right now.

IMG_20130903_141810_362-1 Then I thought it would be a great idea to make a few hand print art templates for you to purchase and download so your children can make beautiful art for their grandparents too!

In addition to a “You Are My Sunshine” template for your baby/toddler’s footprints, I have also made a “You Are o-FISH-ally My Favorite” template for a sideways hand print and an “Owl Always Love You” template for a palm hand print and thumbprints for wings.

IMG_20130904_111206_280-1 IMG_20130904_111215_378-1 These templates are available to download this week for just $1 for all 3!  Enjoy!

[purchase_link id=”4008″ style=”button” color=”blue” text=”Purchase”]

Happy Grandparents Day to all of you Grammy and Grampy Teachers out there!!!  Thank you for all that you do!  Your grandchildren love and appreciate you!


School Bus Printable Fun

“I’m going to school on a bus today mom” says my 3 year old as he walks toward the door with his backpack on.  He doesn’t ride a bus to school so I reply, “Yes!  Let’s pretend to do that Sean Patrick.  Are you going to drive the bus or is the driver going to pick you up? ”  and the conversation continued as we made our way to the stairs where we pretended to be riding on a bus singing “Wheels on the Bus” and looking out the pretend window  pointing things out to each other.

I asked him what friends were riding with us in our imagination and he named his cousin and a few other friends.

This gave me the idea to make this:

Screen Shot of School Bus Freebie

He is obsessed with school buses.  He tells people when he is six he can ride the school bus.  I am hoping he gets to ride one on a field trip this year.

We have a school bus toy that we drive all over our neighborhood road rug that looks something like this:

Fun Time - Country Fun Kids Rugs - 39 x 58 in.

We read “Gus The Bus” pretty often and there are other great school bus books like  and  and obviously The Magic School Bus episodes and books are great.

So, he had a blast coloring his school bus picture…

SP bus printable

And he did a great job drawing the eyes on the faces… one was shaped like a square so he told me that Mckayla had a square eye haha.

bus printable with eyes


Anyway, click on the link below to download the FREE printable if you think your child would enjoy this too.  You can help your child practice sounding out their friend’s names or just writing the first letter in their name.  Have fun!

[purchase_link id=”3920″ style=”text link” color=”” text=”Download the School Bus Printable now… FREE”]

Sun Crosses – Easy Easter Craft

I had planned to do a different Easter craft activity every day this week, but you know what?  This week FLEW by and we were never home!

Being Spring Break, I knew my kindergartner would want to be on the GO so I planned the week chock full of stuff… play dates to the park, zoo, arcade and more!  So needless to say that by the time we got home, took naps, woke up, it was already dinner time!

Tonight we will be having a glow in the dark Easter egg hunt with all of our friends at our house!  It will be so much fun!  (If you want to do this, simply get a package of LARGE plastic eggs and glow in the dark bracelets to fill them.  Then throw them in your yard.  Bam!  Glow in the dark Easter egg hunt).

Anyway… onto the ONE Easter craft we were able to d IMG_7535 o – and we were able to complete it in about 15 minutes before we left for a play date one day this week!  My kids call them Sun Crosses, for lack of a better name.


Materials:
2 sheets of paper per kid, scissors, tissue paper and stick glue

Step 1.  Fold the 2 sheets of paper in half long ways together.

Step 2.  Draw half of a cross on the fold.

IMG_7564

Step 3.  Cut out the 1/2 cross.

Step 4.  Flatten one cross and cut 3-4 inch strips of tissue paper (or use one large sheet of tissue paper for your entire cross).

Step 5.  Put the stick glue around the outside edge of the cross. IMG_7532

Step 6.  Place the tissue paper across the opening for the cross.  Do not leave any gaps.

IMG_7533

Step 7.  Take the other sheet of paper with the cross cut out and cover one side with the stick glue.  Then glue it directly on top of the other cross on the tissue paper side.

IMG_7534

Step 8.  Add your own artistic flare around the crosses.

Step 9.  Place in a sunlit window and watch the light shine through the cross!

IMG_7536

Happy Easter, y’all!!!

Cheap and Easy, Easter Bunny Gift Baggie

I found this idea in my teacher stash of Easter activities.  I almost always have paper bags, glue, markers, contruction paper, and scissors in my playroom cubbies.  So, for me, this was just a “sweep-the-playroom” kind of activity.

I wanted to put a little Easter picture inside of a little gift bag for Sean Patrick’s grandma and great-grandma.
Way better than a gift bag was this little craft idea I found in my teacher shed (the one on the left is my “example” and the one on the right is the one Sean Patrick made):
 
 
I just Cut a dip in the top of a brown bag (the side that opens) to so it left a shape that resembles a bunny.  You could cut a rectangle out of  the middle of the top of the bag if you don’t want them to be as rounded. (A white paper bag would be super cute too, but I was out).
 
I used pink, blue, & black construction paper to make the eyes, inner ears, nose, & whiskers.
 
Sean Patrick wanted to color it first of course (red is his favorite color if you haven’t guessed by now).
 
I always include my little bed-head one year old too.  (they are both shirt-less because I wanted to keep their cute shirts clean).
 
 
I then helped him cut/tear and glue little pieces of pink paper to a gluey oval in the inner ear.  Then he glued the eyes and nose (“just a dot, not a lot”)…. I glued the whiskers because I couldn’t find my glue stick which would be easier for him.
 
 
After we finished glueing, I grabbed a black marker, took his hand and guided him to make the pupil of the bunny’s eyes, the eyelashes, the little dots around the nose, and the mouth.
 
That was it!
We wrote a note from “Sean Patrick” on the back.
We put some Easter grass, starburst candies in some eggs, and the pictures inside & he will give them out when he sees them for Easter!
 

You can always add to it and share your ideas on facebook (like a cotton ball on the backside):


Related Posts Plugin for WordPress, Blogger...

1 2 3 4 5 6