Cooking Activity

How Does Your Garden Grow? 5 Garden Activities

banner

Last Mother’s Day, my kids gave me a great planter for us to start a home garden!

970018_10102217913375845_1261013702_n 
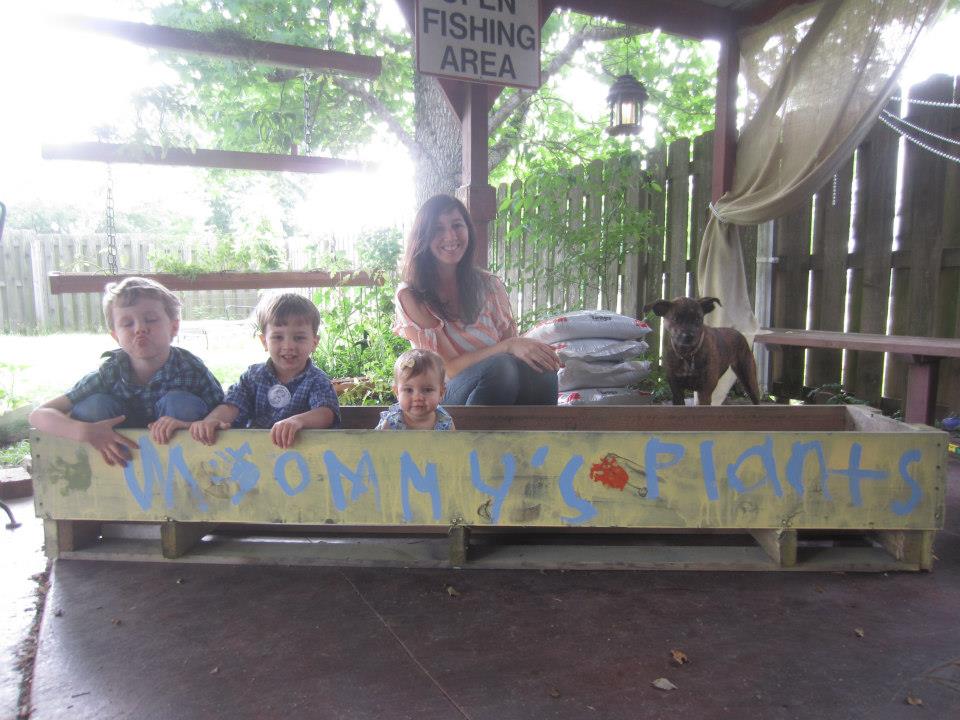
My husband works at a factory and they frequently get shipments of equipment that come in these long crates that are perfect for starting a garden (especially because they are free).  Keep your eyes peeled for wooden crates and pallets and you can get free planters as well!

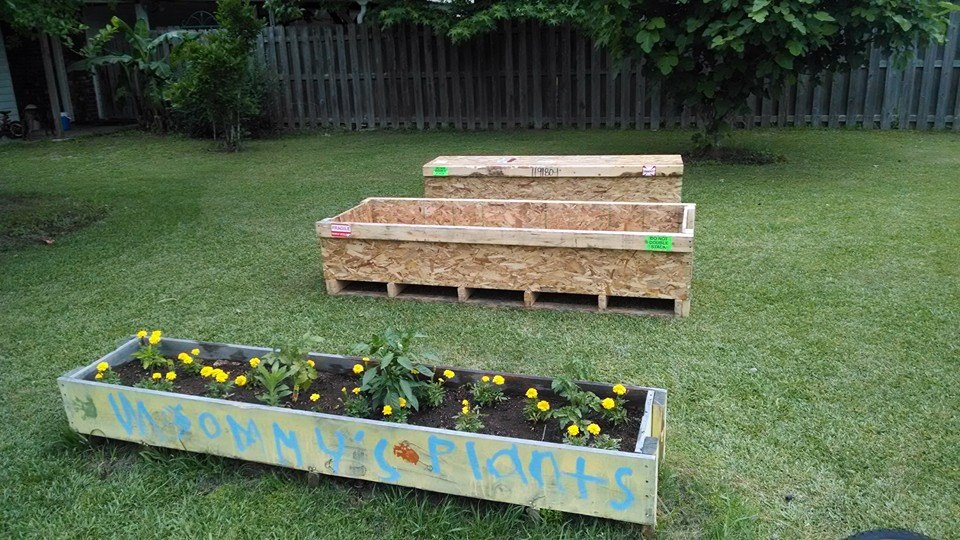
This year we have a few more!

10251951_10103298616323475_9182112865024686846_n

Now, this is a little intimidating for me because I do NOT have a green thumb… but my husband is a little bit better at watering…and my kids are REALLY good at watering… a little too good as they sometimes over water.

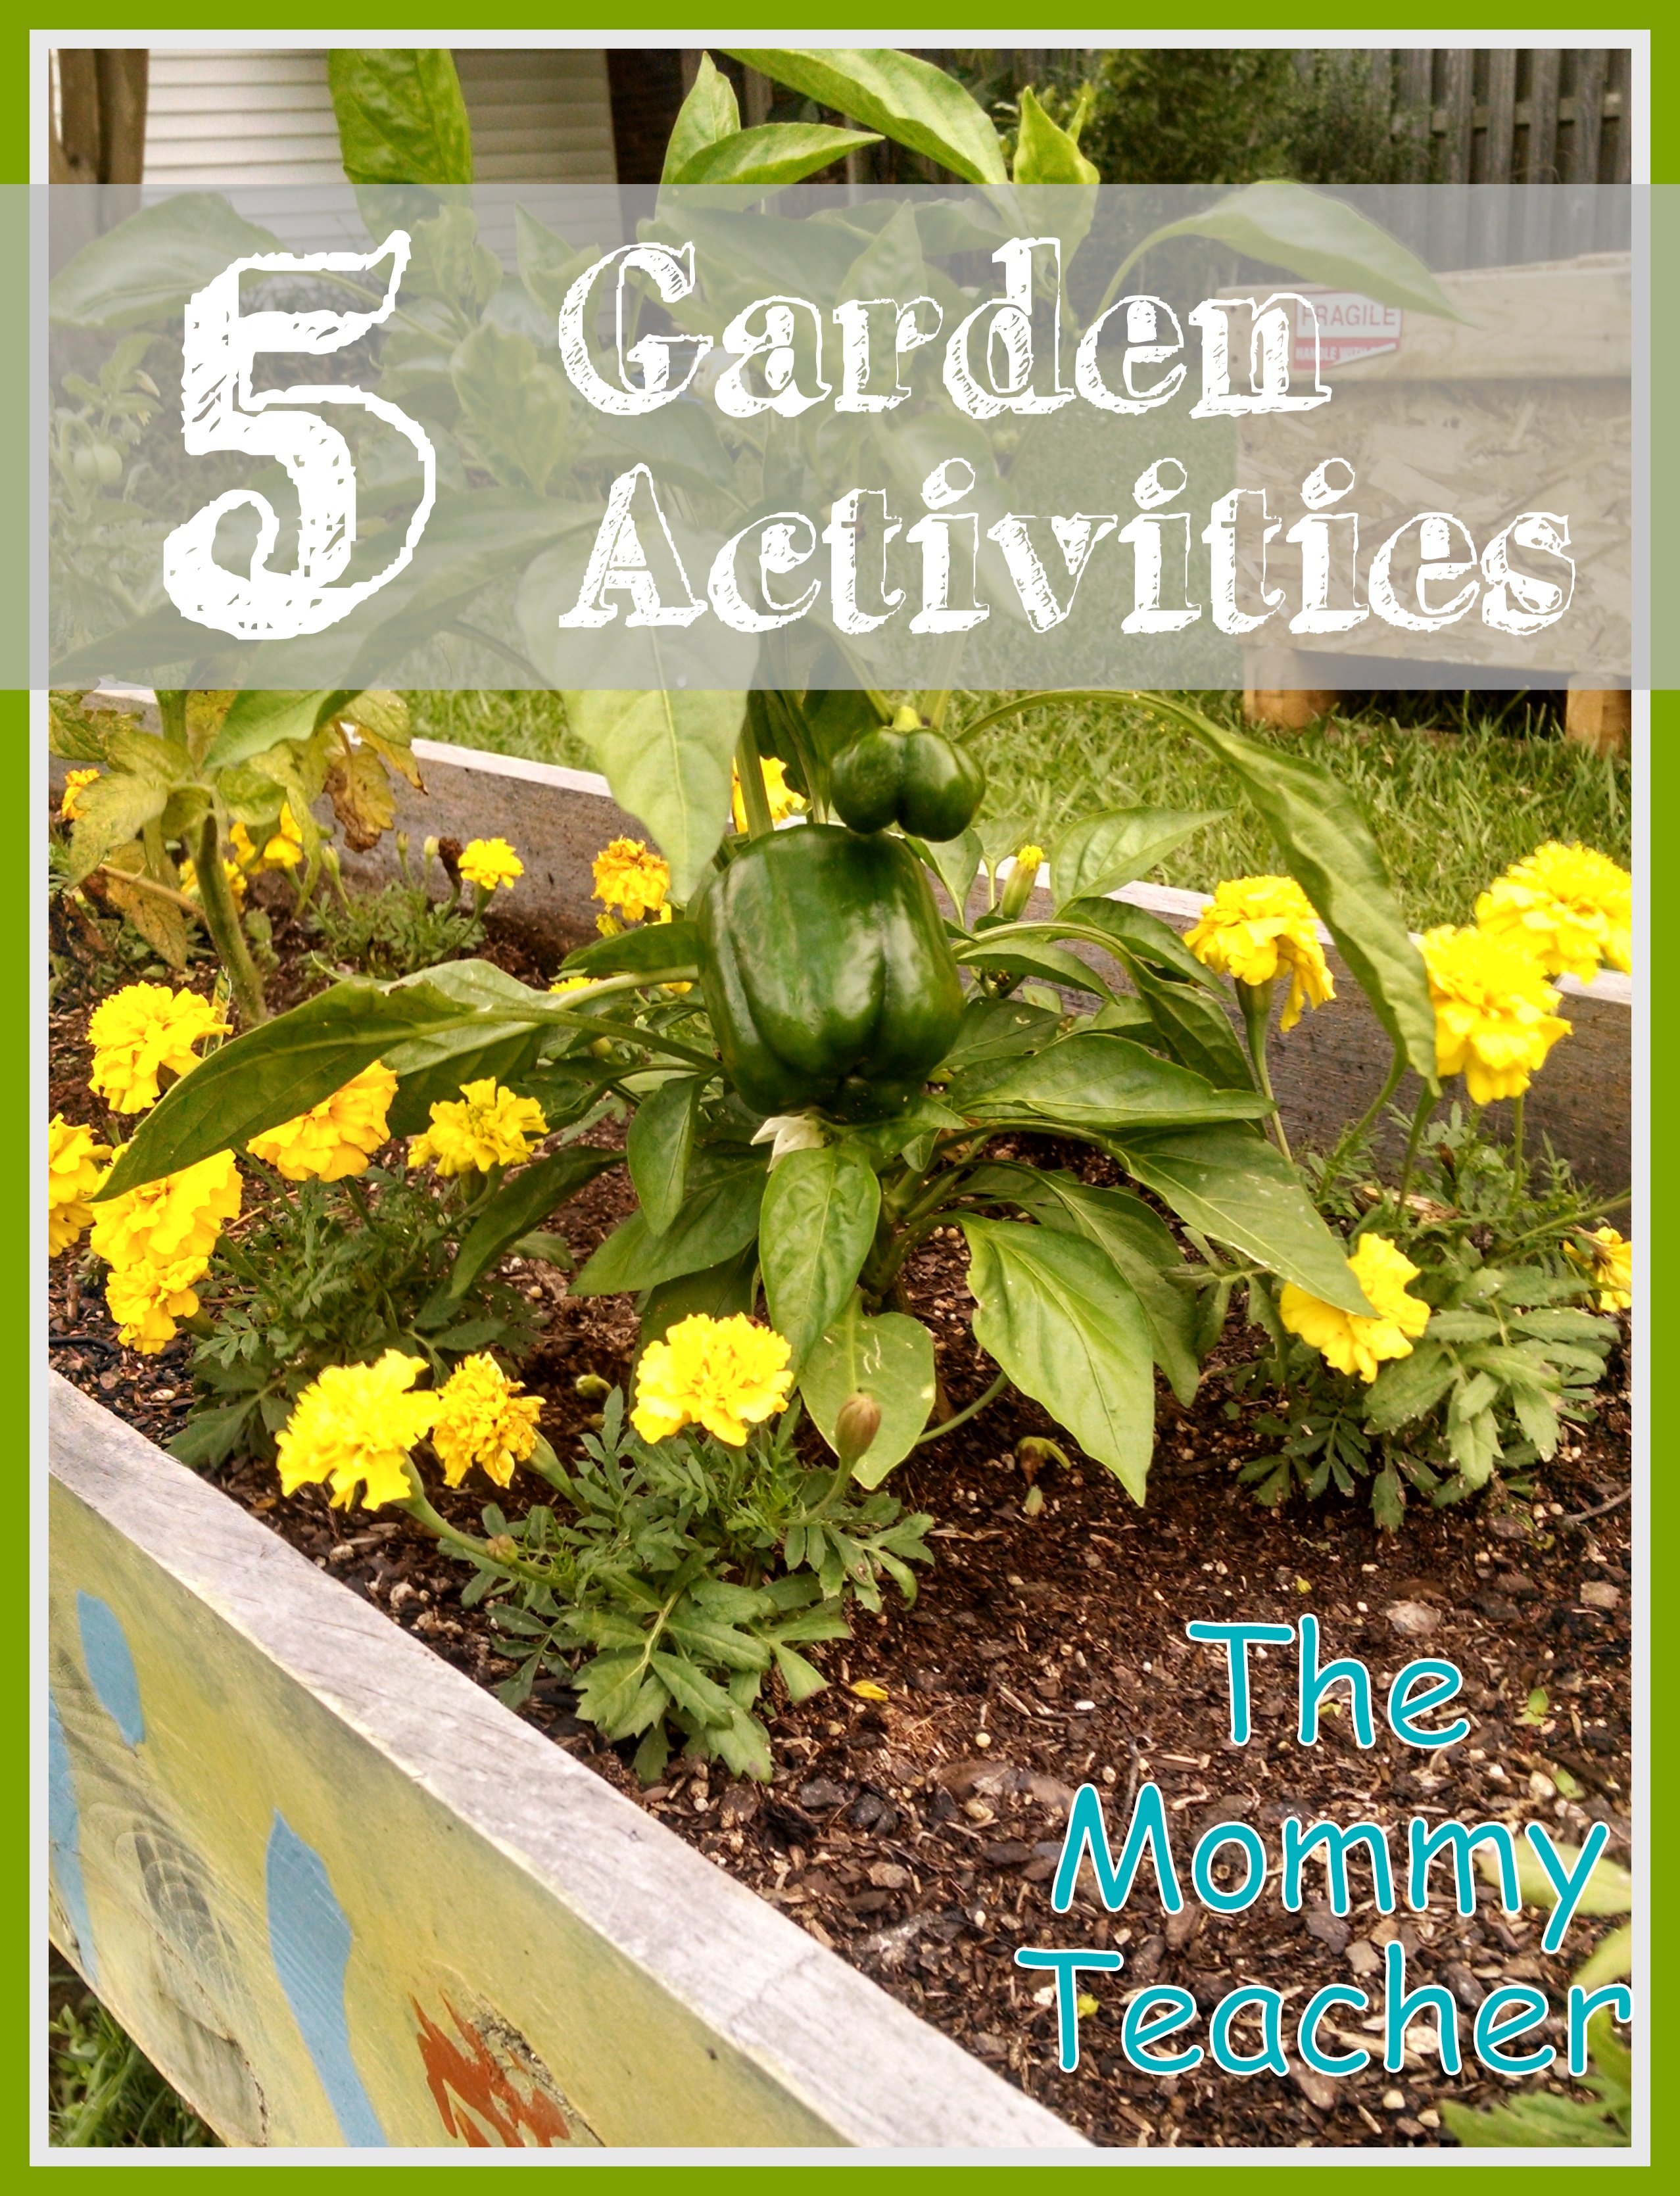
So many early childhood teachers will grow plants in the classroom for kids to learn the parts of the plant, how to care for a plant, and what plants need to grow: soil, water, sun.  Here are a few activities for you to do at home to teach your kids about growing plants if you have or plan on starting your own garden at home.

1.  Journal:  Have your kids document plant growth.

  • Pre-schoolers – model drawing sketches of what your plants look like each week and then give them a crayon for them to do the same (may not look like much, but they will at least think they are drawing a plant).  Introduce vocabulary such as plant, green, grow, sun, soil
  • Pre-K – have them add words to their drawings (even if their words are just a mix up of letters – write what they are trying to spell underneath).  Vocabulary:  the name of the plants, ex: bell peppers, parts of the plant
  • Kinder – write a sentence or two describing the plant.  Vocabulary and discussion:  the name of the plants, ex: bell peppers, parts of the plant, why plants are important
  • 1st grade and above – a paragraph (minimum) documenting any changes they may see, how long they watered, what time of the day they watered, etc.  Vocabulary and Discussion:  the name of the plants, ex: bell peppers, parts of the plant, describe why plants are important, how they reproduce, nutrition and the benefits of eating home grown foods

2.  Predict:  Have your kids predict what is going to happen throughout the summer with their plants, use your journal from above to help document, then calculate results by a certain date at the end of the summer.

  • Calendar Math:  Using a summer calendar, mark the day you plant your plants.  Have your kids each choose a different date in which they predict they can start picking their ripe produce.
  • Measuring:  Using a ruler, guess the size of the produce and how tall the plants will become by the end of the summer.  Have them draw this out on poster paper to compare at the end of the summer.
  • Counting:  Predict the amount of produce each type of plant will produce.
  • Science – Weather:  predict the number of rainy days versus sunny days
  • Comparison:  predict what type of plant will produce the biggest/smallest, most/least amount, greenest, etc. produce

3.  Experiment:  Get several seedlings that are the same type and are all similar in size.  Experiment with different amounts of sunlight or soil type or watering schedule (choose one) to see what is the optimal amount for that particular plant.  Plant several seedlings in each of the different conditions to get the best average outcome.  And, go back to the first activity:  journal 🙂

4.  Create a Cookbook:  As your plants are growing, decide as a family what you are going to use your plants for and create a family cookbook together!  Take pictures of your growing plants to include in the “ingredients” section of each recipe.

BONUS:  Include a raw versus cooked taste test of each fruit/vegetable to include that 5th sense that we often don’t get to use in a classroom.

5.  Dissect the Plants:

  • Science:  learn about the different plant parts including the parts you don’t see… inside the stem, the roots, inside the fruit and flowers.  When you are finished, use the roots, stem, leaves, flowers to make art on a poster board.
  • Math:  Compare/Contrast the different types of plants:  length, leaf shape, fruit, root length and thickness and number of roots
  • Art:  Create leaf prints by placing a piece of paper on top of the leaves and using the edge of a crayon to etch the shape of the leaf.  Draw the type of produce next to each leaf.

BONUS:  One of my friends started a private Facebook group for some of her friends who wanted to start a home garden.  On it we are sharing pictures and knowledge with each other and when the produce is ripe, we will be having garden picking parties!  It is nice to see what everyone else is growing (and these ladies know way more than I do about gardening so it’s helpful too)!  I encourage you to start a similar group for your friends with green (or slightly unripened) thumbs.

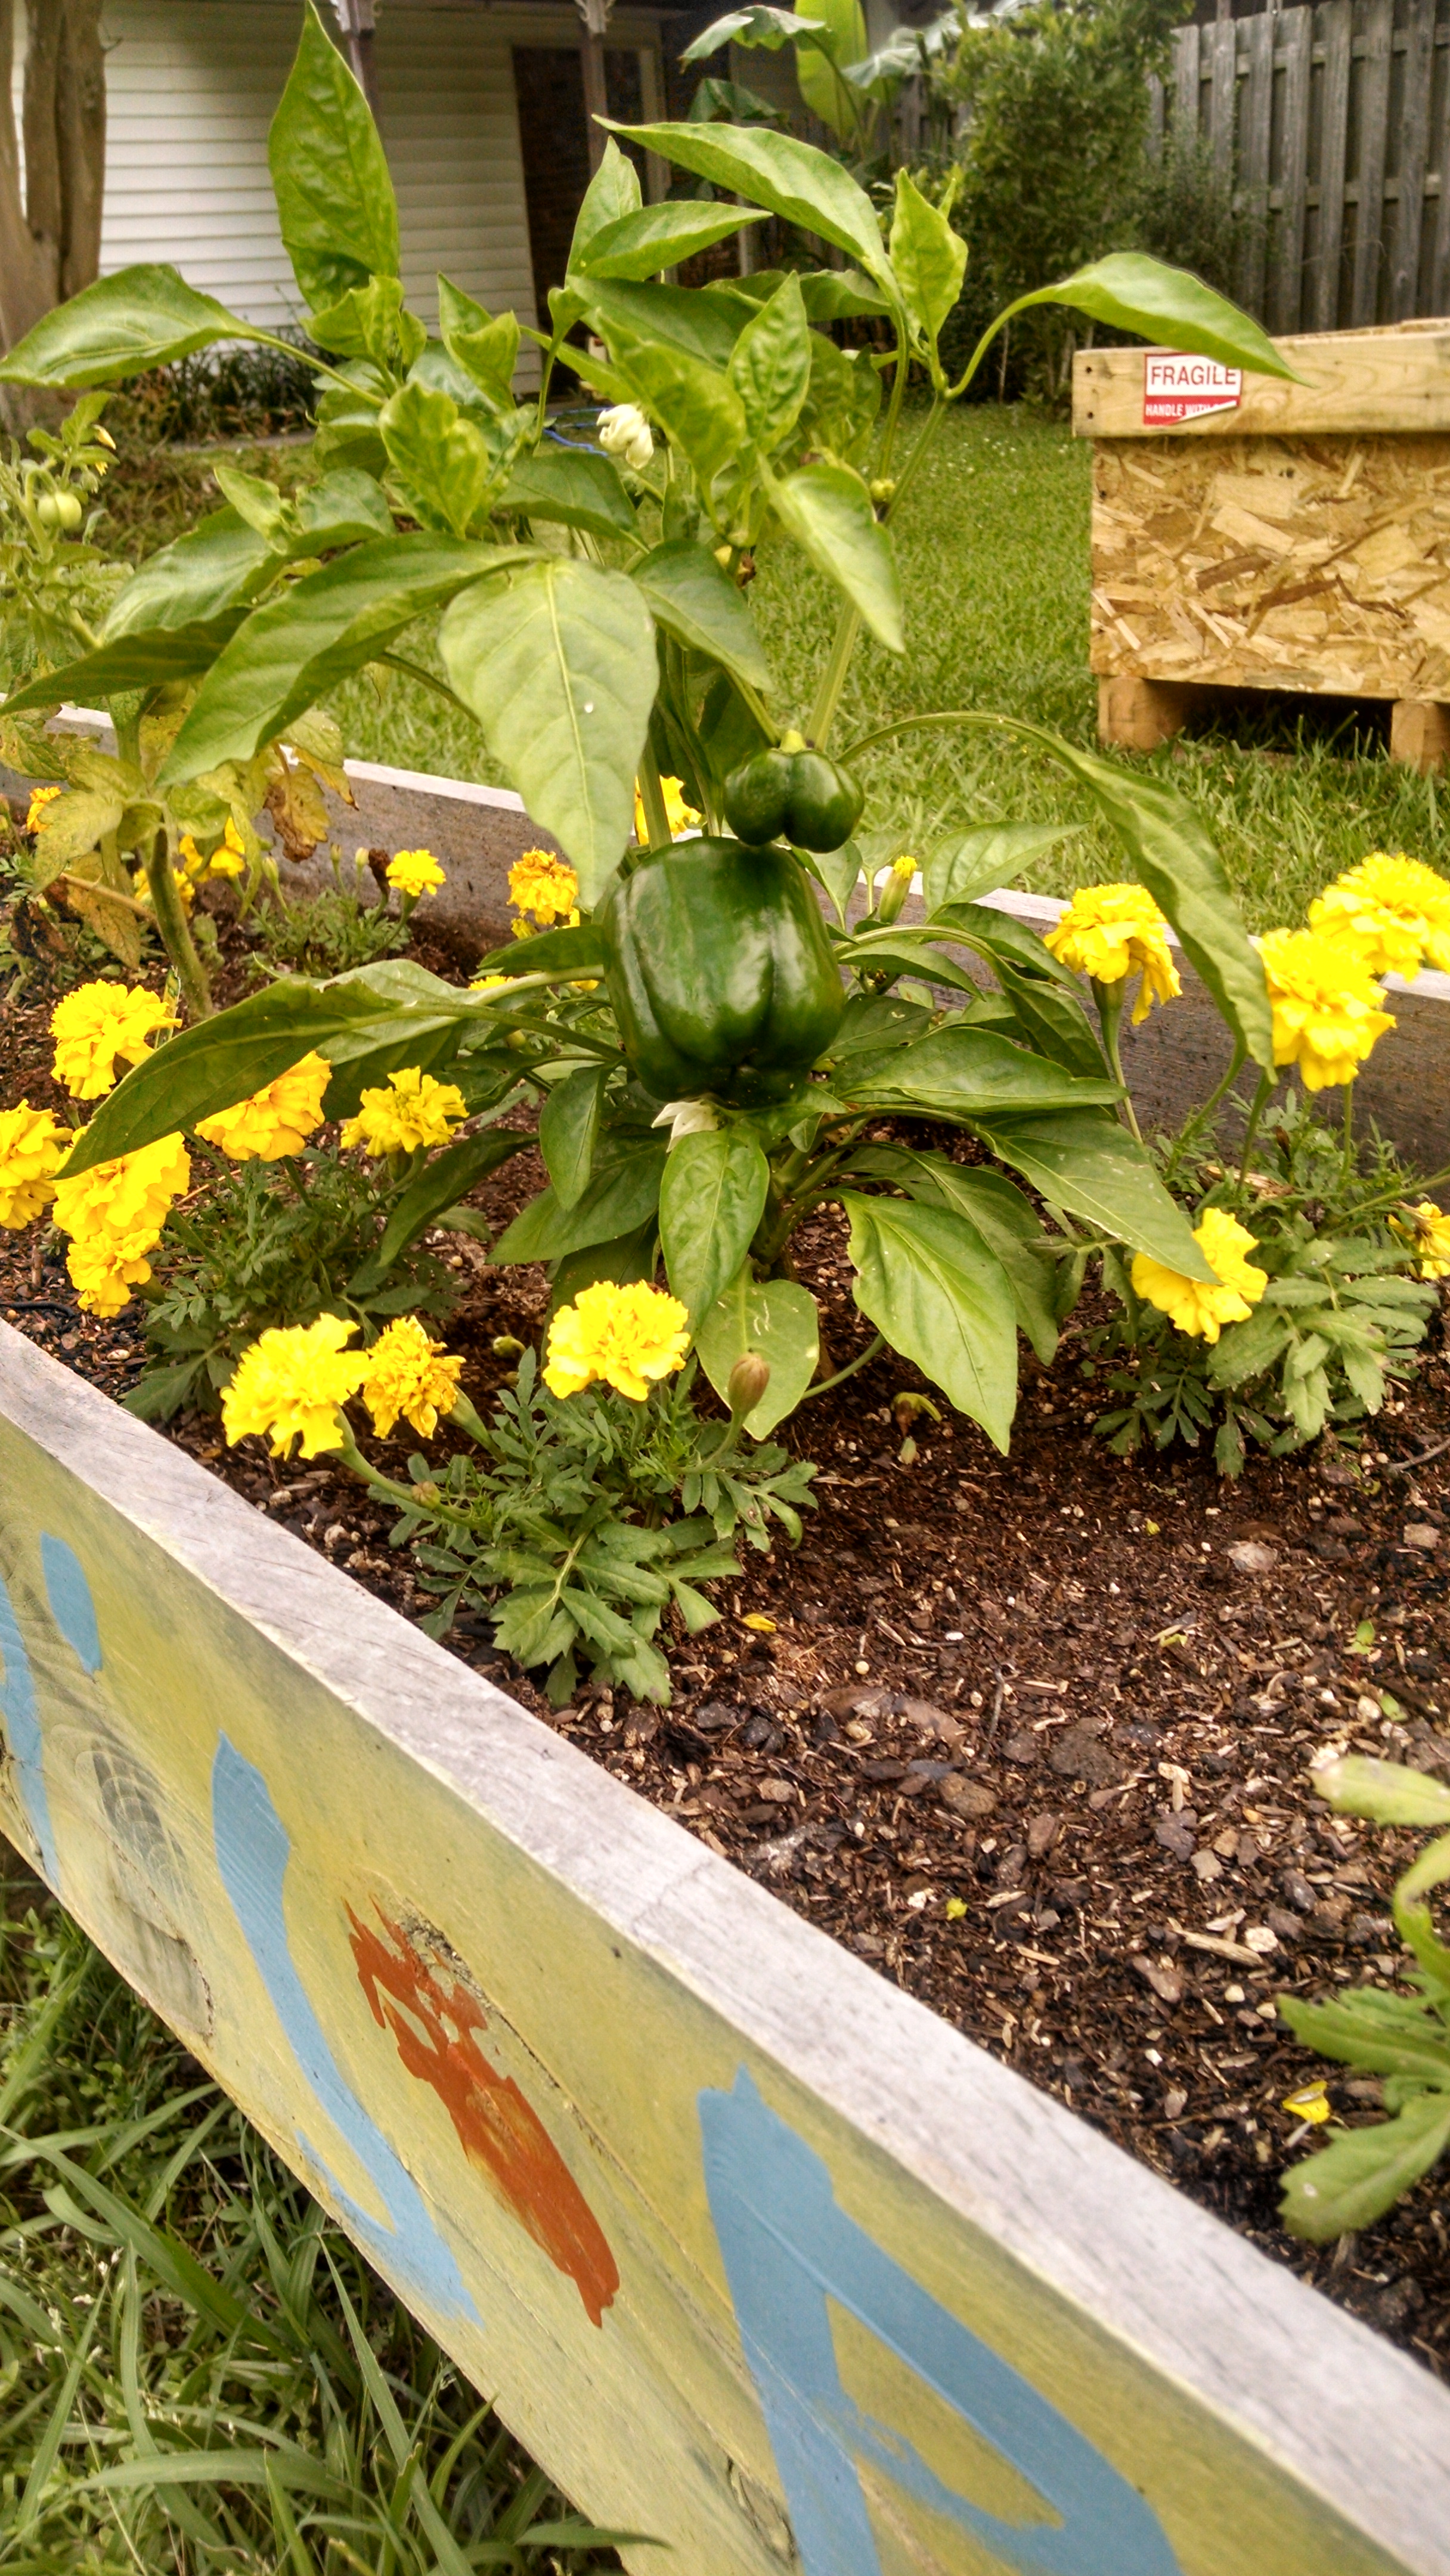
It is so wonderful seeing how excited my kids are to watch our plants grow!  Right now, we just have bell peppers and cherry tomatoes, but we hope to fill our other planters soon!

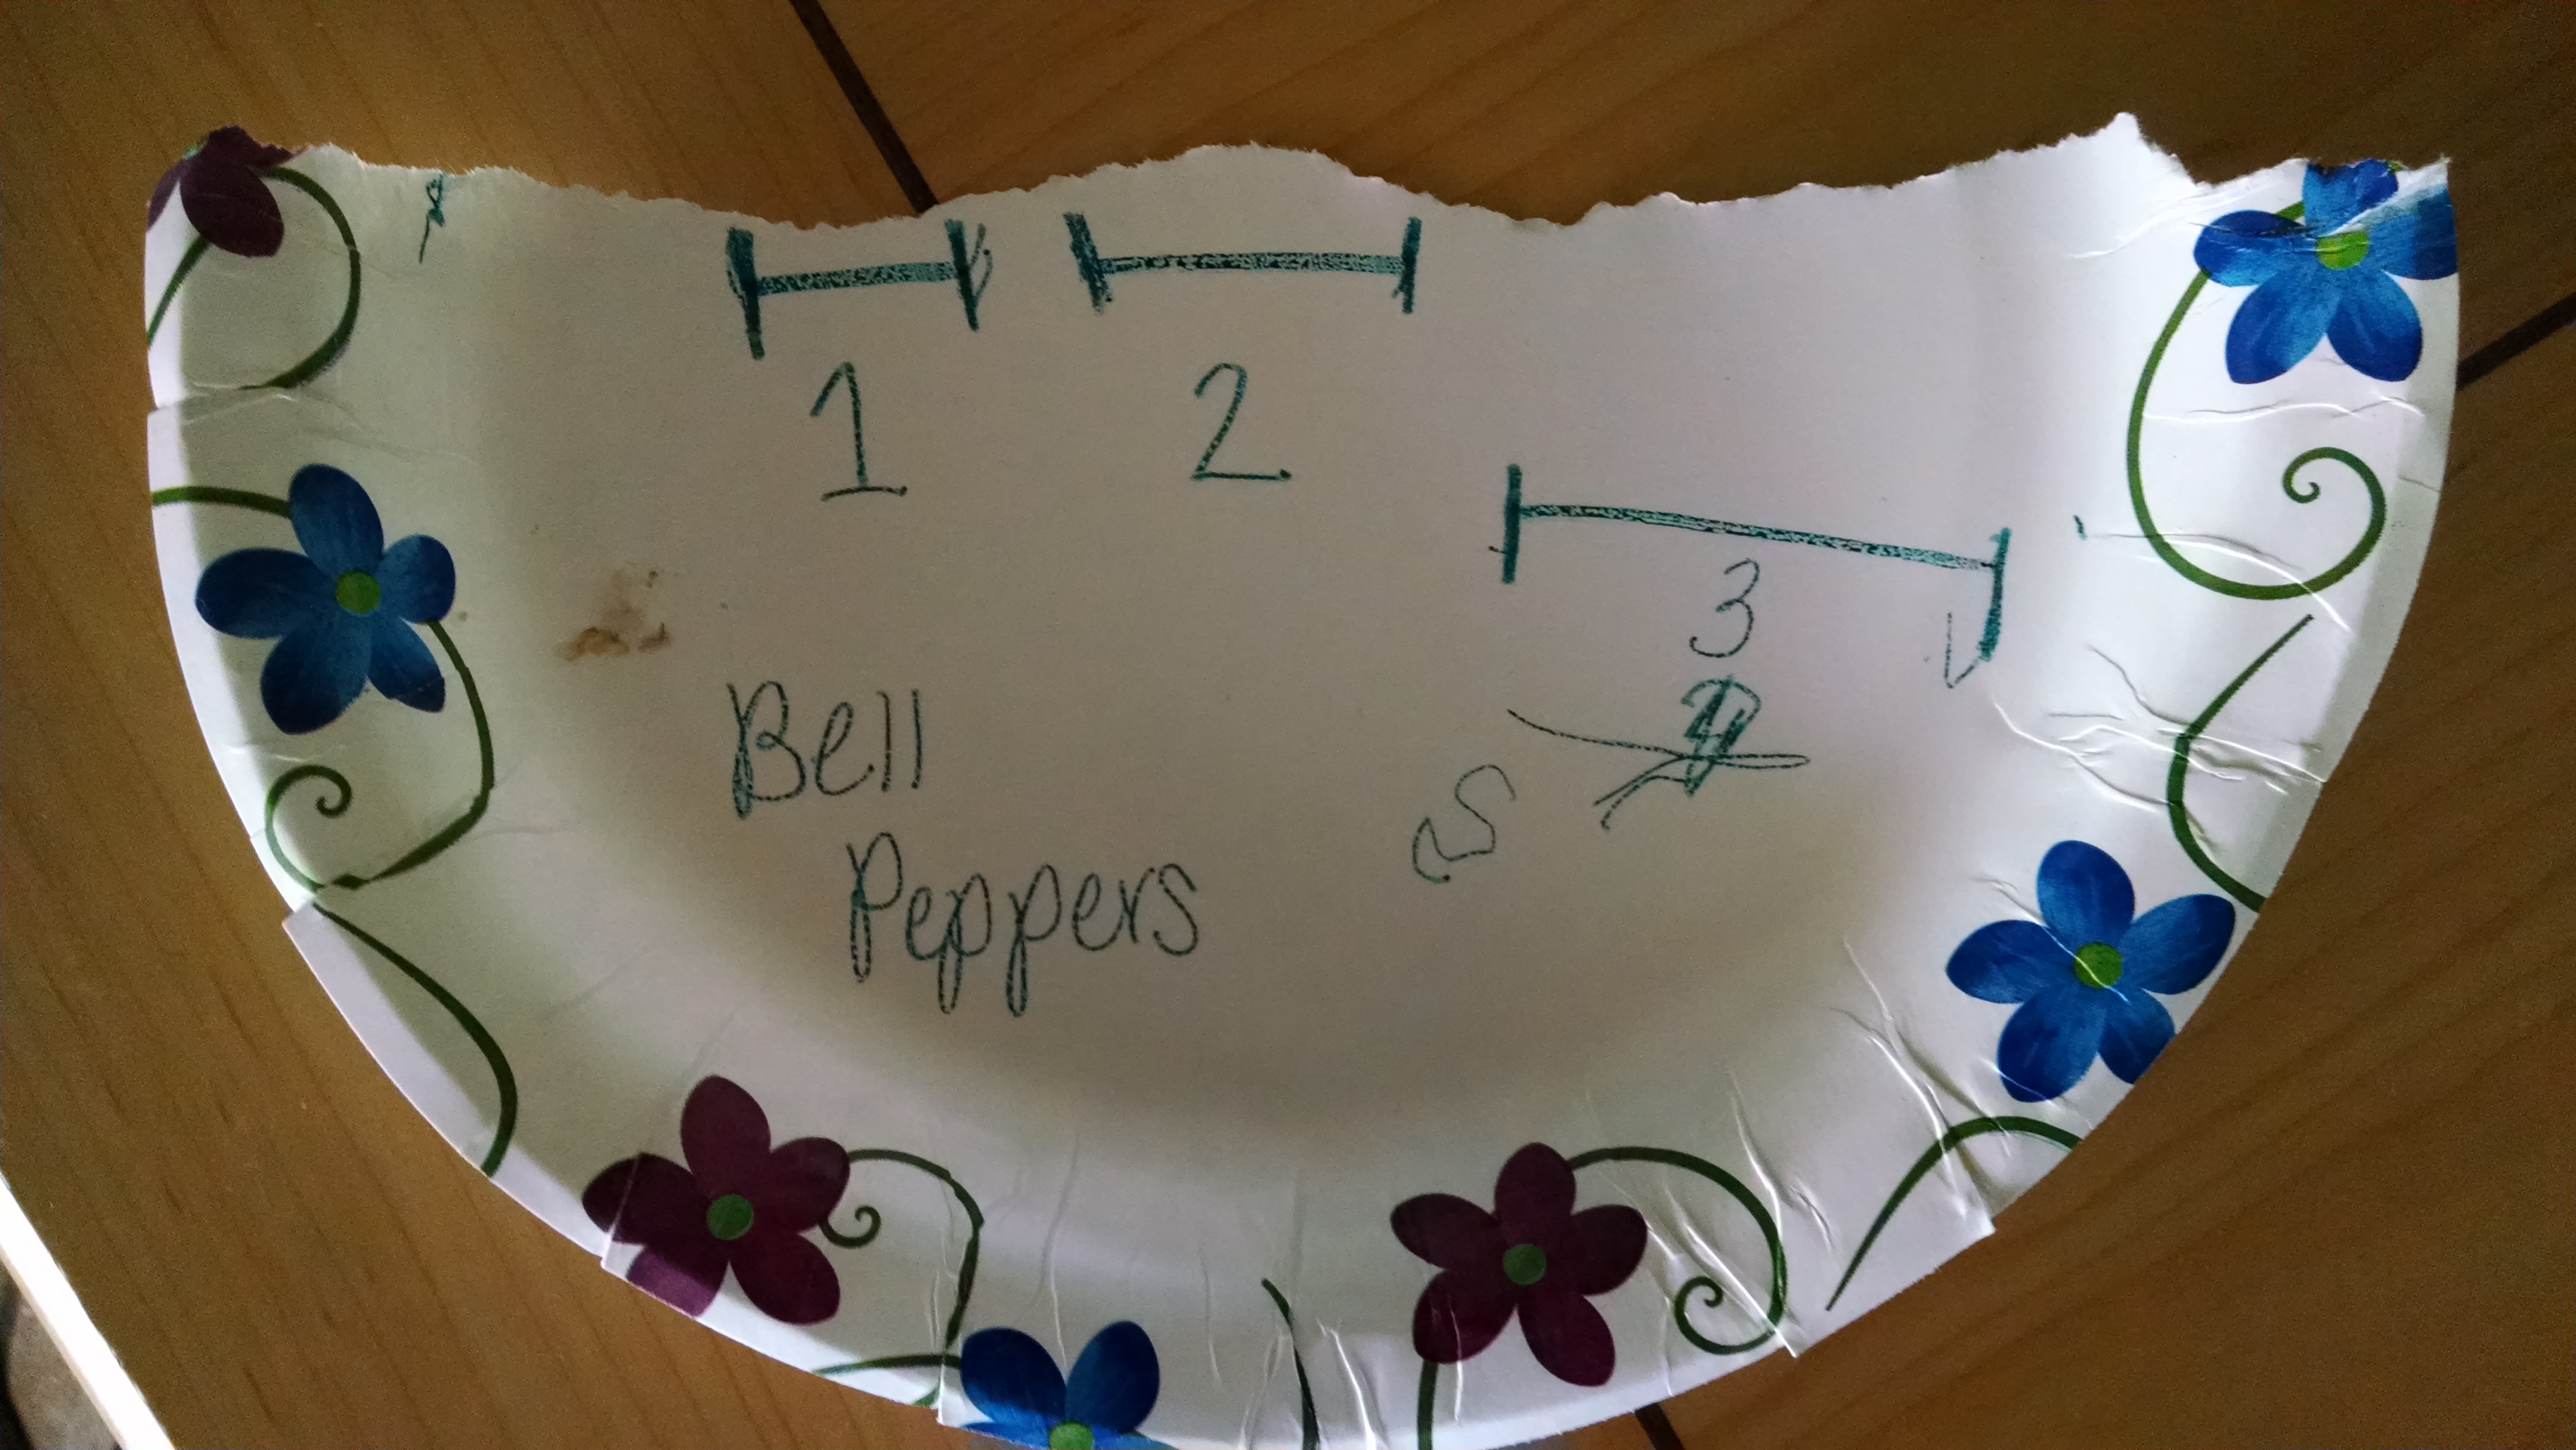
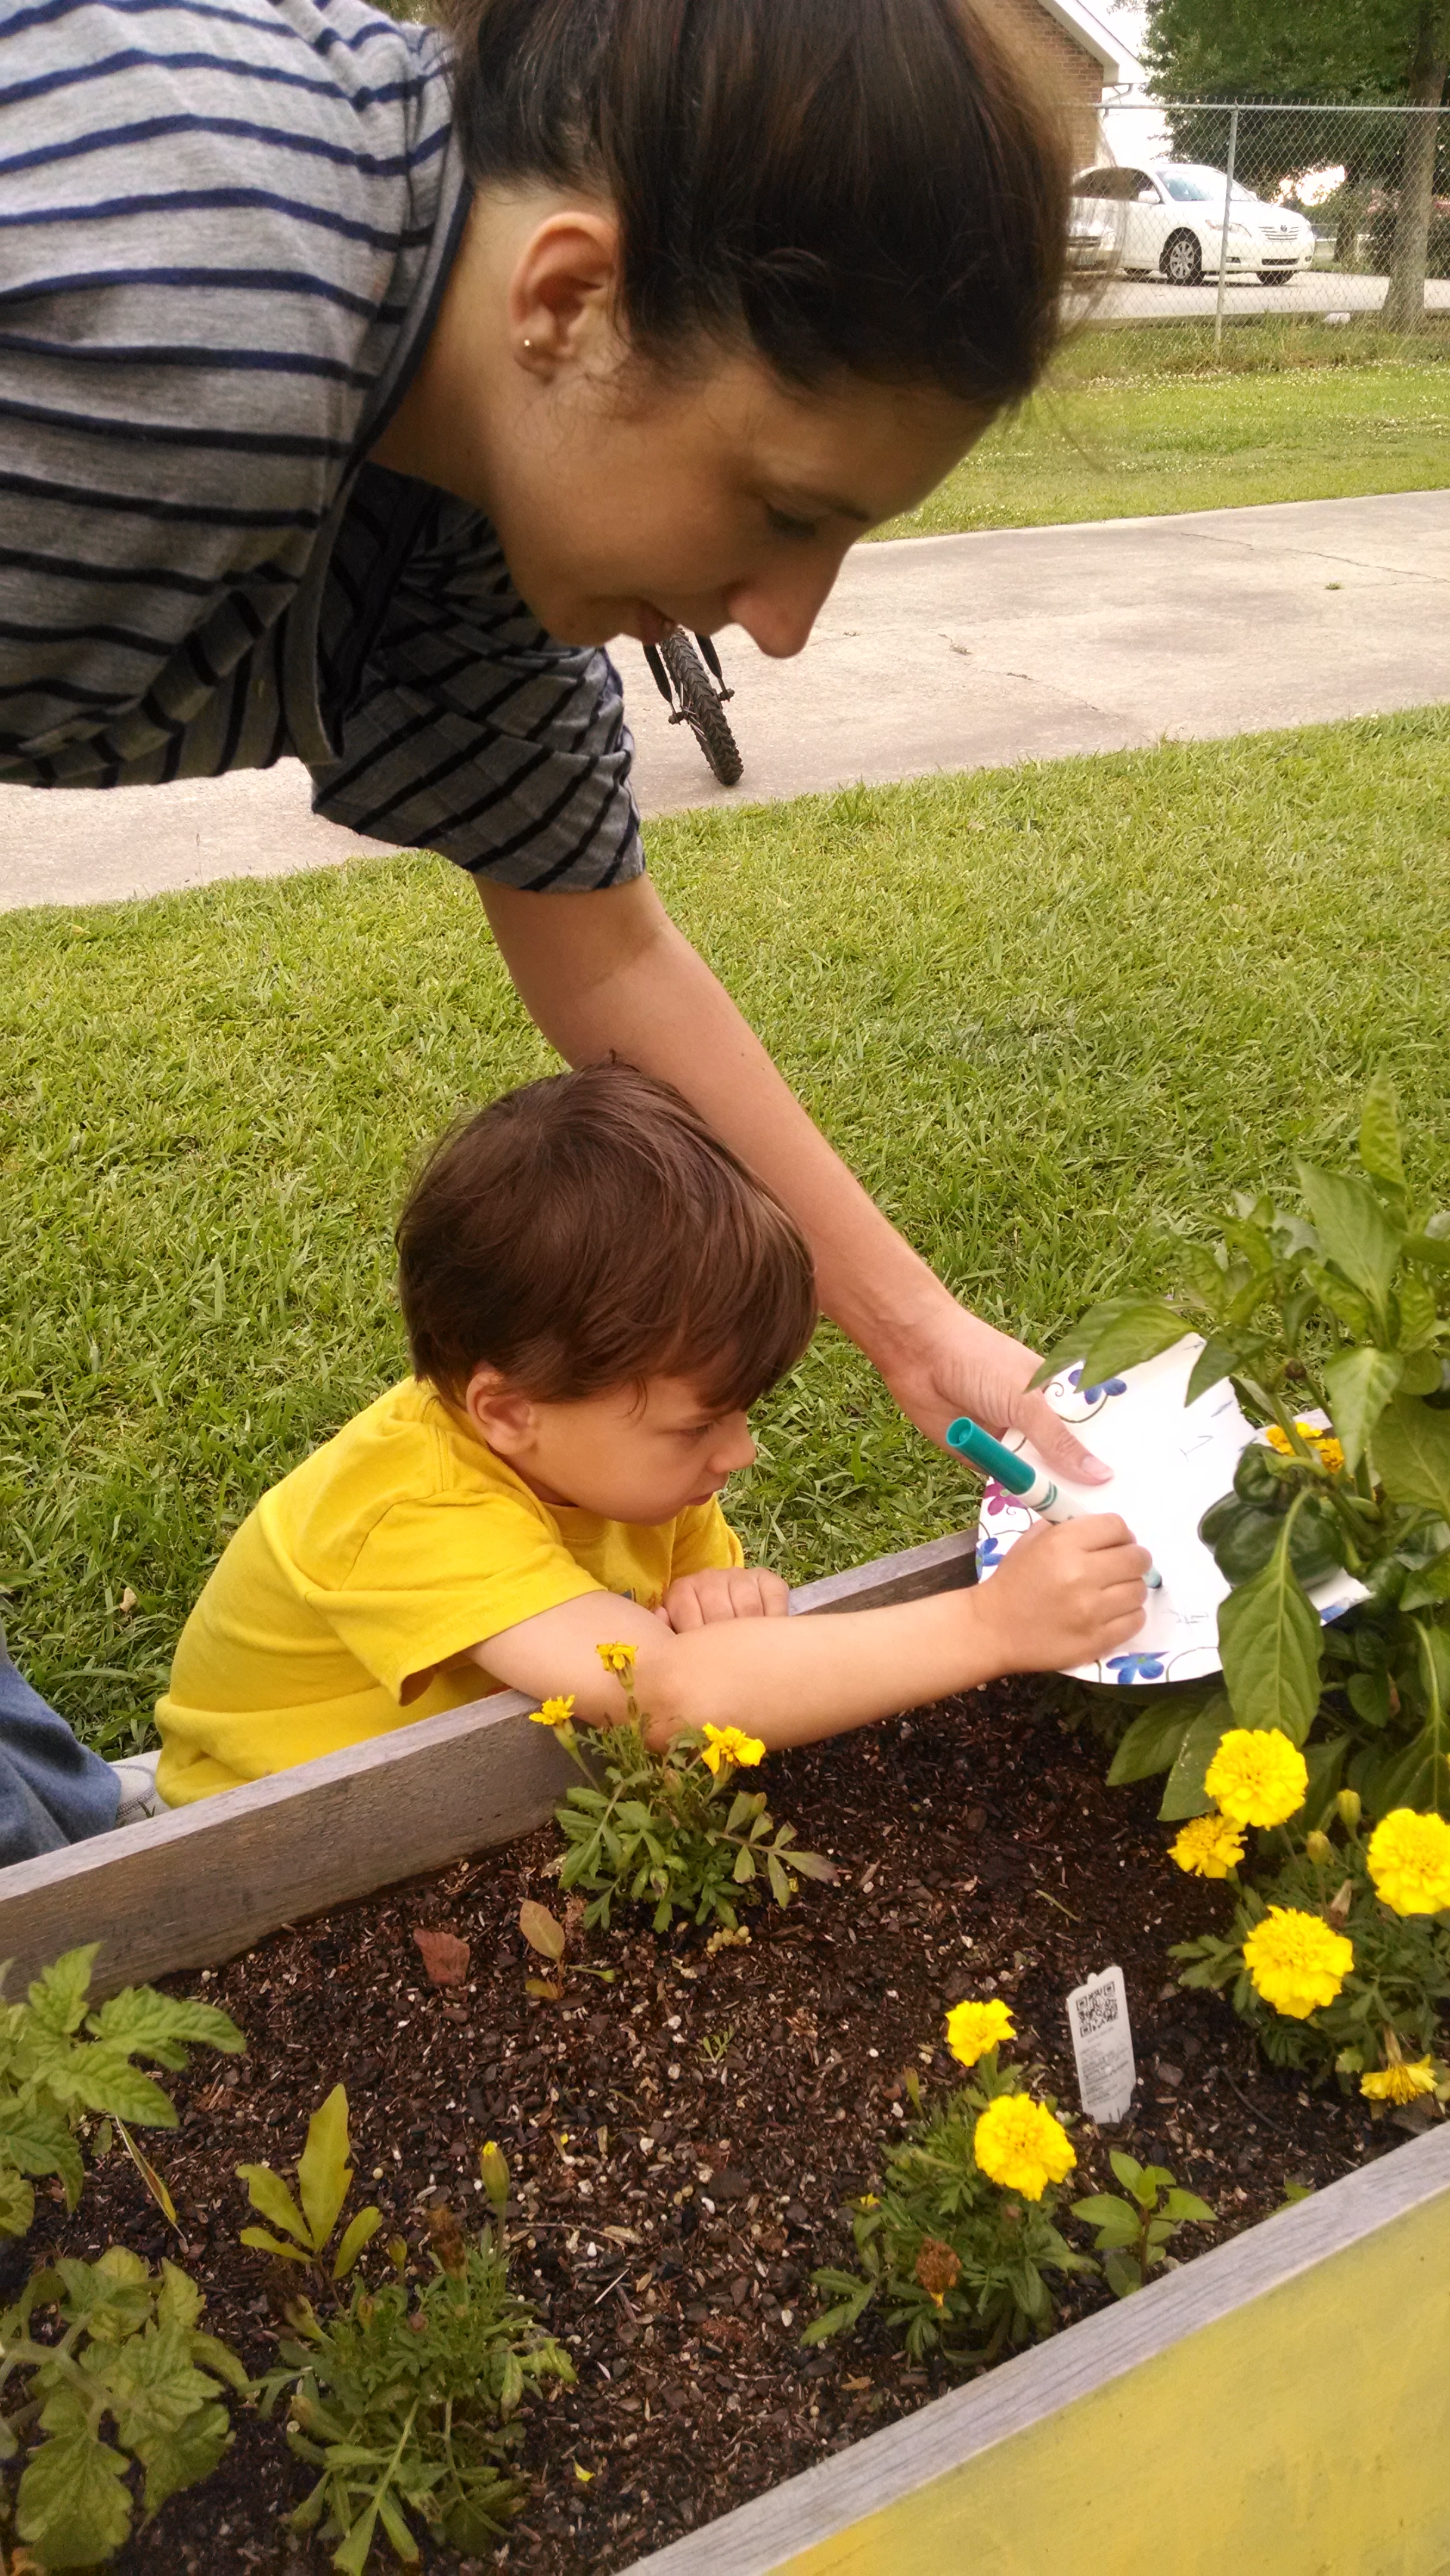
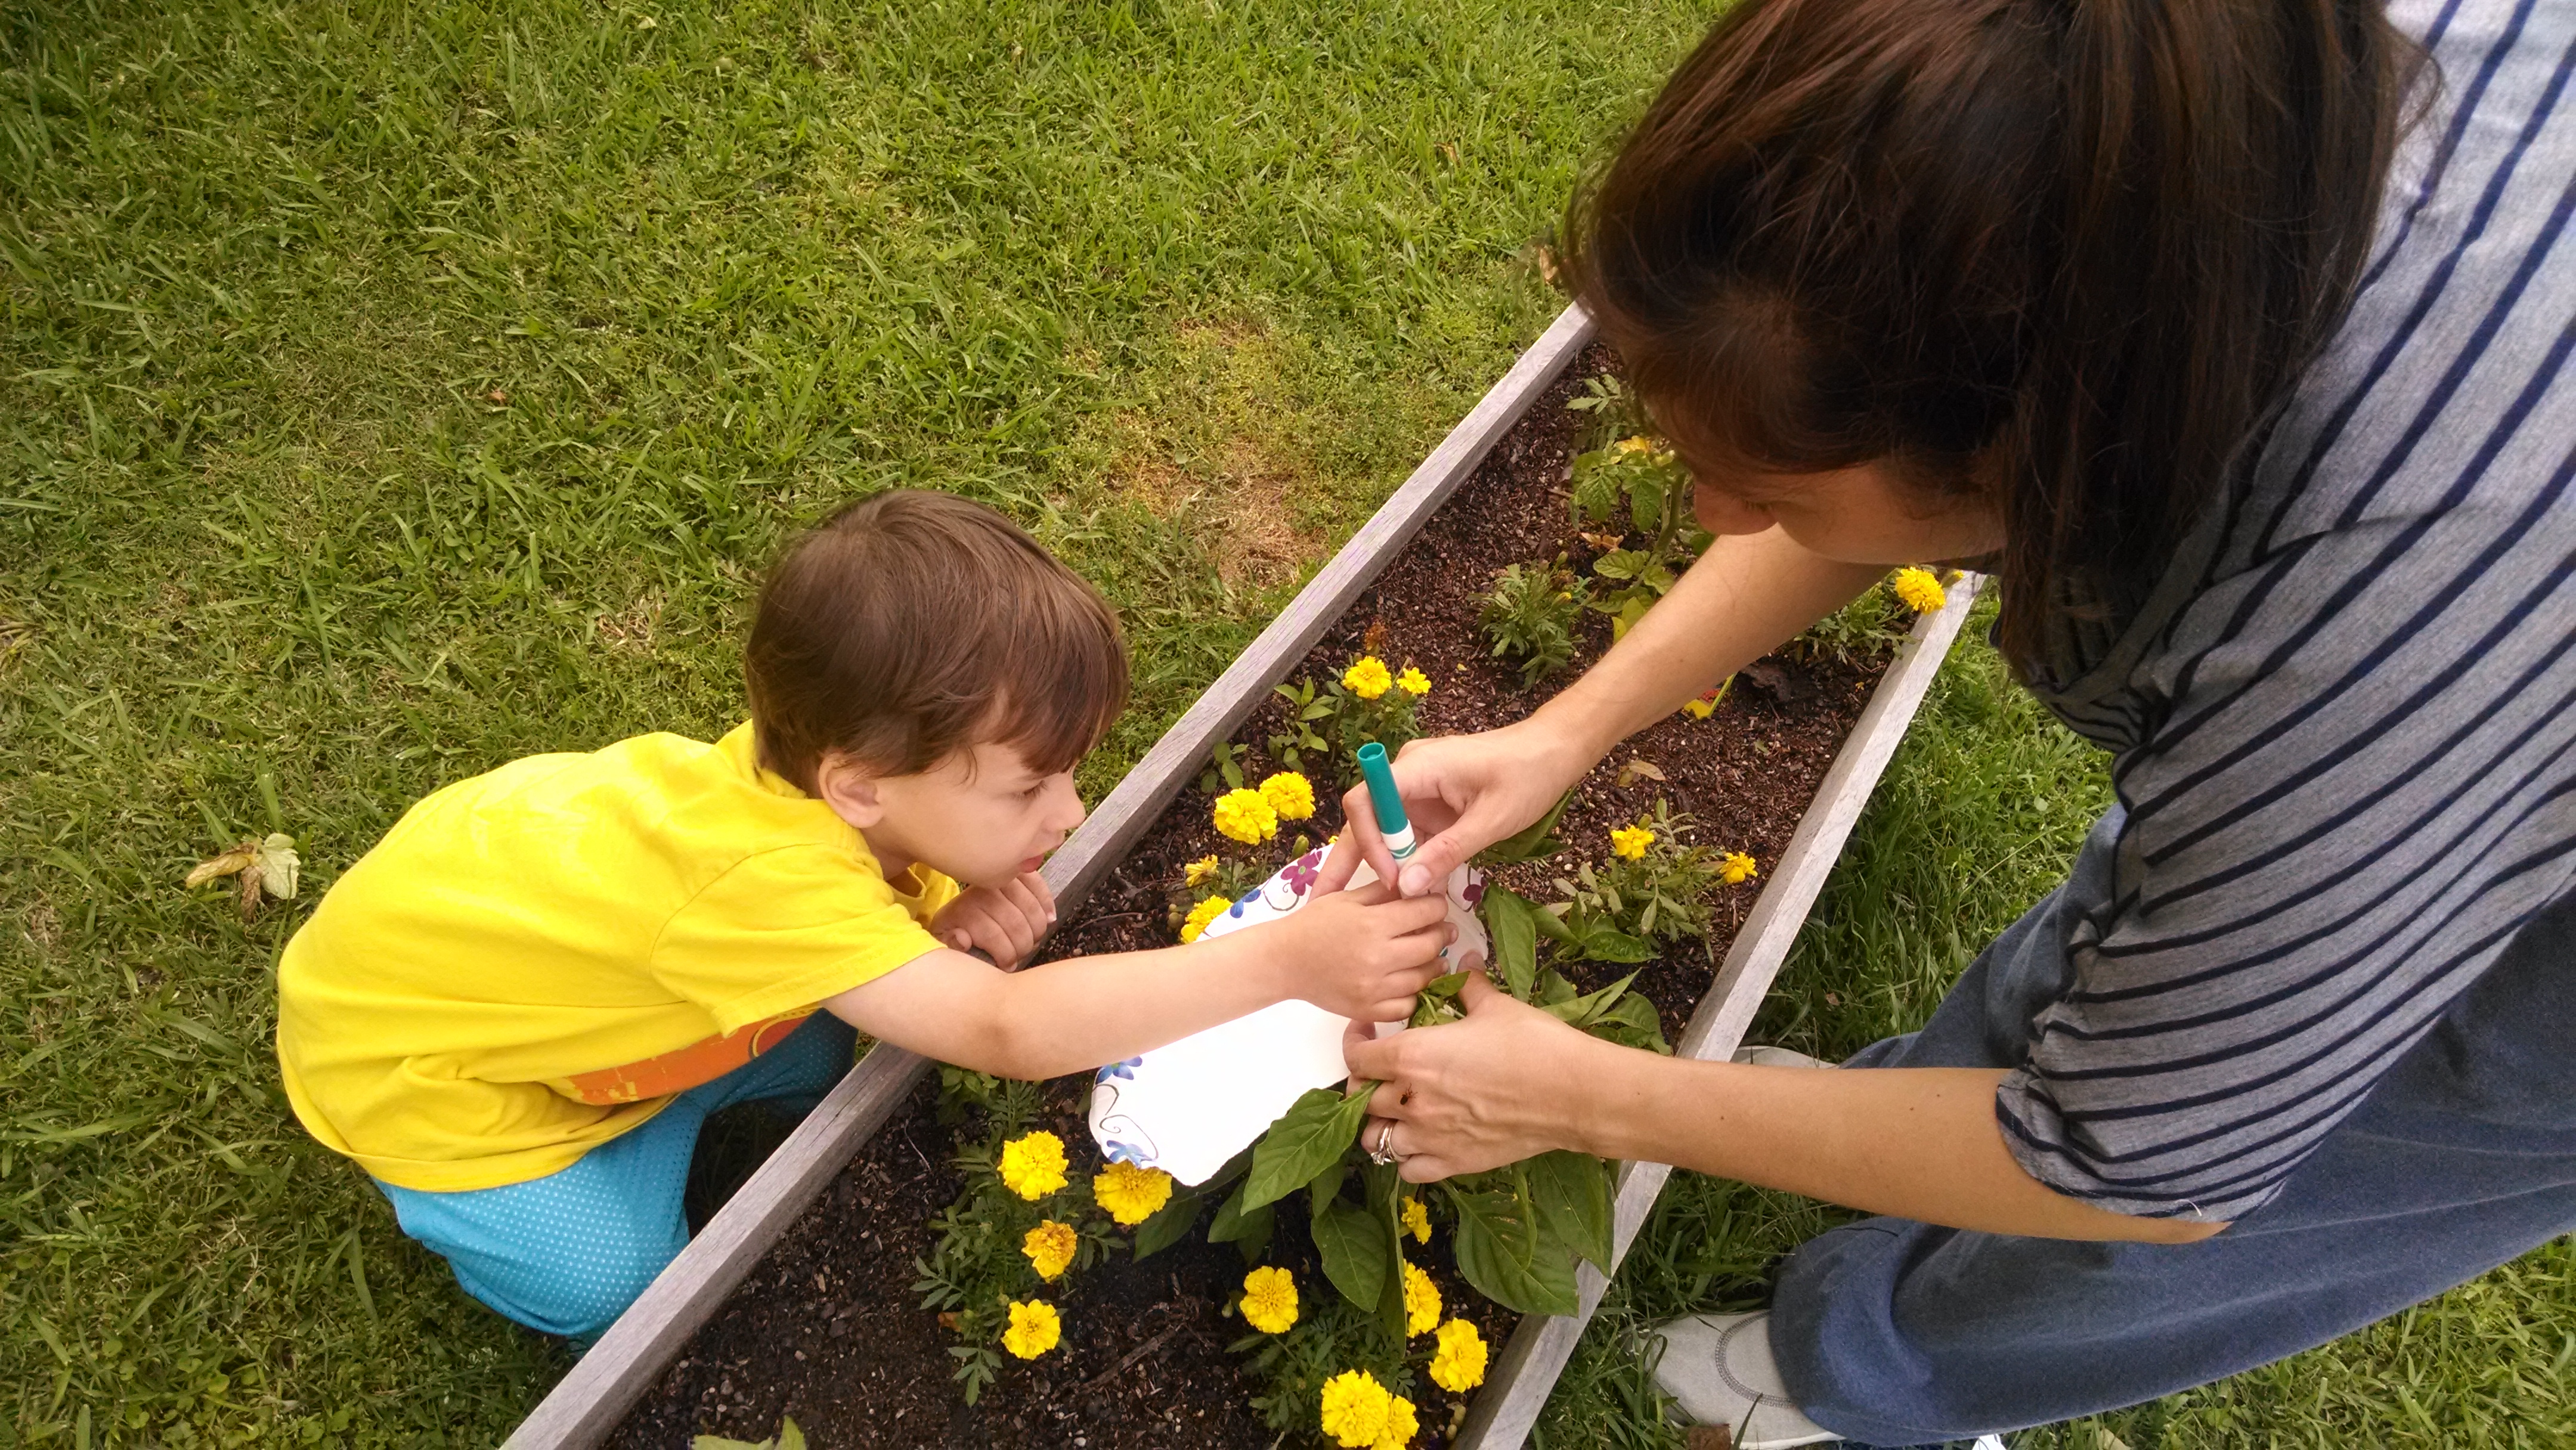
Leyson and I tore a paper plate in half to draw our measurements of the peppers (paper plates are sturdier than sheets of paper thus easier to measure the peppers on).  We used a marker to draw a line on each side of the paper and later use a ruler to measure from line to line.  We numbered our peppers 1, 2 and 3.  Measure them week by week so you can see how much they grow in one week.

IMG_20140512_113850497

IMG_20140510_191016269 IMG_20140510_190829946

IMG_20140510_191123344_HDR

How does your garden grow???  How have you involved your children in your garden?

Late Night Root Beer Float

This pregnancy my cravings are getting the best of me! I will have very specific cravings and then feel the need to feed my craving immediately…my last pregnancy this wasn’t really the case so I thought pregnant women who did this were a little crazy haha. But the other night, I somehow put it in my head that I wanted a root beer float even though I really haven’t craved many sweets this pregnancy, I decided I needed it at that moment. So, a little after 9:00 o’clock I told my husband I’d be “right back” and he laughed when I came back home with ice cream and root beer and didn’t hesitate for a second because I made my root beer float the second I walked in the door.

I wonder how many other Mommy Teachers are pregnant, trying to keep up with your little one and a meal plan for the week. This “Mommy Moment” made me think about one of the cutest Story Cook Books I have ever seen. My best friend made a cookbook that told children’s versions of recipes word for word. So for root beer float it might have said something like “Well, you need some ice cream and maybe some chocolate syrup if your mom will let you have it. Then you scoop two, no three, scoops of ice cream in a cup and pour the chocolate and root beer over it until it bubbles up and makes it foamy. Then you can eat it, but you have to hurry so the ice cream don’t melt!” So, to make a Cook Book of these “recipes” you would write each “recipe” – in your child’s own words and maybe ask some other questions to add to that page in the Cook Book like “When do you like to eat root beer floats?” or “What other kinds of ice cream would taste good with root beer?” or even “Does this recipe fit into one of the food groups?” haha that would be an interesting answer. And then you could put a picture of your child eating a root beer float on that page of the cook book.
I think that this activity is SUCH a great collection of your child’s thoughts. While it is a keepsake it also reveals their understanding of sequential order, how they use their senses to make observations, memory recall, quantities (if you ask them specific questions like “how much root beer?” etc.
Have so much fun with this and share pictures on the Mommy Teacher Facebook Page if you make one or already have something similar to this!

Last Year’s Fourth of July….to Inspire :)

Every year my sister throws a Fourth of July party at her house, but last year was extra special.  My sister and I, and our families, got to celebrate Independence Day with our two precious newborns….born just two days apart!

We enjoyed a lot of good food, swimming, and fireworks while my little man enjoyed his floatie:

My husband and I had some time to enjoy the fireworks that night with so many family members around to hold the baby:

And this year will be another special party at my sister’s house that I am looking forward to.  We made the meal plan and being that I am four months pregnant I picked what I was going to bring based on my cravings.

But last year I made this:

It may not look this “neat” if you let your little ones help you make it, but I thought that a fruit pizza flag would be SUCH a great cooking activity….especially with all the teaching opportunities here.  Put candles in it and sing Happy Birthday to our country, Explain the symbolism of the American flag, counting out the stars and stripes, measure the cake pan and try to fill the whole area, cut the strawberries in “half” making twice as many pieces, and measure out the amounts to make and stir the icing from scratch….I just used sugar cookie dough for the base 🙂

So, Happy Fourth of July Friends!  Make memories and share them on the Mommy Teacher Facebook Page!!!!

Learning in the Kitchen

This past Thursday night, I cooked a meal for a group of college students, and one of them told me “I hope I’ll be able to cook meals like this one day.” 

That one comment got me thinking about SO many things:

My first thought, to be honest, was satisfaction – who doesn’t like to make a crowd-pleaser? 

Second thought, I was proud of how far I’ve come because before I got married I couldn’t cook macaroni and cheese.

Thirdly, I wanted to help this college student learn to cook because I love to teach about anything I have learned about (hints this site!).

Finally, I thought about how it was sad that I didn’t take the time to learn cooking tips from my mom and dad when I was young.

This reminded me of one of my FAVORITE things to do with kids, when permitted: bake or cook!

Maybe you already do this, but I have a couple suggestions to pack this activity full of learning opportunities.

Before starting, read a book like “The Little Red Hen” “Pete’s a Pizza” or another book that prepares your little one for the process and purpose of cooking or baking in a fun and meaningul way.

First, write out the recipe WITH your little one on a large piece of paper, and then read each ingredient as you pull it out.  Ask them questions and give them clues “What ingredient do you think starts with the sound /m/?” (milk!) This will give you a chance to model reading and writing for your little one.

Next, measure each ingredient WITH your little one so that they have the chance to experience measuring for accuracy and to observe large and small amounts and they will naturally observe science in action as dough rises and ingredients mix together, etc.

Finally, let them take on as much ownership as you are willing to share: stirring, spreading, sprinkling, watching the timer, or whatever your recipe calls for.

Ask your little one what he or she wants to make or bake! Have fun! 

Casey shared these pictures with me from the Young Chef’s Academy

Mommy and daughter measuring to make the dough from scratch – ambitious!

Mommy and Daughter making the measurements precise. 

Mommy and her big boy rolling out the dough.

James is enjoying the pizza sauce…mmmmmmm.

Putting on the cheese….my favorite part of pizza making.

And last step of prep….toppings of choice!

Here is a pizza recipe you can write out, cut out the pictures and use them when you write out the directions for the recipe.

Please share pictures on my mommy teacher facebook page of other FUN cooking experiences you share with your little one!

Related Posts Plugin for WordPress, Blogger...