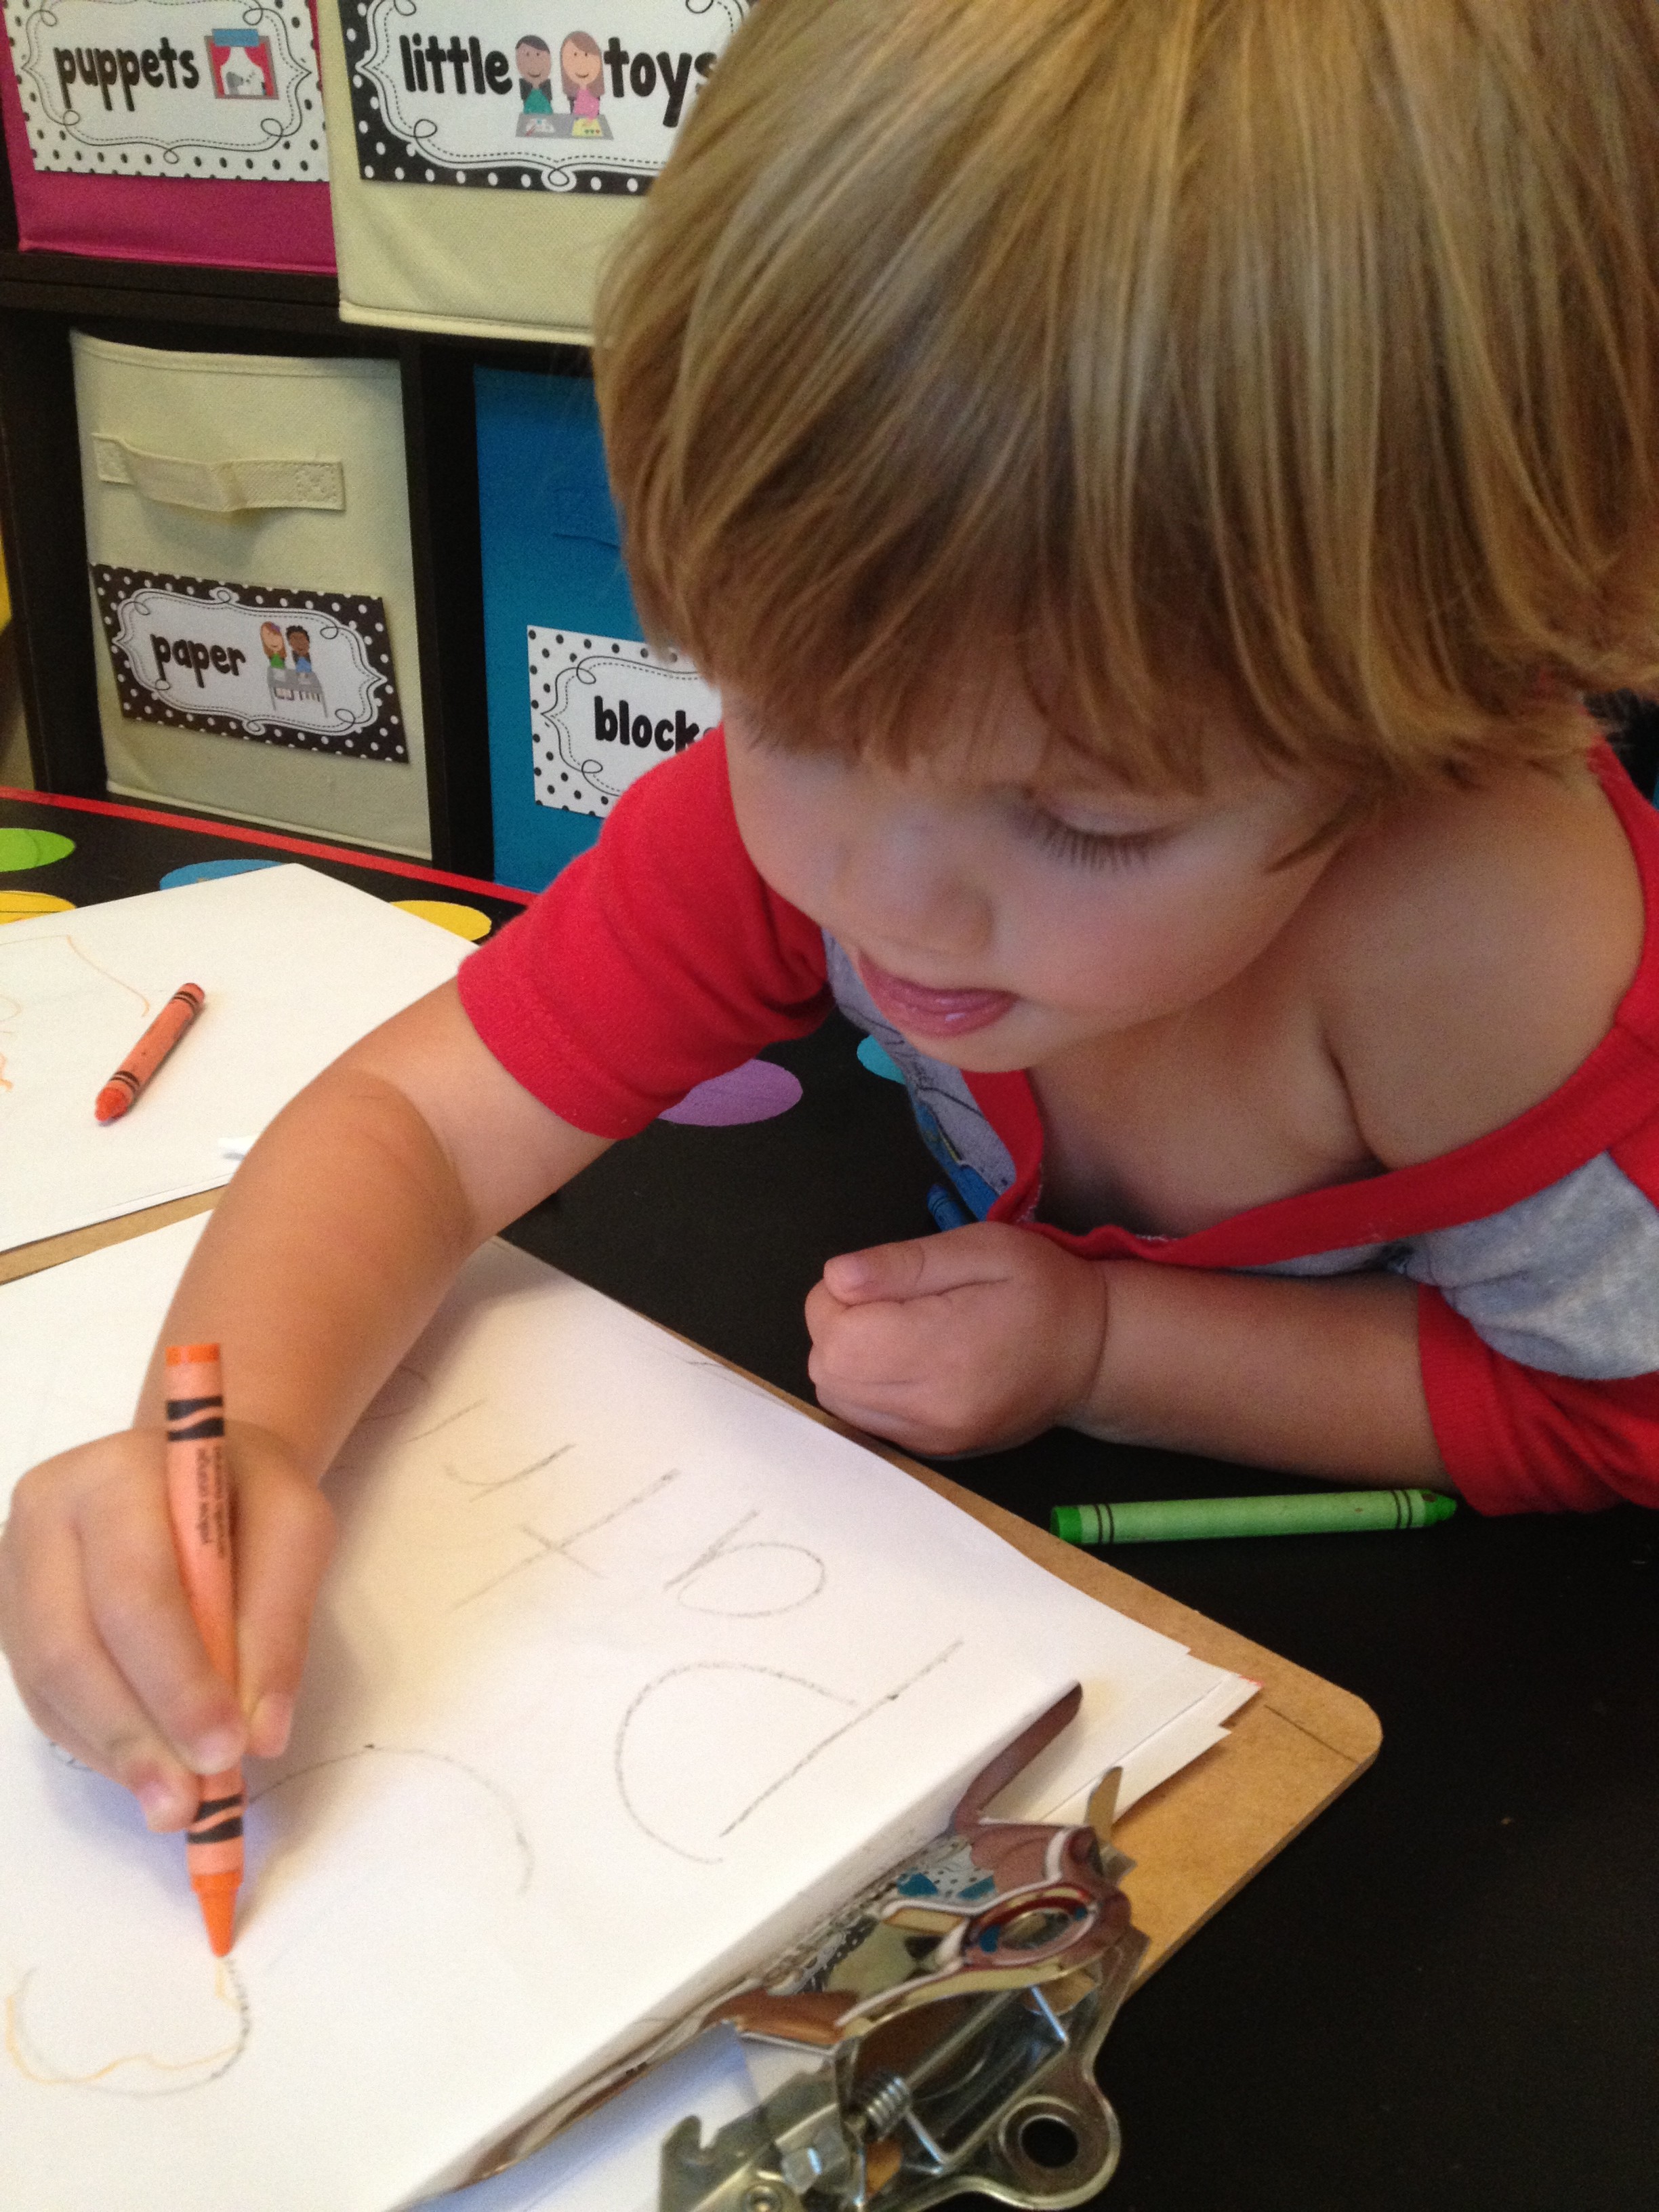
Sean Patrick has really just lately taken an interest in writing.
Compare his grasp here to the ones in the following picture and you will see that he is just getting used to the “alligator chomp.”
We have done lots of pre-writing activities to work out his little muscles in his hands to ready him for writing…with Playdough, drawing in the dirt with sticks, driving his little cars all over different surfaces, chalking outside, coloring, tearing paper, etc.
But only lately has tracing HIS letter “S” really become a priority.
When I introduced him to holding his crayon with the “ALLIGATOR CHOMP” he became obsessed with it… he would literally tell random receptionists in offices that he could hold his crayon with the alligator chomp too.
This grip has to be modeled and you may have to take your little one’s hand to get them to have a feel for it, but first we did the alligator chomp without holding anything in our hands.
I have really started to take advantage of the love of his pencil grasp and his love for his letter S by trying out lots of different tracing activities.
I always model what he is going to do first, then I take his hand and we do it together (if he will let me – independence is important to him too), and then see what he can do on his own.
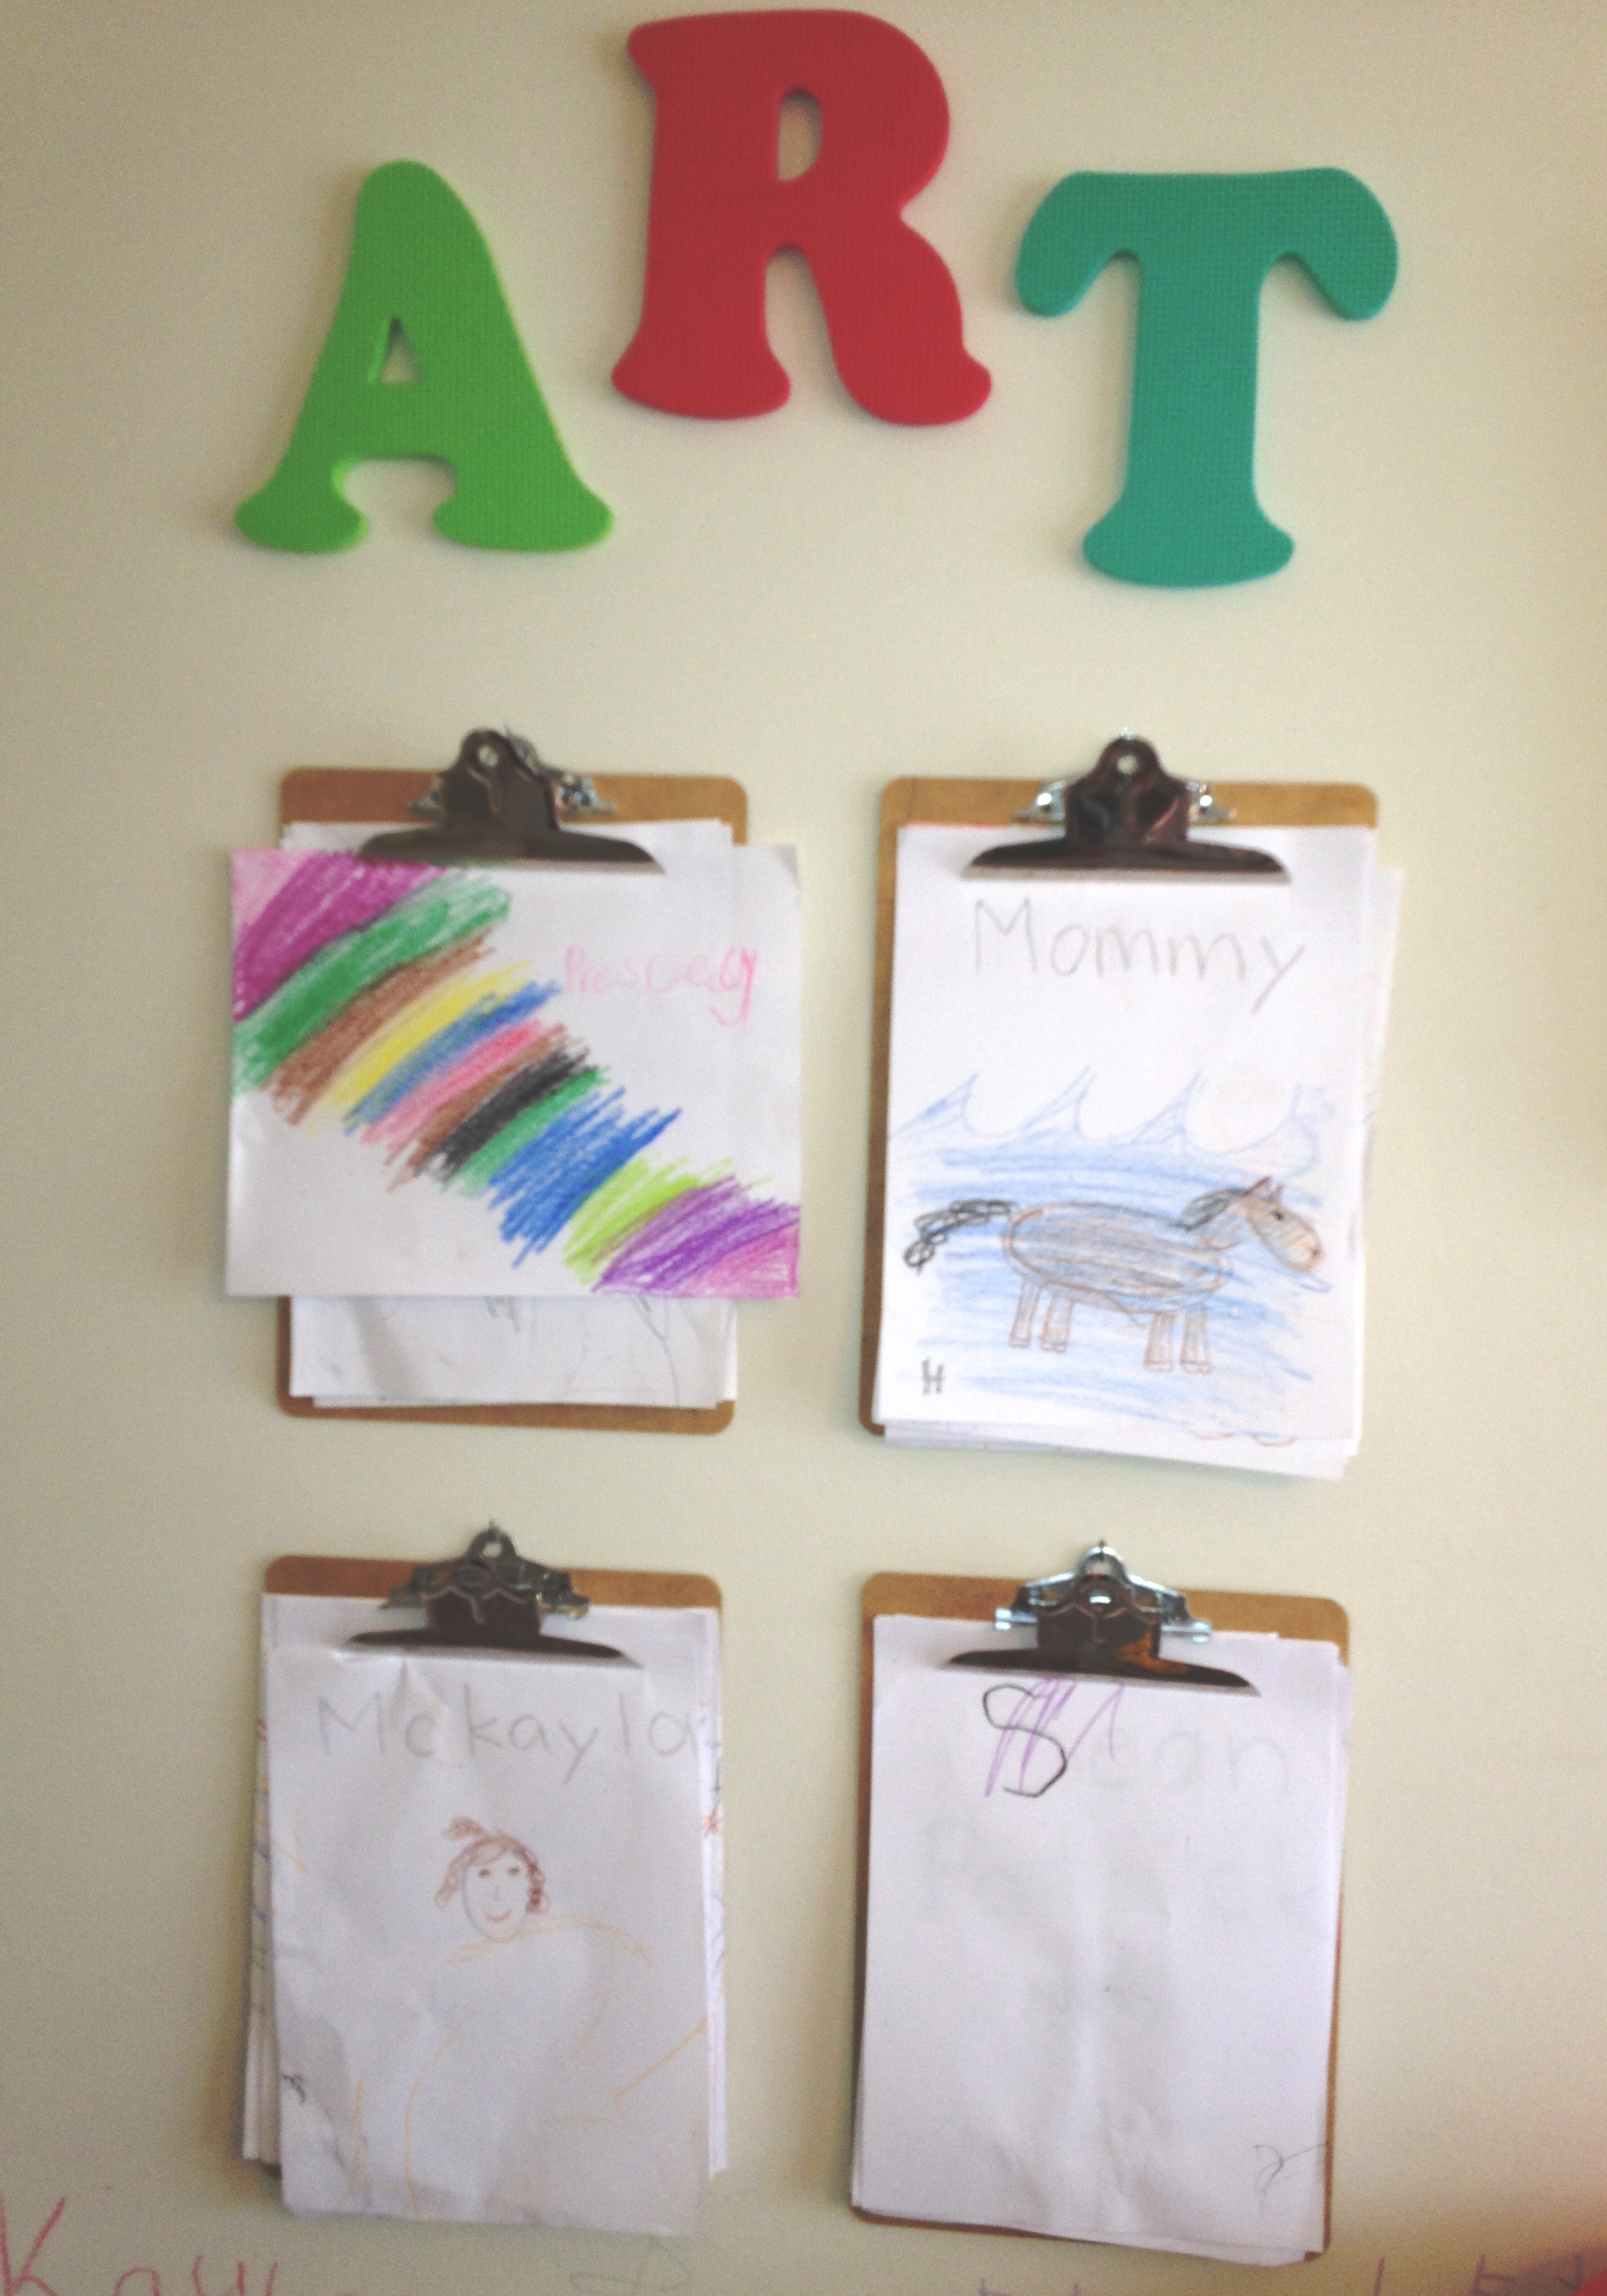
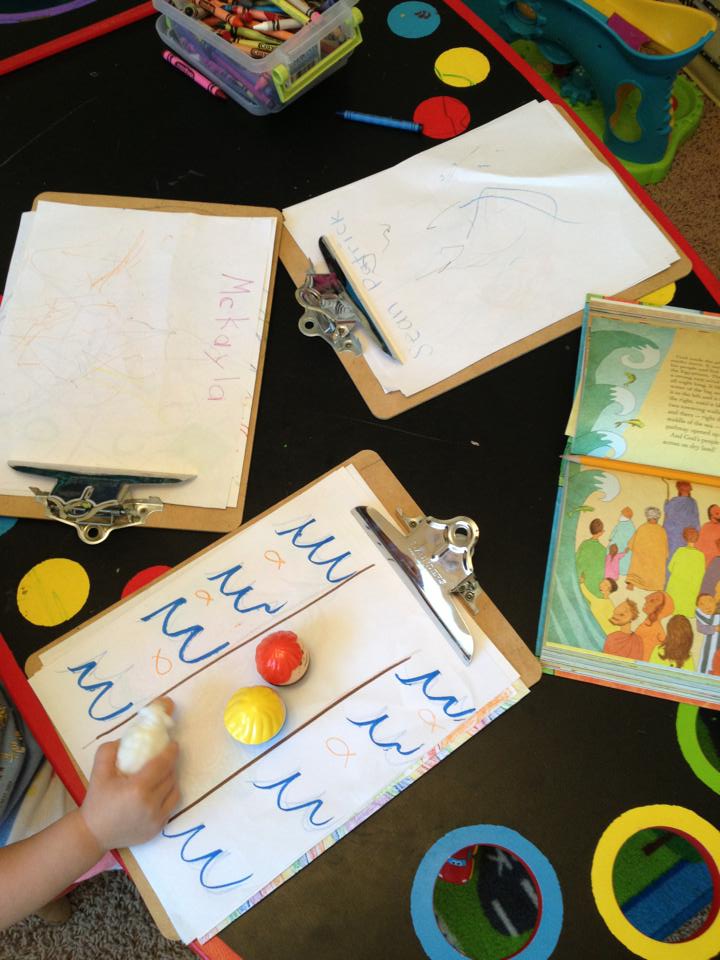
1) I wrote out his name while singing his song (I always do this first…. he knows his song).
2) Then I showed him how to trace his S with a little saying “Make a ‘c’ and then back around” (talking out the process of making the letter is important).
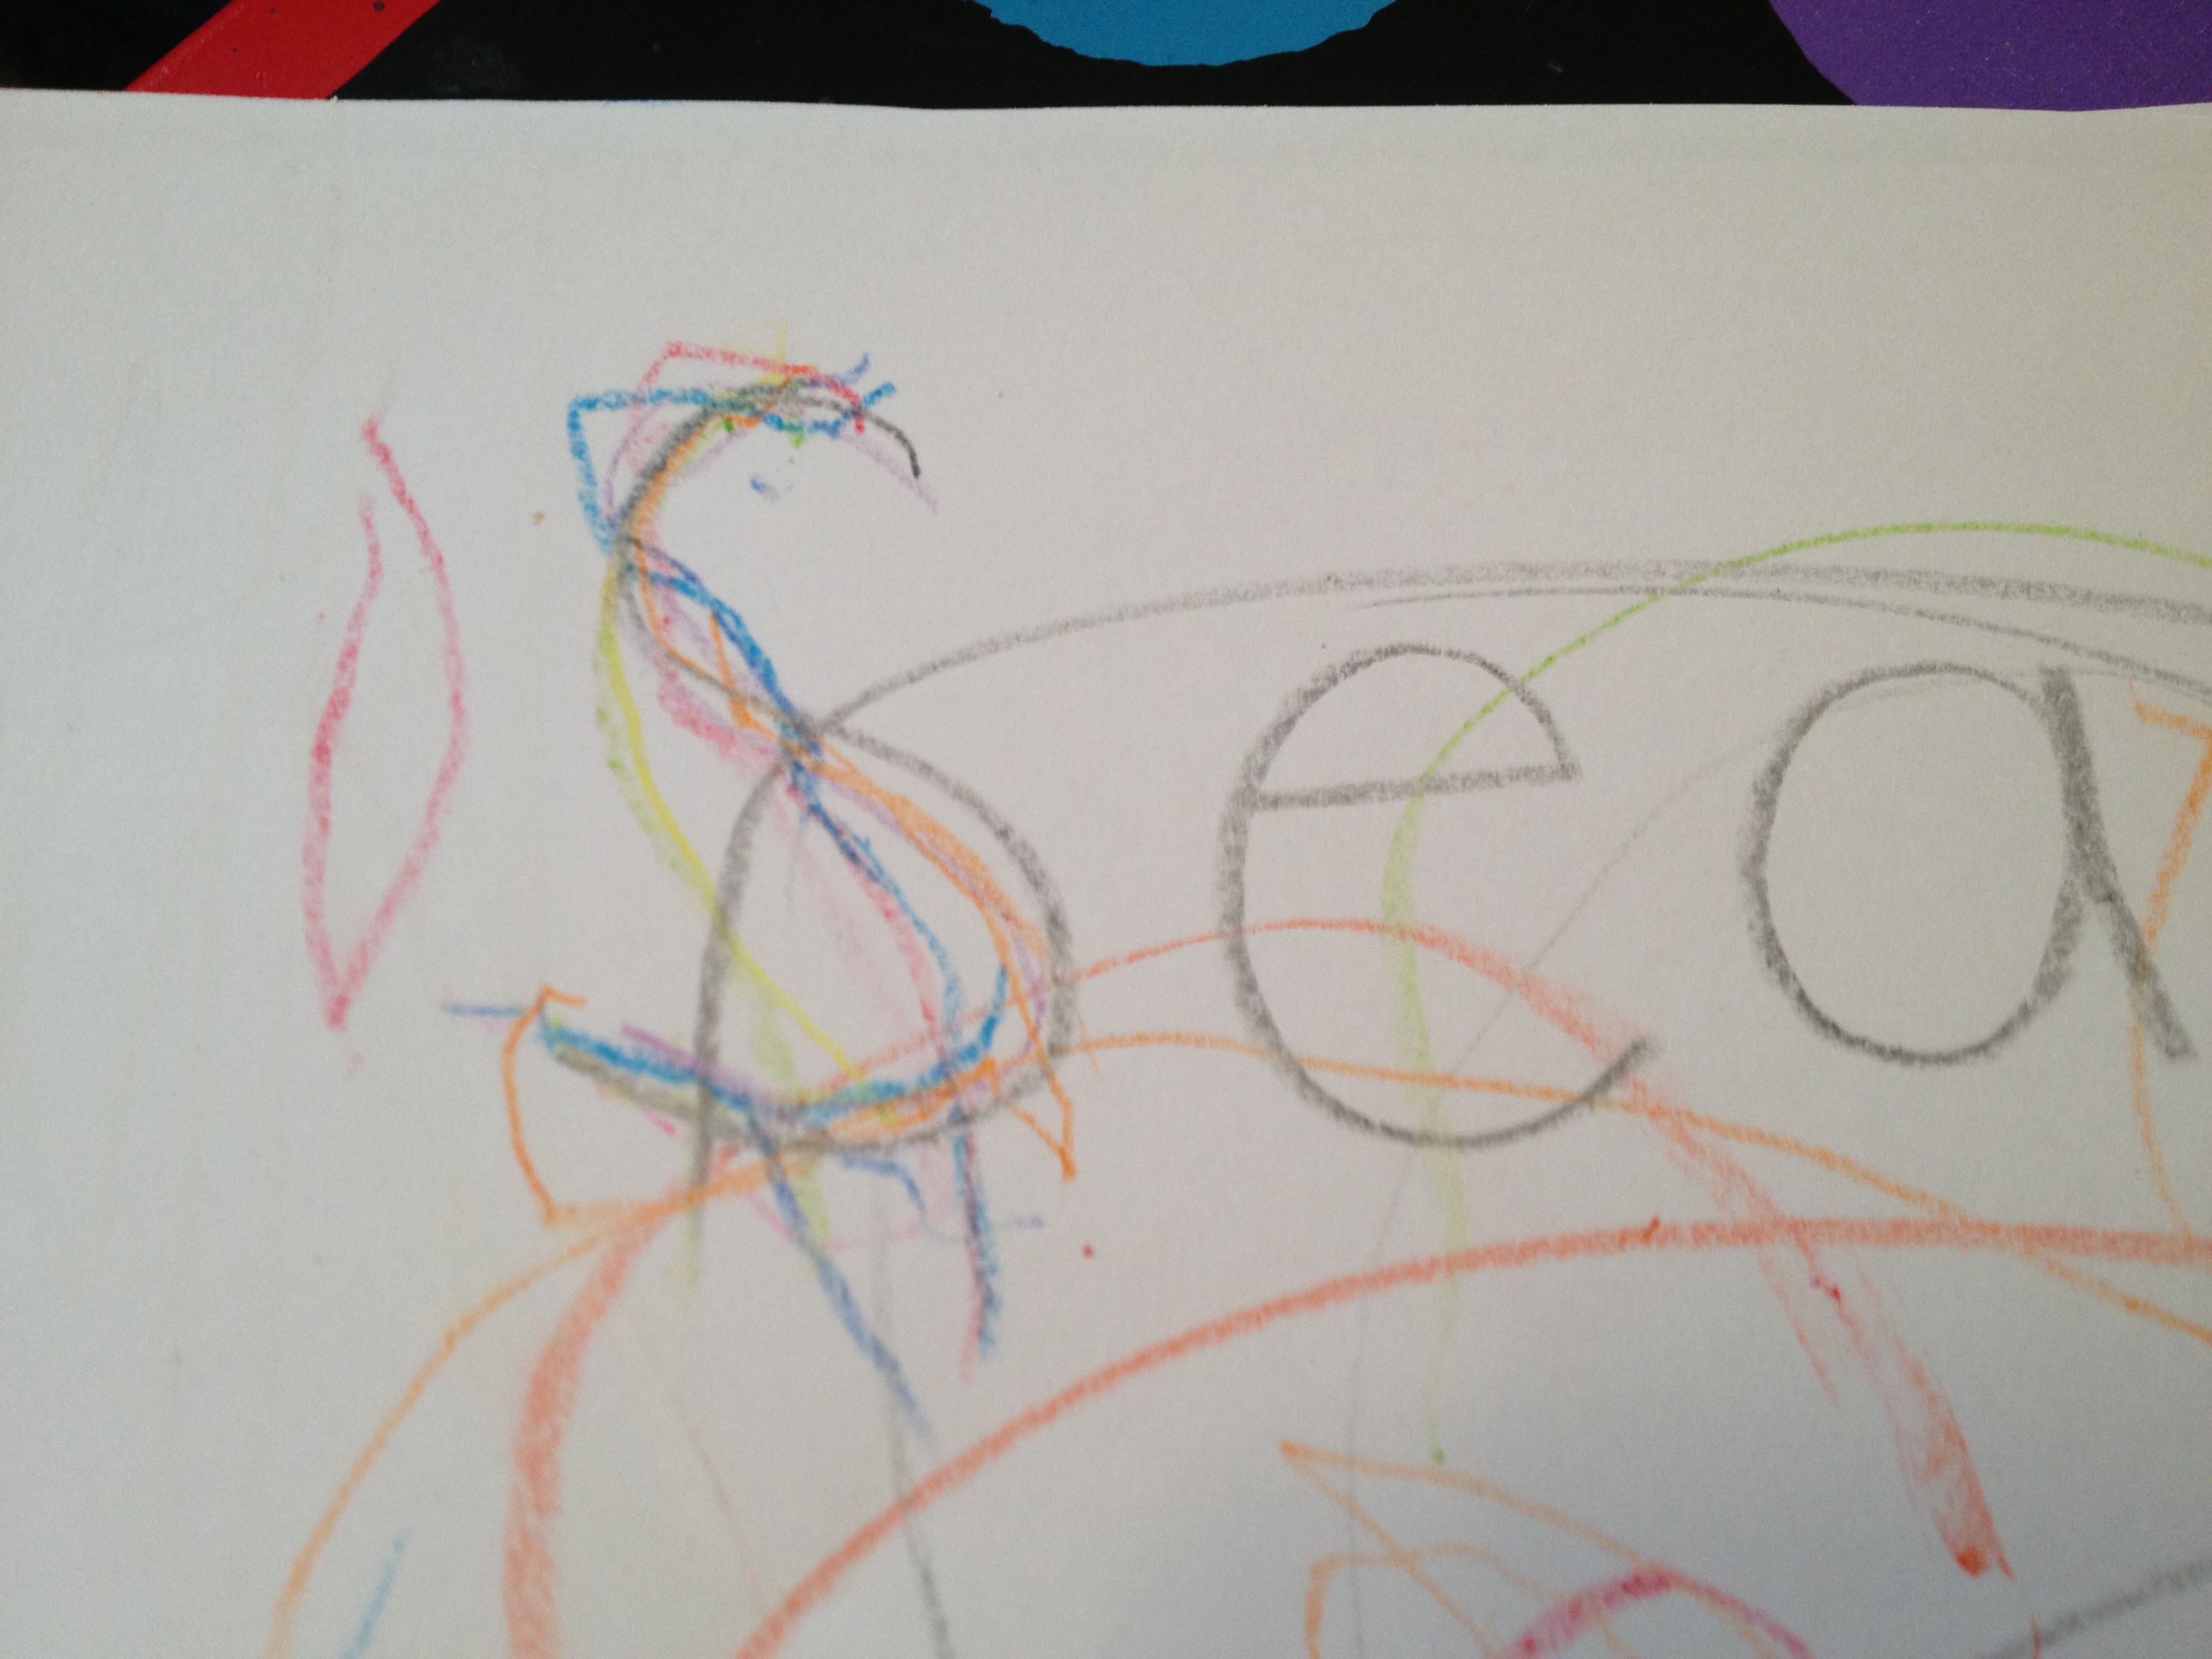
3) He then traced his “S” in every color … also called “rainbow writing”
His little sister scribbled all over it but you can see that he had fun with his “S”
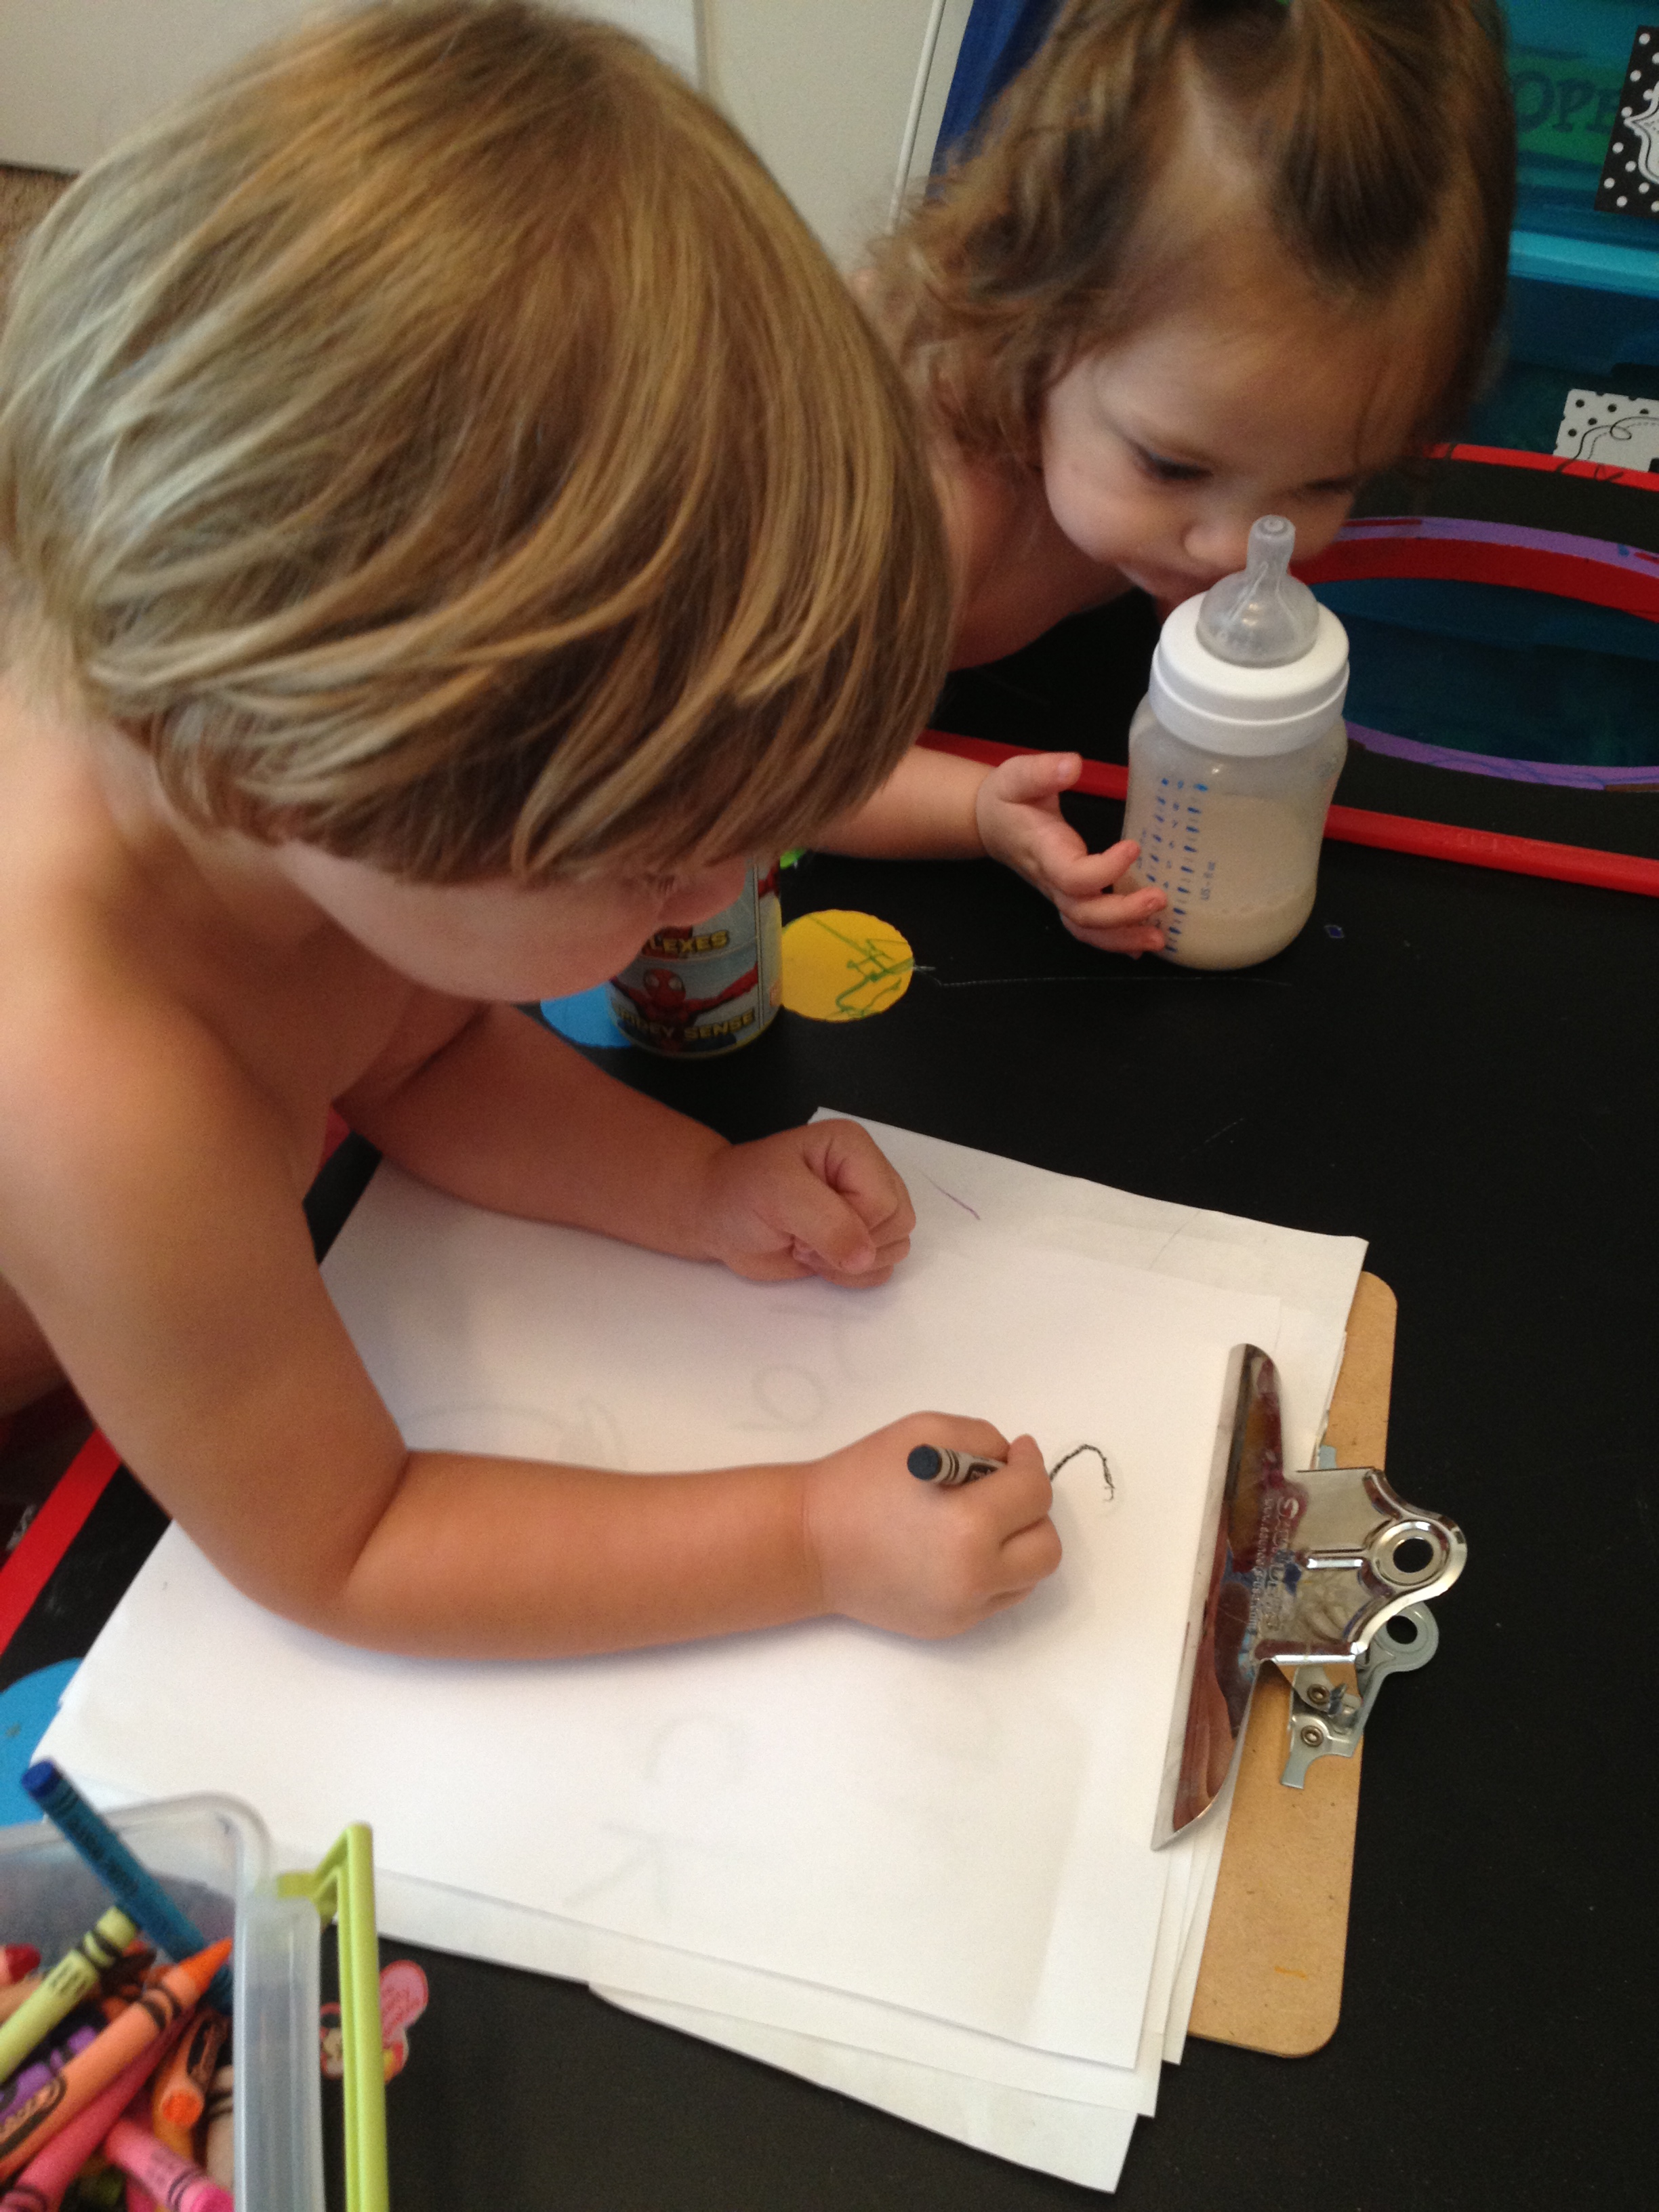
4) We then put a paper over his name written in black marker so he could trace his name that way.
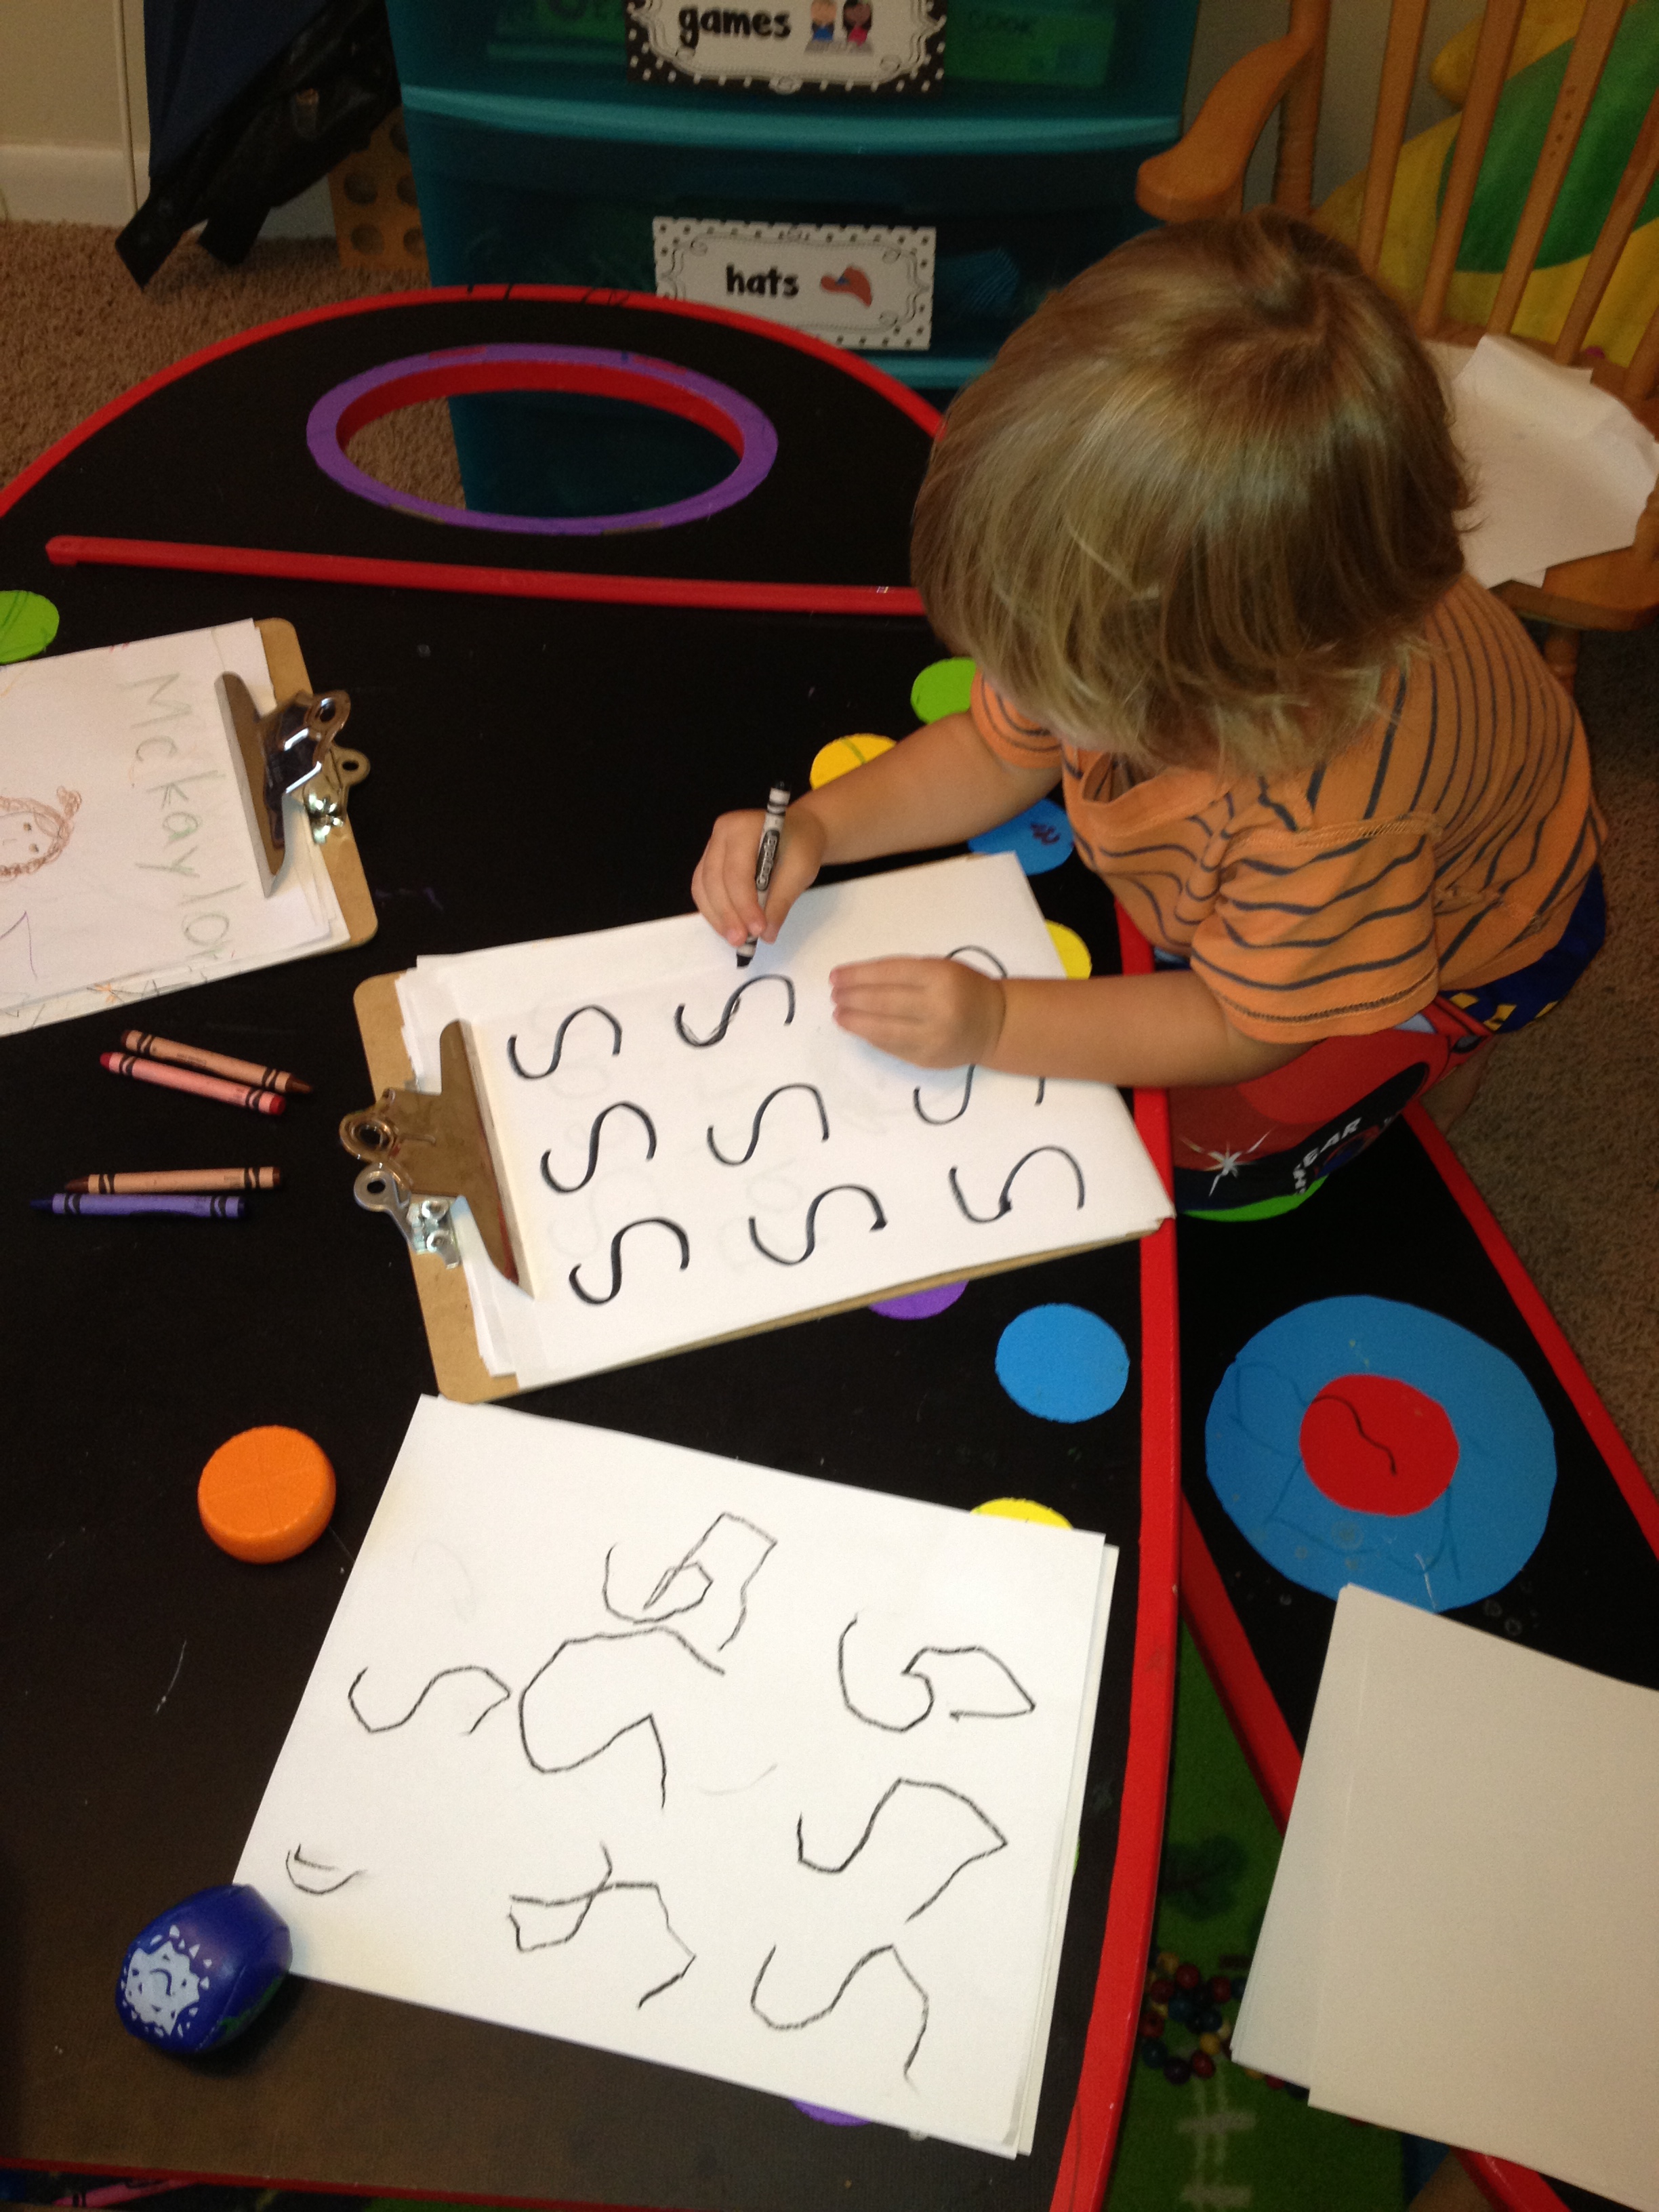
5) Since he mostly focused on “S” we made an entire page of just “S” and he had so much fun with this. He finally took off the top paper and started tracing his “S” with all the colors again, but side by side as shown in the following picture would be the next step after he masters tracing 🙂
If you try this and it is not fun for your little one… then go back to some of the pre-writing activities I mentioned earlier. You don’t want writing to be stressful for your little one… your little one will write when he/she is ready 🙂
Here is a short video demonstration:
If you have any questions or tips to add then please message or share them here in a comment on this post!
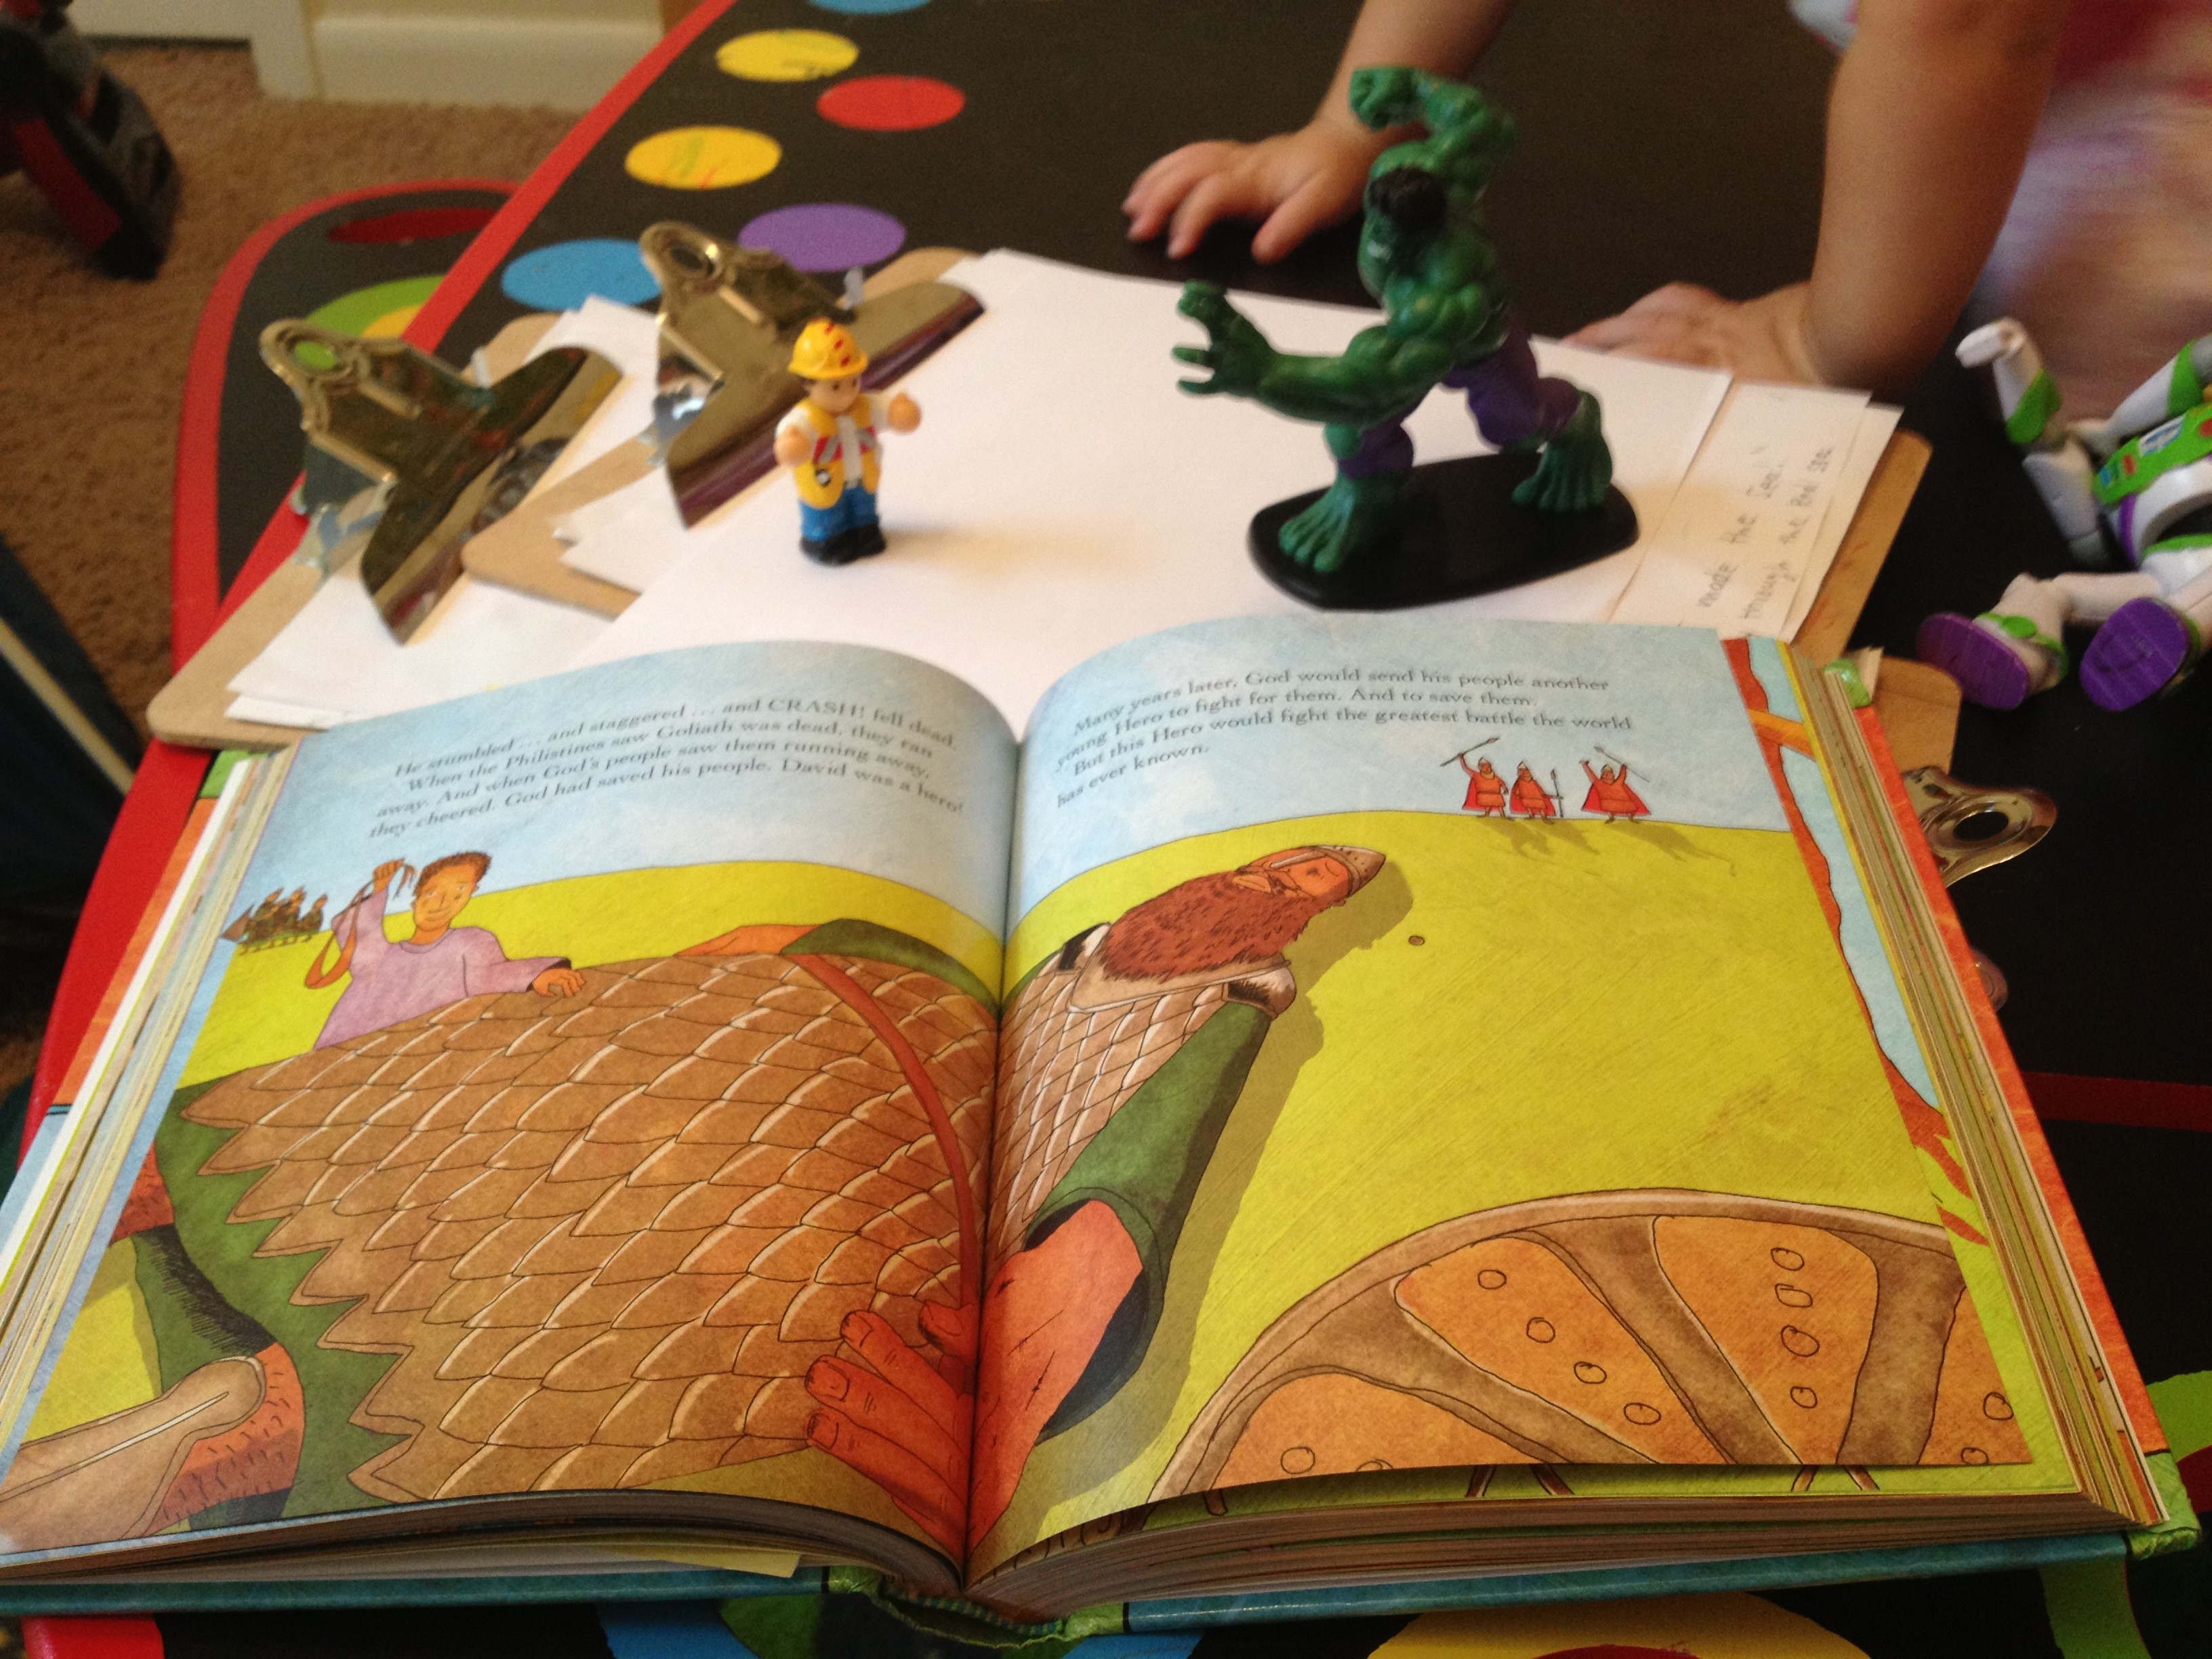
1) I read / summarize a story from “The Jesus Storybook Bible” in my most expressive, kid-friendly voice that engages my little ones’ attention.
2) I sing a song about it (sometimes I make it up) but other times I use songs I grew up learning OR a YouTube video.
3)We act it out with little toys we have (We choose the characters that seem fitting from our “little toys” cubbie).
4) We “write” about it. This is the time I model a draw on my clipboard the main idea from the story while I talk about what I am drawing to model the drawing process.
God Parts the Red Sea Reenactment
5) Then I write my kiddos names on their papers and I write the date, name of the story, and I write in quotes anything that they tell me about their picture.
That’s it!
Then, I read the same story for the next day or two because it is still fresh, repetition is better for memory recall, & they always want to sing the song they learned the day before again.
Here is one more…
Sean Patrick helped me pick out the toys that would represent David and Goliath for our reenactment.
I really cherish this time with my kids. It is a very quick and easy but meaningful time shared with them.
Hi, Mommy Teachers! It’s Casey, stopping by from Kidspired Creations! I am Mommy to James (5) who just started Kindergarten, Leyson (3) and Lena (6 months). I currently stay at home with the younger two but I taught Pre-K and Kindergarten before my Mommy days.
Leyson and I were playing (learning) today and were toying around with different Busy Bag Exchange ideas. We will be participating in a Busy Bag Exchange soon where all the moms participating bring gallon baggies filled with simple, hand-made activities for each of the kids who will be there. If 15 moms participate, your child has 15 new Busy Bags full of super fun (and educational) activities!
Leyson and I came up with 3 different ideas today and I thought they would all be fun to share with you Mommy Teachers!
PATTERNS:
We used word strips (found at the Dollar Tree for, you guessed it, $1 per package) to glue colored squares in AB, ABB and ABC patterns. I cut additional colored squares for Leyson to COPY the patterns on the strips by placing each of the colored squares below the square on the strip. This will get him used to making patterns. Saying the color out loud reinforces the pattern so he can also HEAR the pattern (helpful for an auditory learner – someone who learns better when hearing information).
After he was able to copy the pattern, I then taught him how to EXTEND the pattern. At the end of the strip, he must finish the pattern by placing the appropriate colored squares that would come NEXT in the pattern.
The next step is to create his own patterns without looking at the strip. From there you can create more complex patterns! The options are endless! Patterns are difficult to understand, so it might take a little time for your little one to be able to catch on.
WHAT’S IN A NAME?:
Kids are so funny when it comes to learning how to spell their own names. Most often kids learn how to spell their names before they completely understand the concept that letters make words when put together. Take my son Leyson, for example; anytime he sees a word that starts with an L, he says it spells Leyson. He thinks he owns the letter L. The same goes for the letters E, Y, S, O and N… he owns them all. You see, for young toddlers, they will not understand that the ORDER of letters actually makes a difference when spelling words.
Even in my kindergarten classroom, students who knew how to spell their names would sometimes slip into the idea of “owning” all the letters in their name and would write their names out of order. LUIS would spell his name UILS… still thinking that it spelled the same thing. Even more common would be for kids to write their names backwards (SIUL)… and several, get this, would write their names in mirror image! I can’t even do that! All of these are totally normal progressions when your child is learning how to spell his/her name, so here is an easy activity to help:
You need two word cards (or index cards). Write your child’s name evenly and legibly on each card. Leave the first card whole, and cut out each individual letter on the second card. First, have your child put each cut out letter on top of the letters on his/her name card, matching letter for letter. Then, have your child put his/her name together underneath the name card. Last, take away the name card and have your child put together the letters to spell his/her name from memory. Be sure to say the letters out loud in order so your child can hear how to spell his/her name in addition to seeing it. Jessica had a great post on singing a catchy song to learn how to spell a name.
HAMBURGER PLAY:
This game was Leyson’s idea. He picked up a circle I cut out and pretended to eat it, saying it was a hamburger bun. Bam! Instant Busy Bag idea!
I used construction paper to cut out a top and bottom bun, hamburger, tomato, cheese, ketchup, mustard, pickles, lettuce, and bacon and we made a hamburger! Not only is this a great pretend-play activity, but it was a great way to encourage language development and sequencing. I had Leyson explain to me exactly how we should make a hamburger. I encouraged him to use words such as “first,” “next,” “then,” and “last” in his explanation. You can also add an extra element by writing numbers on each of the pieces to teach your child number order (1: the bottom bun, 2: the hamburger, 3: cheese, etc.). For the beginning reader? Write the words “bun,” “pickle,” etc. on each of the pieces and then enjoy your nice, tasty treat!
I am still brainstorming different Busy Bag ideas! If you have a good one, please comment below and share! Hopefully after the Busy Bag Exchange I will have another post for you, so stay tuned!!!
—
Casey Dellinger Hilty
“One day, all children in this nation will have the opportunity to attain an excellent education.”
Teach For America
LA Corps 2005
One of the teaching tools that I used to have in my classroom was a math geoboard. What is a geoboard? It is a teaching tool usually made up of five rows of five pegs on a square shaped plastic board. Rubberbands are used to explore the basic characteristics of geometry, but it can be used to practice other skills as well.
I used them for a few different things…I used them to reinforce shapes, numbers, letters, tangrams, counting, and more!
Here are a few different deals on amazon:
My favorite is the transparent geoboard because you can place a template behind it and it will help your little one “trace” the shape.
Here are my step-by-step teaching tips to introducing the geoboard to your little one:
1) First, I ALWAYS allow time for exploration with a new teaching tool. Kids want to study it with their senses first before they can focus on what you are teaching them about the new “toy.”
2) I talk about it. “This board has a fancy name. It is called a geoboard, can you say that?” (time for response). “It has pegs that can hold rubberbands in place. So, if I wrap a rubberband around this peg, and stretch it out to this peg on the same row, it makes a straight line. Can you try that?” (time for response)
3) Explore it’s features together. “There are a lot of pegs on this board to hold rubberbands….I wonder how many there are. What is your best guess?” (time for response) “Let’s count them.”
4) Take a turn. “I’m going to place a rubber band straight across the top row, one going straight down on the left side, and one going across on the bottom row. What do you think this looks like? What could I make with these three lines in place?” (time for response)
5) Share a turn. Let’s make something together. Any ideas? (time for response) Have a scratch sheet of paper in a geoboard template ready to brainstorm how you might make it. Make it by helping your little one.
6) Give your little one a turn. Let your little one try making something on their own and you stand by for affirmation and guidance.
I’d love to hear your thoughts… first time hearing about geoboards, do you use them regularly, whether or not you would even consider using them, etc.
I started adding step-by-step teaching tips for some of my recent Busy Bag activities that Sean Patrick is experimenting with but this is taking me some time for a few reasons:
1) I like to introduce one activity every few days and really spend time maximizing the teaching opportunties from that “game” as Sean Patrick calls them.
2) I am a mommy teacher so I don’t spend much time on the computer – this blog is my hobby and I try to carve out more time in my day actually spending time working with and playing with my little ones 🙂
3) I like to spend time adding teaching tips for older children as well because I believe that EVERY activity can be and should be accommodated to each individual child.
So….at that….here is another activity….and one just in time to make use of all those Easter Eggs floating around your house 🙂
Egg Counting (The Link attached has other GREAT ideas, but try not to take them at face value….make a little step by step teaching plan for each activity because a “lesson plan” can structure the pace and aid the learning process)
This activity has MULTIPLE uses… to teach counting one to one and to teach addition in the most organic way by teaching about all the ways to get to a number (1 + 1 + 1 + 1= 4 ; 2 + 2 = 4 ; 4 + 0 = 4)
I suggest that you work on counting to, or adding to, ONE number at a time.
1) Start with the smaller side of the eggs on their backs….if you are working on the number four then place four egg halves on their backs.
2) “Let’s use the Easter Eggs to see all the different ways we can count to four!” or for older kids “Let’s……ways we can add to the sum of four”
3) Place one pom pom in each egg (I switched to the small pom poms after the first try because I wanted all of them to be able to fit in one egg half when attempted) One and one and one and one is four! (four younger kids you can use “and” in place of “plus” and “is” in place of “equals” just for now while they are being introduced to adding.
3) Dump them out and say – let’s see if there is another way to fill the eggs to count to four …One, two and one and one is four so two and two more is four.
4) Continue this until you have exhausted every means of arriving at the sum of four. For older children model and demonstrate how to write out each problem.
5) Pick a number close in proximity to the number you worked on (like 5) and do it again….together this time.
6) Pick a number easier than the original number (like 3) and allow your little one to try on their own as you watch and make encouraging comments.