Math

Geoboards

One of the teaching tools that I used to have in my classroom was a math geoboard.  What is a geoboard?  It is a teaching tool usually made up of five rows of five pegs on a square shaped plastic board.  Rubberbands are used to explore the basic characteristics of geometry, but it can be used to practice other skills as well.

 I used them for a few different things…I used them to reinforce shapes, numbers, letters, tangrams, counting, and more!

Here are a few different deals on amazon:

My favorite is the transparent geoboard because you can place a template behind it and it will help your little one “trace” the shape.

Here are my step-by-step teaching tips to introducing the geoboard to your little one:

1) First, I ALWAYS allow time for exploration with a new teaching tool.  Kids want to study it with their senses first before they can focus on what you are teaching them about the new “toy.”

2) I talk about it.  “This board has a fancy name.  It is called a geoboard, can you say that?” (time for response). “It has pegs that can hold rubberbands in place.   So, if I wrap a rubberband around this peg, and stretch it out to this peg on the same row, it makes a straight line.  Can you try that?”  (time for response)

3) Explore it’s features together.  “There are a lot of pegs on this board to hold rubberbands….I wonder how many there are. What is your best guess?” (time for response) “Let’s count them.”

4) Take a turn.  “I’m going to place a rubber band straight across the top row, one going straight down on the left side, and one going across on the bottom row.  What do you think this looks like?  What could I make with these three lines in place?”  (time for response)

5) Share a turn.  Let’s make something together.  Any ideas?  (time for response) Have a scratch sheet of paper in a geoboard template ready to brainstorm how you might make it.  Make it by helping your little one.

6) Give your little one a turn.  Let your little one try making something on their own and you stand by for affirmation and guidance.

I’d love to hear your thoughts… first time hearing about geoboards,  do you use them regularly, whether or not you would even consider using them, etc.

Busy Bag (Take Three)

I started adding step-by-step teaching tips for some of my recent Busy Bag activities that Sean Patrick is experimenting with but this is taking me some time for a few reasons:

1) I like to introduce one activity every few days and really spend time maximizing the teaching opportunties from that “game” as Sean Patrick calls them.

2) I am a mommy teacher so I don’t spend much time on the computer – this blog is my hobby and I try to carve out more time in my day actually spending time working with and playing with my little ones 🙂

3) I like to spend time adding teaching tips for older children as well because I believe that EVERY activity can be and should be accommodated to each individual child.

So….at that….here is another activity….and one just in time to make use of all those Easter Eggs floating around your house 🙂

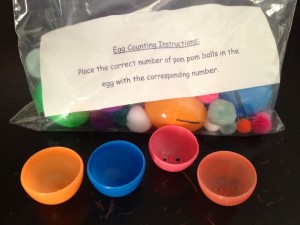
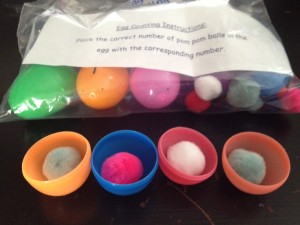
Egg Counting (The Link attached has other GREAT ideas, but try not to take them at face value….make a little step by step teaching plan for each activity because a “lesson plan” can structure the pace and aid the learning process)

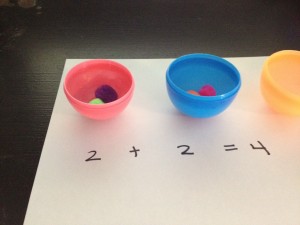
This activity has MULTIPLE uses… to teach counting one to one and to teach addition in the most organic way by teaching about all the ways to get to a number (1 + 1 + 1 + 1= 4 ; 2 + 2 = 4 ; 4 + 0 = 4)


I suggest that you work on counting to, or adding to, ONE number at a time.

1) Start with the smaller side of the eggs on their backs….if you are working on the number four then place four egg halves on their backs.

2) “Let’s use the Easter Eggs to see all the different ways we can count to four!” or for older kids “Let’s……ways  we can add to the sum of four”

3) Place one pom pom in each egg (I switched to the small pom poms after the first try because I wanted all of them to be able to fit in one egg half when attempted) One and one and one and one is four! (four younger kids you can use “and” in  place of “plus” and “is” in place of “equals” just for now while they are being introduced to adding.

3) Dump them out and say – let’s see if there is another way to fill the eggs to count to four …One, two and one and one is four so two and two more is four.

4) Continue this until you have exhausted every means of arriving at the sum of four.  For older children model and demonstrate how to write out each problem.

5) Pick a number close in proximity to the number you worked on (like 5) and do it again….together this time.

6) Pick a number easier than the original number (like 3) and allow your little one to try on their own as you watch and make encouraging comments.

Teaching Via Everyday Choices

There are A LOT of websites that give activity ideas for little ones, but my goal is to make teaching your little one such a natural part of your everyday routine….. and it helps to have some insight into the best teaching techniques.

Most parents who are “teaching” their little one spend more time “drilling” our kiddos (flash card style) than actually teaching them.  This isn’t ALL bad and trust me, I am guilty of this at times!

We get very caught up in the idea that if our child has learned a skill (like letter naming) then we need to constantly ask them “What letter is this?”  and then wait for their answer.  Don’t get me wrong….this is a GOOD thing.  You are helping your little one to recall the information repetitively for recognition and fluency’s sake!  But I want to ADD that YOU still need to be reinforcing what your little one knows and not just leaving it up to them.

Here is my example of what I am trying to incorporate at home:

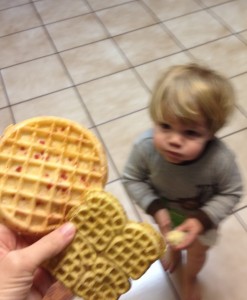
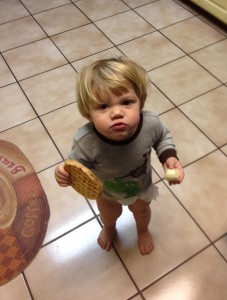
Sometimes when I am grocery shopping I see underlying learning opportunities in the products I buy (Alphabits, Fruit Loops for sorting or patterning, Familiar Print, etc.).  But when I was picking up a box of waffles, I saw the opportunity to reinforce teaching shapes by buying a box of circular shaped waffles AND a box of square shaped waffles.

Instead of asking Sean Patrick, “Do you want the waffle that is a square or a circle?” (because I know that he knows his shapes), I talk more about it more to reinforce his familiarity with the shape vocabulary and help him make connections.  “LooK! This waffle is shaped like a circle!” I said this as I held up a strawberry Eggo waffle. “It goes round and round and round like the wheels on the bus!” (I made it turn in circles just so that he would make a connection of another circular-shaped object) “And this waffle” (holding up the cinnamon toast waffle) “is shaped like a square.  It has FOUR sides.  One, two, three, four like a square on the floor!” Then I bent down and traced my finger on the outline of the square counting the sides. “Do you want the circle waffle? or the square waffle?”

He chose the “circle!” and he proceeded to tell me about it while he ate “I bite a circle.  I bite a round and round” haha – I think he gets it.

Ignore the fact that his diaper is coming apart at the moment, we need to move into pull-ups because of all the “false alarms” that come with potty training.  He cracks me up!


Faux Pas of a Mommy Teacher

Faux pas is pronounced (fōh-pah) meaning “false step/mistake” in french.  We wouldn’t be mommy teachers without mistakes and learning experiences of our own along the way.  Don’t get me wrong, this is NOT a new concept to me, but here is my faux pas that started with great intentions:

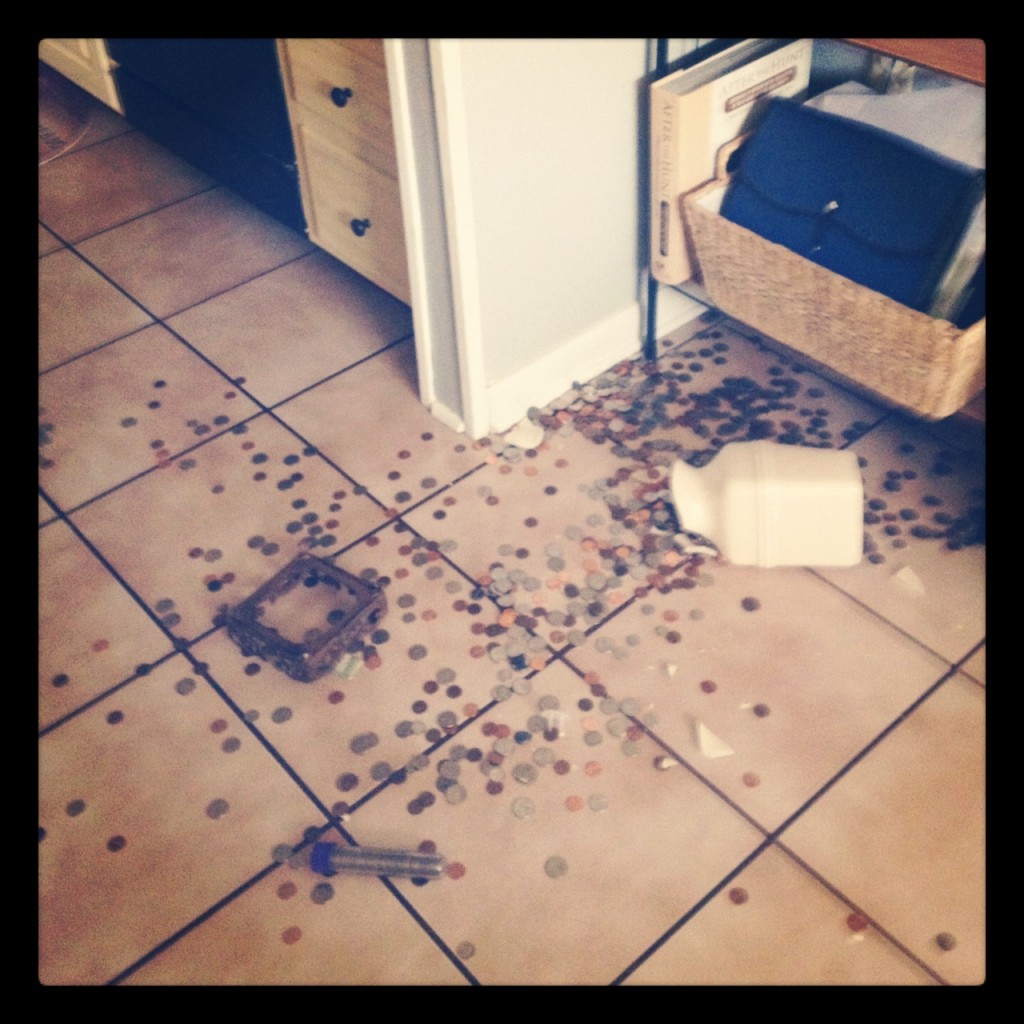
Our decorative "Piggy Bank" .... in pieces!

But first, my great intentions….

Every time I post a Mommy Teacher activity I accommodate it for my 21 month old.  On President’s Day I was working on building his oral vocabulary of money by simply introducing the penny, encouraging him to put it in his pocket, and tracing a circle around the coin onto paper.  

My coin jar, aka Sean Patrick’s savings, was sitting on the baker’s rack in a not-so-long-ago unreachable spot, but I hadn’t assessed the situation in a while because he hadn’t paid any attention to it (pun intended).

My next oversight was allowing him to take notice of me as I took coins out of it for our mini lesson….which only peaked his curiousity in exploring the jar that I took the coins out of.

After the mini penny lesson, Sean Patrick was pulling the coin jar off the shelf before I could tell him to stop so I ran across the kitchen and swooped him up before the coin jar could crash on his feet. 

I spent the next hour picking all the coins and sweeping up the broken jar with strict guidelines for Sean Patrick to stay away so he wouldn’t get hurt….he listened and was consequently bored for some time. 

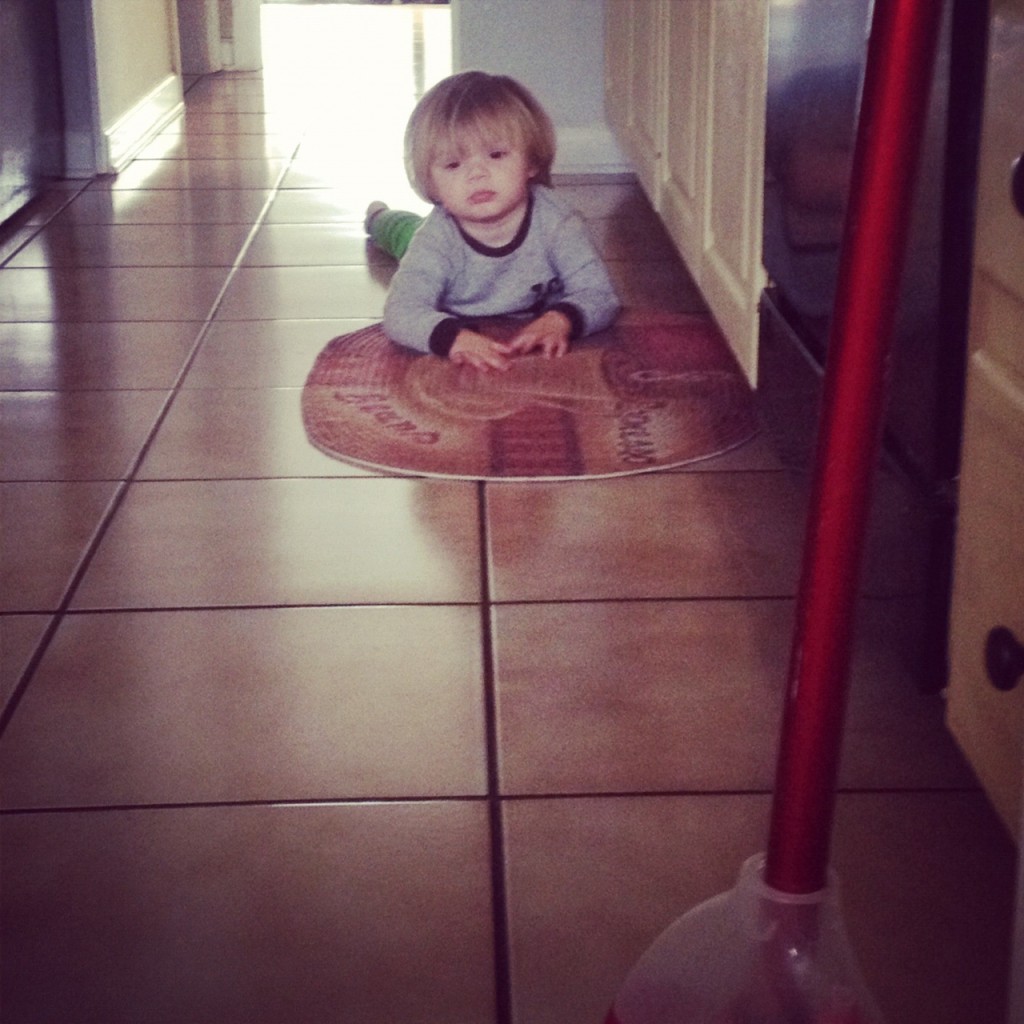
Yes, this is my son, and yes, he needs a haircut….I am a procrastinator and have been saying this needs to get done for about two months….yikes!

You gotta love when your day takes a detour (sarcasm implied). 

Face of the Presidents

Happy President’s Day to you! I like to celebrate Presidents, with little ones, by talking about several well known Presidents like Lincoln, Washington, Jefferson, etc. and the current President of COURSE. One great teaching tool for talking about the Presidents is coins. Pennies, Nickels, Dimes, Quarters, and dollar bills provide a visual of former presidents for children, as well as introduce other significant concepts that may be taught to older little ones.

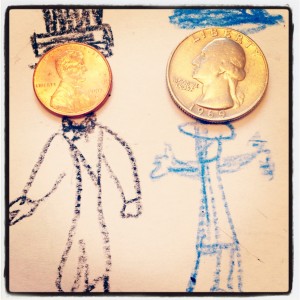
I like to teach a few facts (about the Presidents AND coins) and then let little ones make their own interpretations by playing with their new ideas….one example is a coin face drawing. Simply put the coins down on drawing paper and allow your little one to draw the body and maybe even add details to their picture.


Related Posts Plugin for WordPress, Blogger...

1 3 4 5 6 7 13