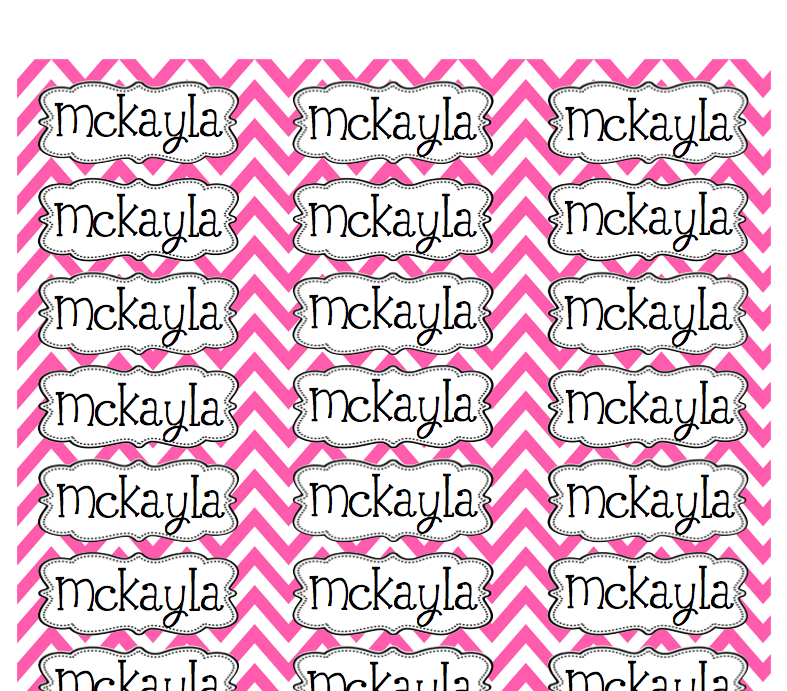
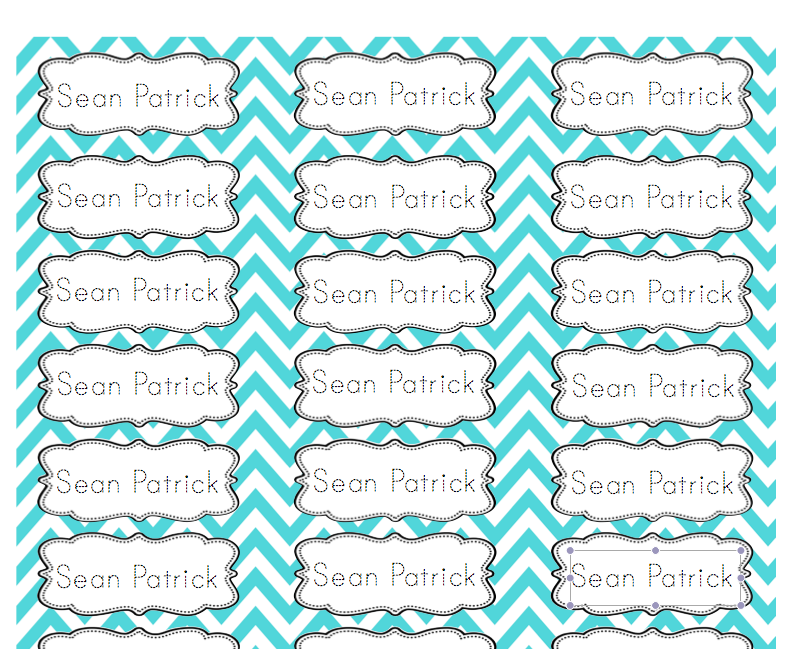
A friend of mine asked me if I made name labels to keep track of school supplies… well, I didn’t but I do now! As a former teacher, I would have been grateful if parents would have used labels instead of a sharpie to personalize their child’s belongings or supplies and as a parent I am excited that this will save me time.
I like to edit these with a tracing font to get my little one to help!
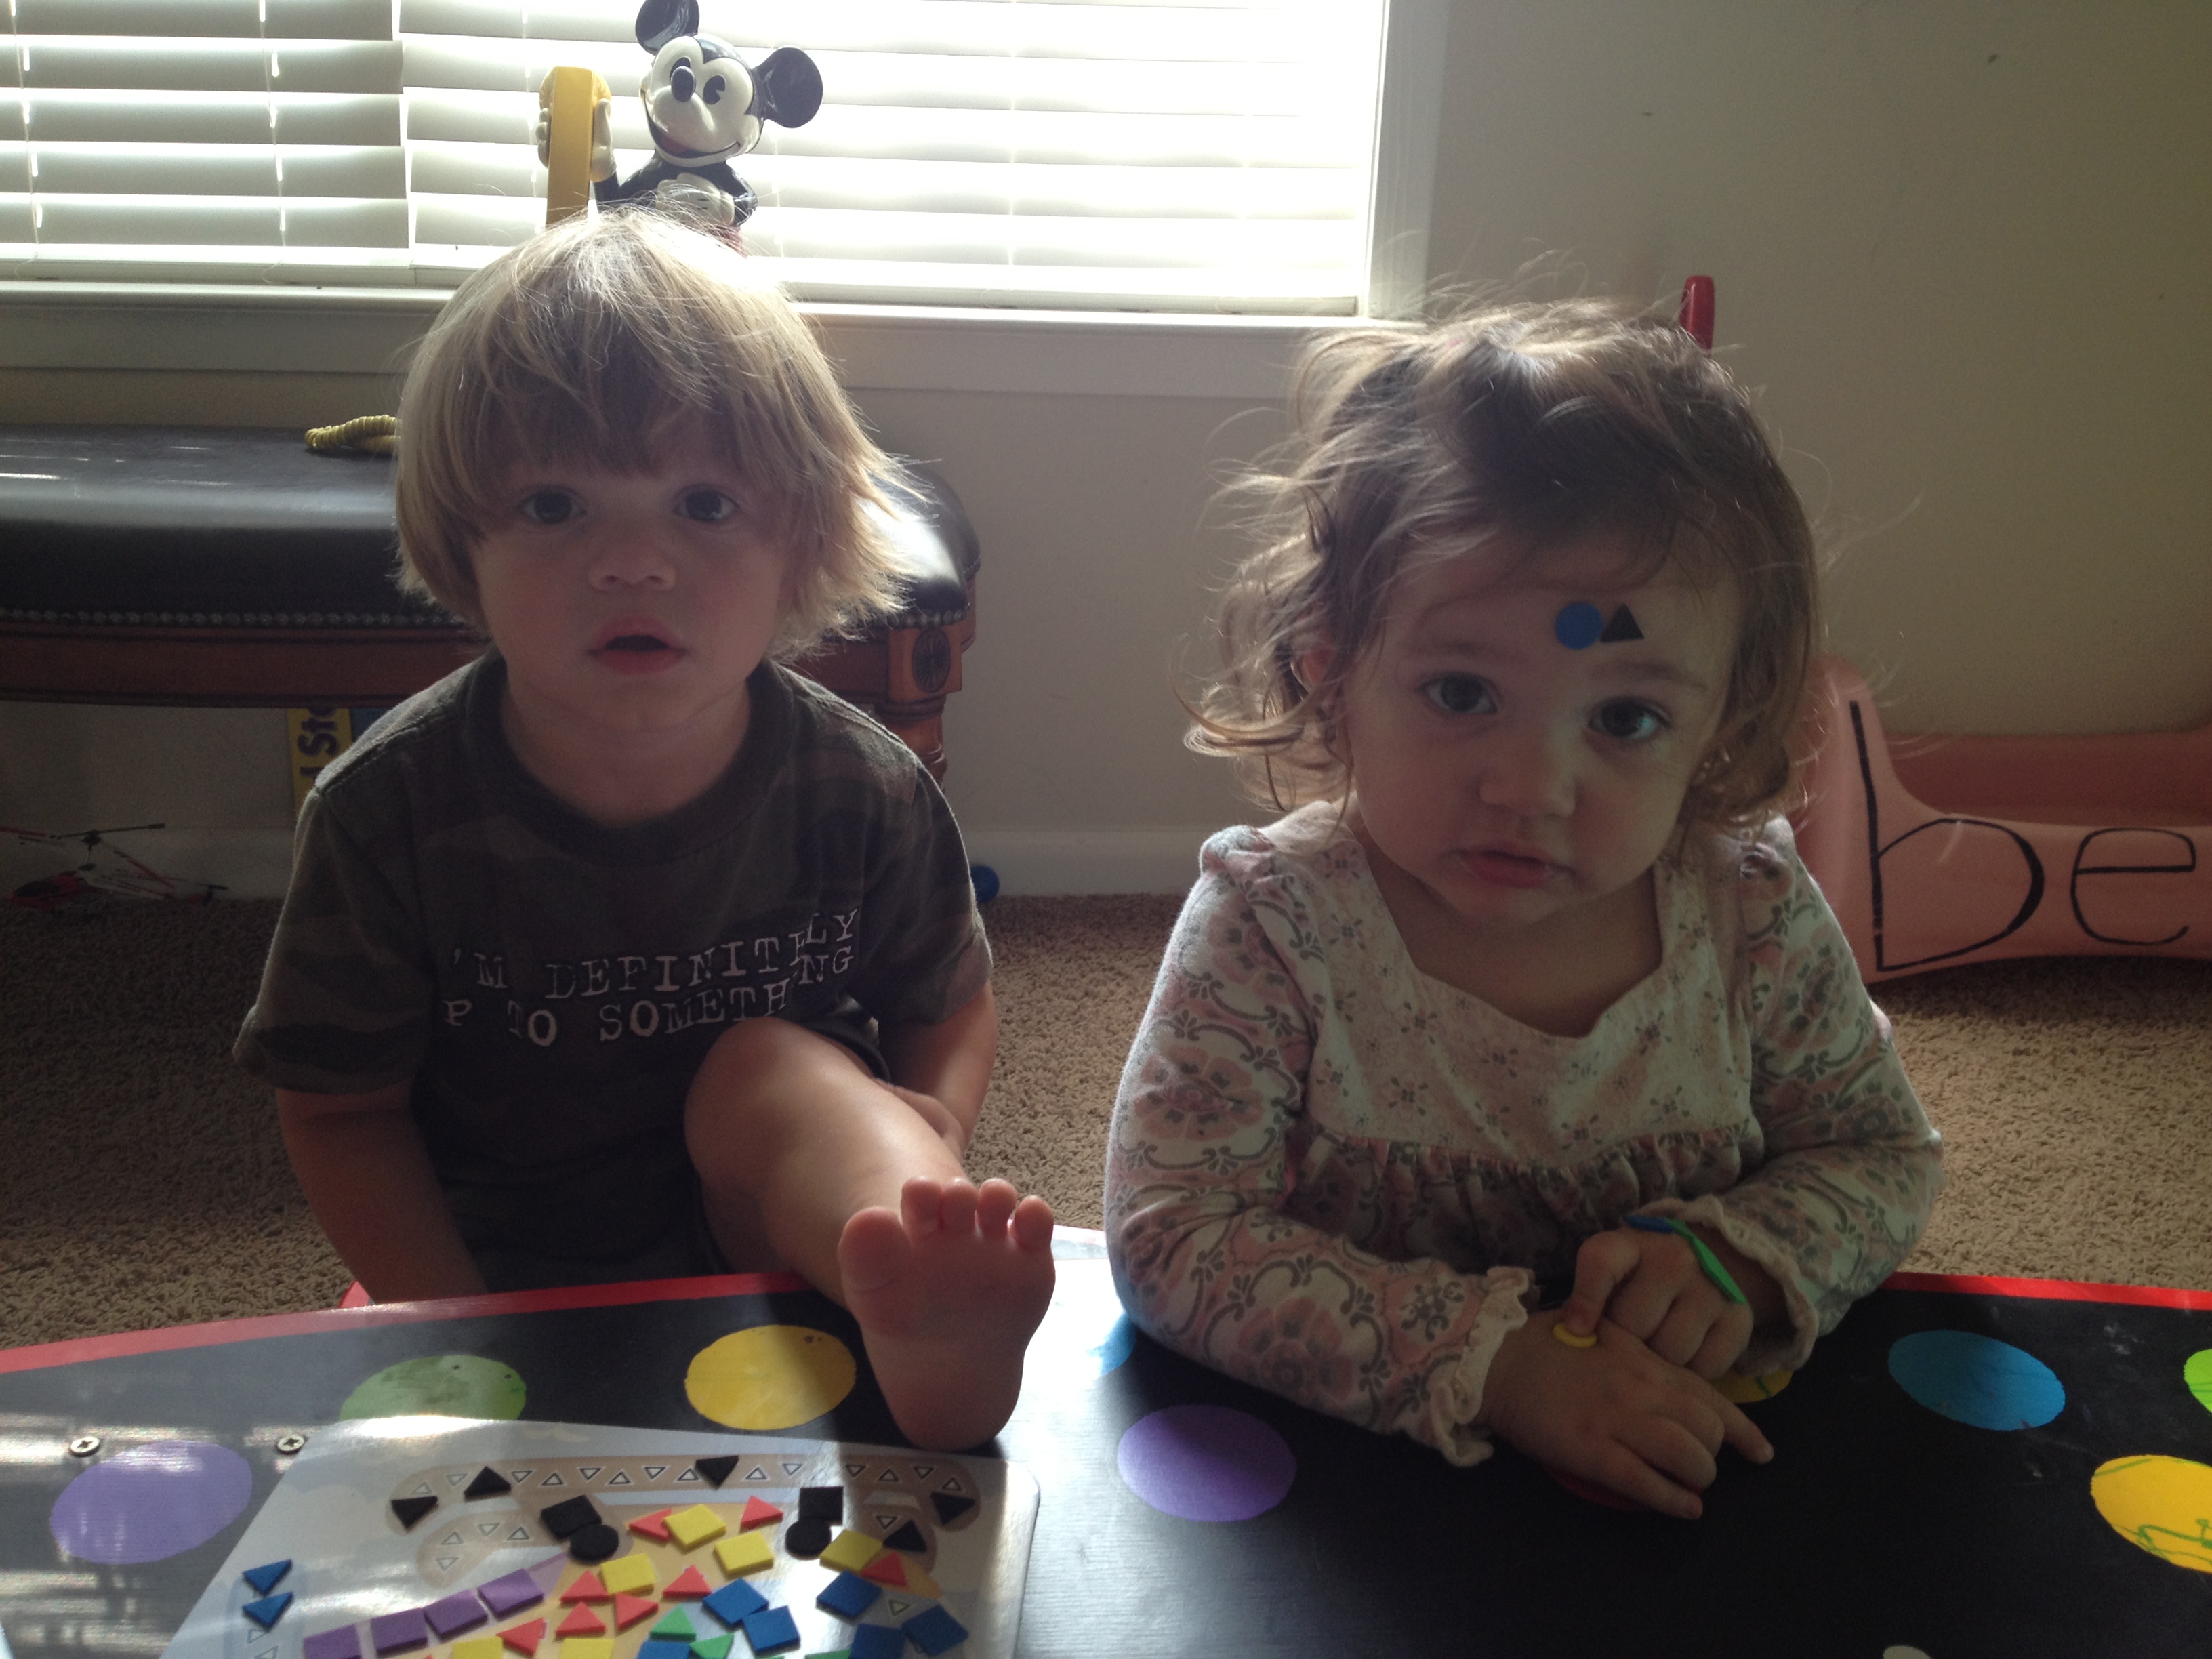
I have a (semi) love-hate relationship with stickers. My kids peel them off and stick them all over the place and I am unsure what their purpose is at times other than leaving residue on things they stick to. Having said that, I have YOUNG children who don’t exactly keep track of small items or use things practically.
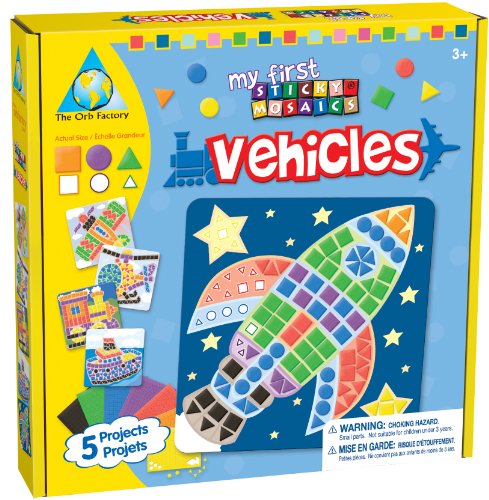
Sean Patrick got some cool toys at his birthday party this year, but I hid several of them because I wanted to use them sparingly. When I pulled out this sticky mosaics activity last week, it turned out to be a real gem.
There were 5 different vehicles made up of different colored shapes, and he picked the helicopter.
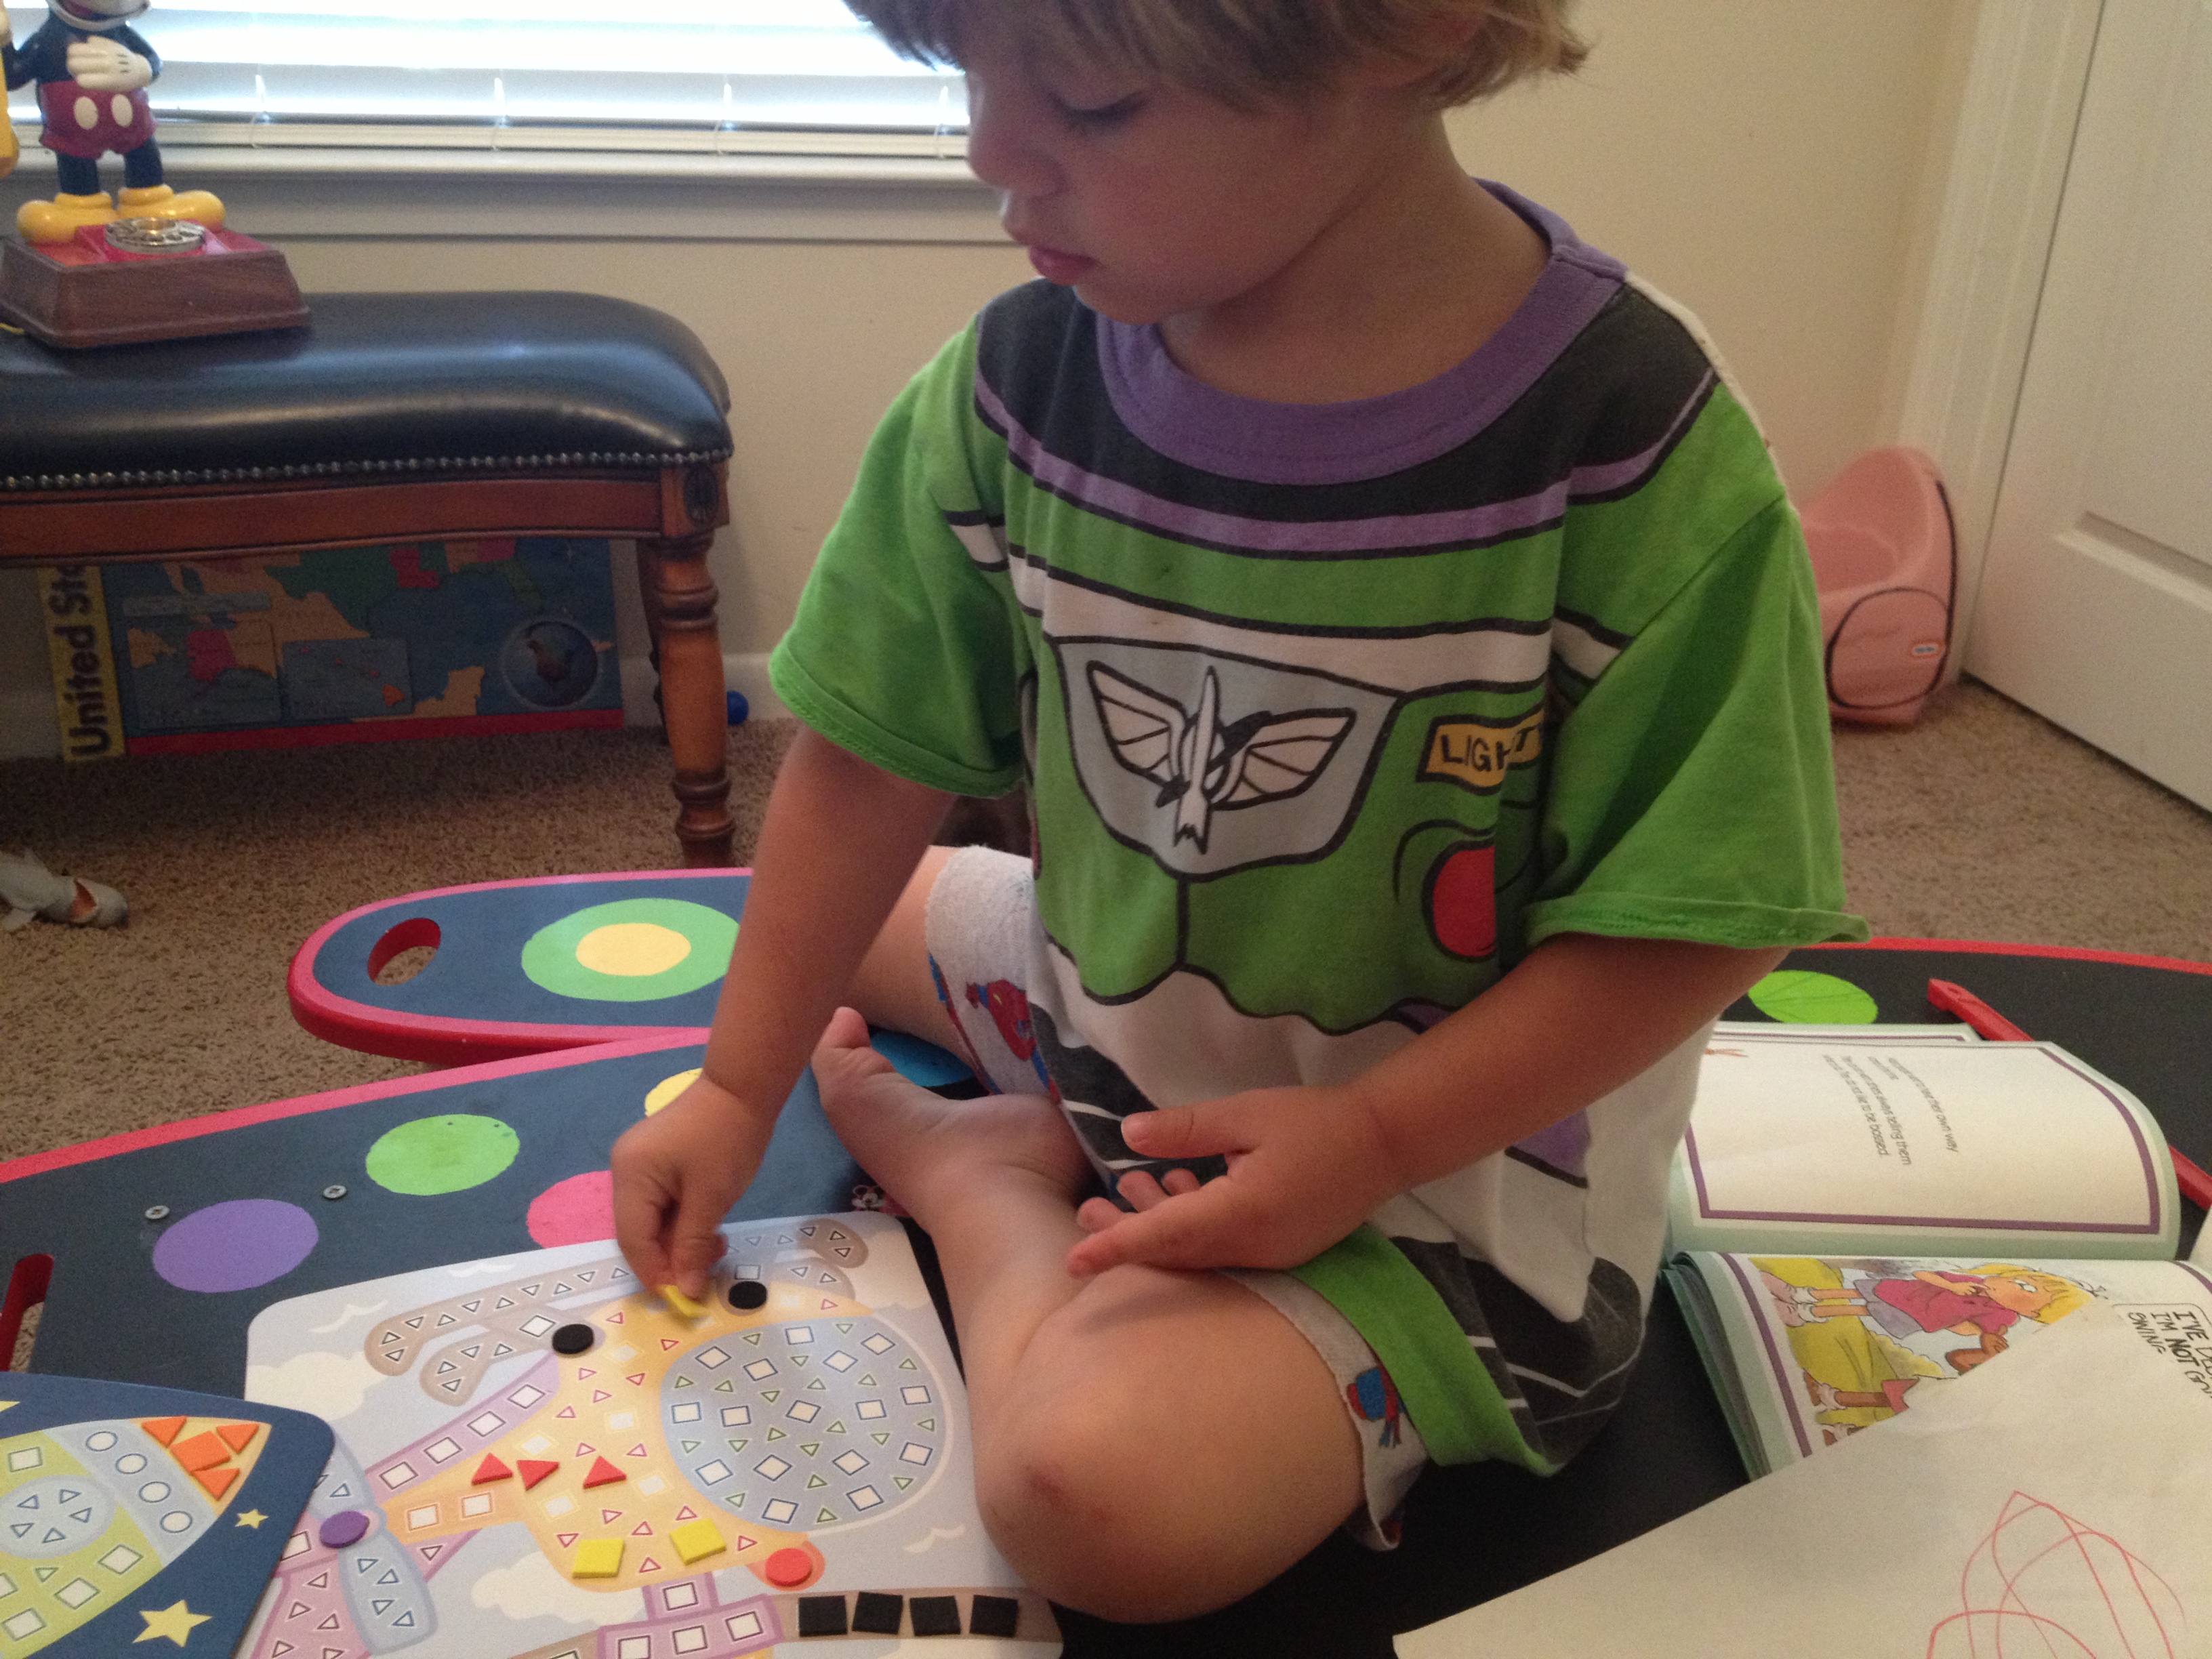
We decided early on to make it for his uncle who works for the US Aviation so it was really special to encourage him to finish so we could give it to his Uncle Nathan.
The best part is that we have been working on this a little every day ALL week and have only finished ONE vehicle template. I have been waiting until Mckayla falls asleep because she likes to destroy Sean Patrick’s art projects so it has been super fun one-on-one time working with him on this project.
This is what happens when the 19 month old is around the stickers.
And here are just some of the things he has been practicing with this activity:
Fine motor skills – Strengthening his control and coordination in his hands in order to peel the stickers off their backing and to stick them carefully onto the outline of the shape. Shape and Color identification – Identifying the shapes and colors needed in each part of the project. Spatial Awareness – Turning the sticker until it covers up the whole shape. Matching – Matching the accurate color and sticker to the individual outlines. Visual Discrimination – After selecting a sticker, trying to find that particular colored shape “hidden” in the page. Counting Practice -Counting how many more blue triangles you need to fill a space we were working on at the time. One-to-One Correspondence – Having manipulate one sticker to one outline at a time took lots of discipline as well.
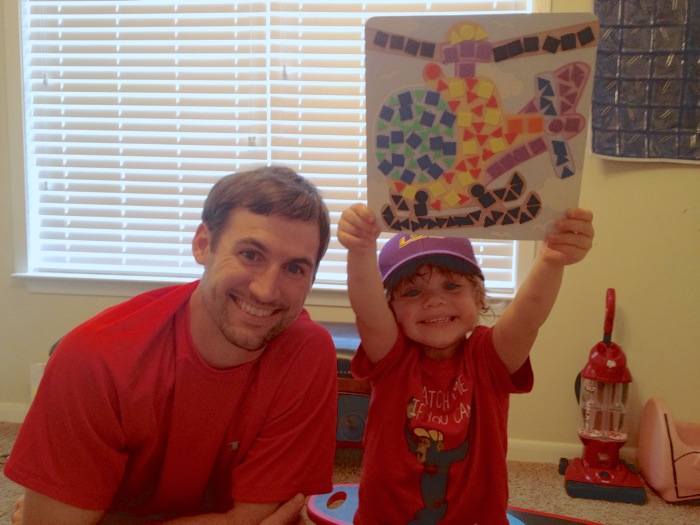
Daddy helped with the very last part of the project to complete the tail of the helicopter. When he finished he was so proud and he asked “Now I get to work on another one?” Well, that was an easy one to answer.
So proud of himself for finishing 🙂
I seriously think I am going to order two more of these (one masculine and one feminine), stick them in the closet where I store my gift bags, and have a go-to present for the next birthday party we go to!
Here are the other ones they have on amazon:
I really love to hear from you…
Do dread having another sticker activity in your house?
Do you think your little one is at an age where he/she would enjoy this?
Do you know of any other sticker activities that are worth checking out?
I had planned to do a different Easter craft activity every day this week, but you know what? This week FLEW by and we were never home!
Being Spring Break, I knew my kindergartner would want to be on the GO so I planned the week chock full of stuff… play dates to the park, zoo, arcade and more! So needless to say that by the time we got home, took naps, woke up, it was already dinner time!
Tonight we will be having a glow in the dark Easter egg hunt with all of our friends at our house! It will be so much fun! (If you want to do this, simply get a package of LARGE plastic eggs and glow in the dark bracelets to fill them. Then throw them in your yard. Bam! Glow in the dark Easter egg hunt).
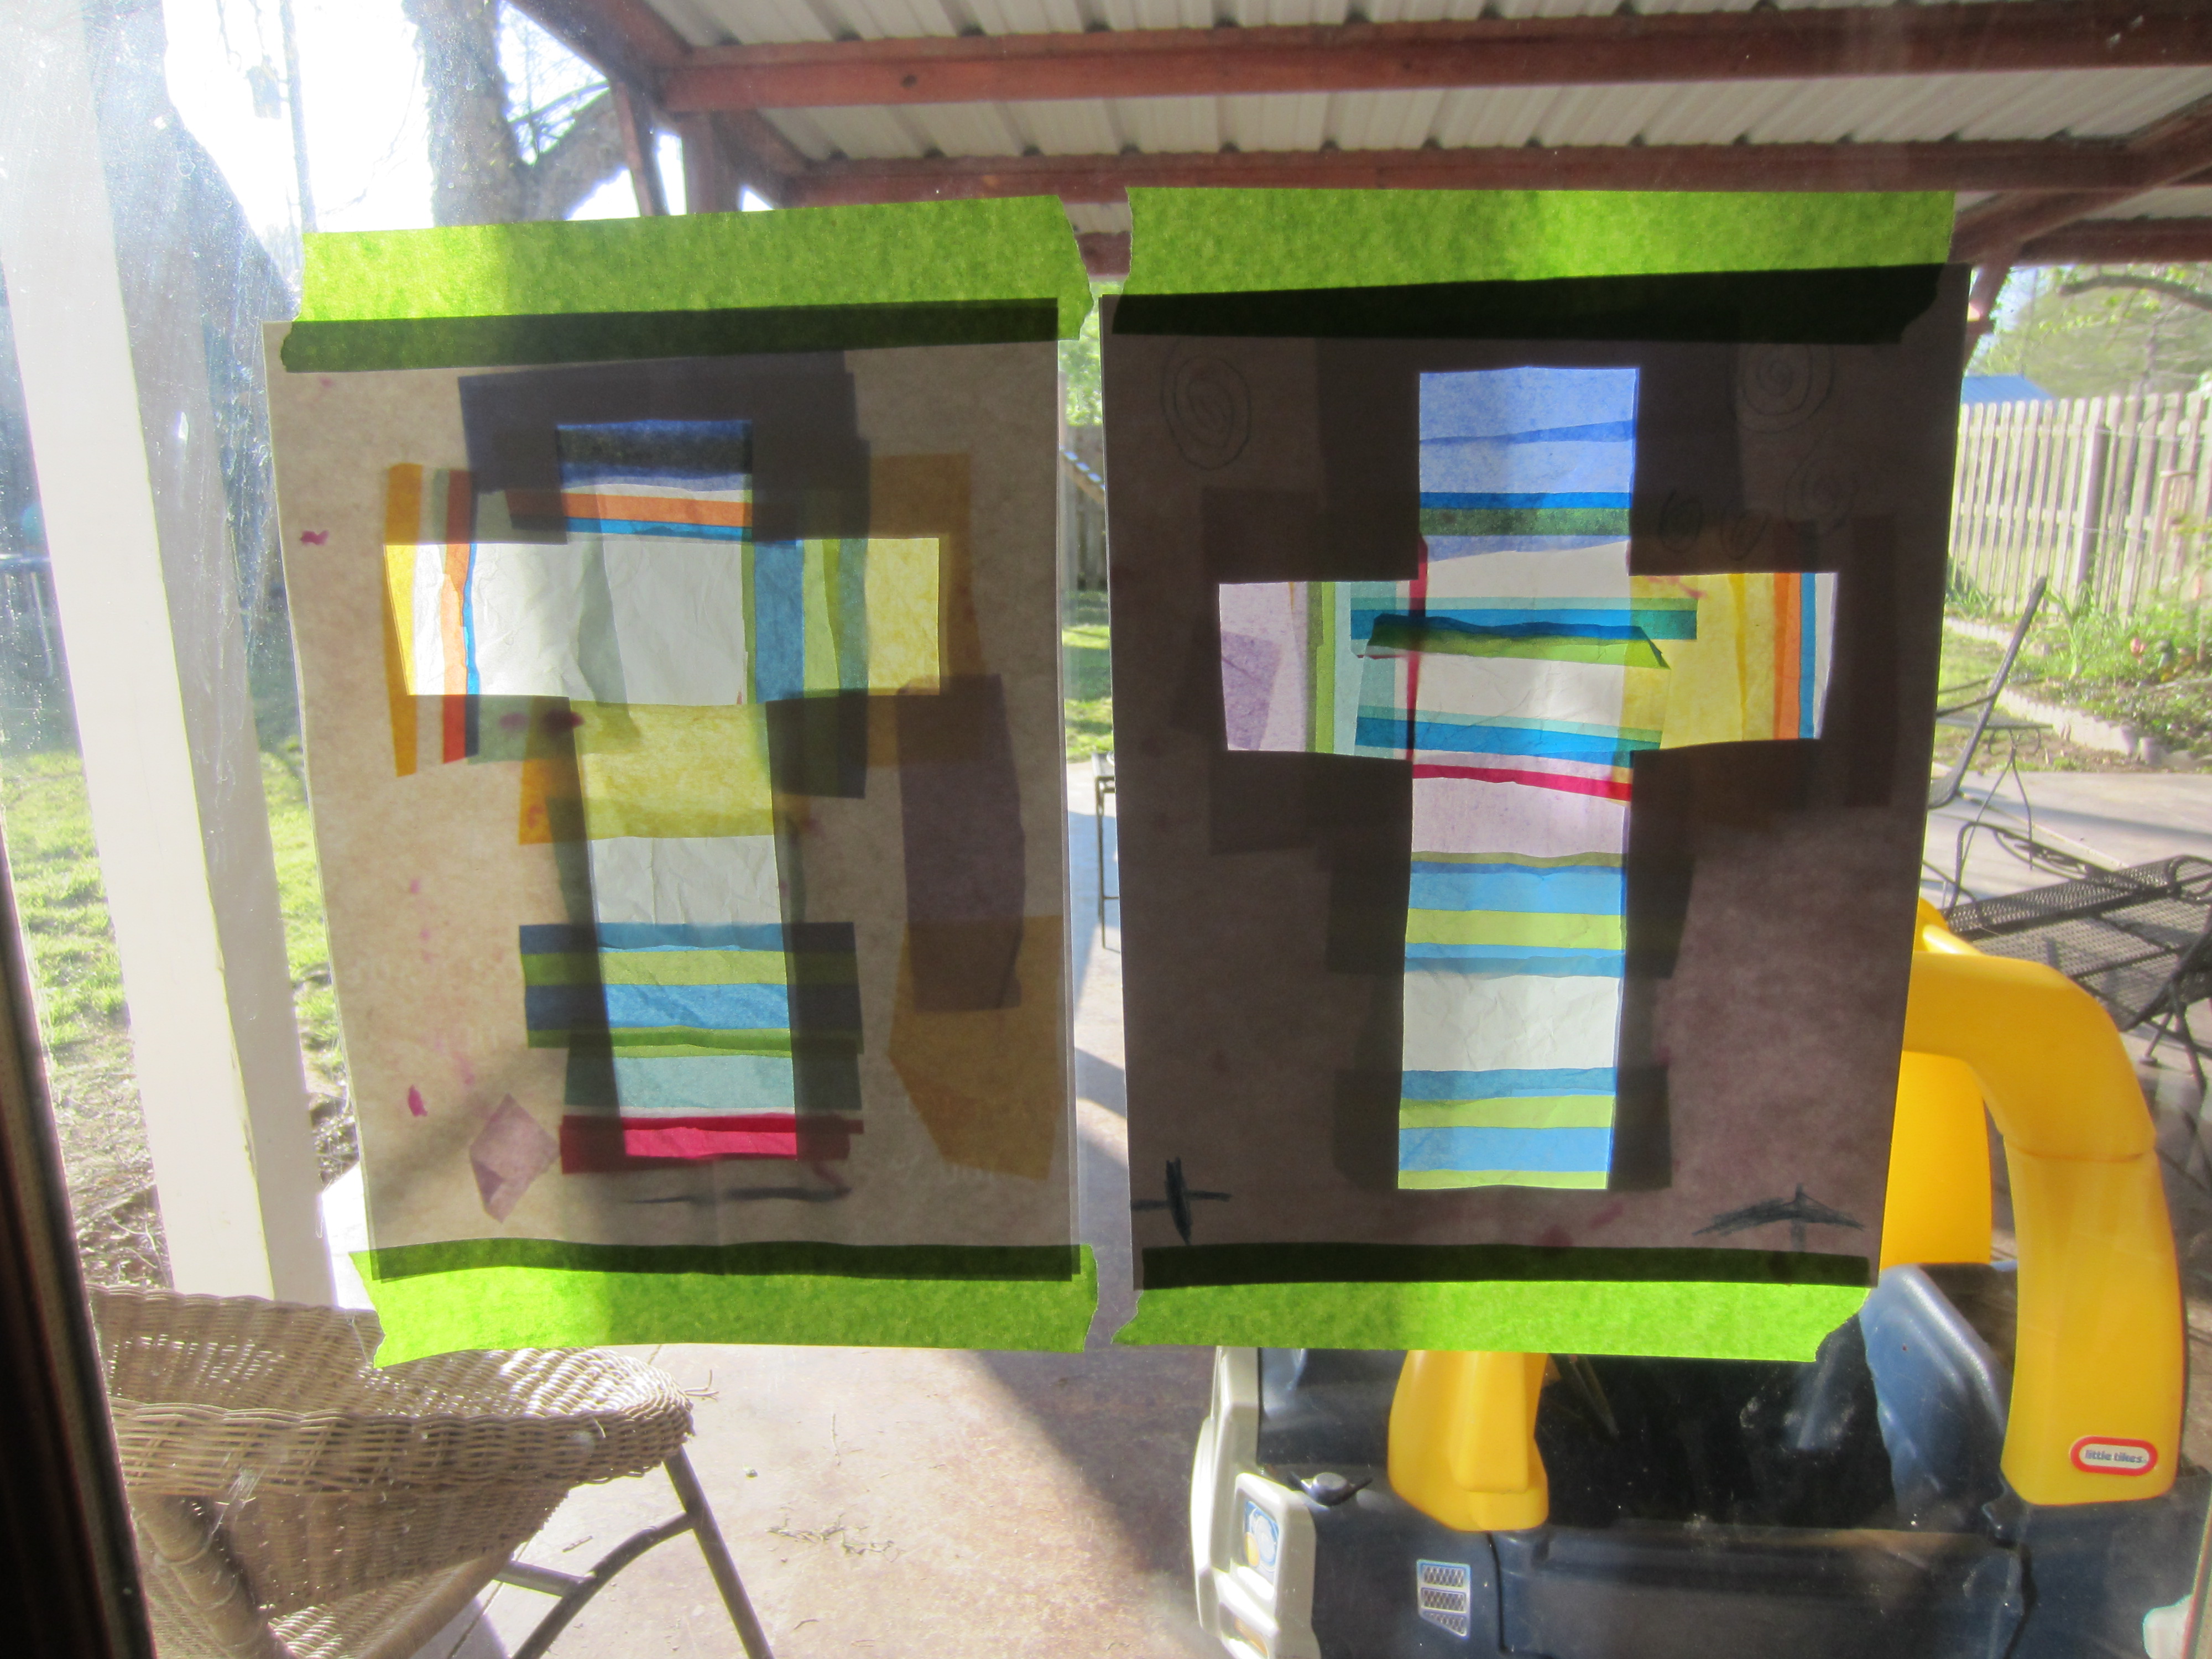
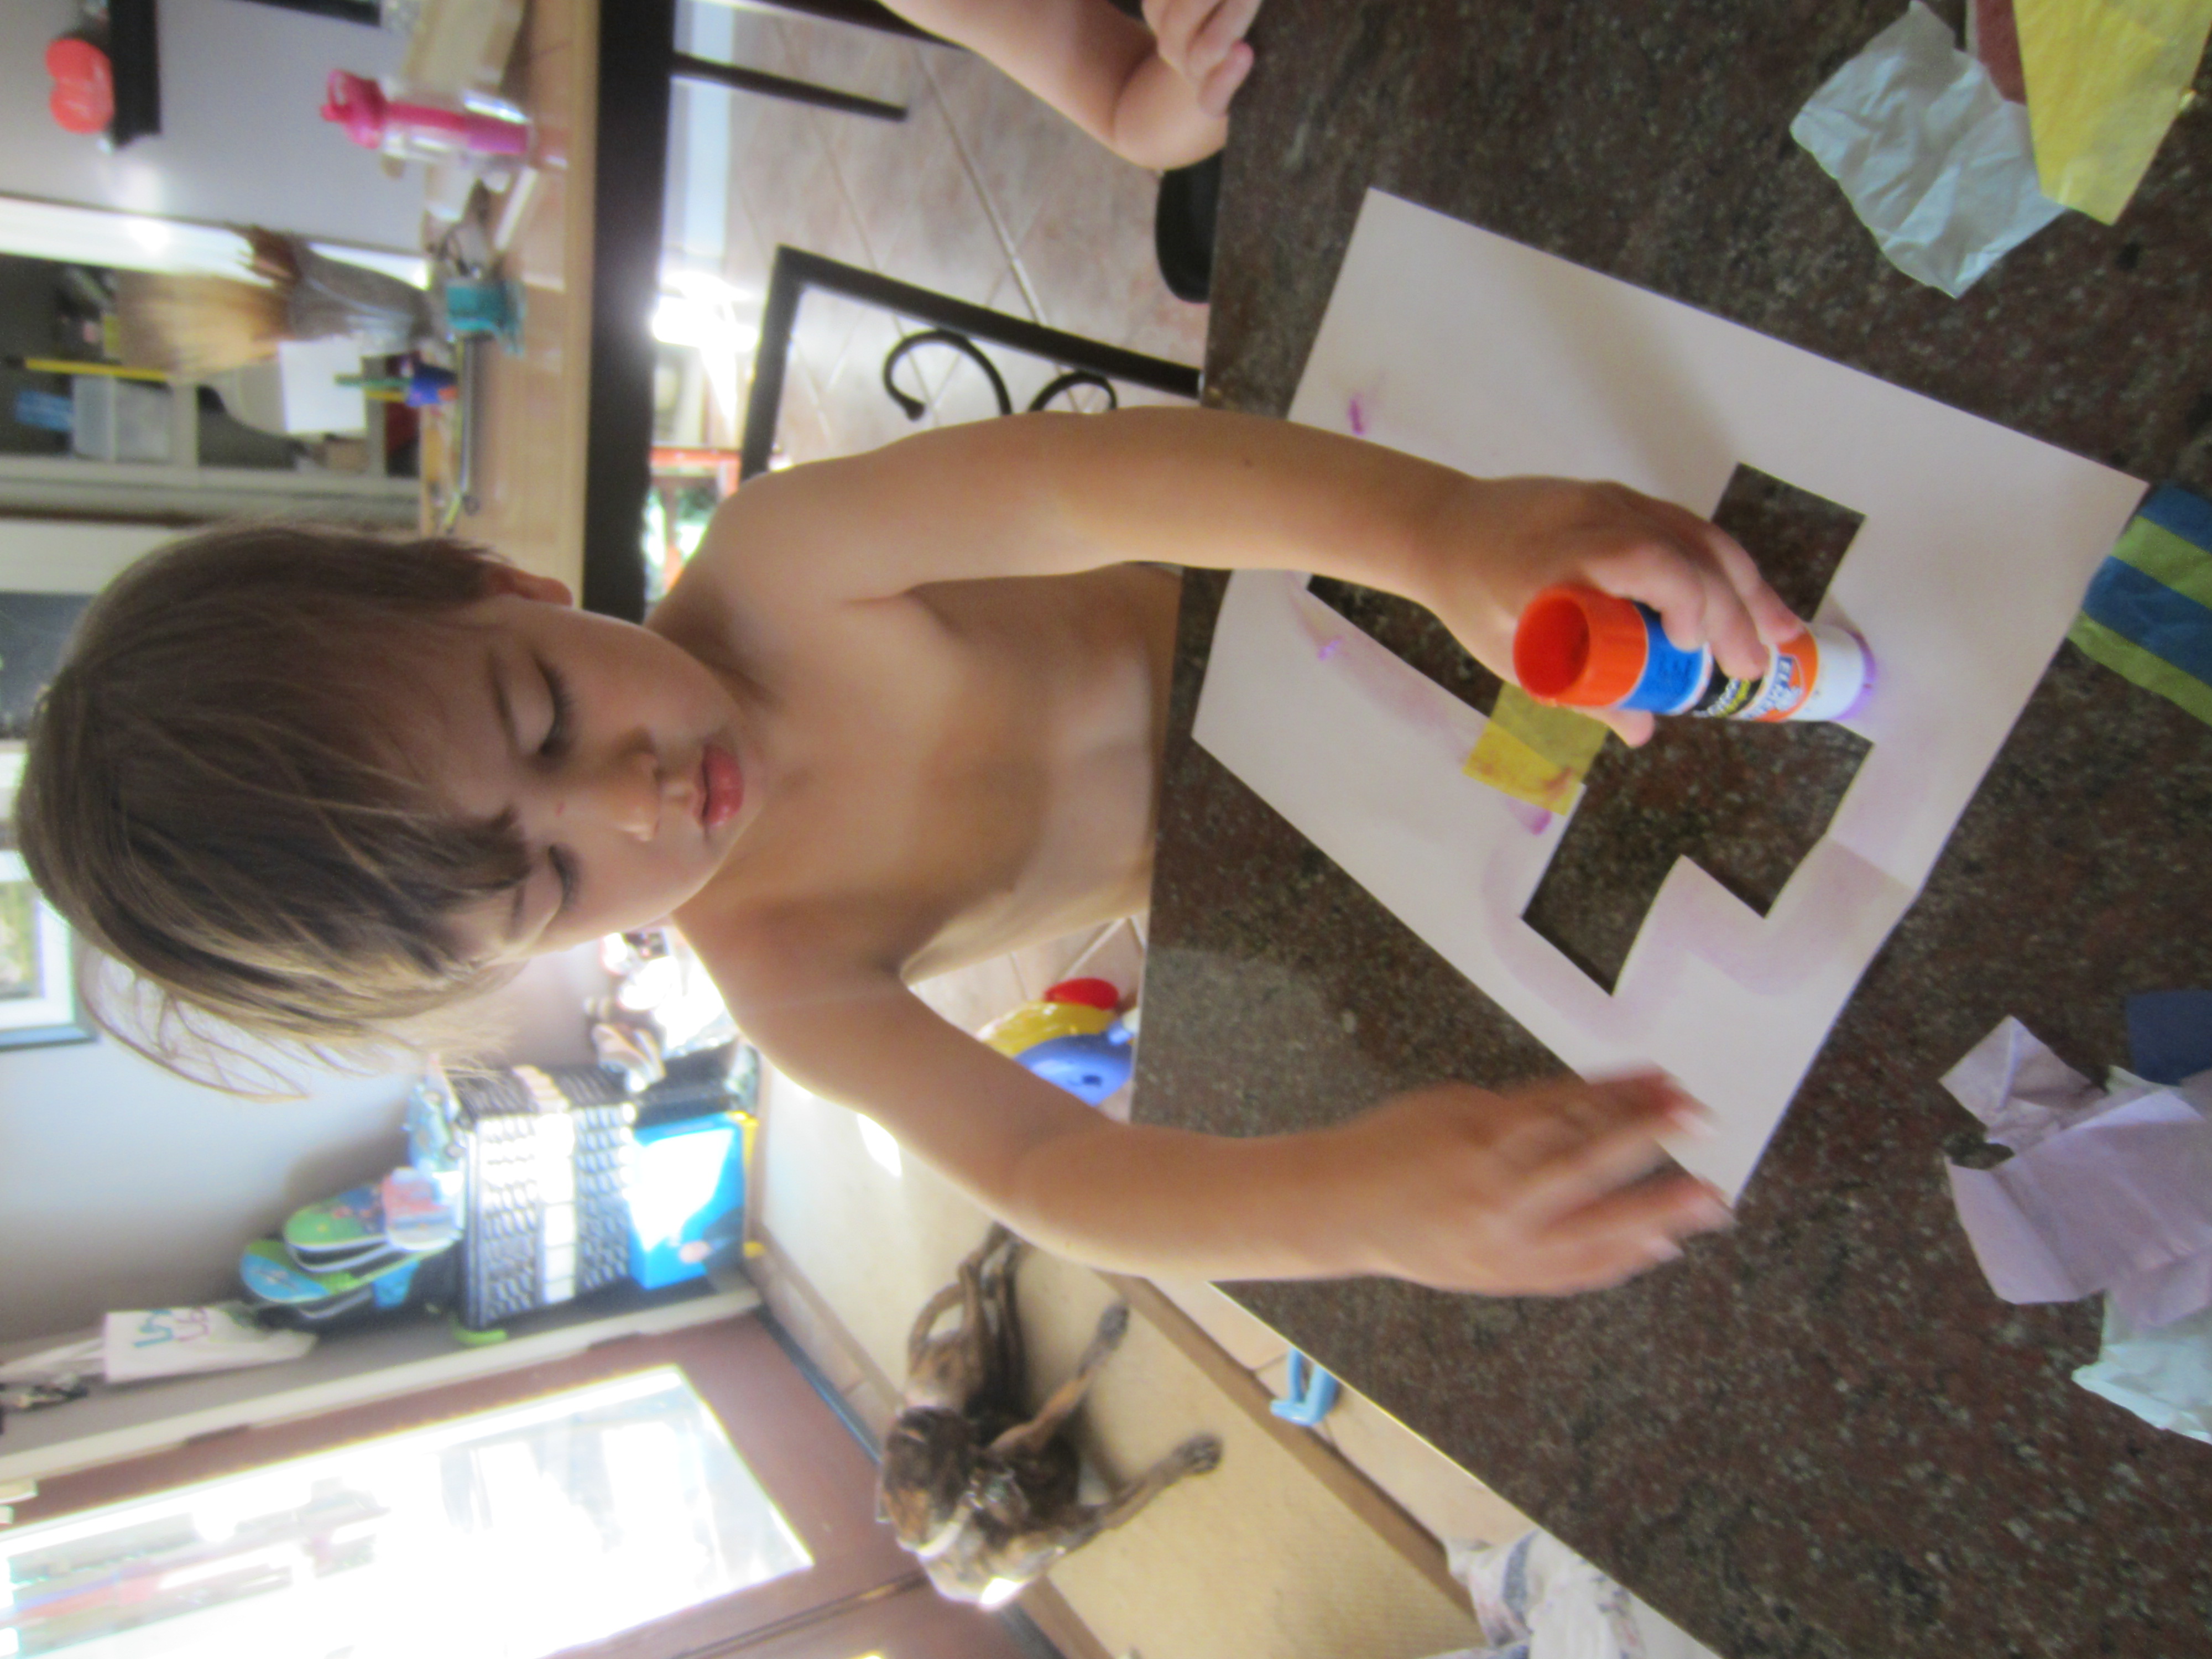
Anyway… onto the ONE Easter craft we were able to do – and we were able to complete it in about 15 minutes before we left for a play date one day this week! My kids call them Sun Crosses, for lack of a better name.
Materials:
2 sheets of paper per kid, scissors, tissue paper and stick glue
Step 1. Fold the 2 sheets of paper in half long ways together.
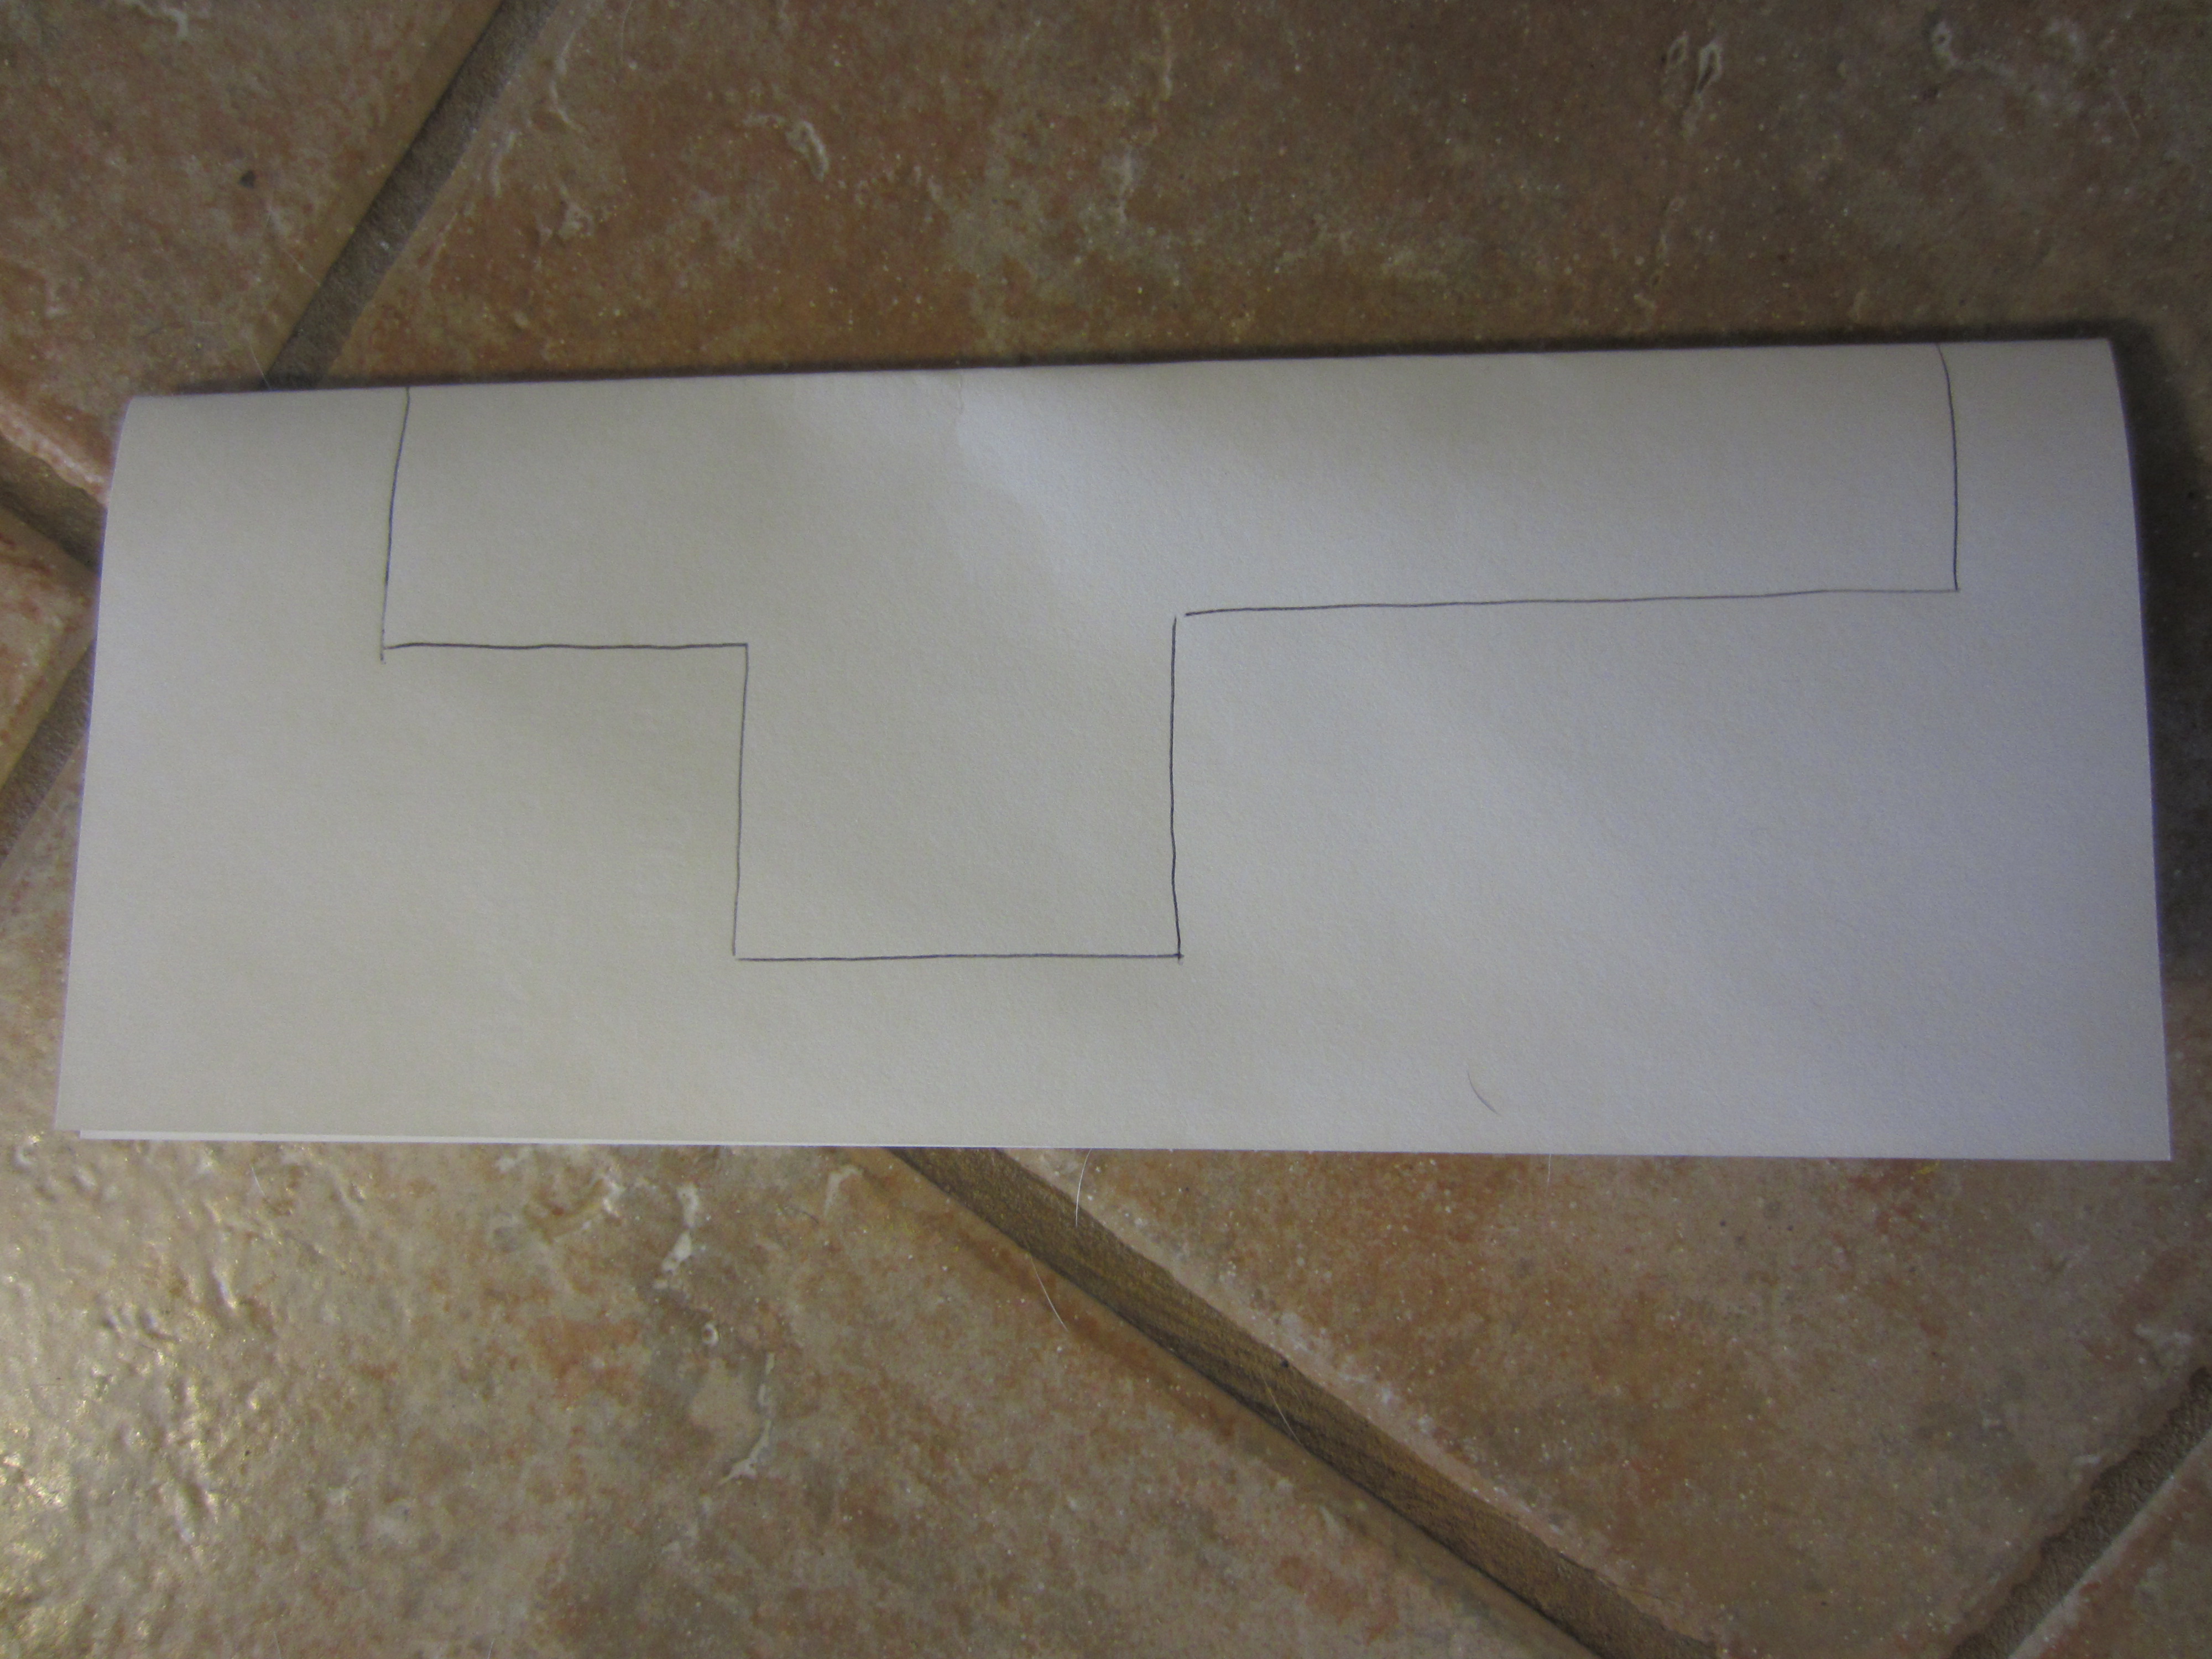
Step 2. Draw half of a cross on the fold.
Step 3. Cut out the 1/2 cross.
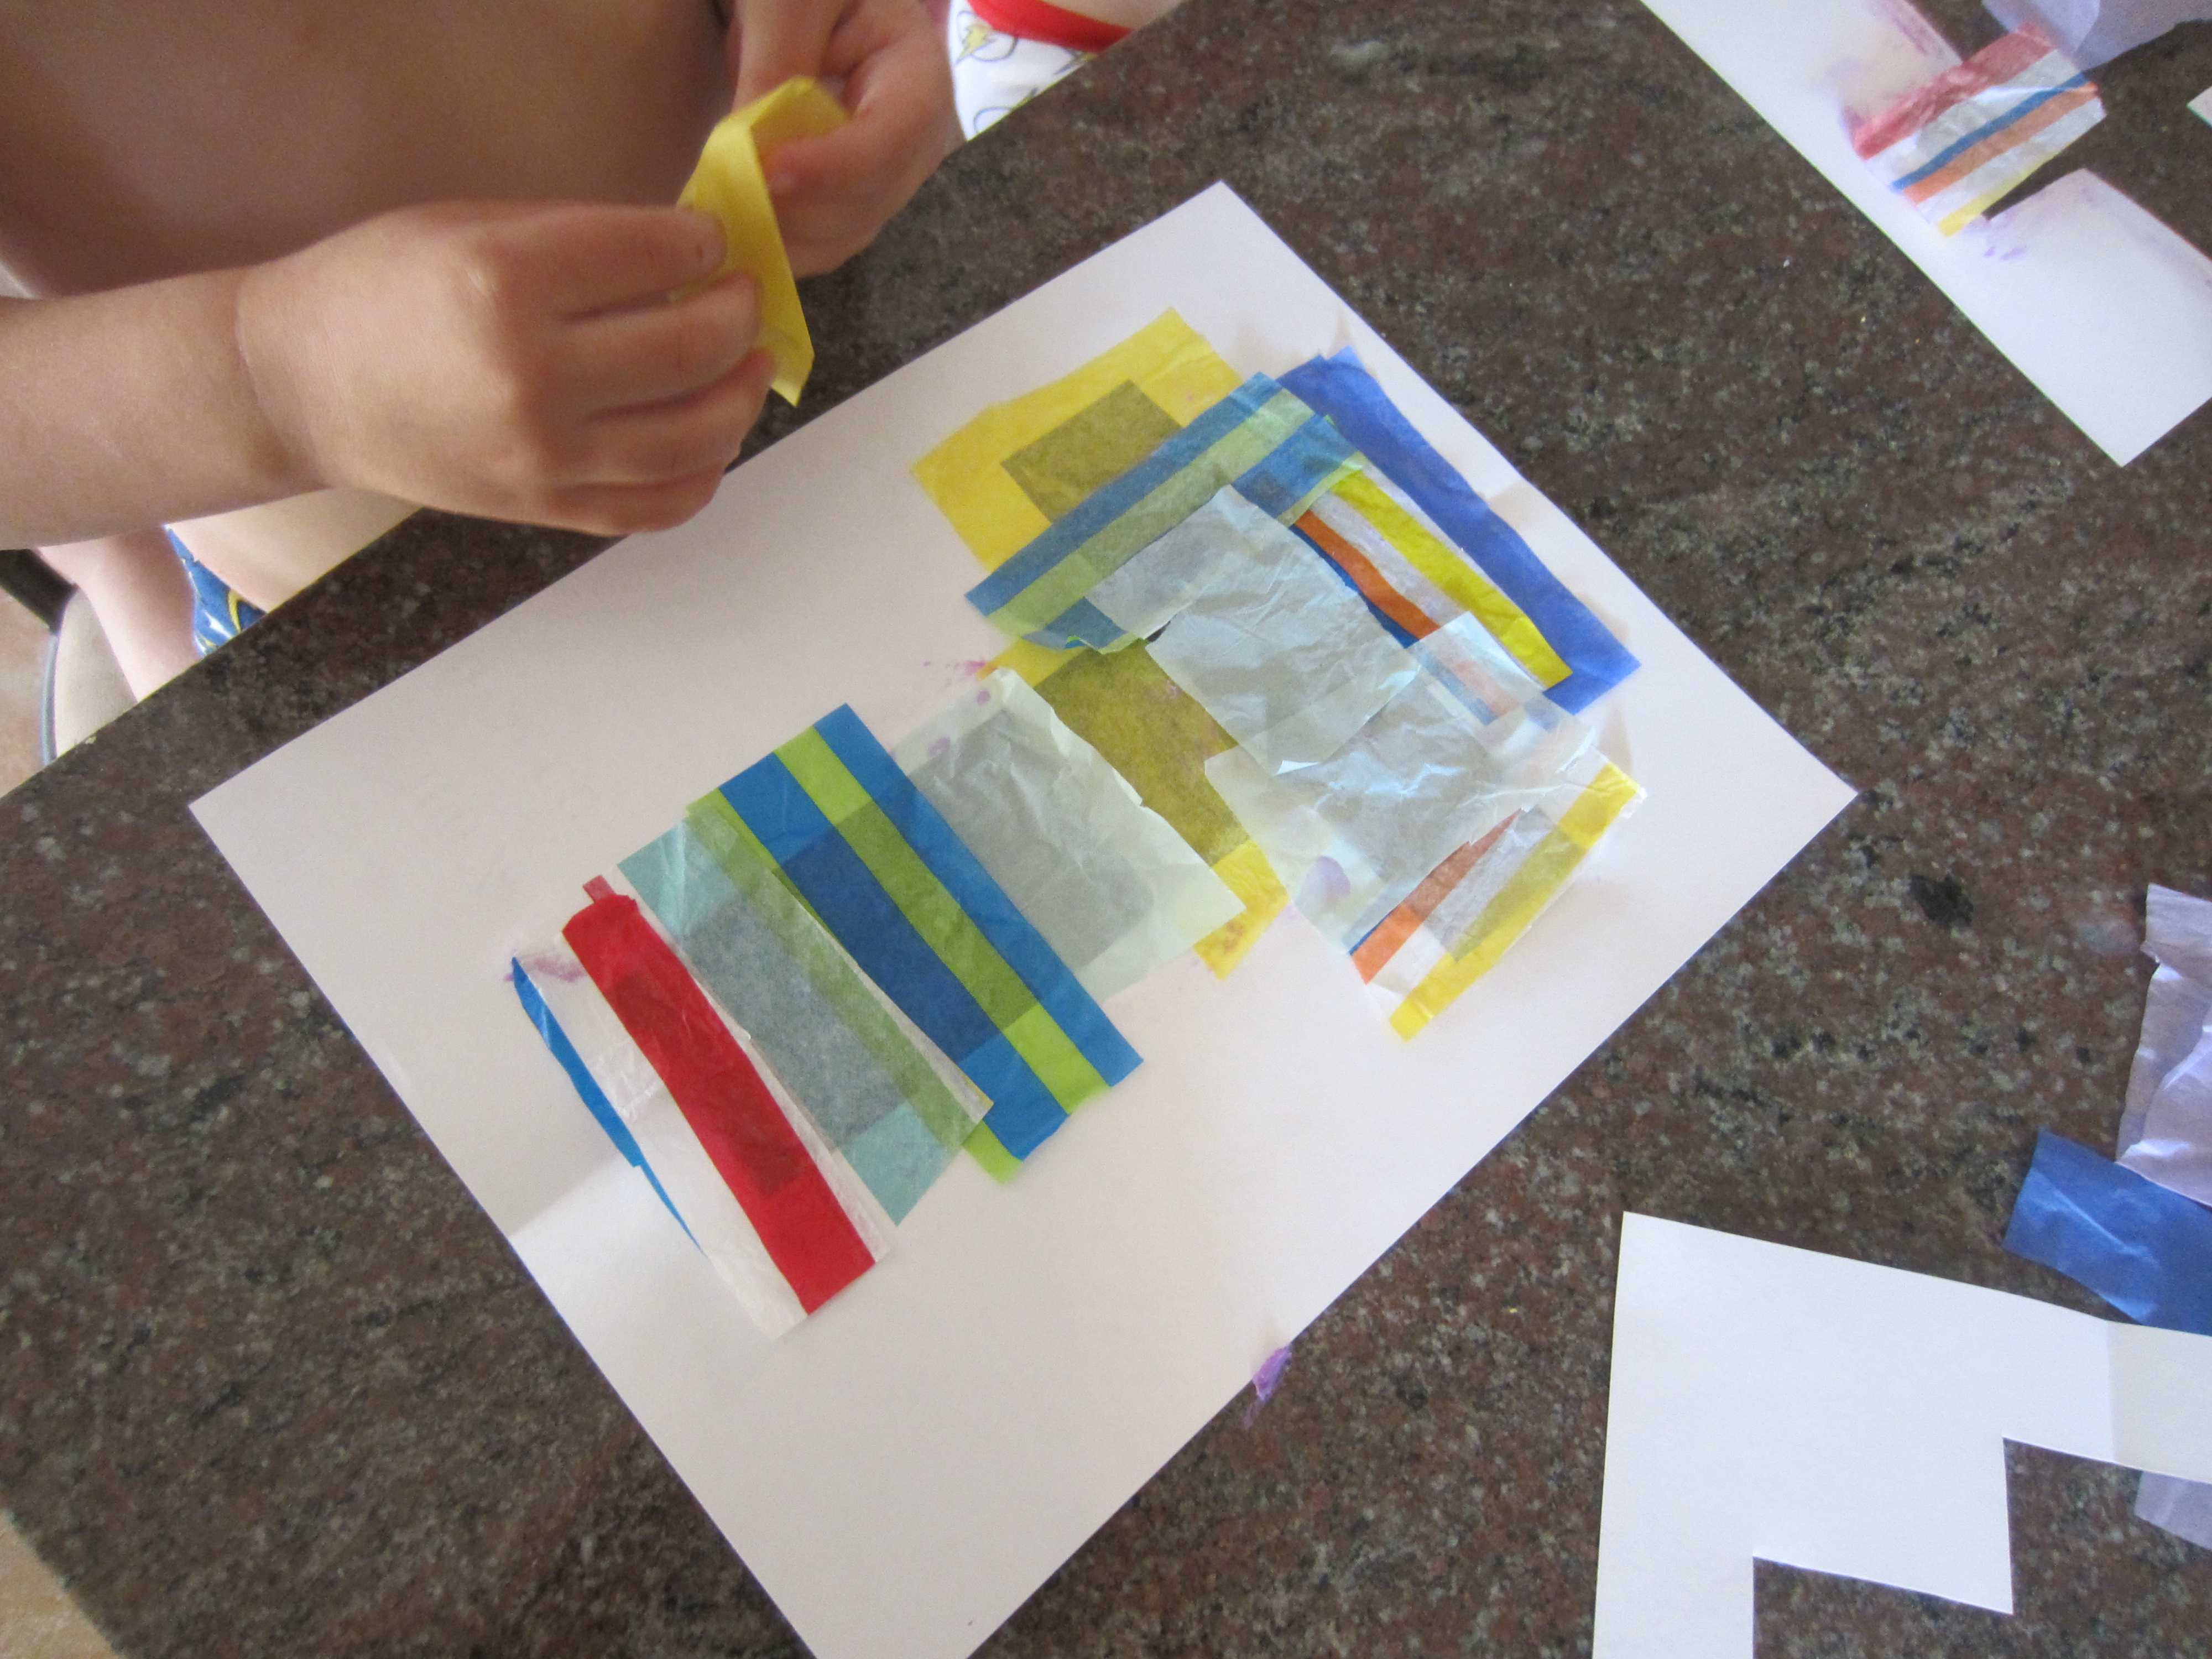
Step 4. Flatten one cross and cut 3-4 inch strips of tissue paper (or use one large sheet of tissue paper for your entire cross).
Step 5. Put the stick glue around the outside edge of the cross.
Step 6. Place the tissue paper across the opening for the cross. Do not leave any gaps.
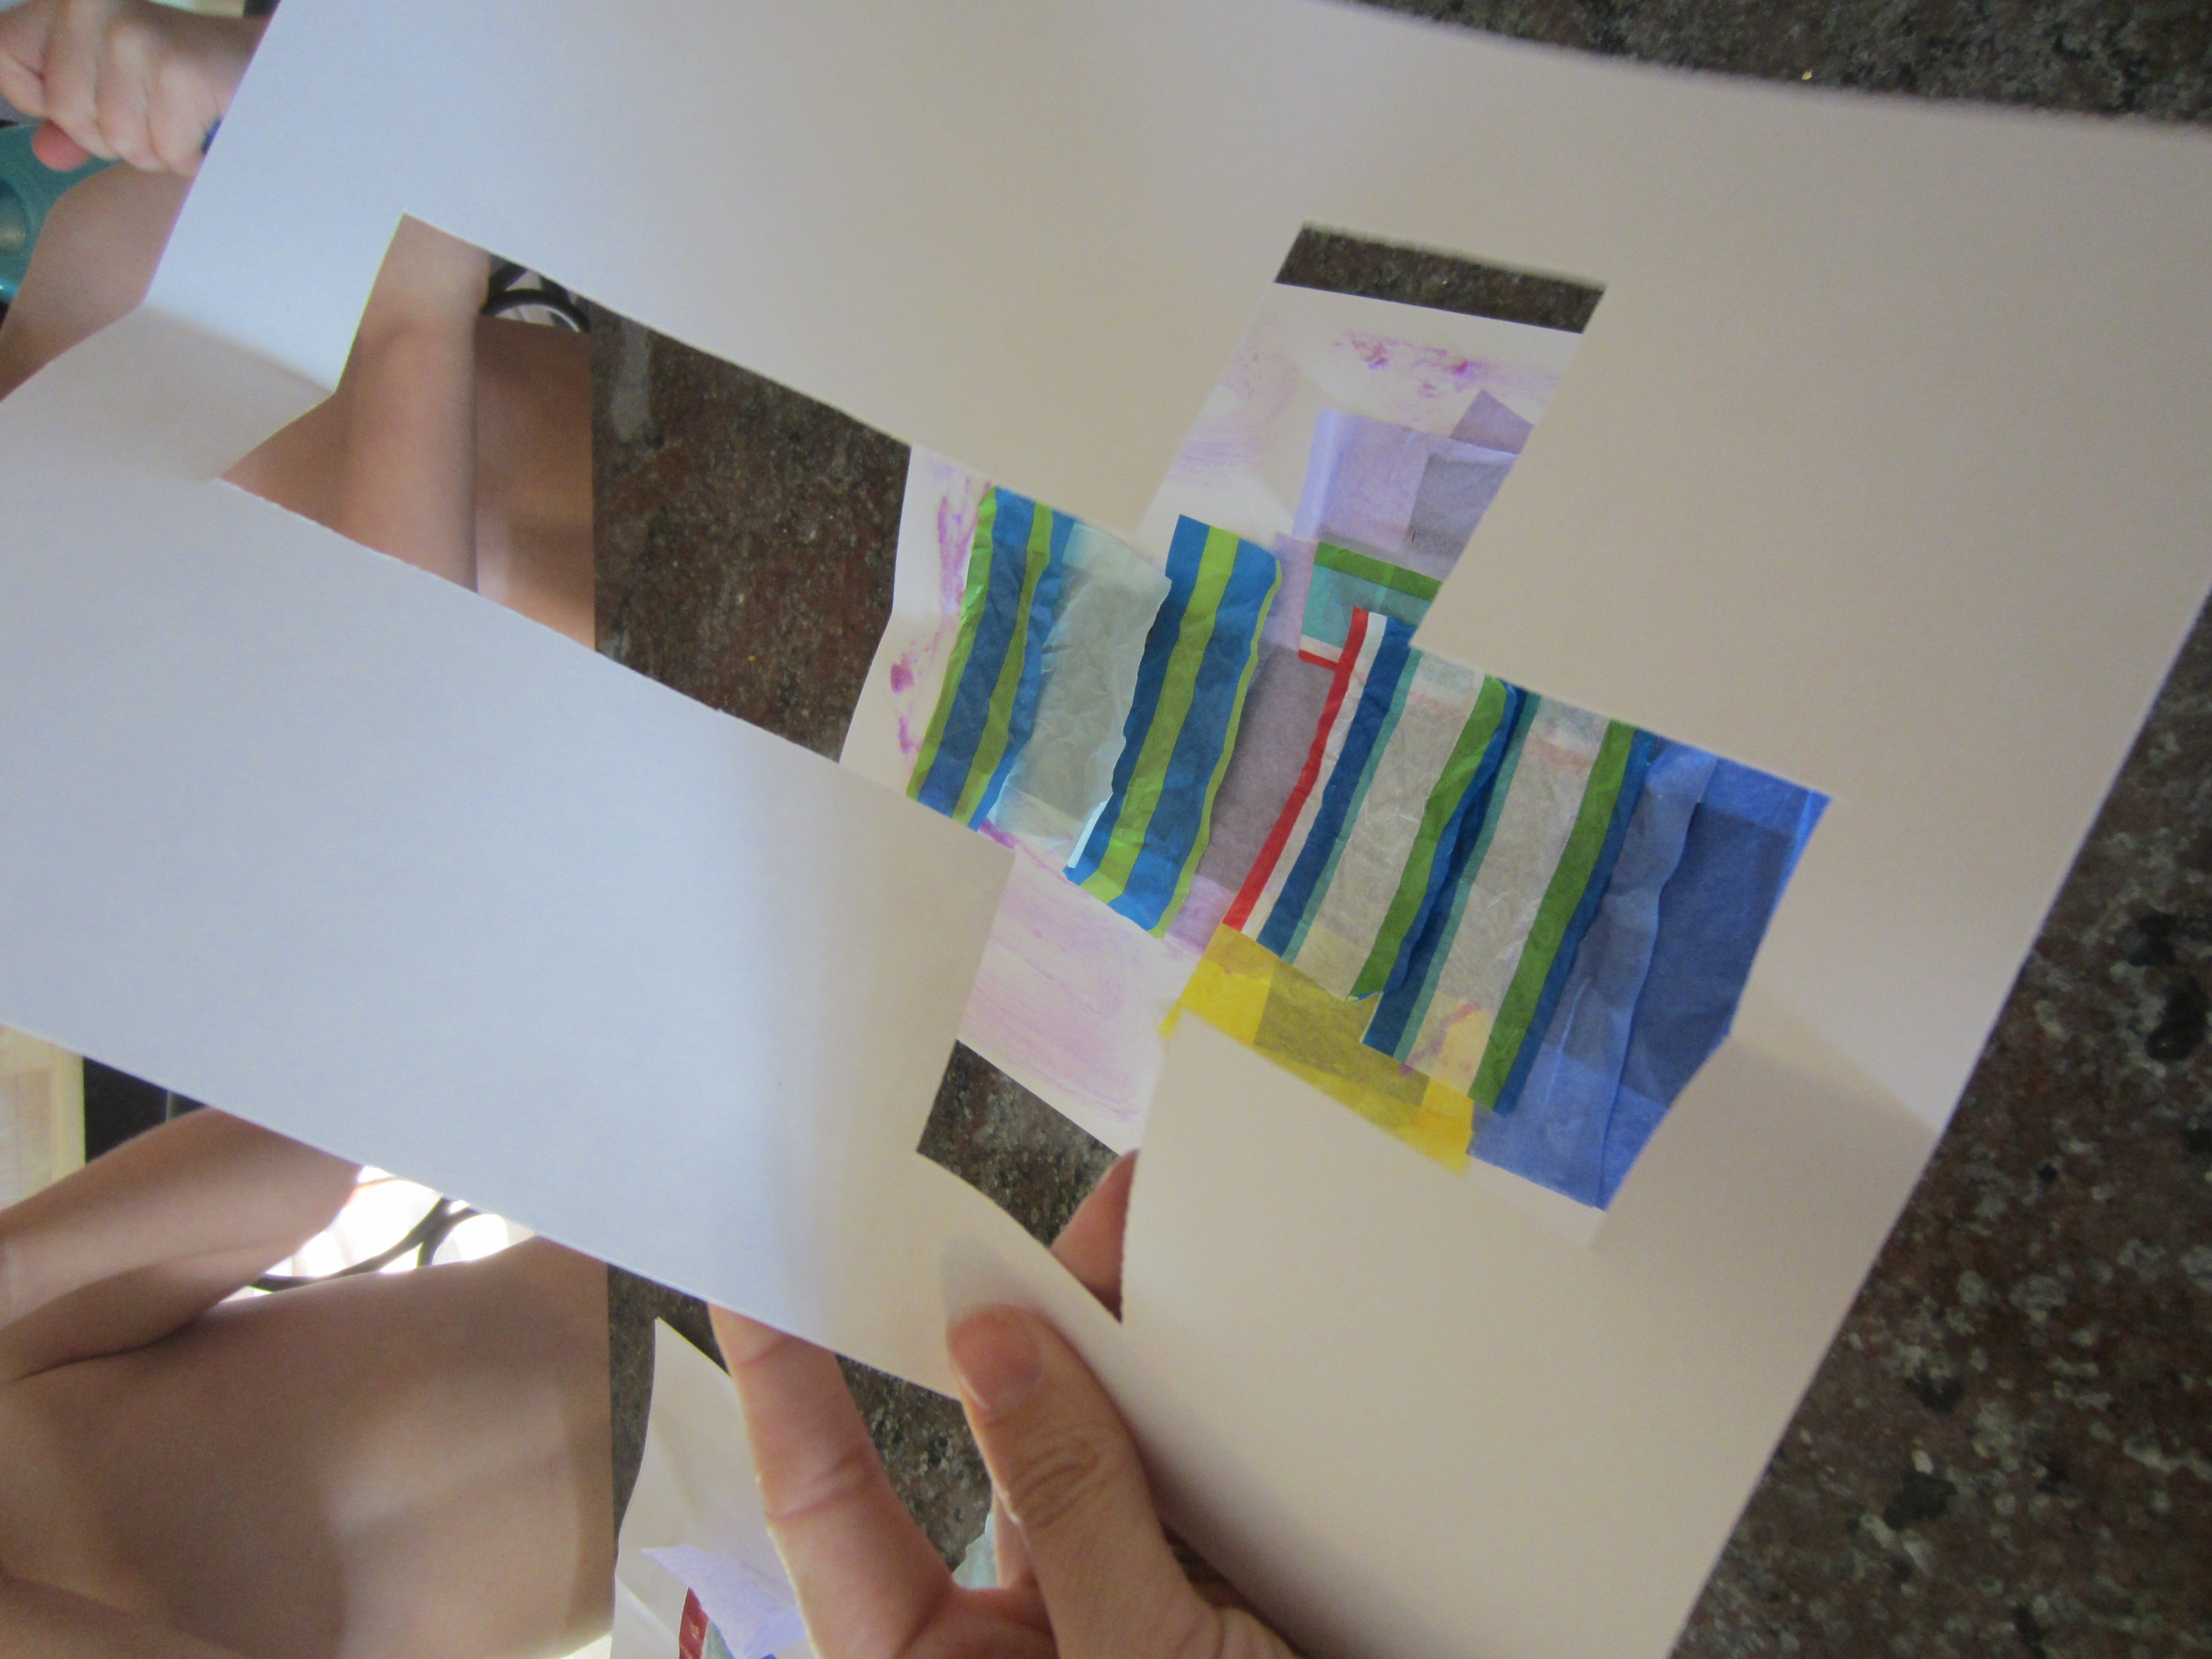
Step 7. Take the other sheet of paper with the cross cut out and cover one side with the stick glue. Then glue it directly on top of the other cross on the tissue paper side.
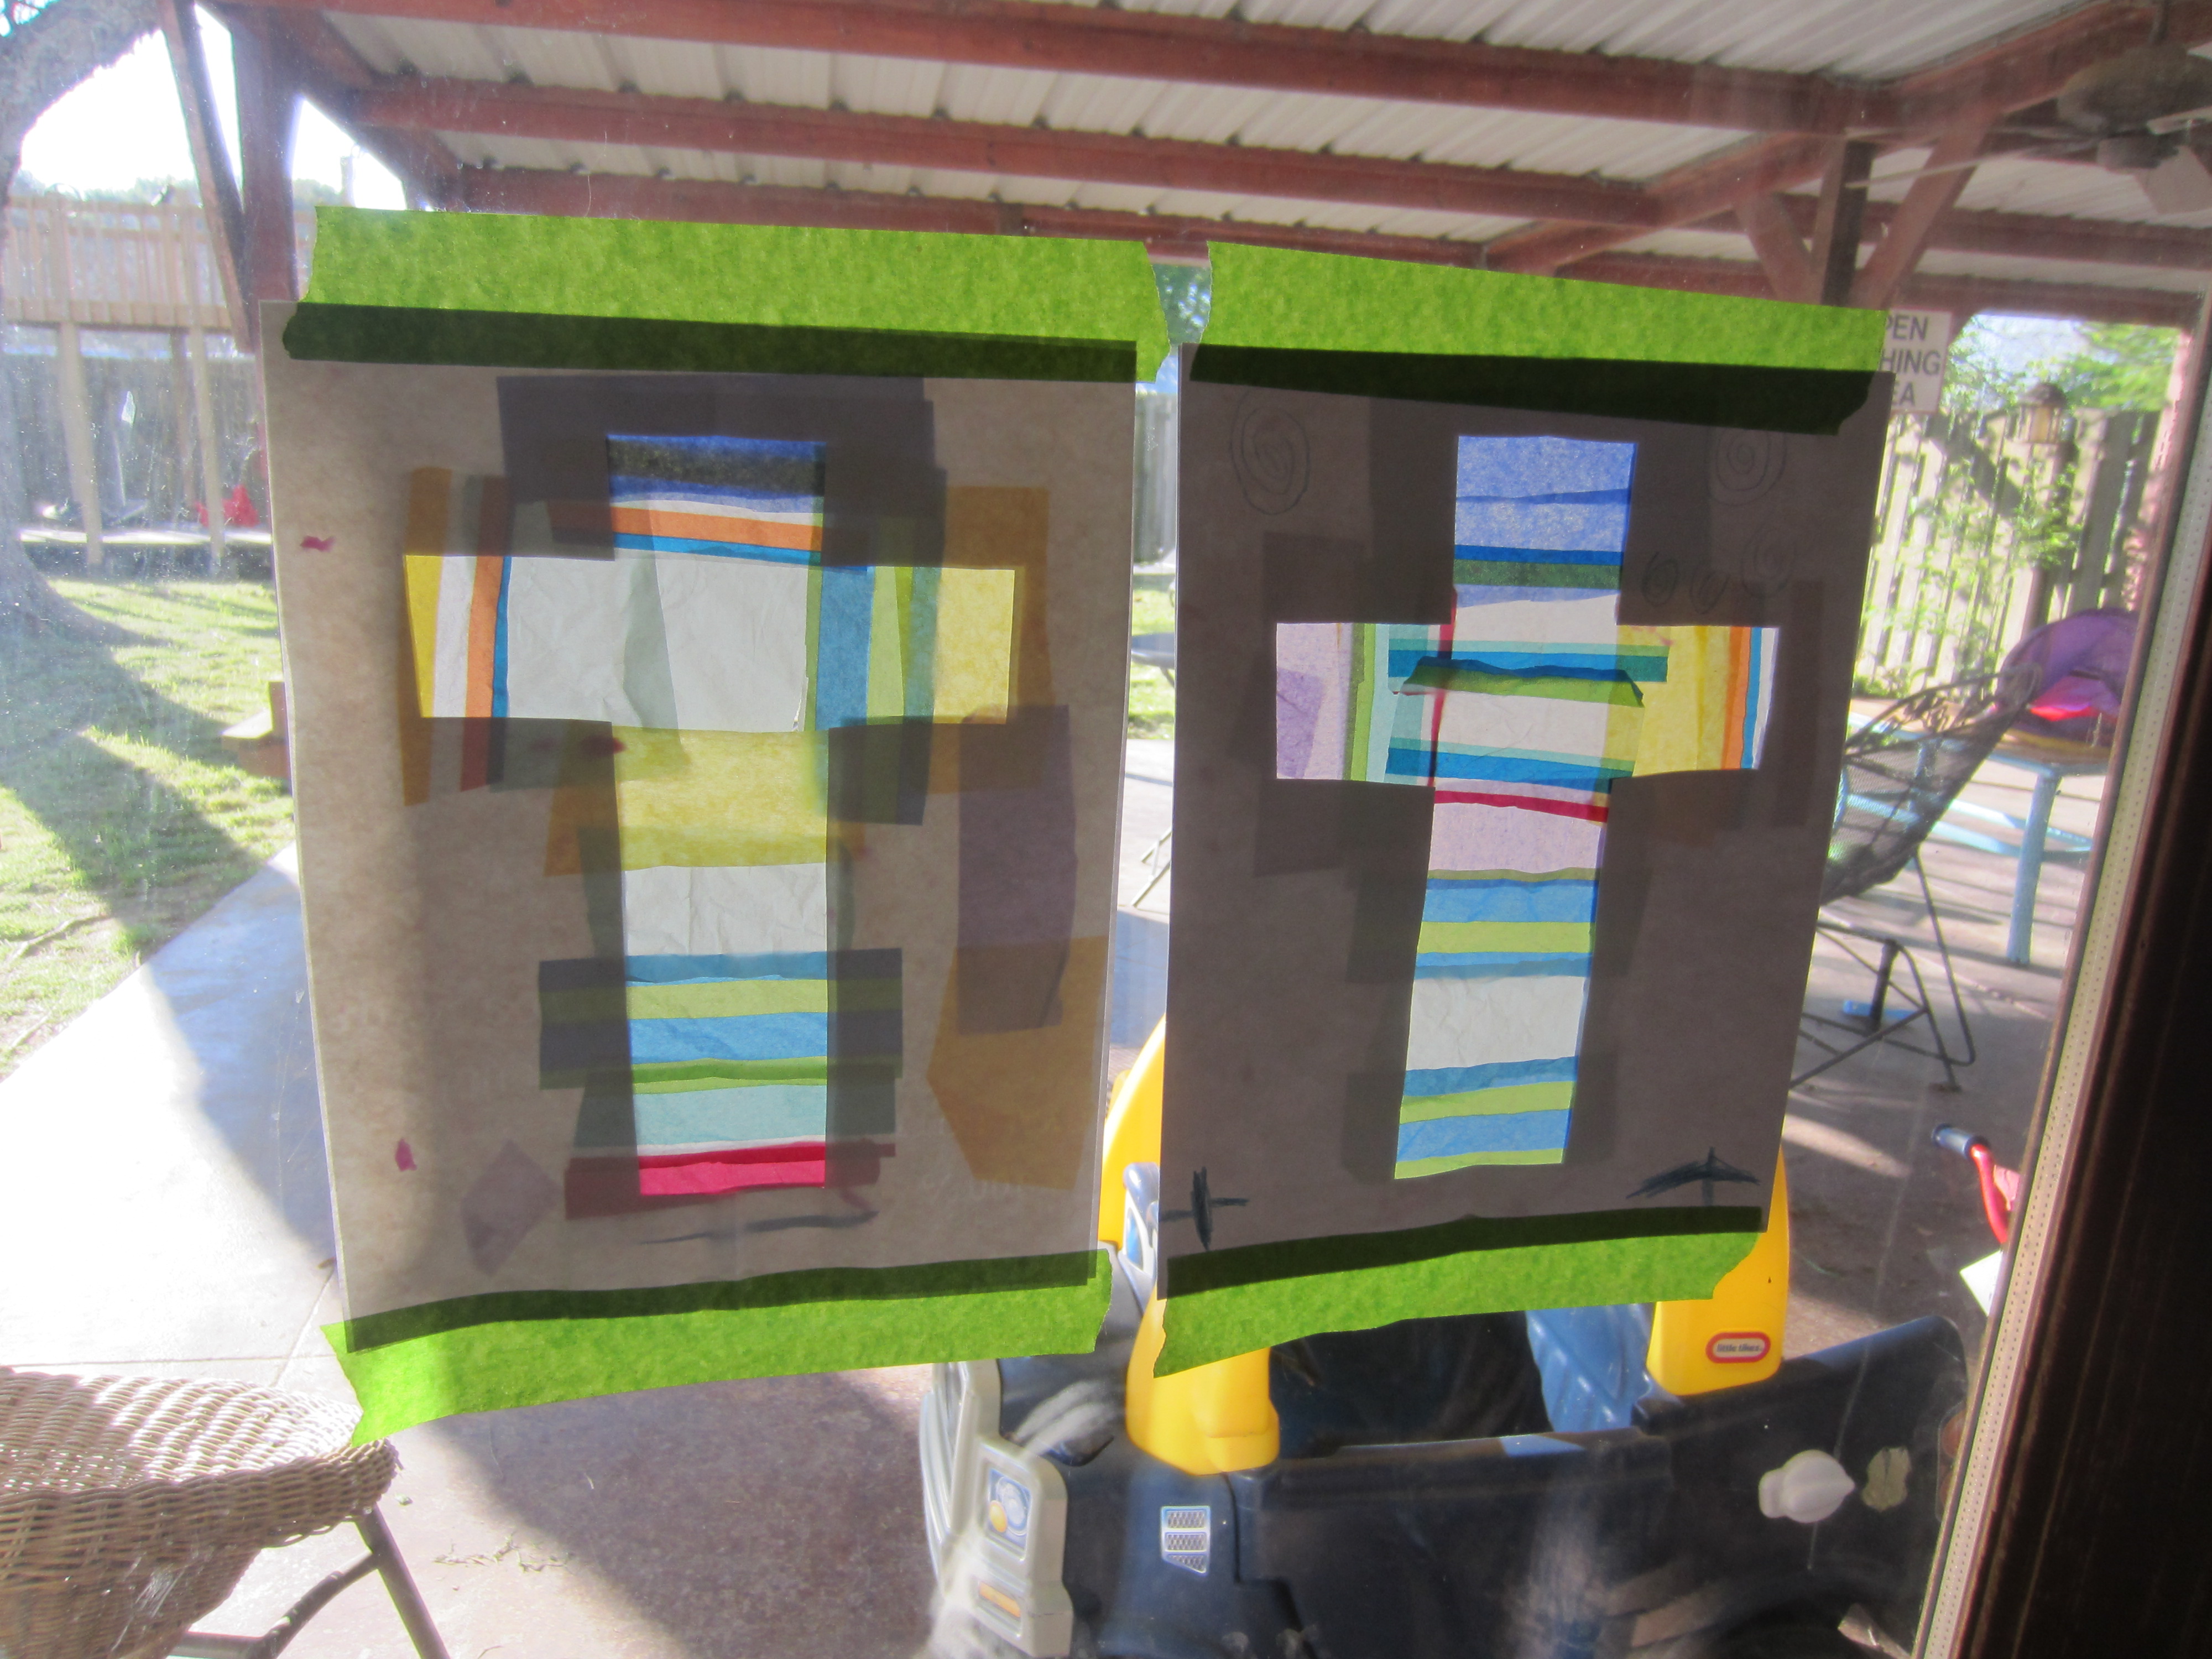
Step 8. Add your own artistic flare around the crosses.
Step 9. Place in a sunlit window and watch the light shine through the cross!
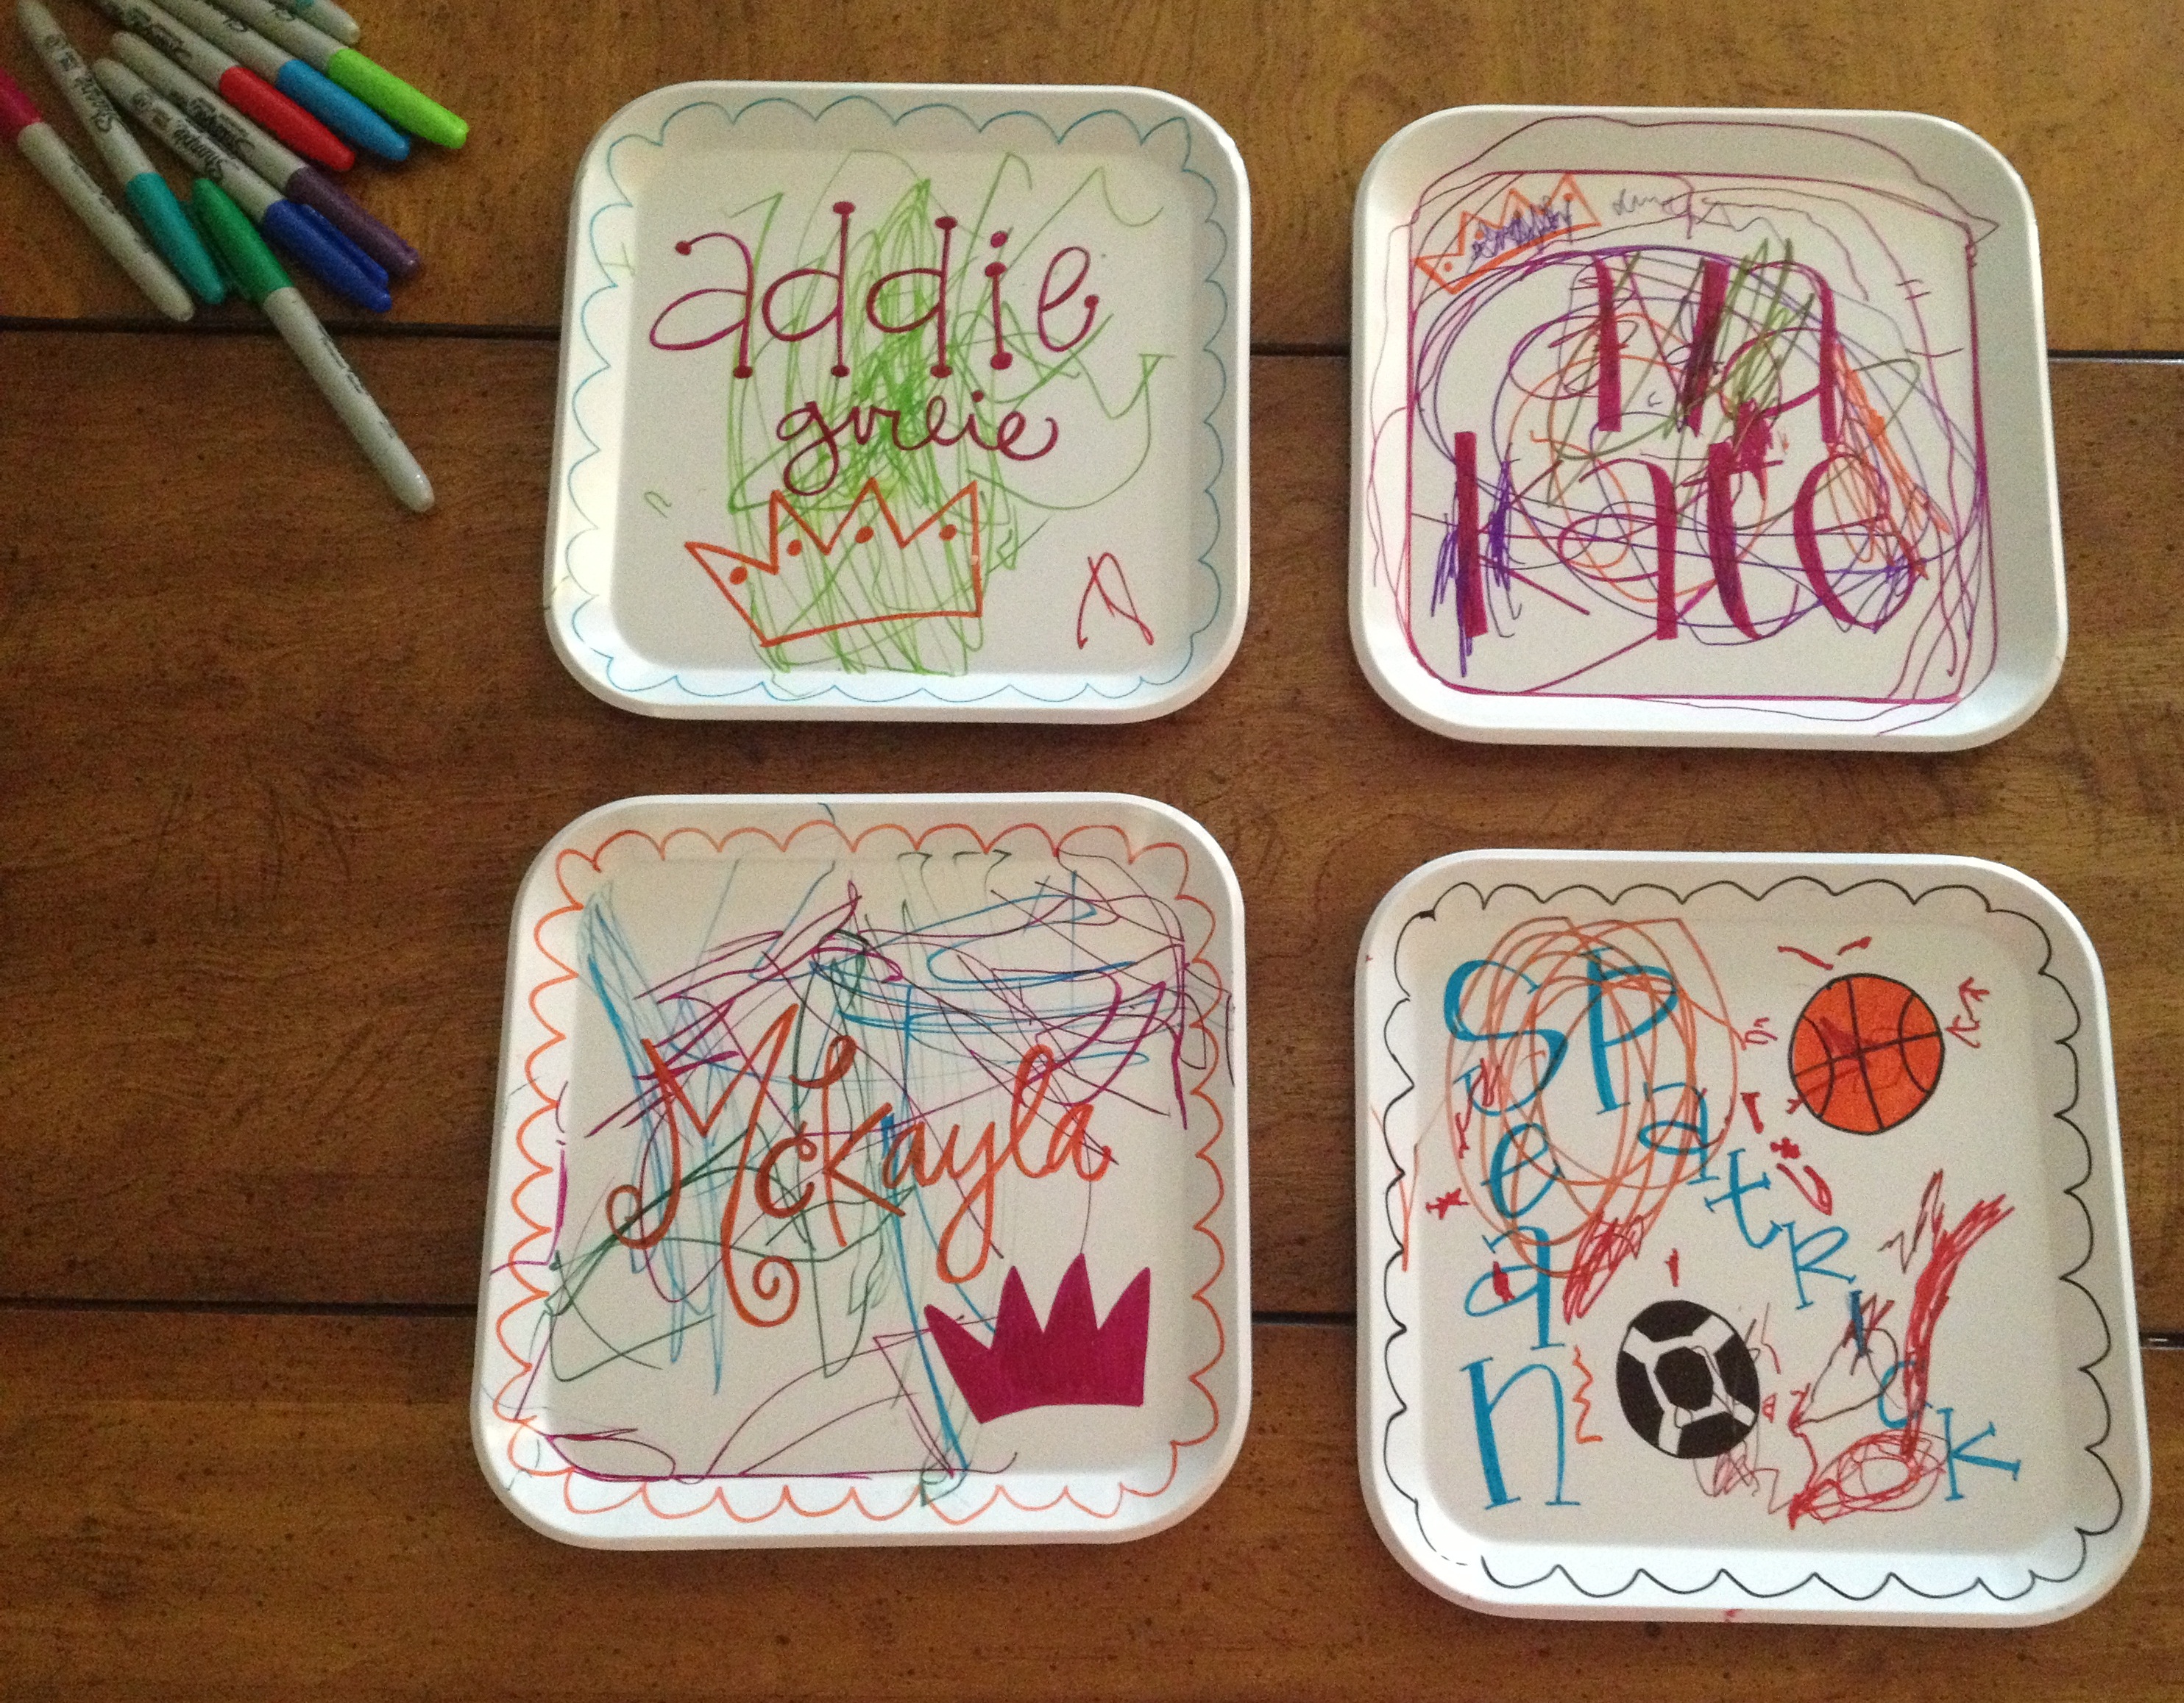
I threw out the uppercase A-R-T in the title of this post because even though my friend and I had a blast decorating plates with our kids, the following images do NOT show plates that you can eat from or really even wash. They will be on a plate stand in the kitchen most likely 😉
My friend Allie and I are both 24 weeks pregnant, we both have a two year and a half year old, and we both have a one year old (this was not planned by the way). So, we have had a sleepover this weekend to let our crazy worlds come together for a few days. It has been so sweet, and funny, and crazy of course. We decided it would be fun to let the little ones do an art activity together.
We found some pefect small, white melamine plates at Target and purchased some colorful sharpies, we headed back home to let our little ones decorate away. (PS – we learned the hard way that the bamboo melamine plates we found at Big Lots were a NO GO! Just trust me on this one.)
My friend Allie can write really cutesie and I can NOT write cutesie at all so she personalized all of the plates for us. Thanks Allie ! 🙂
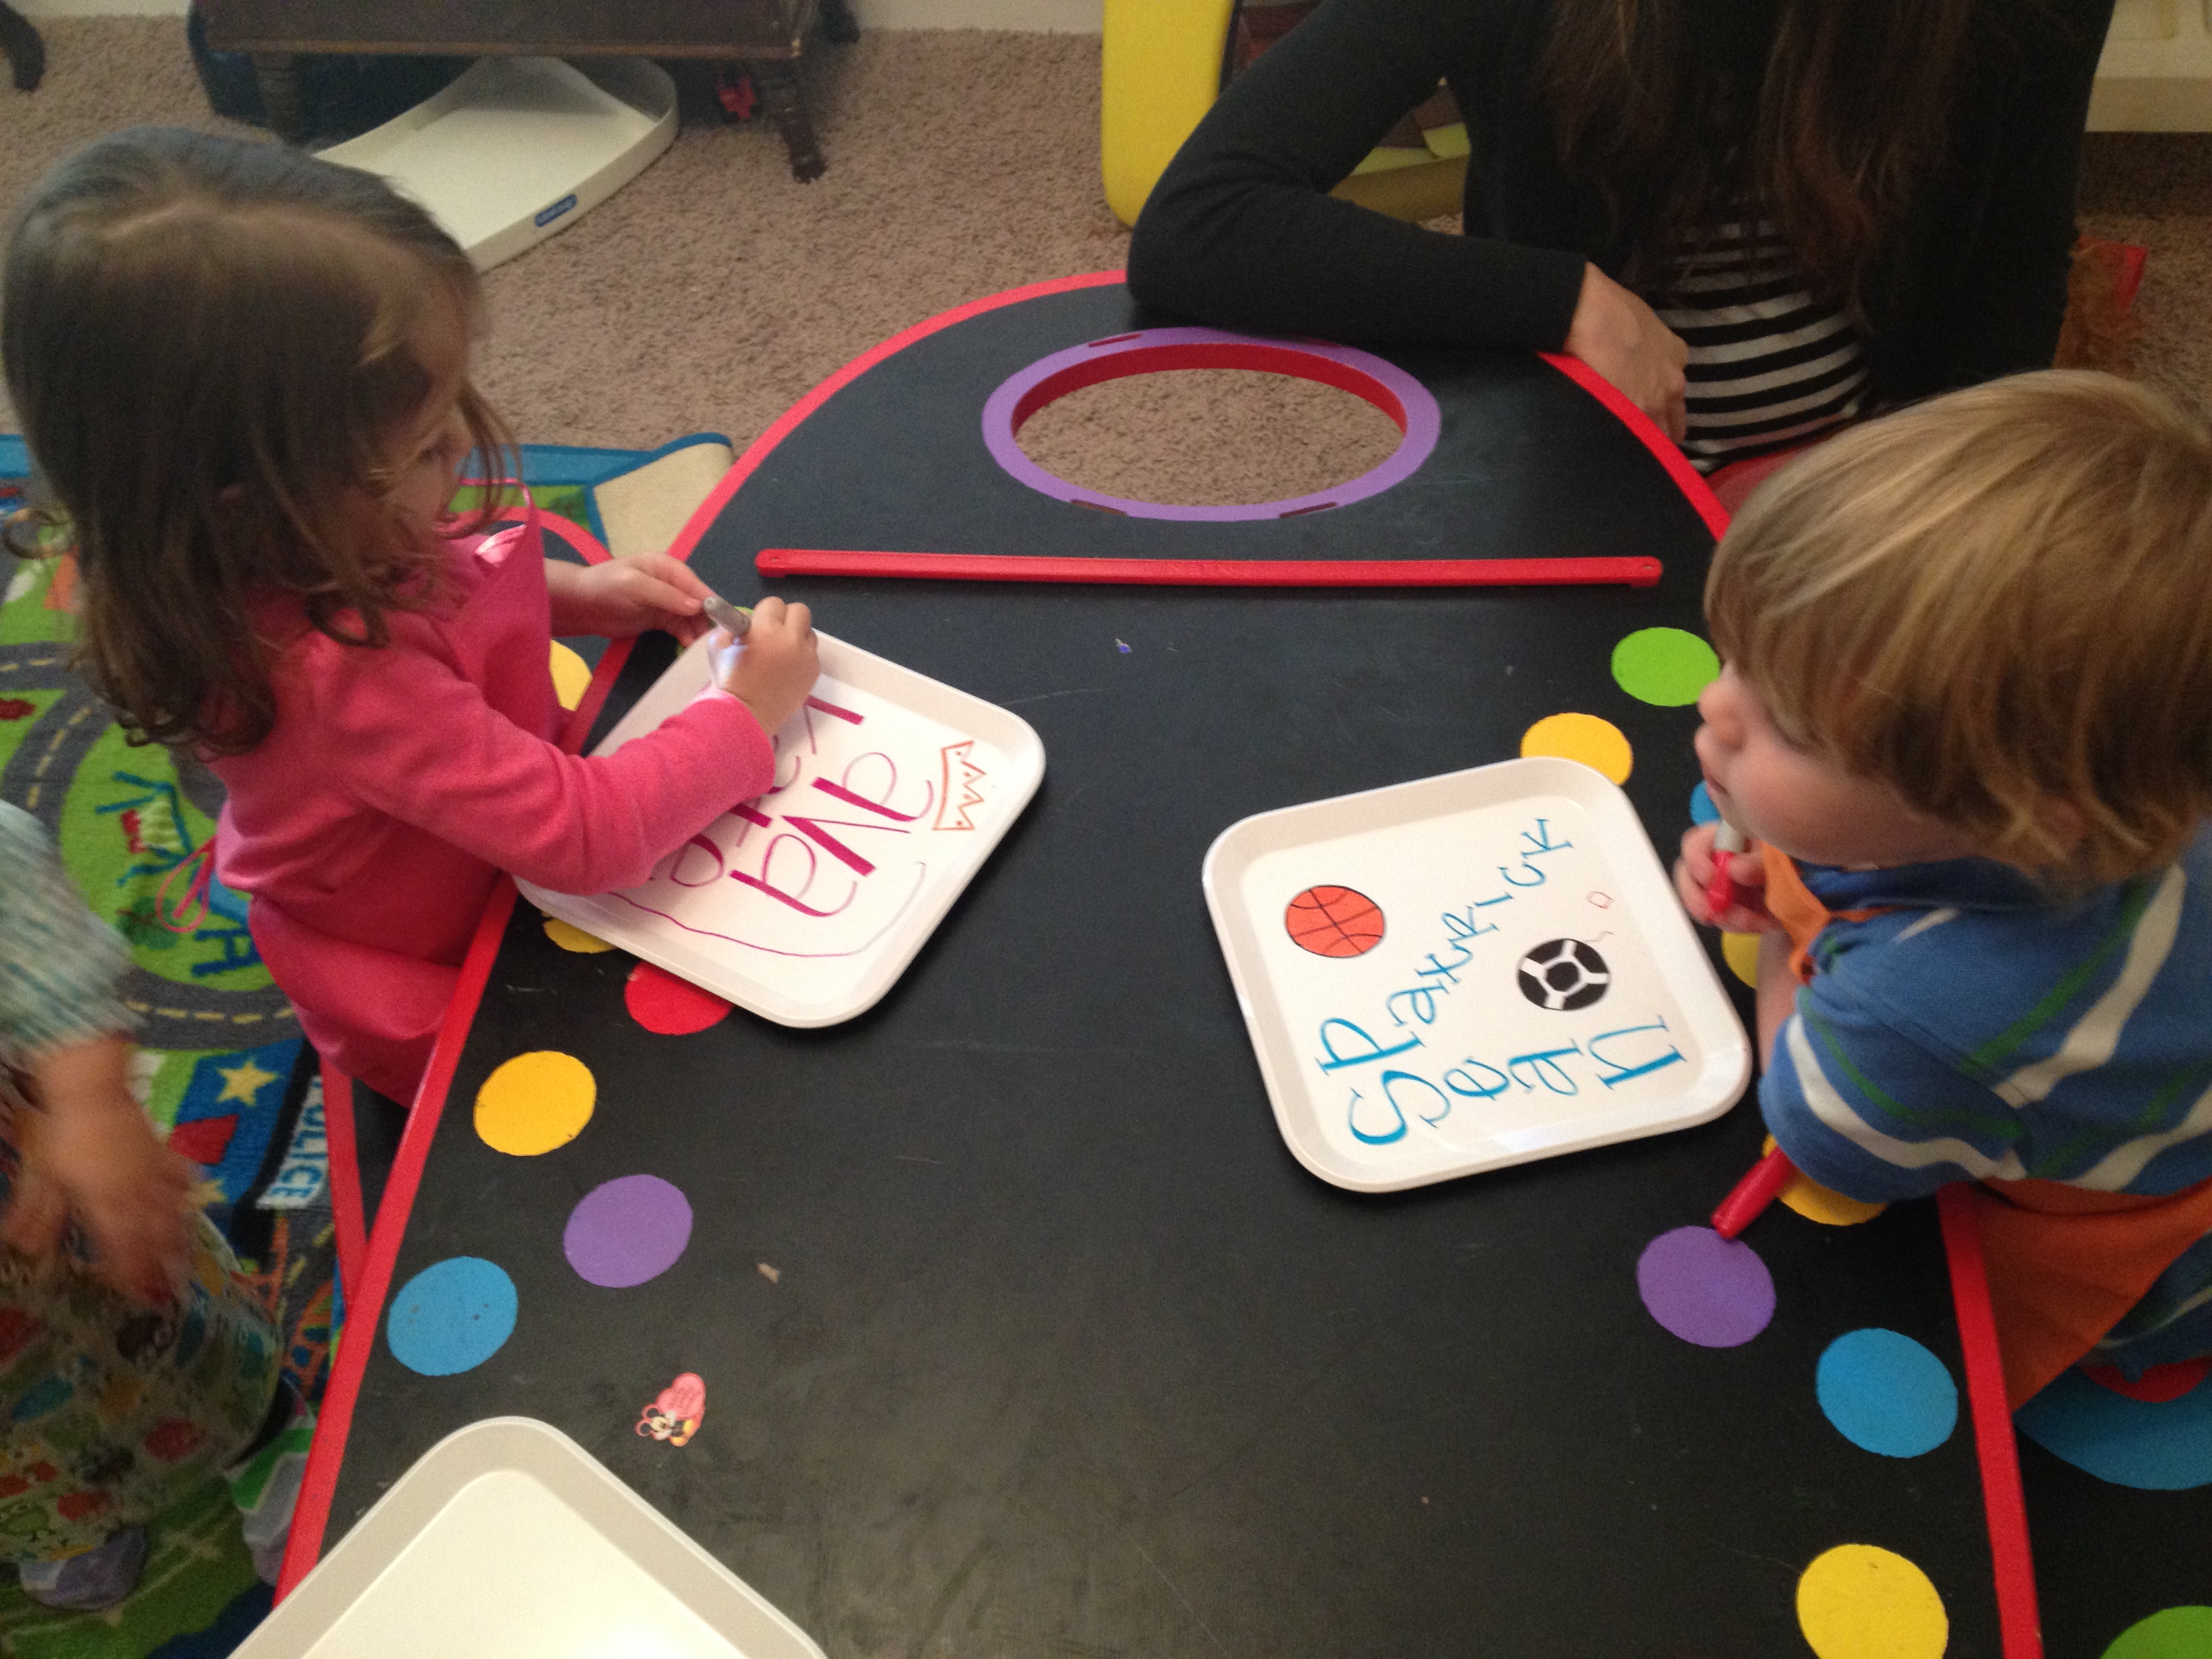
We threw aprons on the little ones and let them color on their plates….
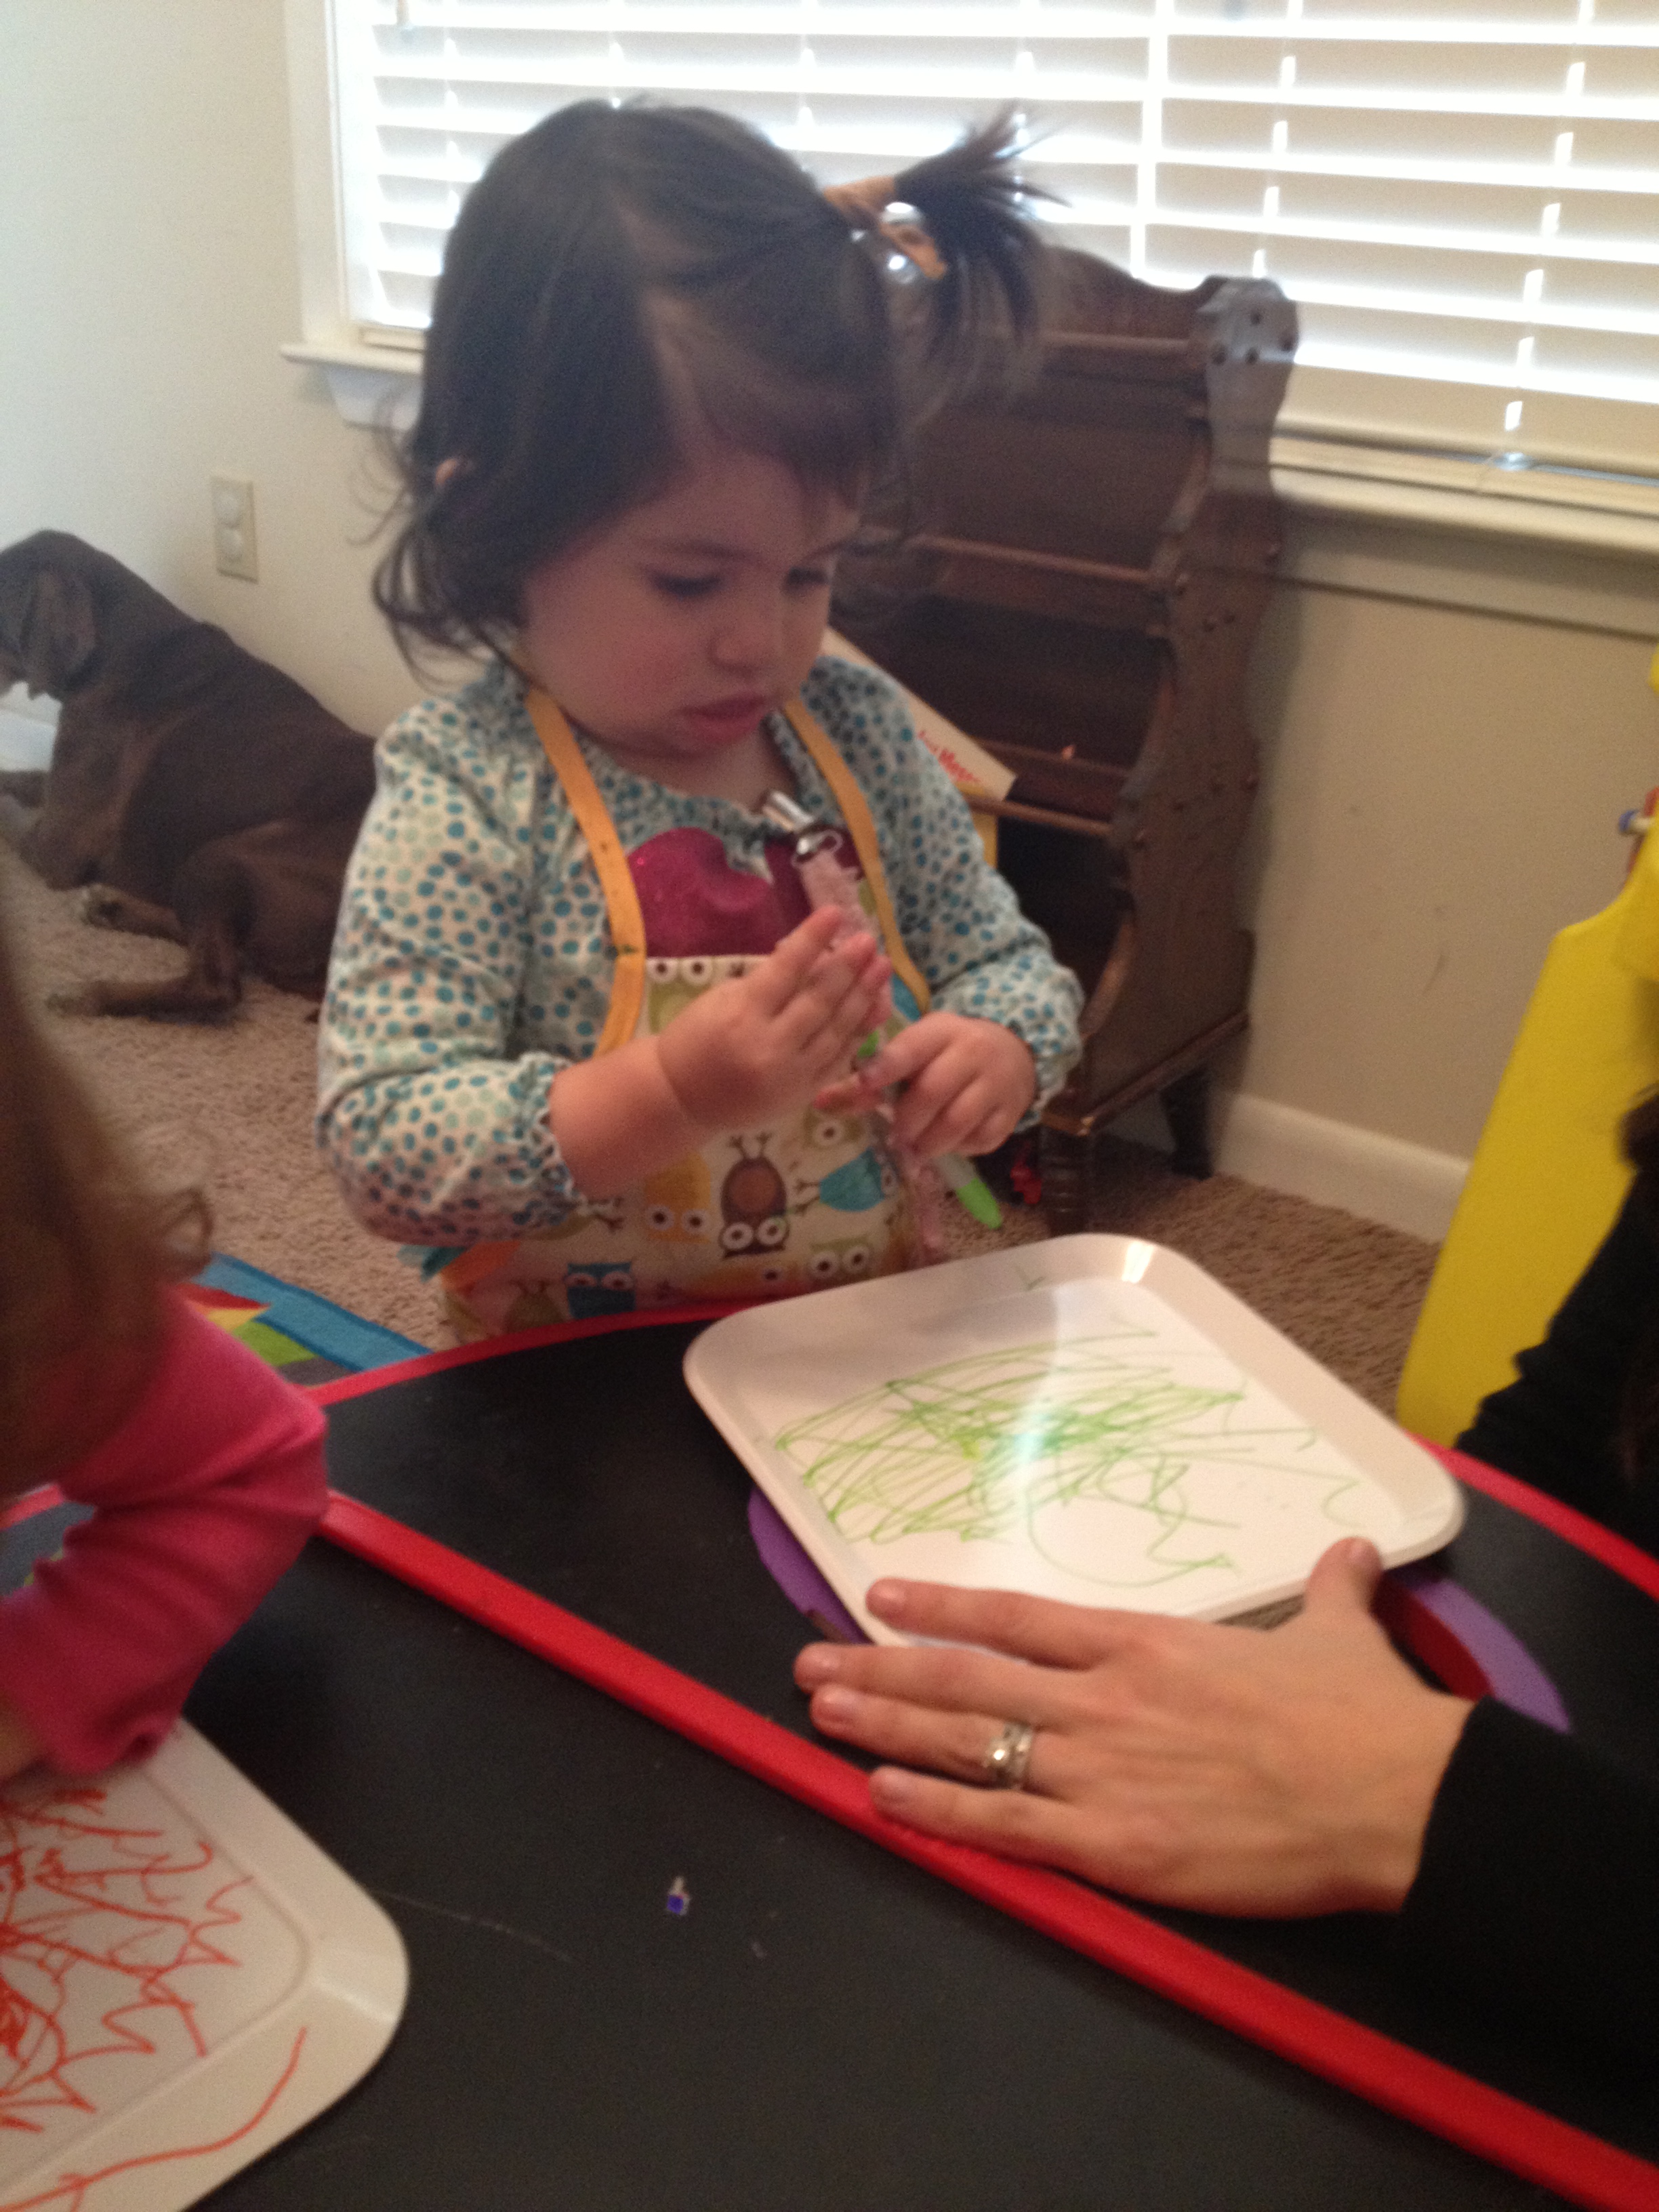
Then, we threw aprons on the one year olds and let them color on their plates (without their names on them), and we found out that this actually worked better to write the name AFTER coloring.
This next low-quality shot is just showing that I traced my little ones’ hands on the back and wrote the date.
I had originally intended to make dinner plates, but it didn’t quite workout that way. And after researching melamine and the process of making dinner plates, I was even more happy with the final product as a keepsake. We wanted a fast and funky activity to do so this was perfect for the weekend. But I found this if this is your kind of thing….. http://www.ehow.com/how_6913770_paint-melamine-dinner-plates.html – I’m sure I’ll make this happen in the future too 😉
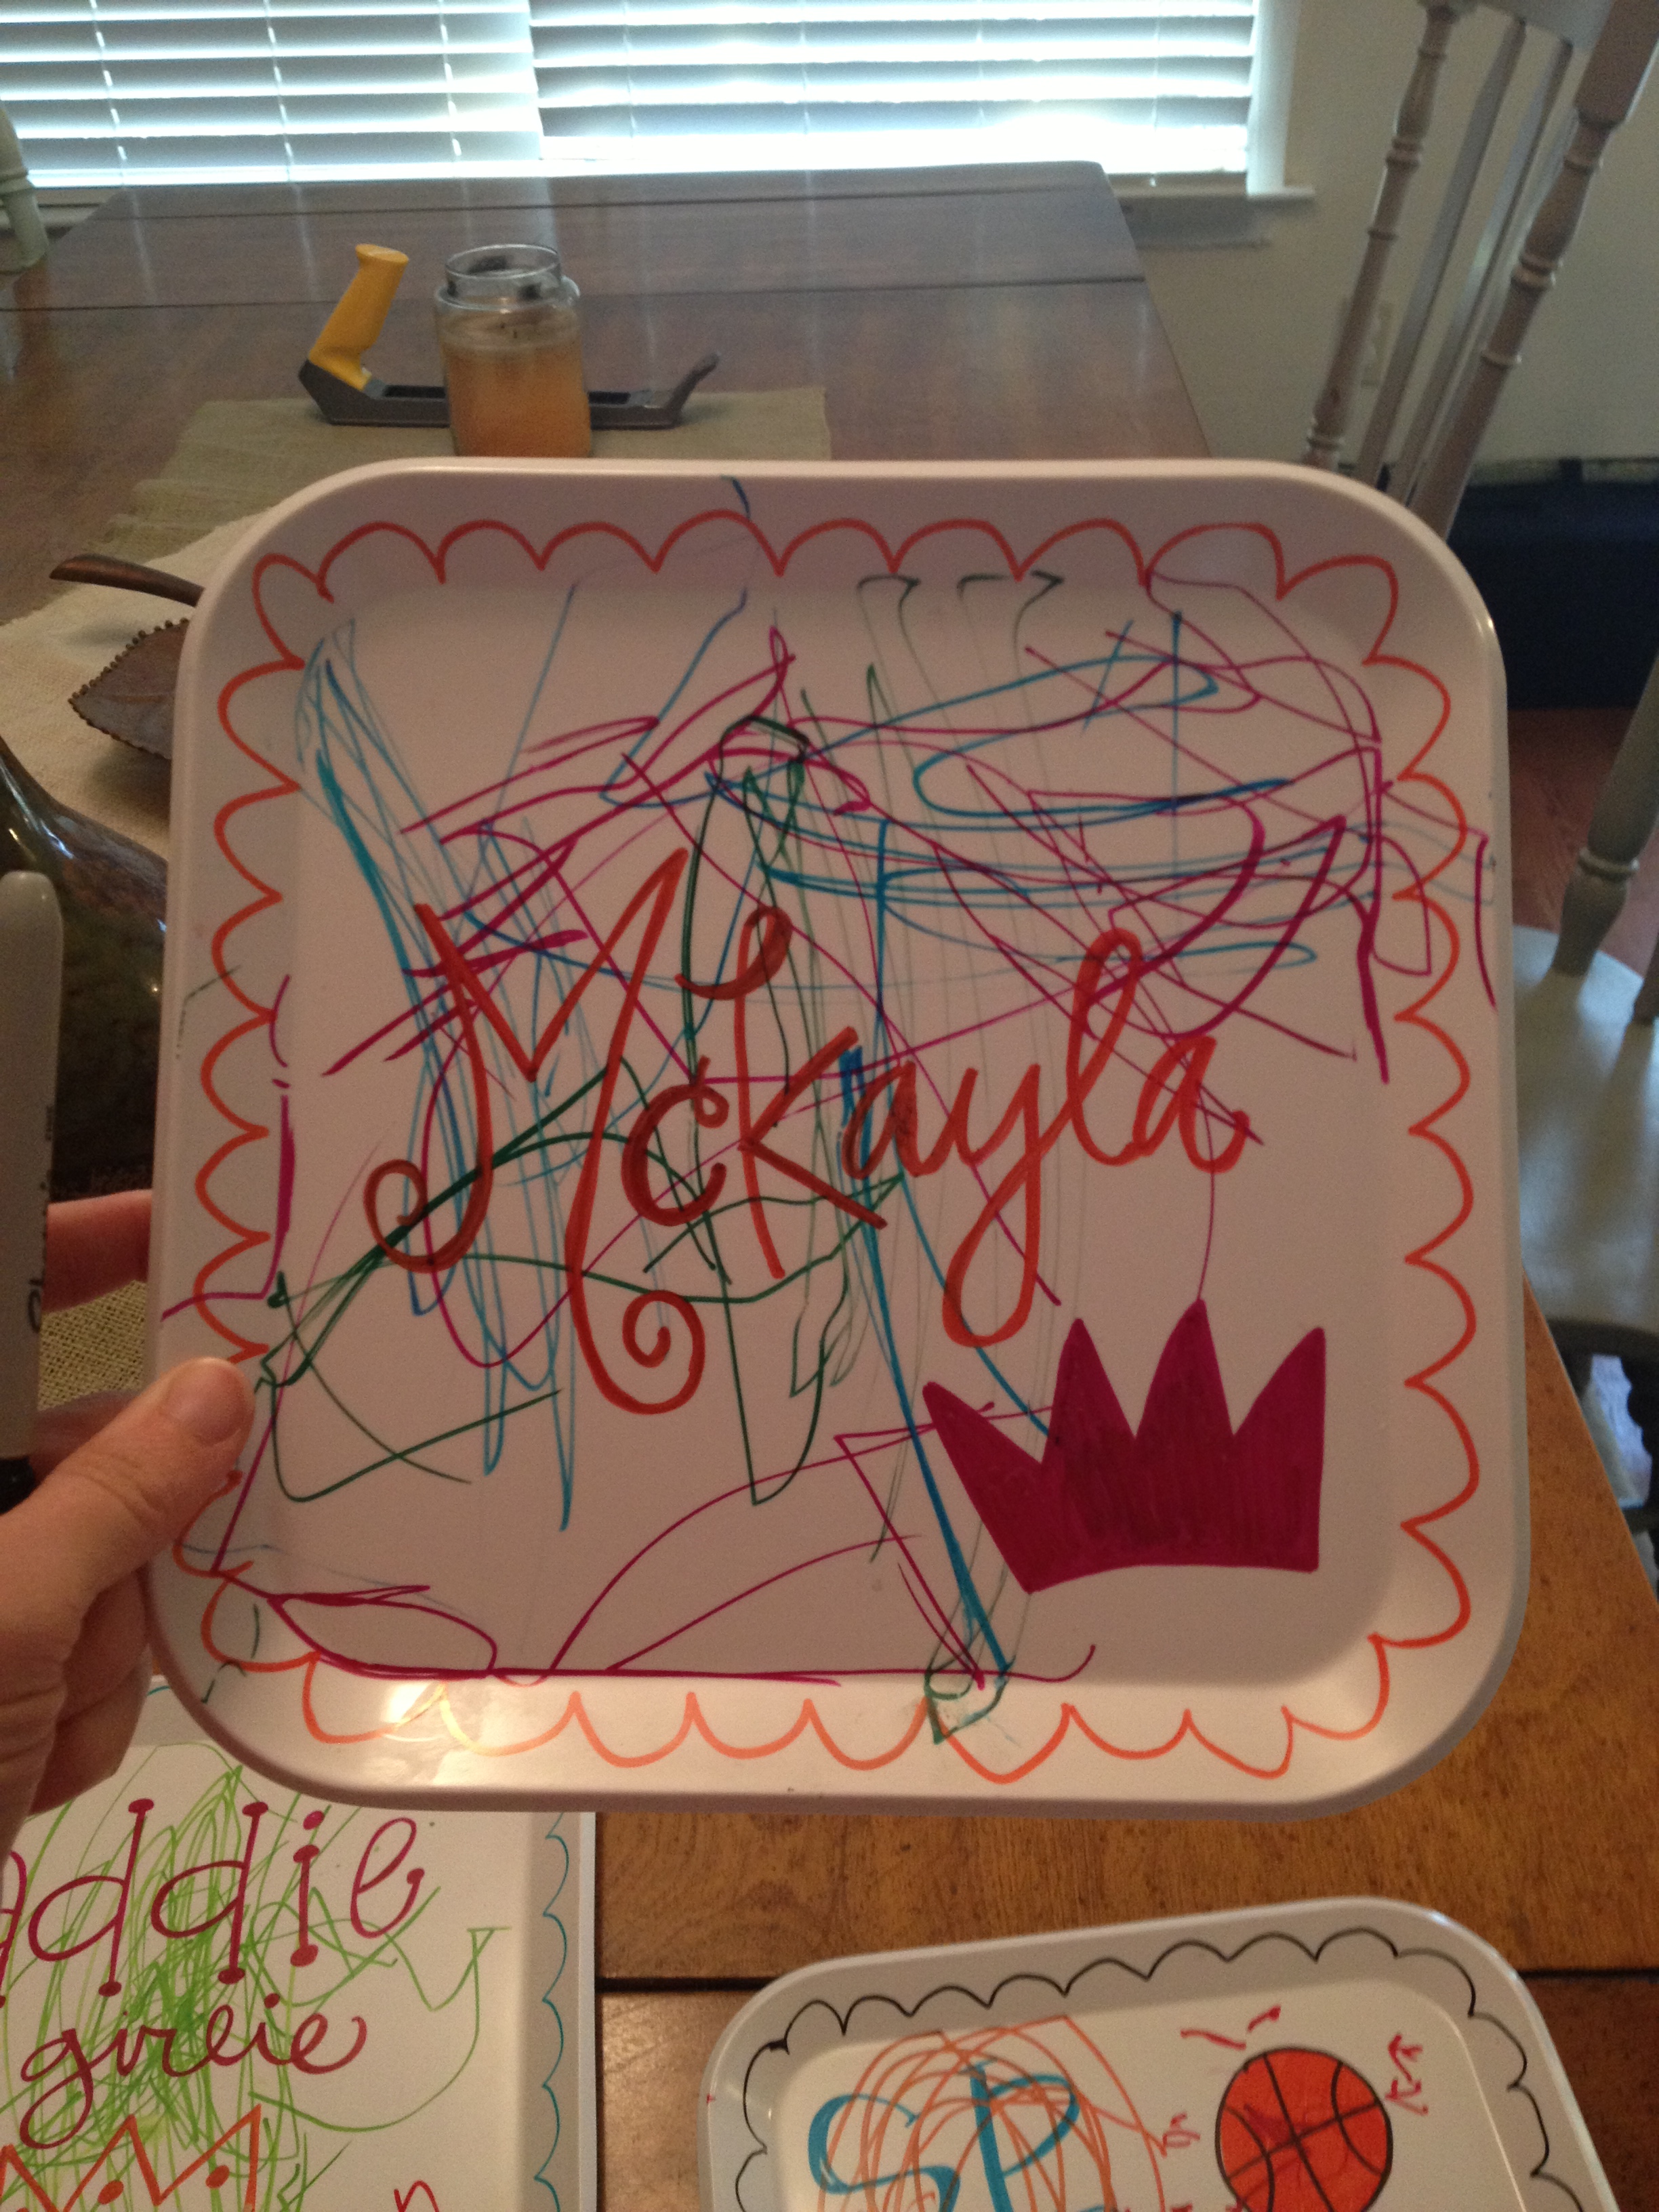
Once again…here are my two kiddos plates…..up close and personal:
HAPPY NEW YEAR!!! I have been soooo busy soaking up time with my little ones as a working mom that I haven’t made time for posts. But I assure you, I have TONS in the “Posts Drafts” Section of my website that I my new year’s resolution is to share 😉
Here is a quick share for you…
My sister showed me this Montessori Crosswords App that her TWO YEAR OLD was playing and I immediately wanted it on my phone for my little one. It amazes me how many tools there are in the tech world these days and I love learning about them.
This App is a letter-sound matching tool that sounds out the first, middle, and ending sound of each word one letter-sound at a time. A child matches the letter to its sound by dragging and dropping the letter in the correct space. If a child isn’t sure what letter matches the sound, he/she can click on the question mark at the top to show the way the word should look. Then, the skill changes to a letter recognition skill.
I was amazed that my niece was using deductive reasoning to figure out the right letter that makes the matching sound. She was either trying different letters until she found the correct one or she was using the self-correct options to check the right letter.
See what I mean here:
This App is great for ages 2-7 in my opinion. It is a great pre-requisite for phonetic spelling.
My two year old has known all of his upper case for almost a year, but this is a great tool to help him with lower case letter recognition by changing the letter case option to lower.
I don’t like to buy apps but this is one that I caved in and forked out the $2.99 because I know what a reading benefit this kind of tool can be. Check it out and let me know what you think.
The Montessori Numbers App from the same group is pretty great too! It covers Numbers, Quantities, Numerals, Numerals from quantities, and tracing. Awesome skills to build on!
Leave a comment with other Apps you like….I love to check them out and see what’s out there 🙂