
In the spirit of Halloween, I wanted to do an art project with my 4-year-old while my 6-year-old was at school. My middle child loves and cherishes this one-on-one time with Mommy. Jess’ post on Monday inspired us to make our own Jack-O-Lanterns, but I had a different objective in mind.
I was also inspired by a “find the differences” book I was reading with Leyson that has two near-identical pictures side by side, but with subtle differences. Each page asks you to “find (x-amount of) differences” which may be as simple as the omission of an object in the picture or a change of color, shape, size or placement of an object.
The objective of our activity was for my son to be able to both point out and fix the differences between my picture and his picture to make them the same, and also to recreate the picture I created… in this case, a pumpkin.
Materials needed: construction paper, scissors, maybe some glue after the activity 🙂

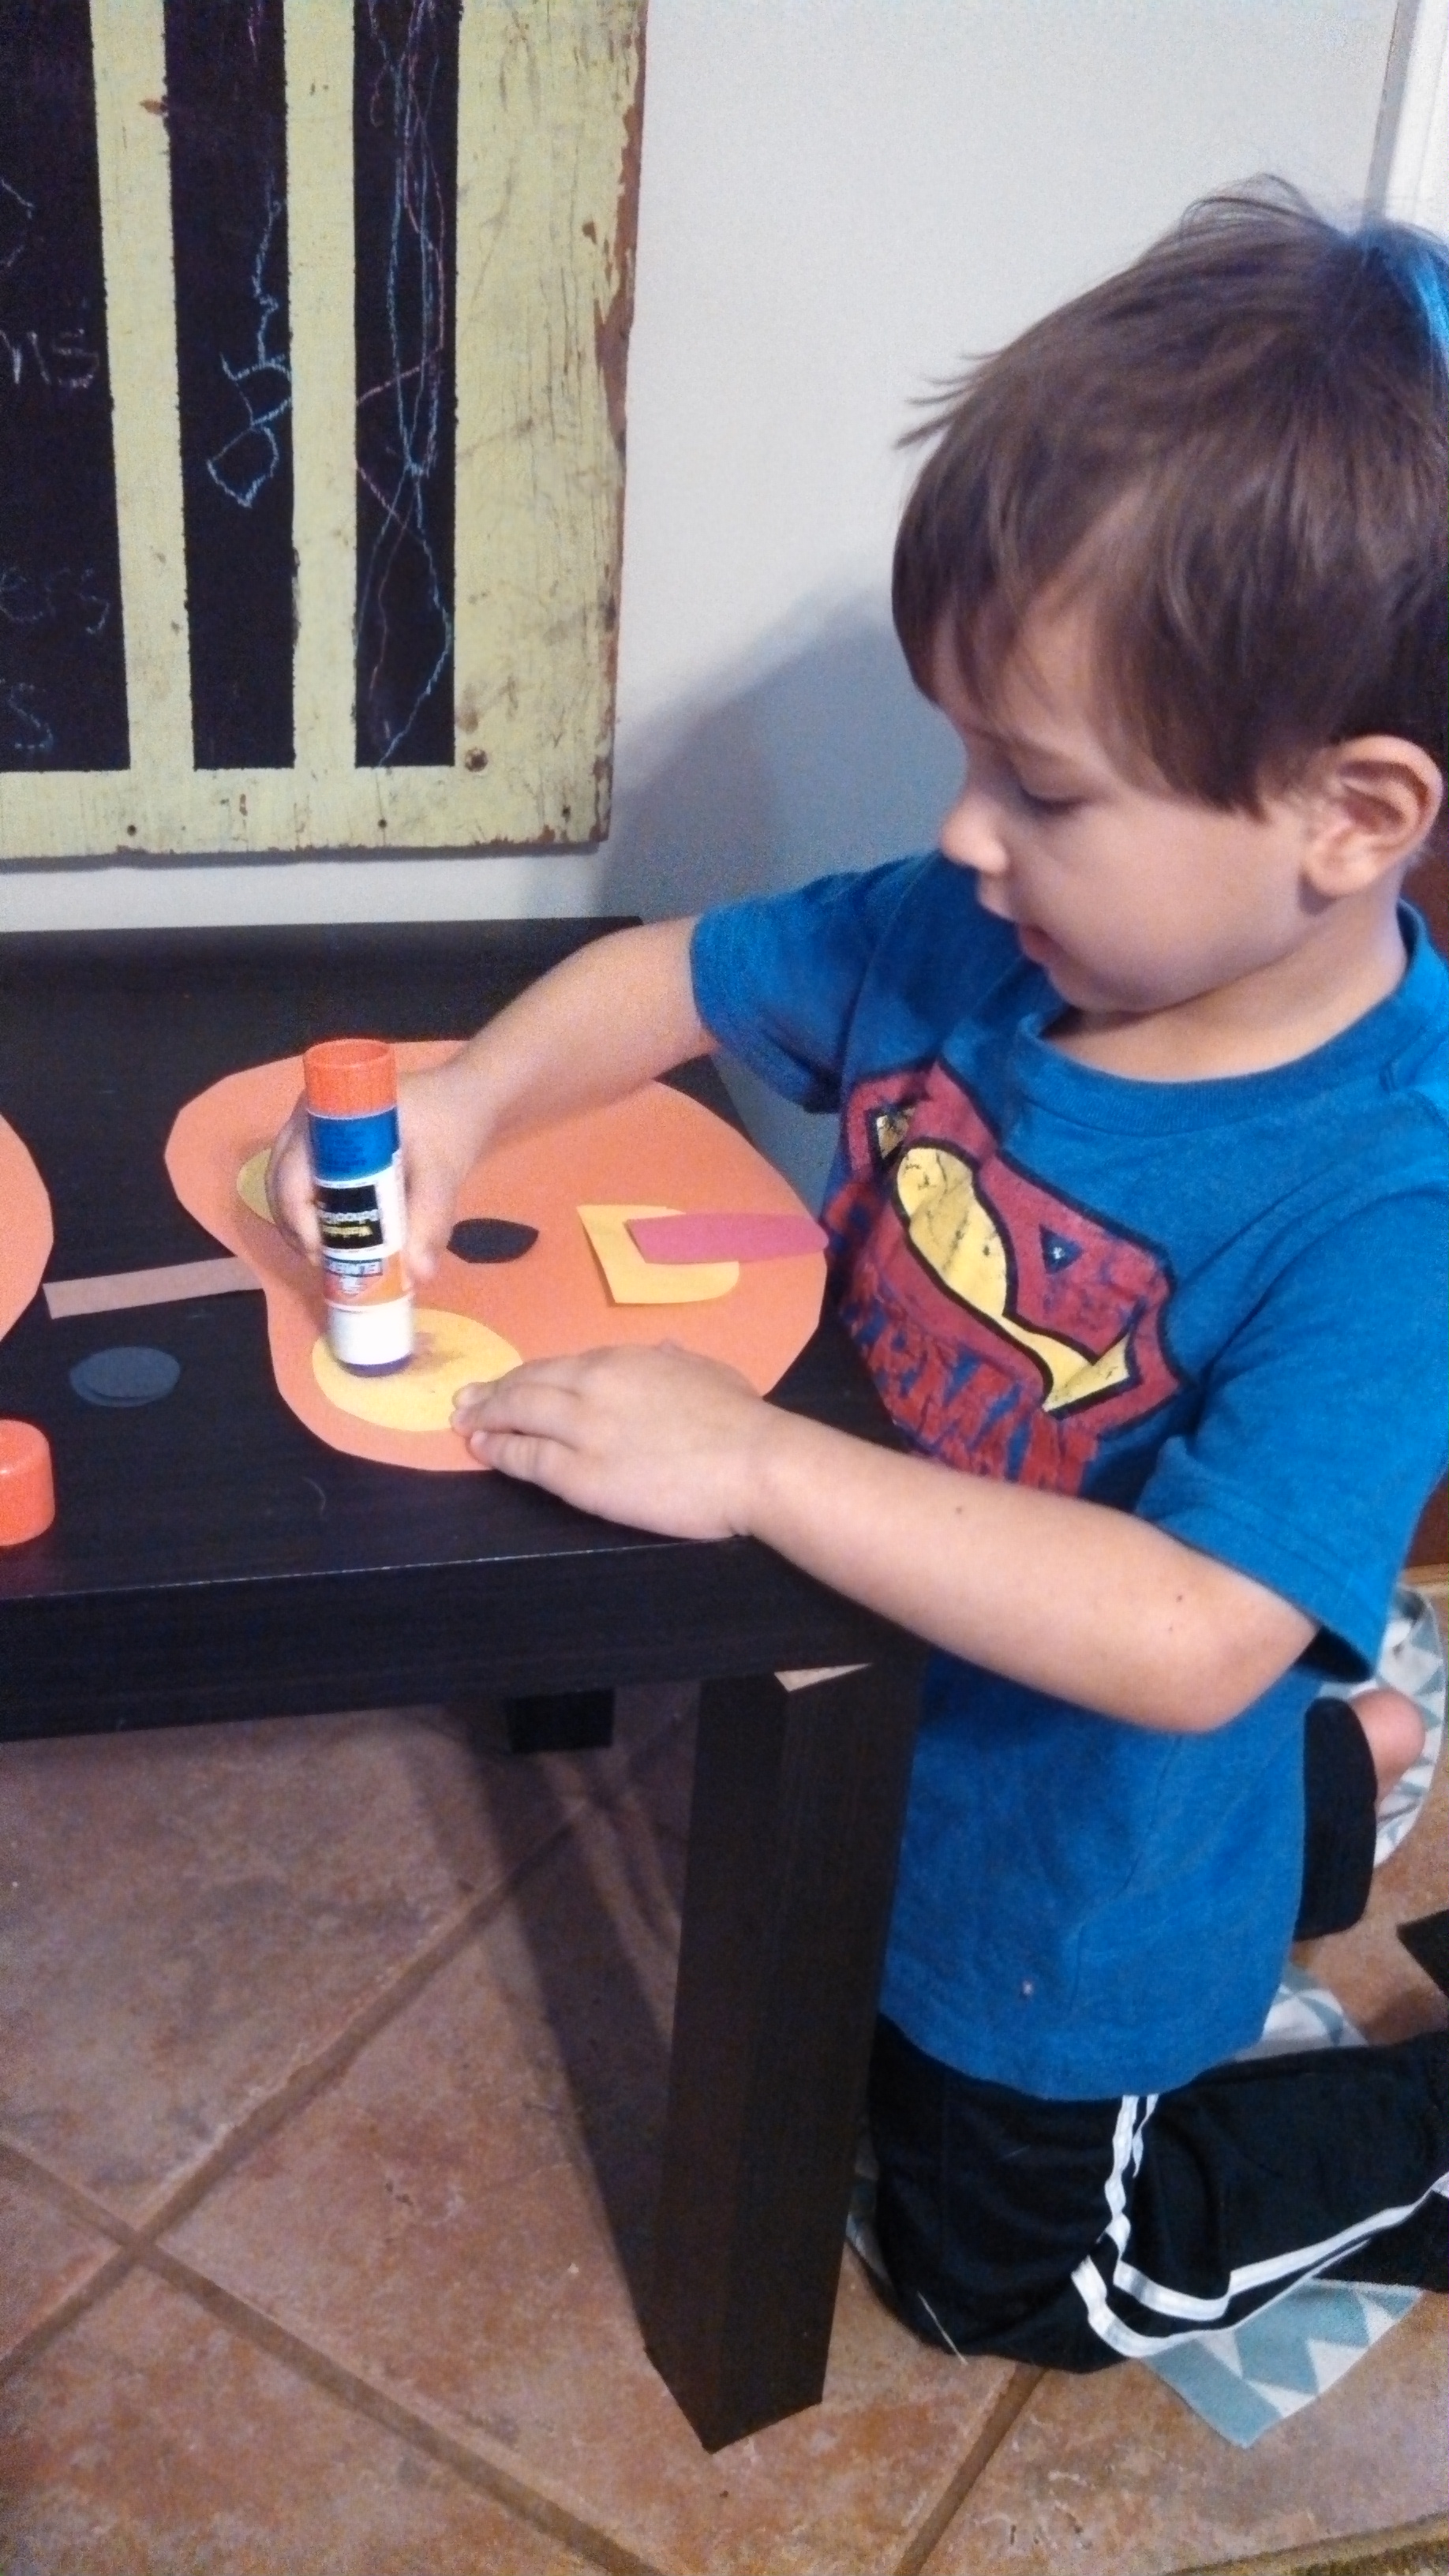
Mommy Prep: Using orange construction paper, I cut out two large pumpkin shapes, and lots of different sized rectangles*, triangles, circles, squares and other various shapes with brown, yellow and black paper.
*I cut out 4 different types of rectangle stems to bring in some vocabulary to our activity: short, long, thick, thin

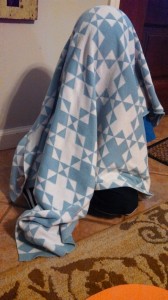 Leyson first had to close his eyes (or cover his face with a blanket because I learned that I can’t trust him to keep his eyes closed) and count to twenty while I arranged the different shapes to make a face on my pumpkin. Apparently, counting to twenty now means omitting numbers 14 and 19, so we will be working on that again soon.
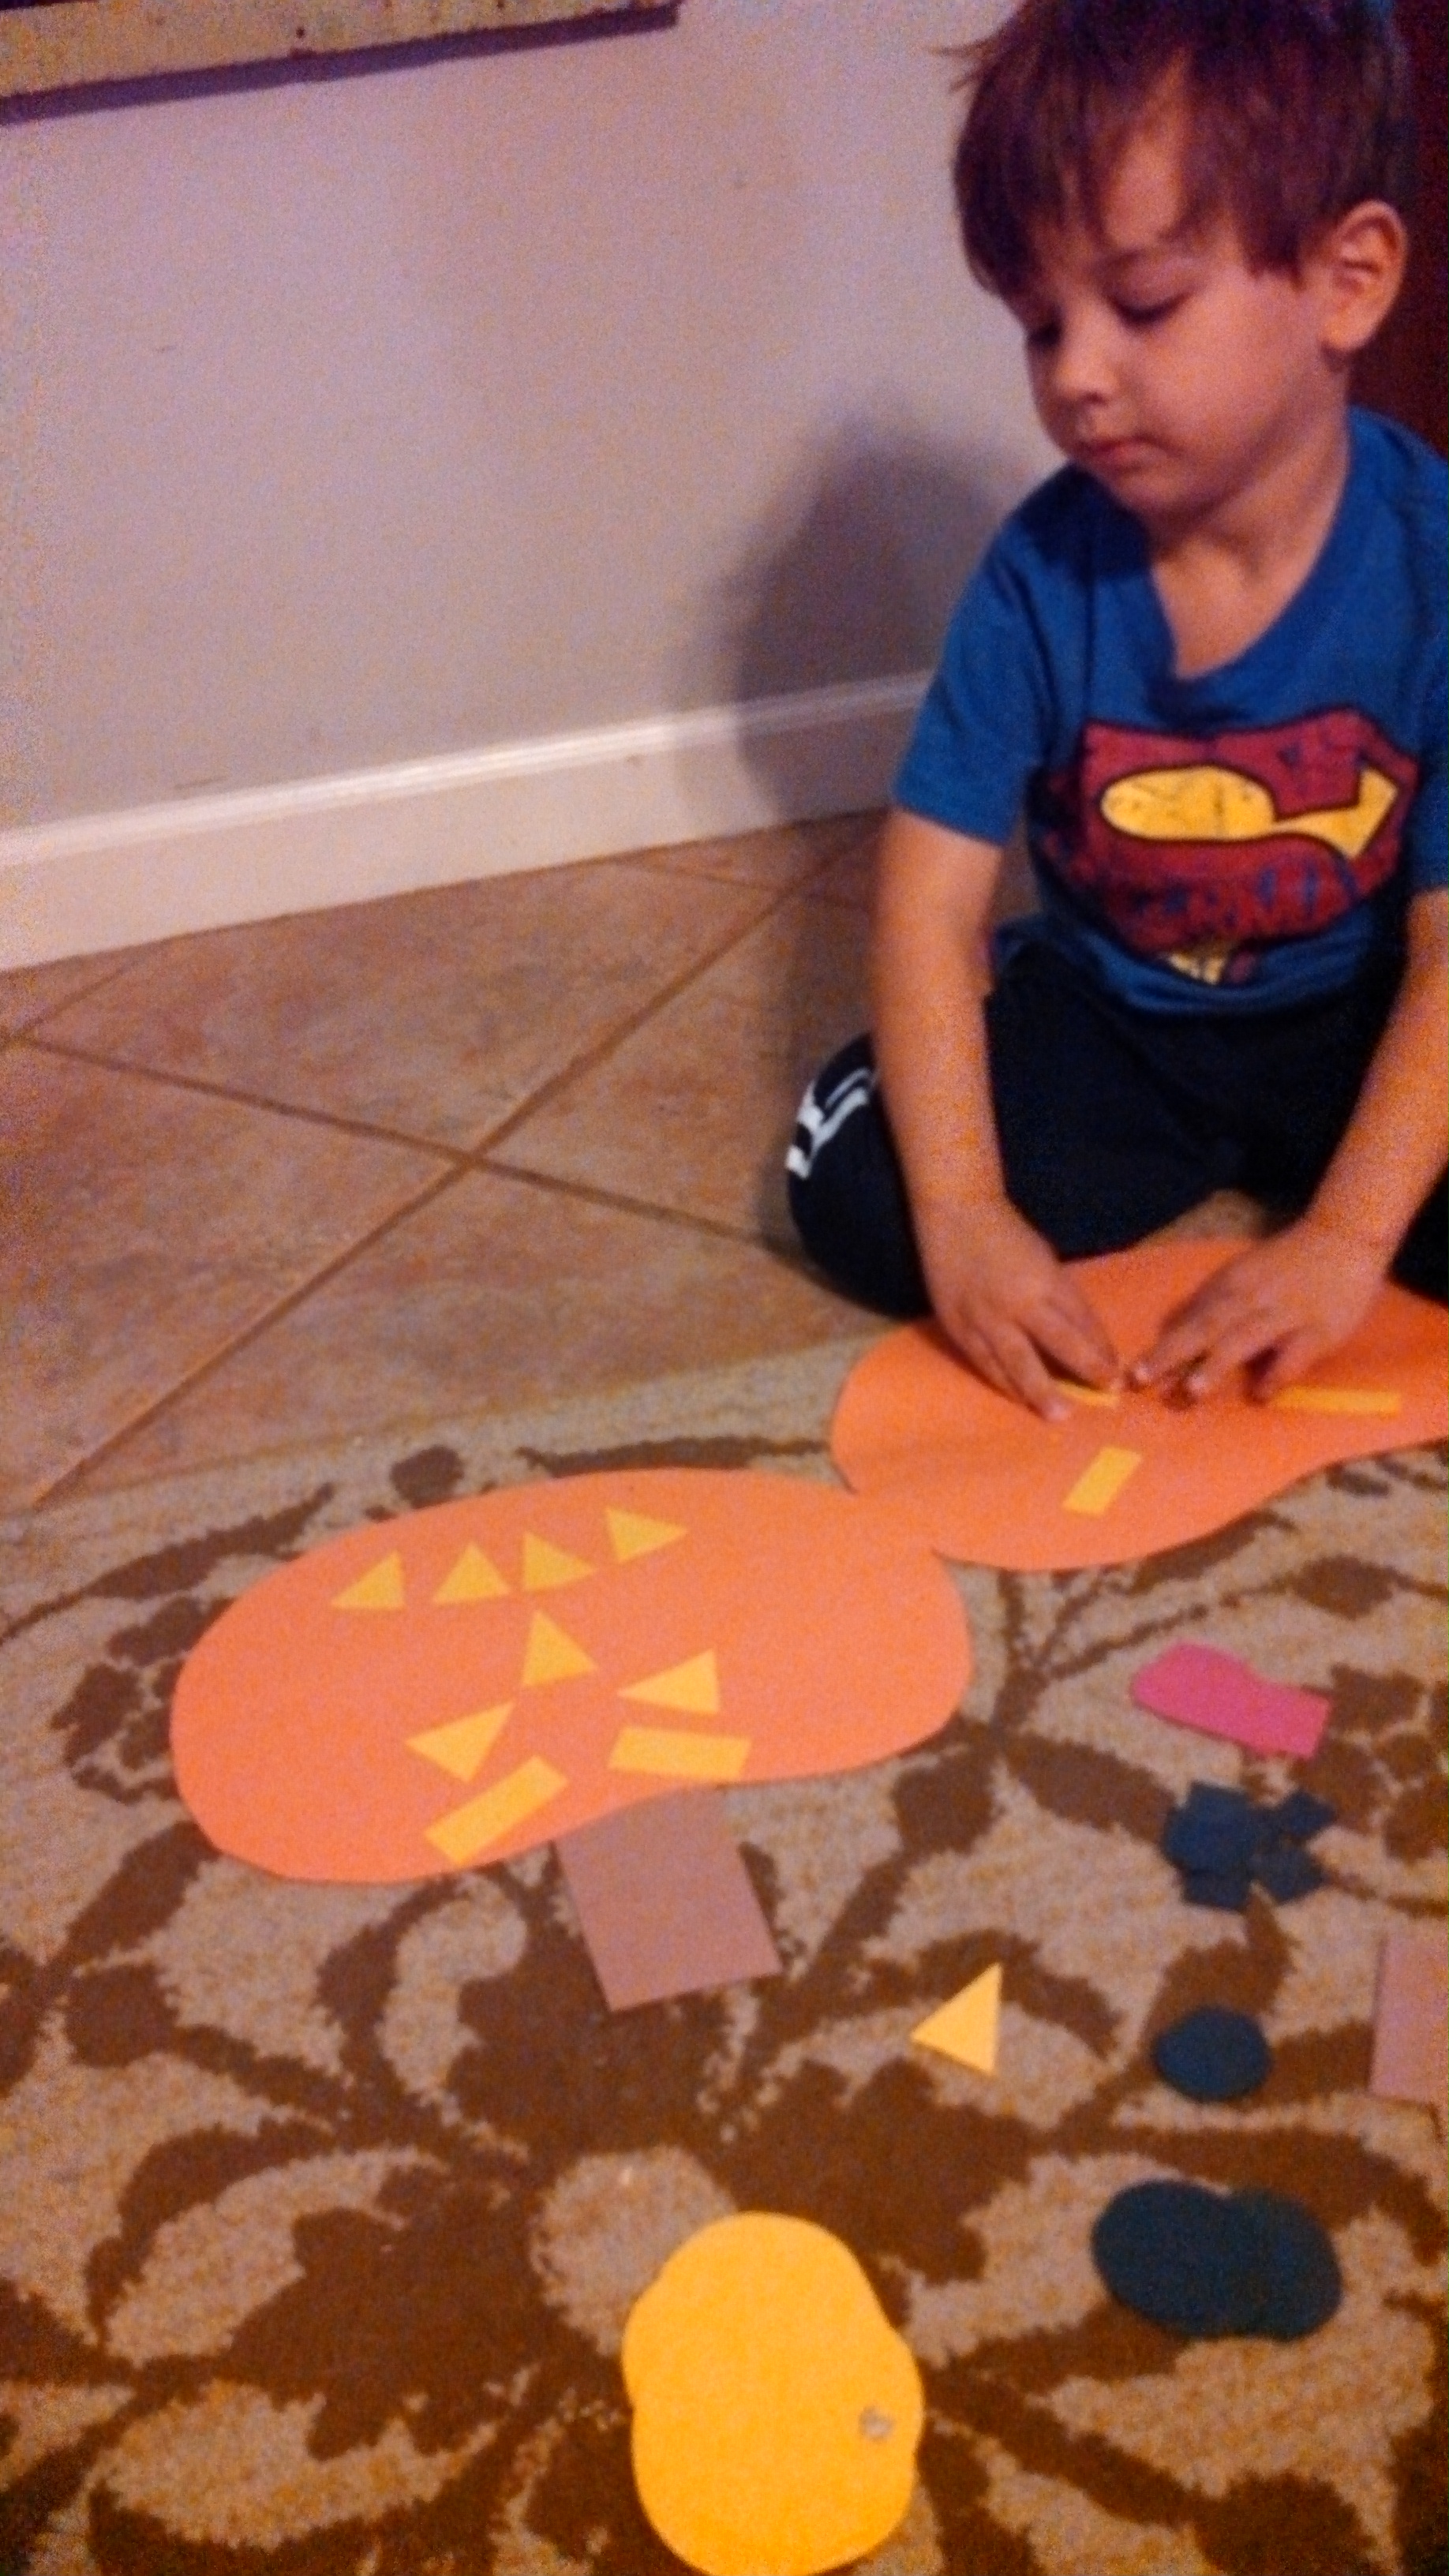
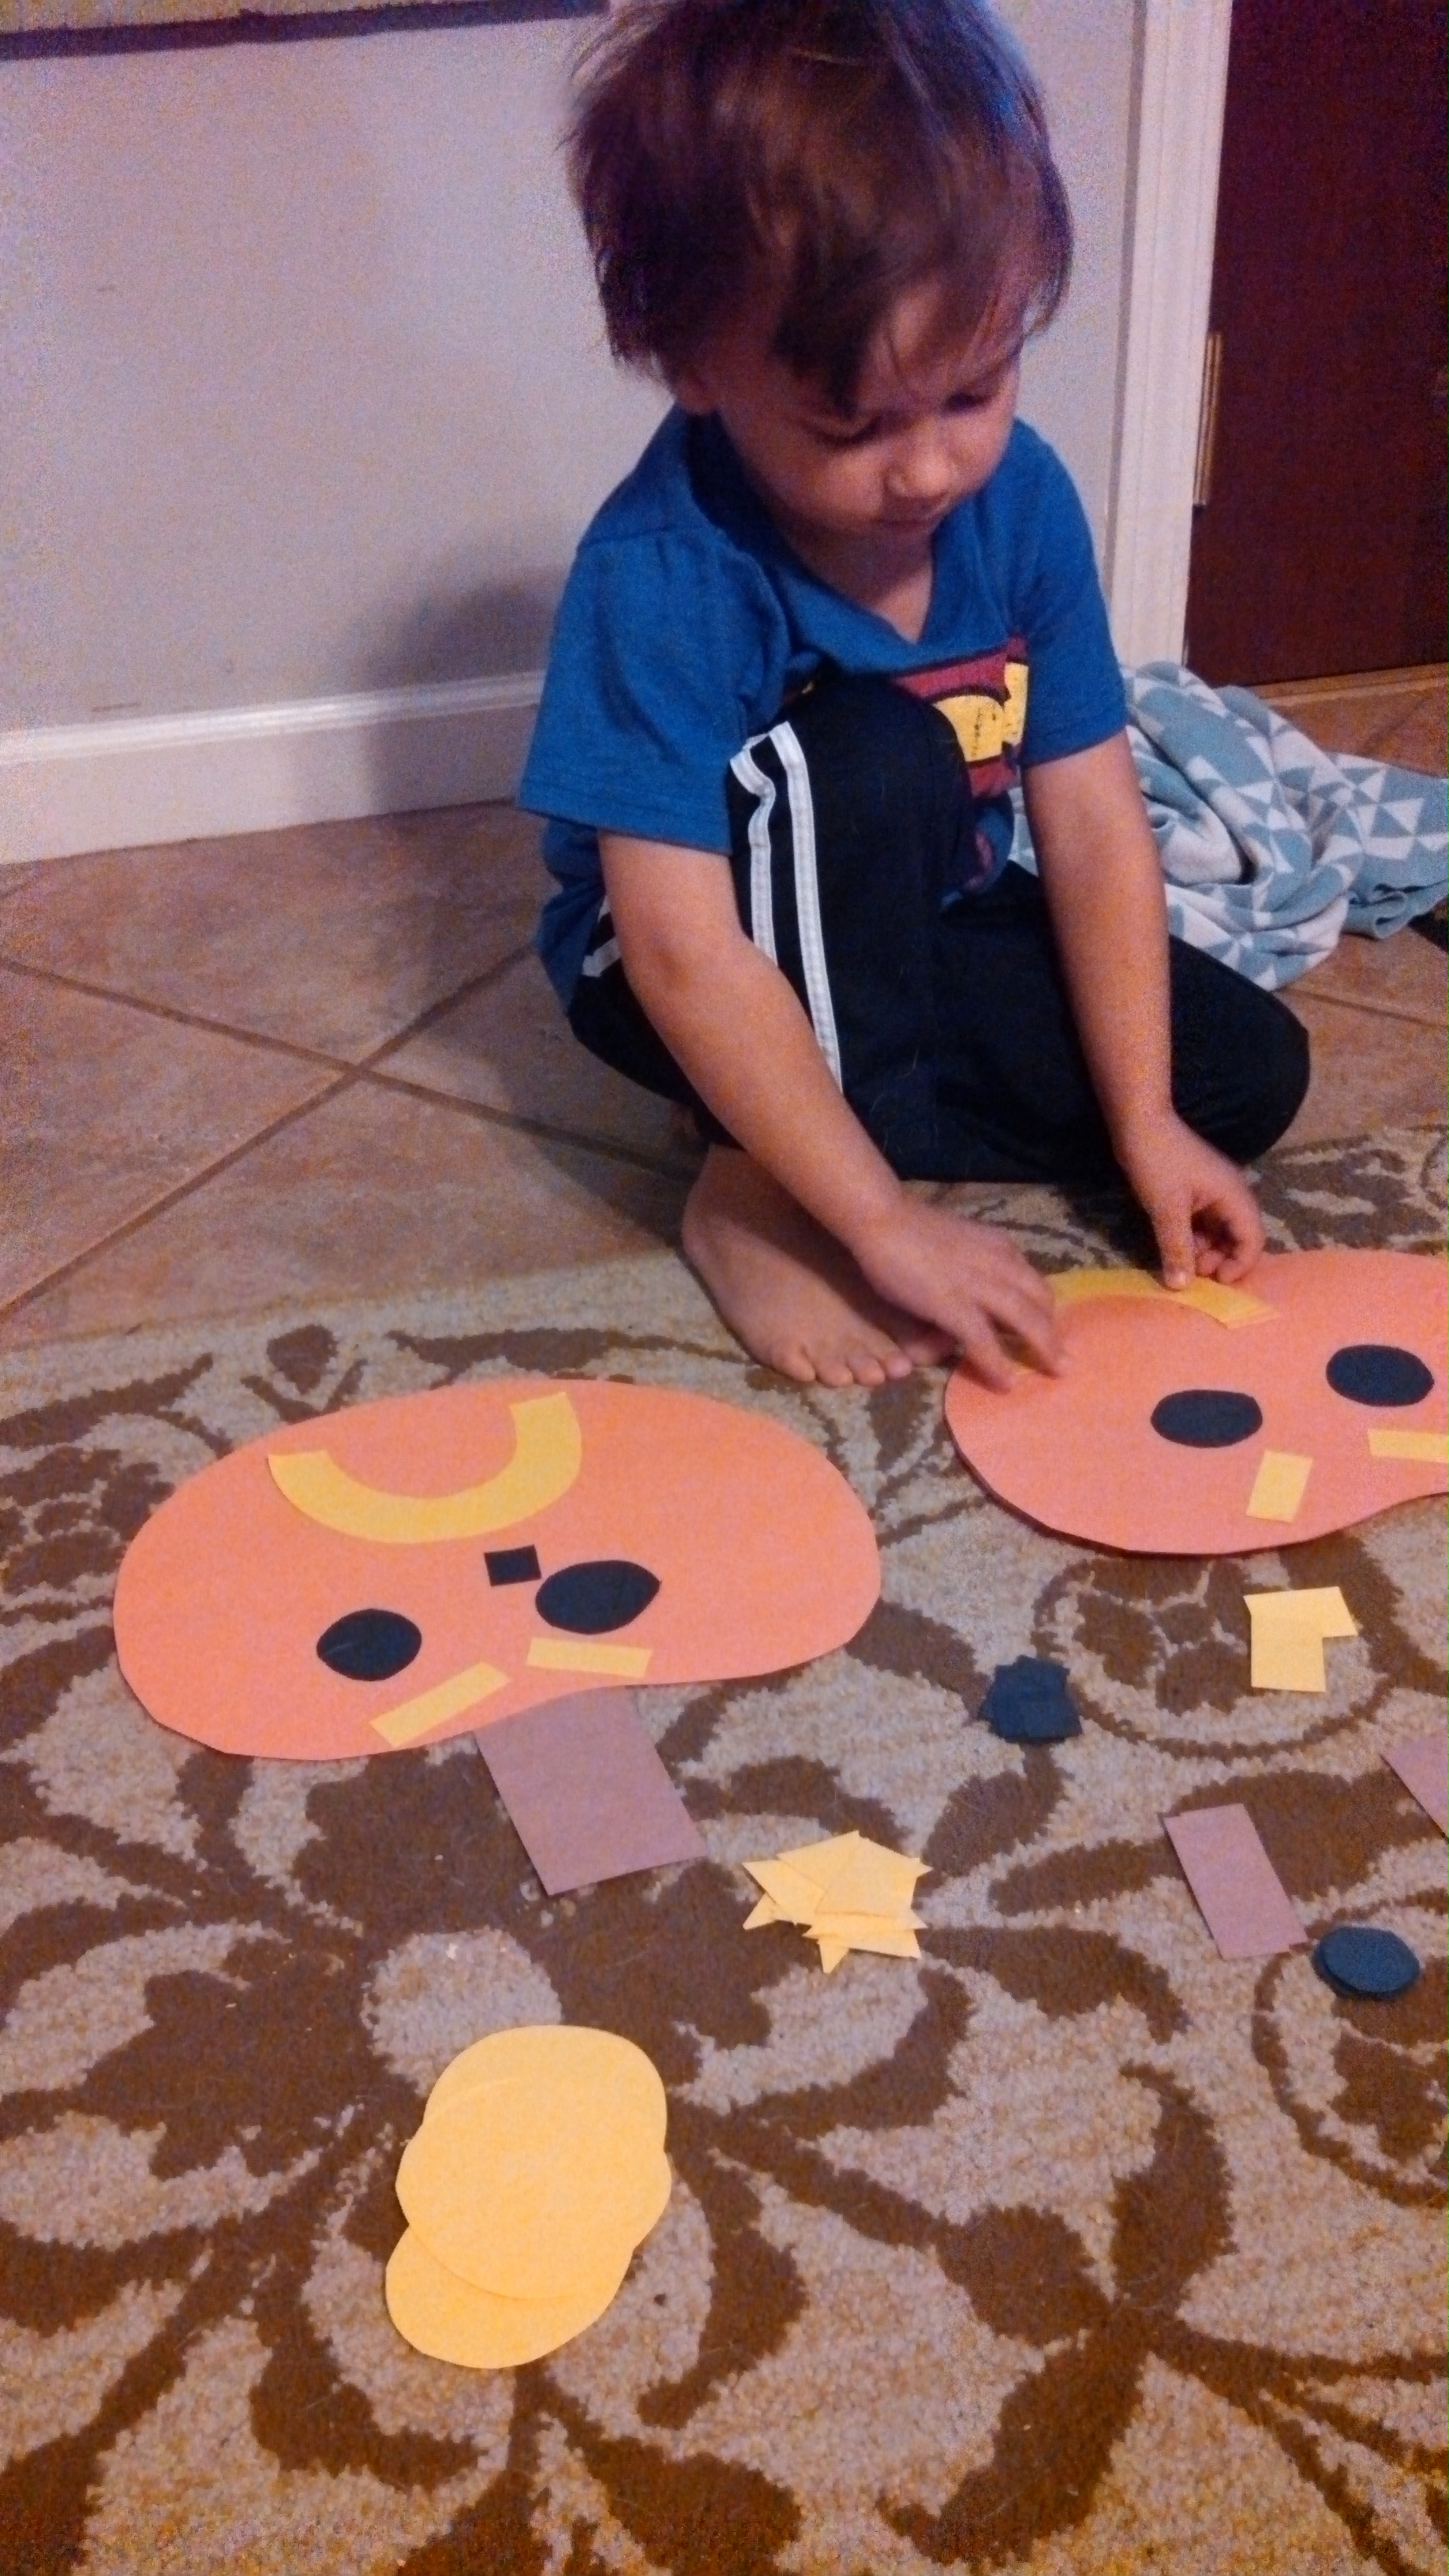
I started off with a simple face. Two circles for eyes, a circle for a nose, a fat, brown rectangle and a U-shape for a smiley mouth.
When he got to 20, he pulled the blanket off of his face, he had to use the remaining shapes to make his pumpkin look just like my pumpkin.
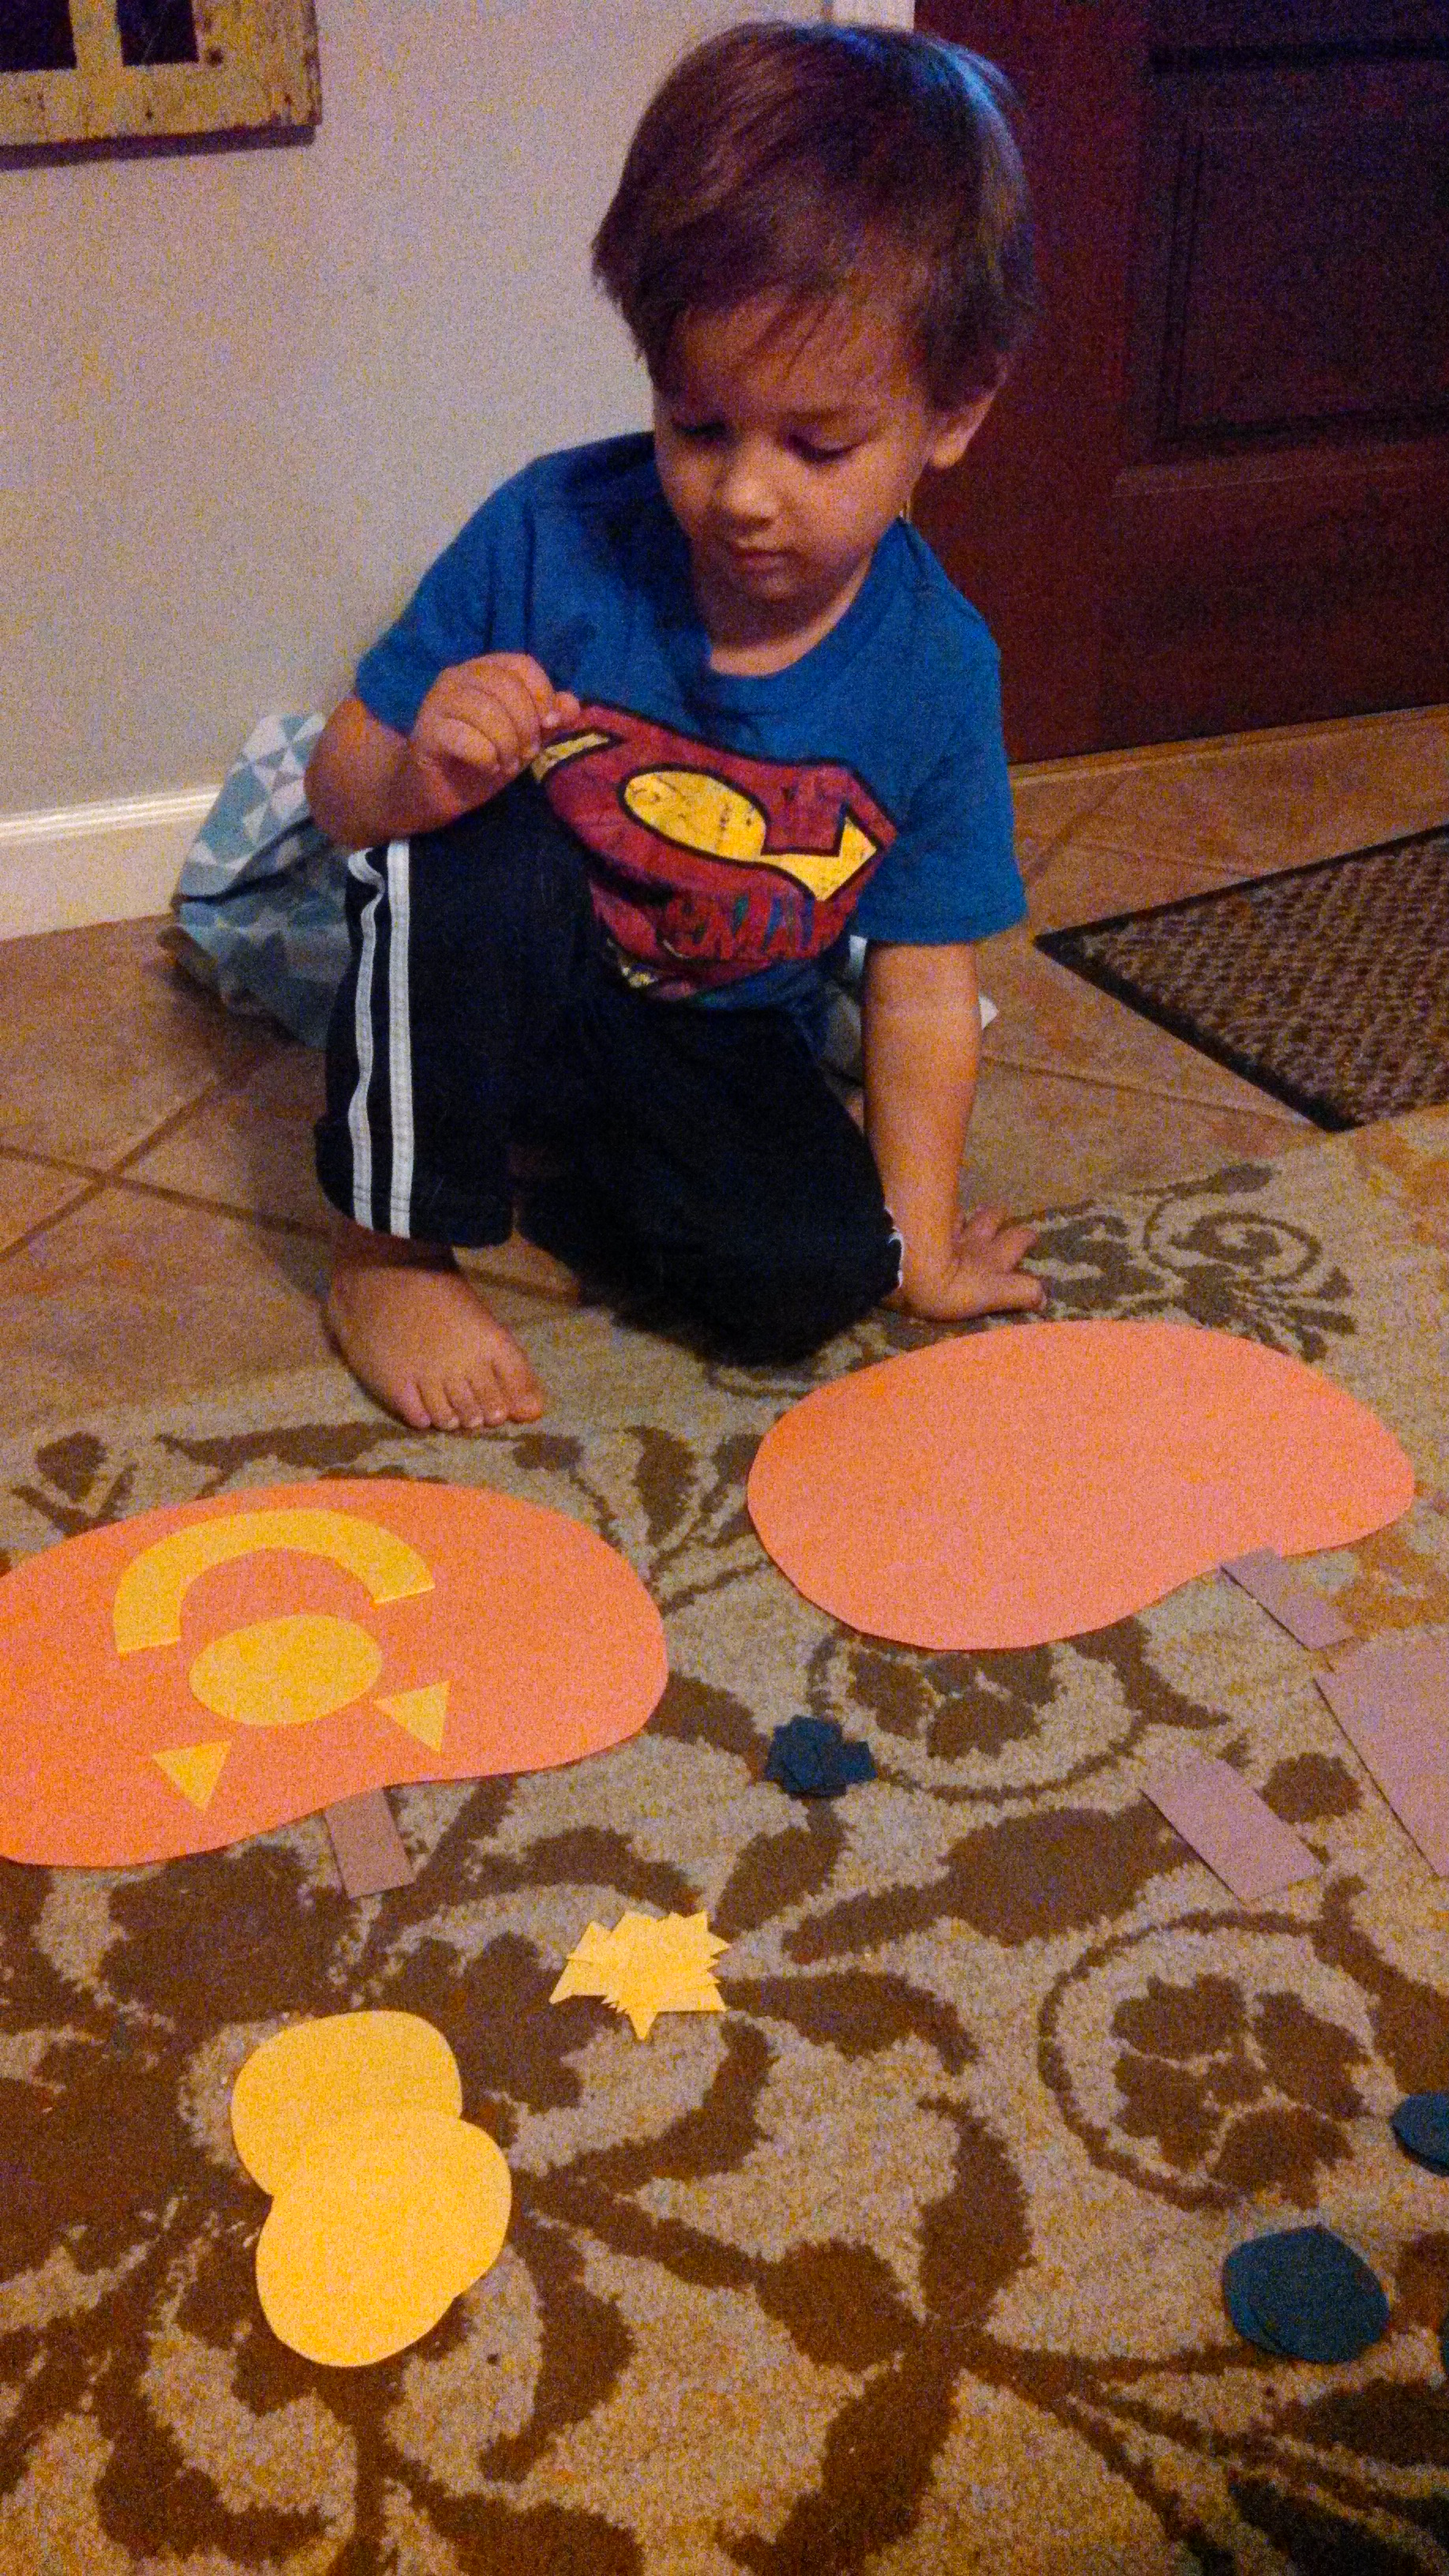
To make the project more challenging in other rounds, I layered some of the shapes such as using smaller circles on top of larger circles for the eyes.
The most difficult part of the activity was when I used only triangles to make a face and he had to figure out which direction the triangles were facing. It’s harder than it looks!
We experimented with all the different things we could learn from making pumpkins:
- Feelings/Emotions: We made happy pumpkins, and sad pumpkins, and angry pumpkins, and scared pumpkins… and talked about why each pumpkin was feeling the way they were feeling.
- Counting/More or Less: Sometimes Mommy’s pumpkin had 4 teeth, sometimes it had more or less.
- Compare and Contrast: “What is different about the nose on your pumpkin and the nose on my pumpkin?” “Do our pumpkins have the same shaped mouth?”
- Vocabulary: Colors, shapes, sizes, parts of the face
- Spacial Awareness: “Are the eyes close together or far apart?” “If you put the eyes in the middle of the pumpkin, can we fit a nose and a mouth too?”
- Phonemic Awareness & Writing: We segmented the sounds in pumpkin /p/ /u/ /m/ /p/ /k/ /i/ /n/… which is pretty hard to do when your child pronounces it like “po’kin” but we wrote the real word on the back of our project.

When you are finished the activity, grab some glue so you can add some Halloween decor to your house!
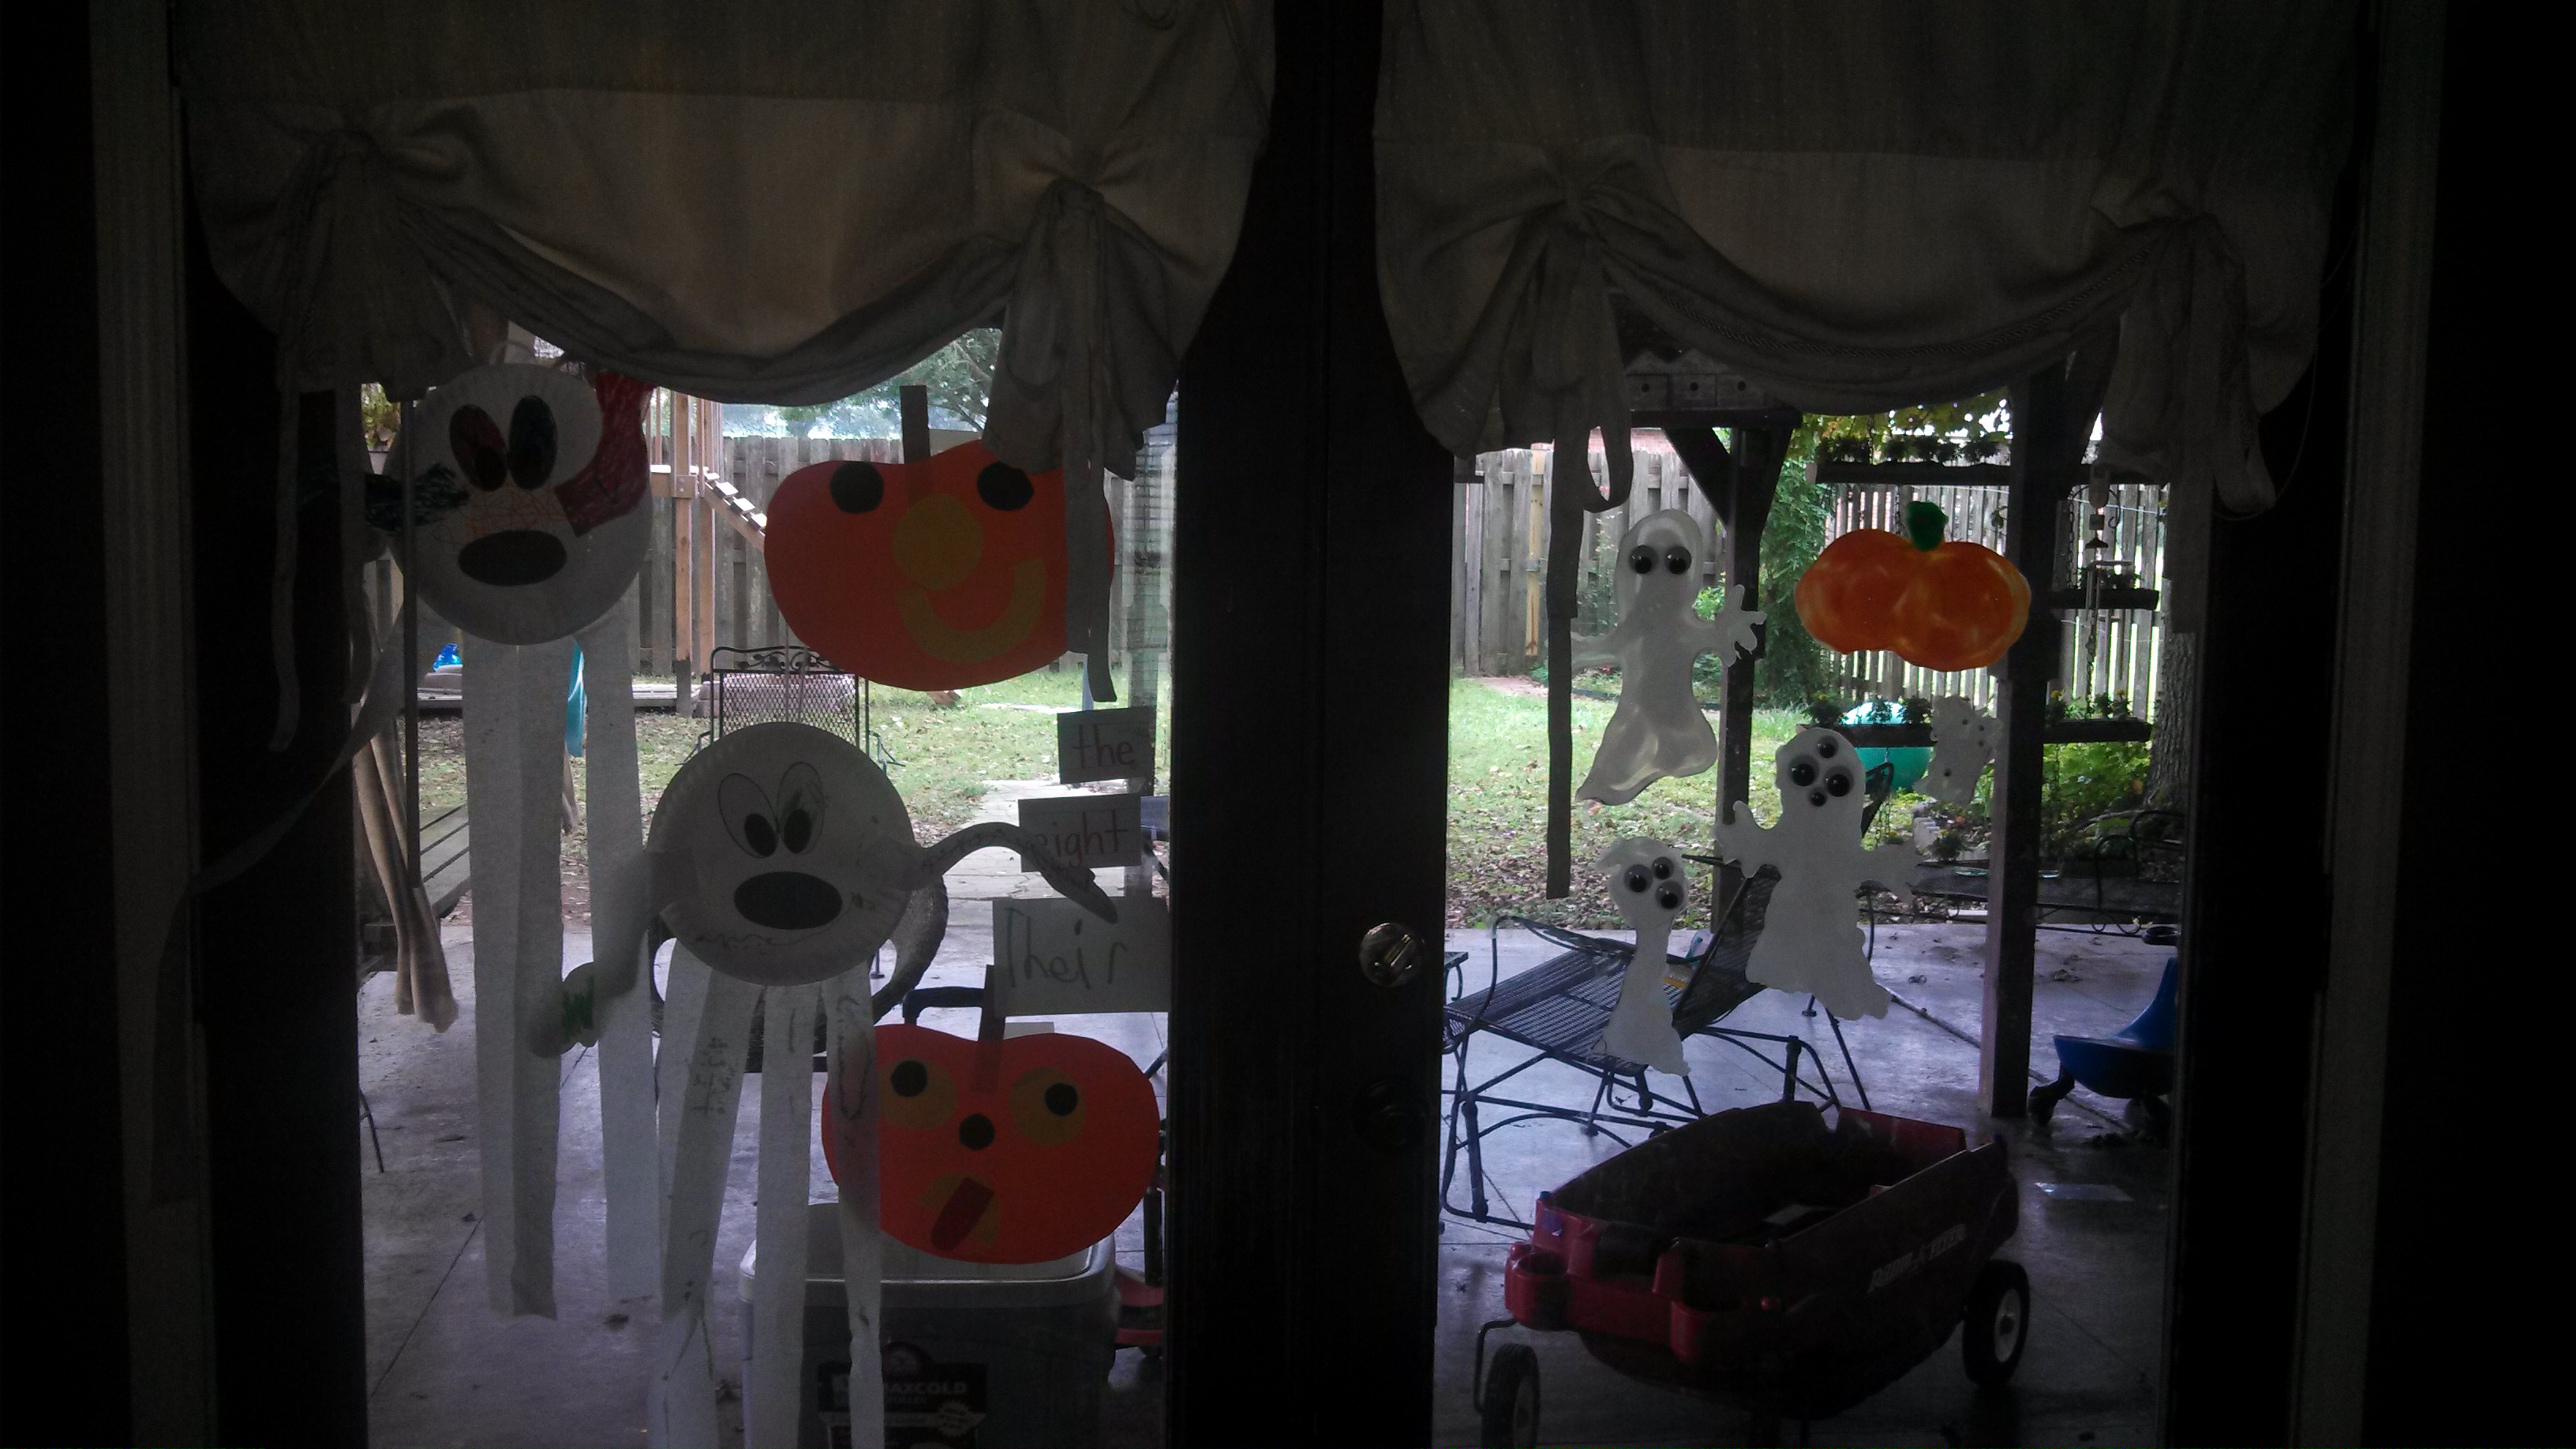
Who needs to buy decorations from the store, when with a little glue and tape you can make your house ready for any holiday?!