Year: 2012

Chalk It Up

I really love chalk….I love to observe what kids will choose to write/draw, I love to see how kids hold and control a big fat piece of chalk, I love to take a piece of chalk and feel like a kid again myself.

If you are like me, you keep sidewalk chalk in your tote bag for an on-the-go activity accessible when you need it (We go to the park a lot and we spend a lot of time in the courtyard at my mom’s assisted living home). Well, I wanted to suggest some teaching tips to maximize your outdoor play…

1) I start almost every activity with free play for exploration and observation….no prompts, no directions, but I make observations and comments….”Ohh, you drew a line (a squiggle, a swirl, etc.) “I wonder what you are drawing/imagining in your mind” or “What does it look like to you?” “Does it remind you of something?”
2) After about 5 minutes I might ask “Can you show me how you hold the chalk?” “Is that comfortable for you?” Then you might model the proper way to hold it by saying “This is how I hold it because this is the way grown ups hold the tools they write with….I wonder if you are able to hold the chalk this way?” (If this is complicated for your little one or takes the fun out of it, move on! You might say “Well for now, hold the chalk however it feels right and we can learn the way grown ups hold chalk another time.”
3) “What pictures would you like to draw most? I’m imagining a flower in my mind….I wonder if we can draw a flower out of JUST circles”
4) “What can we write? Letters, numbers, words? Which would you like to write? Write a ____ with me”
5) “Can you trace (or write on top of) my writing?

Ideas:
-Draw sets of shapes and teach your little one to draw a line to make matches.
-Draw a hopscotch.
-Draw the alphabet out of order and have your little one hop around trying to step on the letters in order.
-Draw a house out of shapes.
-Draw different types of lines (dashed, zigzag, semi-circles, etc) and have your little one try “copy cat” your writing

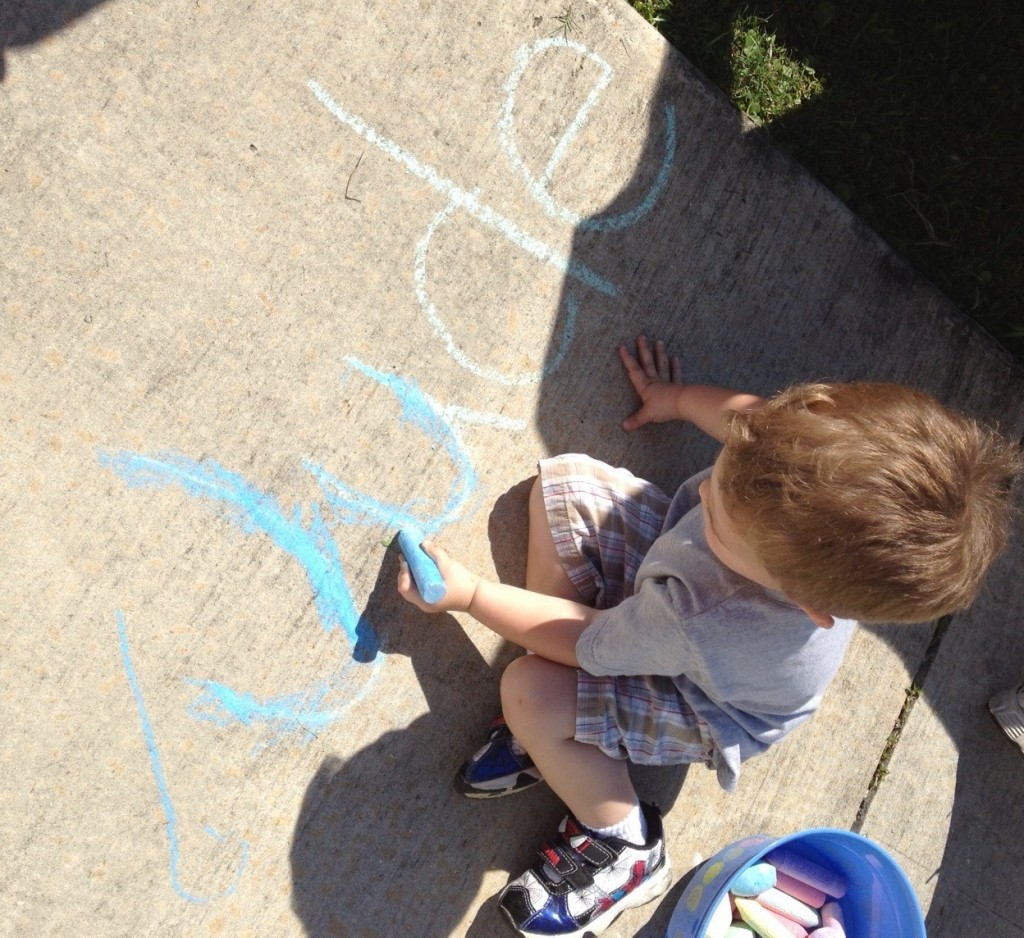
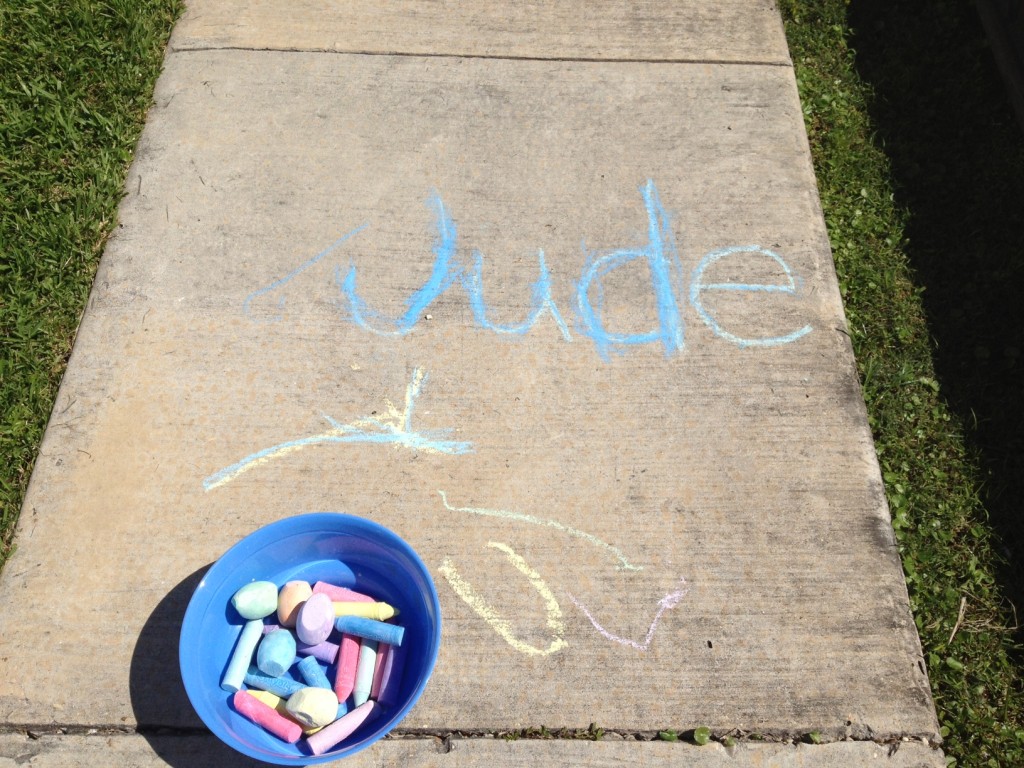
Jude traces his name!

Great job Jude!

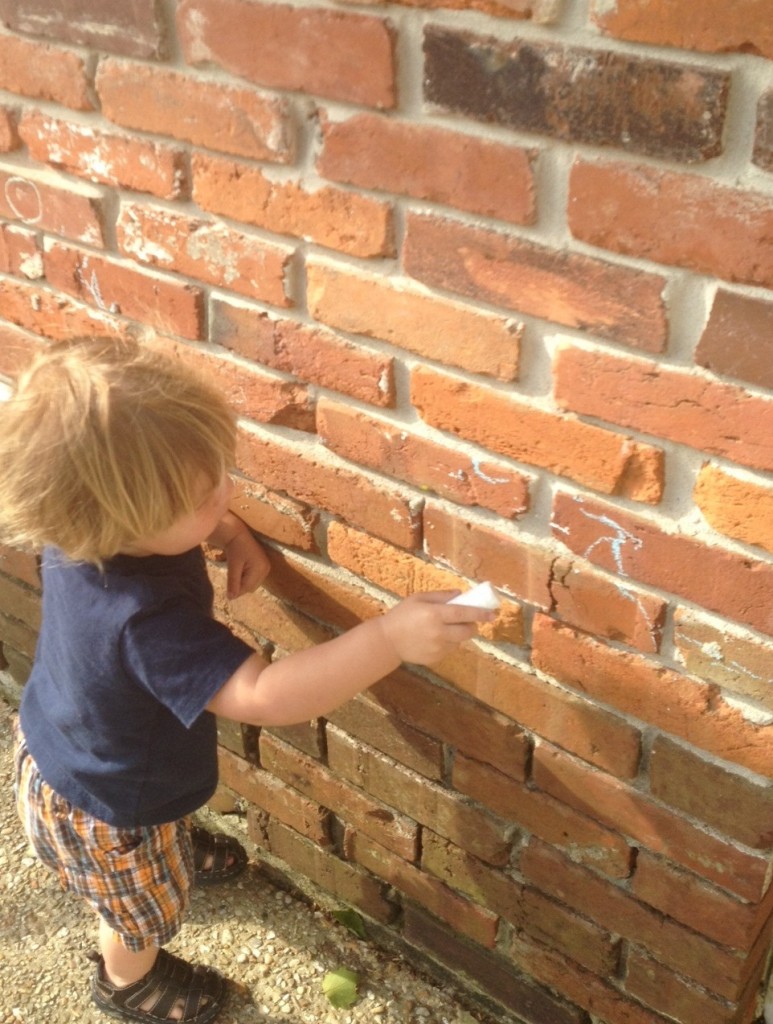
Sean Patrick freewrites on our brick exterior

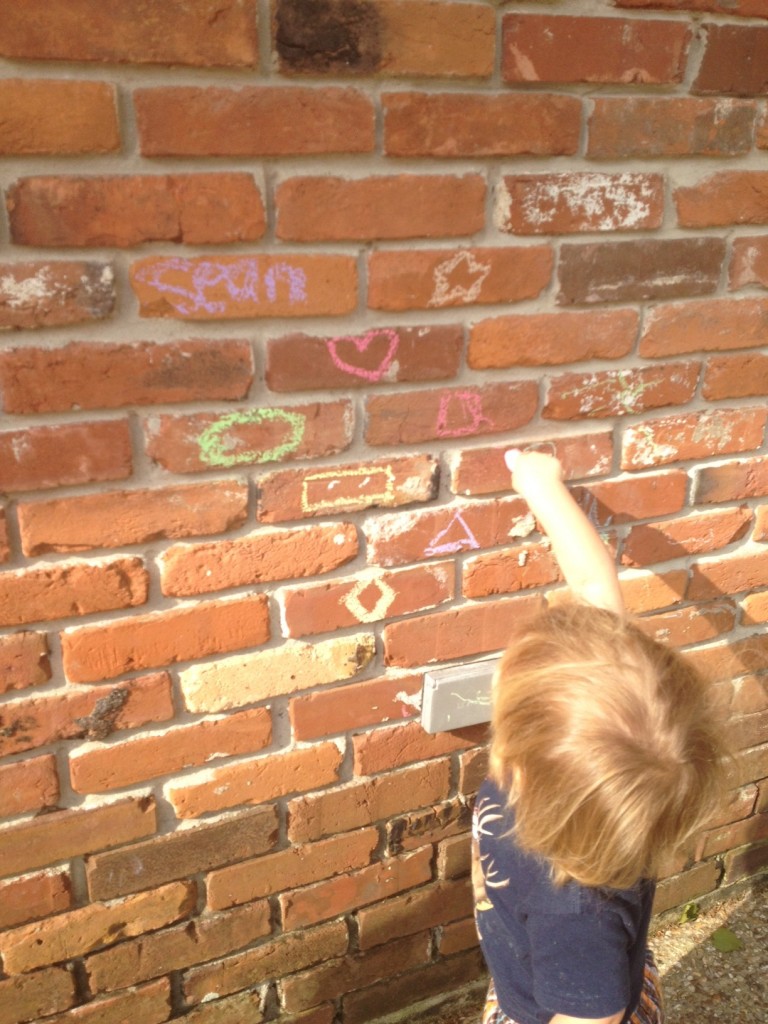
Sean Patrick writes on top of mommy's shapes.

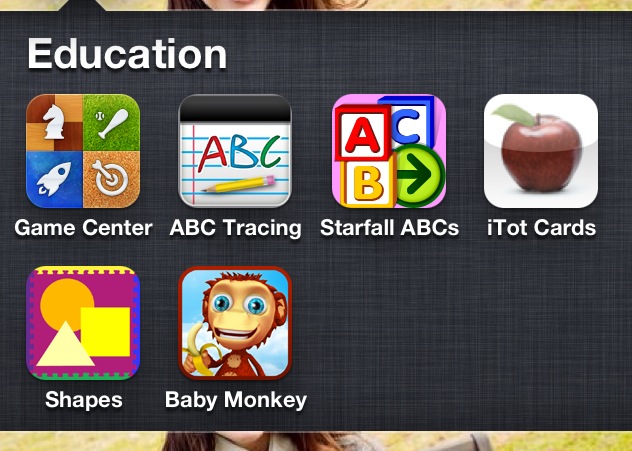
What’s In Your App Library? Comment to win an Educational App of Your Choice


As you can see I don’t have many apps in my iphone library but the ones I do have we like and use regularly. Sean Patrick loves the Starfall ABC app and so do I. It is entertaining, engaging, and it has been great for developing his oral vocabulary, phonemic awareness, letter recognition, fluency and more. I like to introduce apps and sit beside Sean Patrick as he plays and learns because I can articulate and reinforce skills that I think are important, but they could also be played independently.

 So, now let me hear from you for a Mommy Teacher Share Moment….
“What Apps are in your iphone/ipad library?”

When 25 or more people “share” on by commenting on this post or on facebook I will pick a winner (at random) to “gift” the Starfall ABC app to, or a coveted app of similar value 🙂

Adorable, DIY, No Sew, Easter Baskets & Liners For Under $10

For the last two years I really wanted to order Pottery Barn Baskets and Liners because I thought they were so cute, but SO expensive…even on sale!  So, I attempted to make my own by going to my friend and neighbor’s house who could teach me how to sew elastic on the end of fabric to attach to a basket.  But, she helped me pull together a GREAT idea instead….all thanks to a MISTAKE my husband made!!!

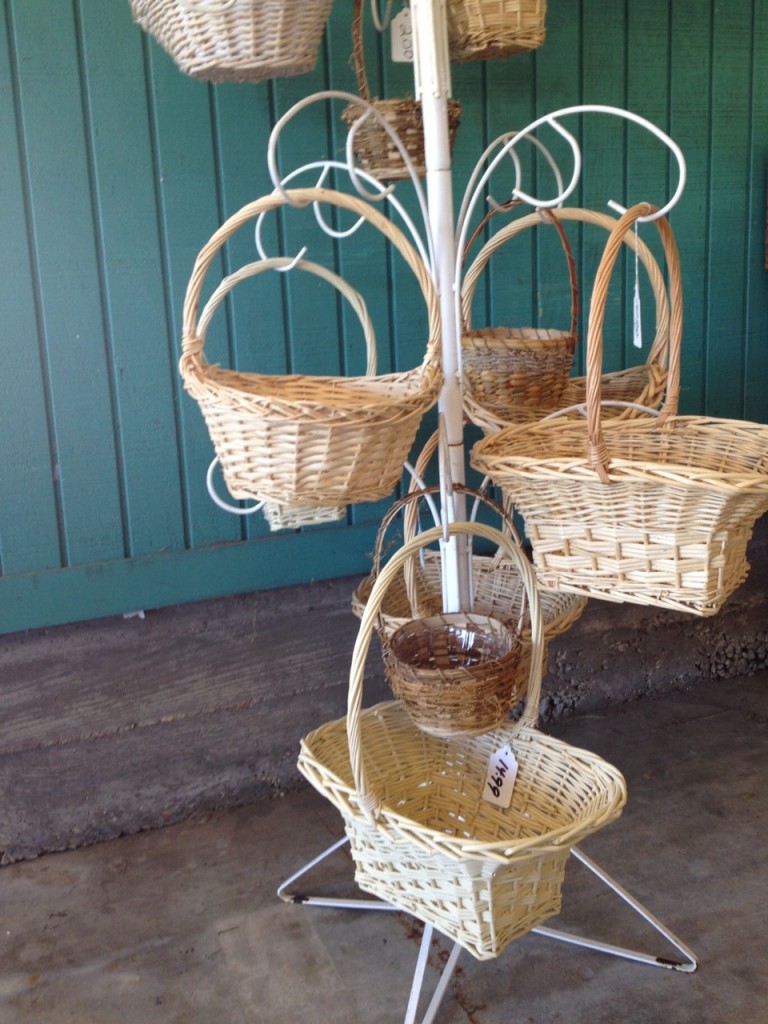
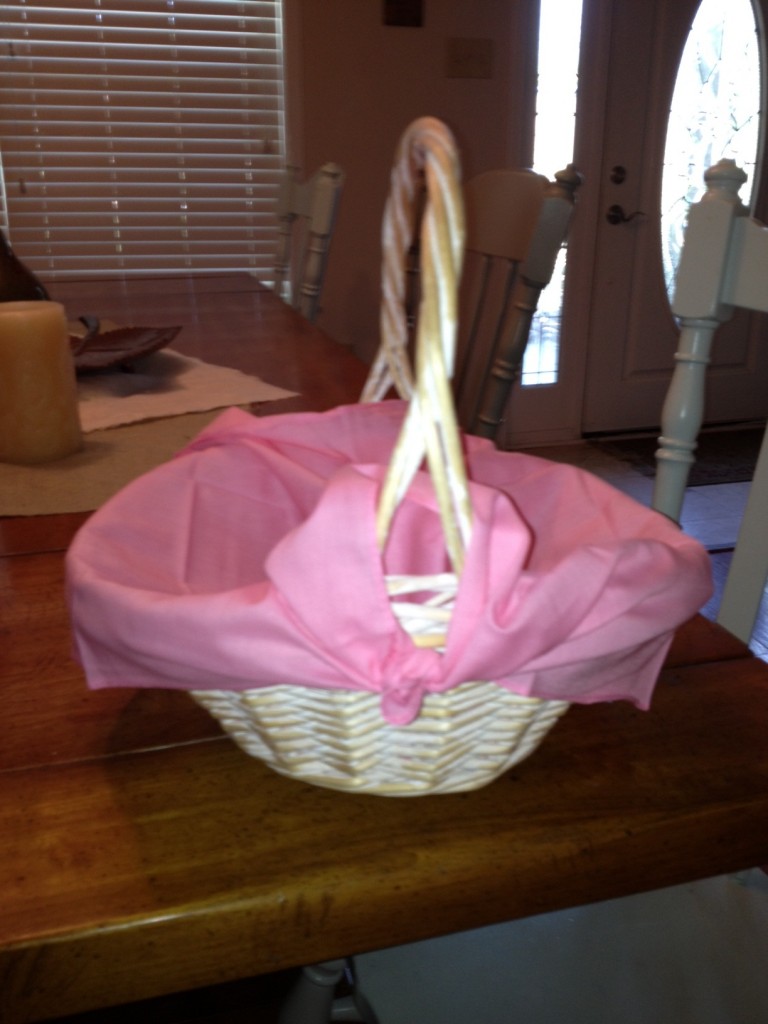
I saw these super cute, SUPER cheapbaskets on a stand at the PRODUCE market nearby:

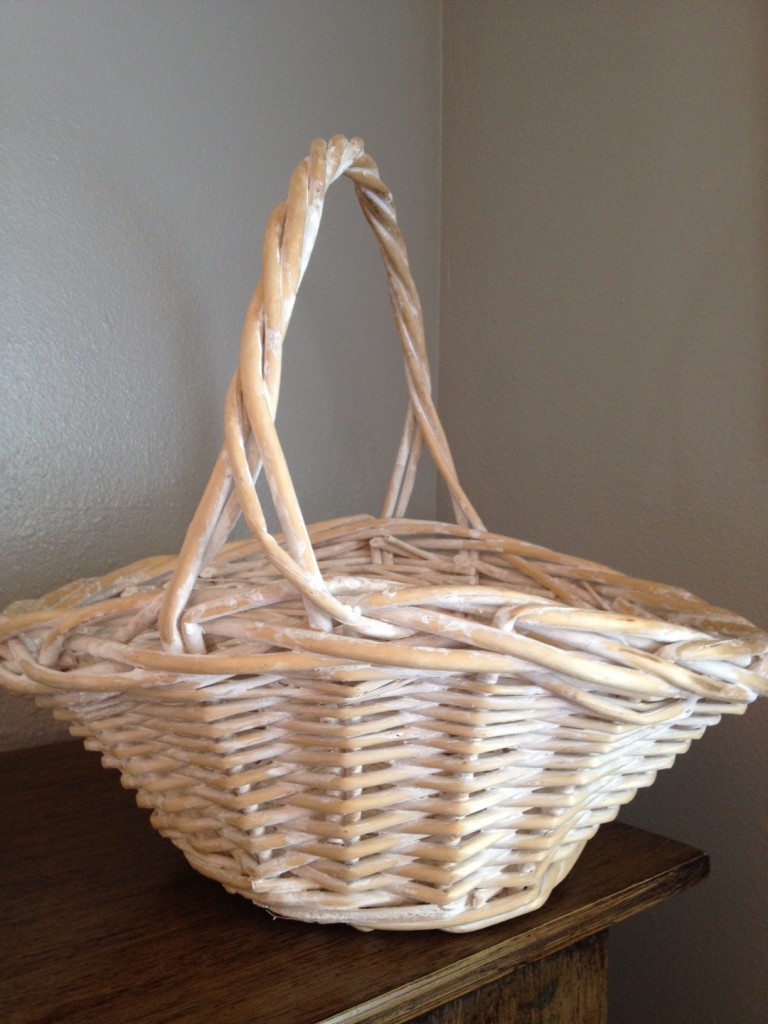
And I chose this one for JUST $6!!!!:

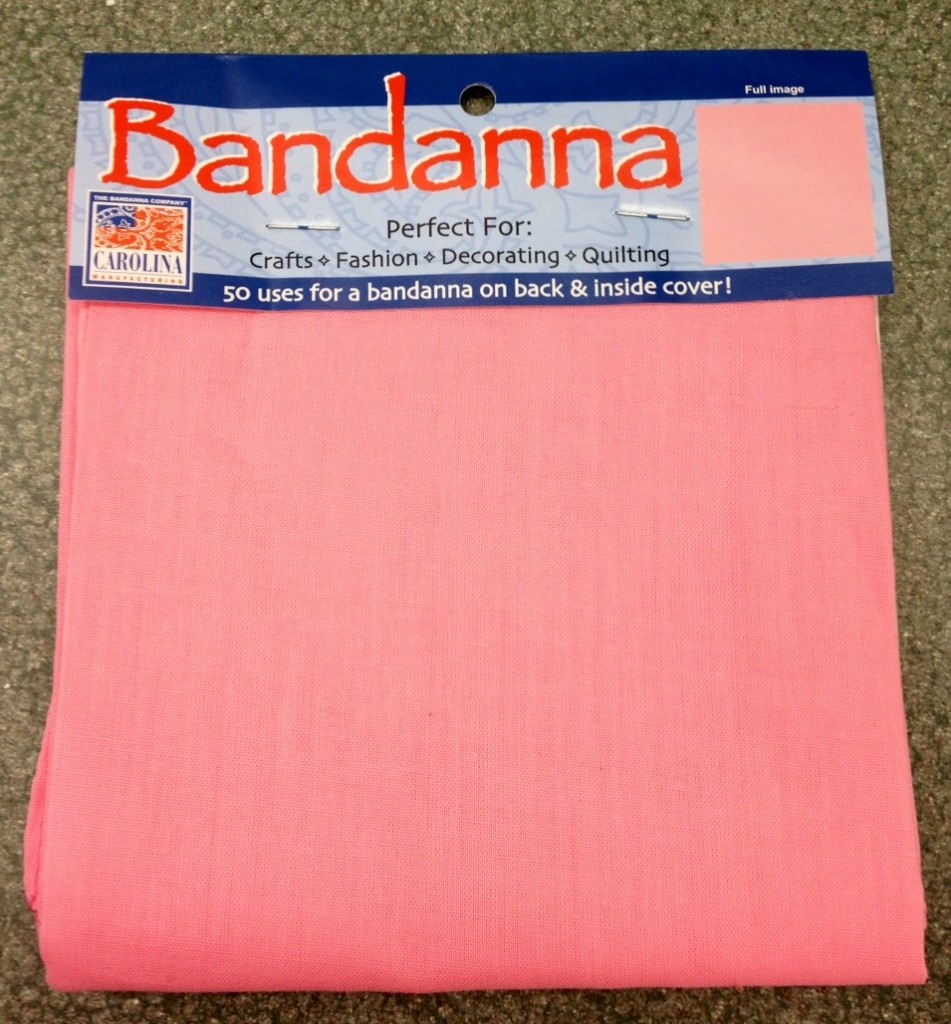
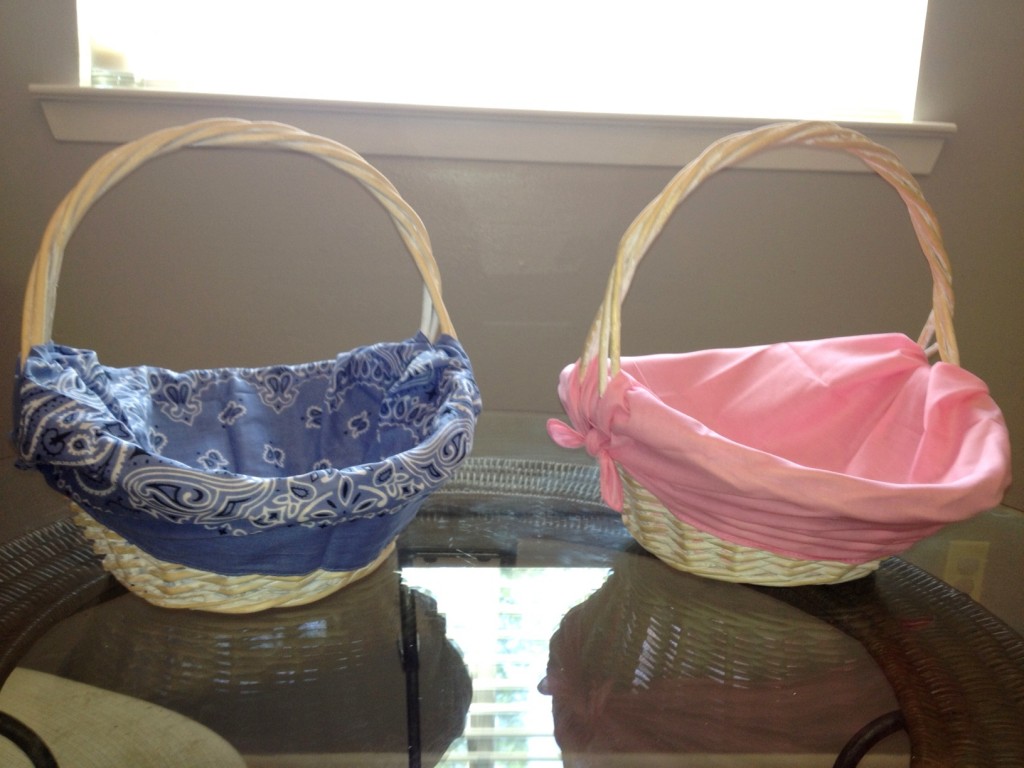
I sent my husband to the store to buy pastel blue and pink FABRIC and he came back withBANDANAS because he thought they were “cooler” and only cost $1.79 a piece!!!

So, I brought them to my friends and said “What can I do with a basket + a bandana?”

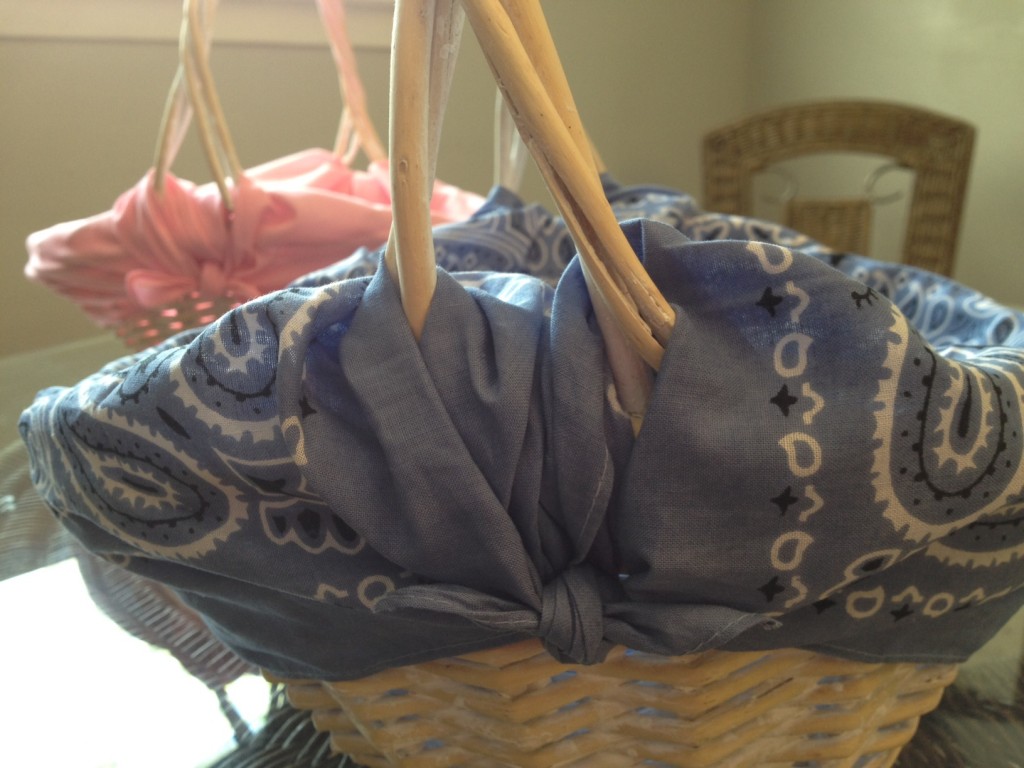
And this is what she came up with:

1) Place the bandana in the basket with the corner’s lining up AROUND the basket handle.

2) Place something in the basket to weigh the center down.

3) Tie knots around both handles using the corners of the bandana, adjusting as needed after both sides are tied.

4)  Tuck the extra material through the basket handle and hot glue it to the underside of the knot.

 5 ) “PIN IT!” and “share it” if you like it 🙂

Busy Bag (Take Three)

I started adding step-by-step teaching tips for some of my recent Busy Bag activities that Sean Patrick is experimenting with but this is taking me some time for a few reasons:

1) I like to introduce one activity every few days and really spend time maximizing the teaching opportunties from that “game” as Sean Patrick calls them.

2) I am a mommy teacher so I don’t spend much time on the computer – this blog is my hobby and I try to carve out more time in my day actually spending time working with and playing with my little ones 🙂

3) I like to spend time adding teaching tips for older children as well because I believe that EVERY activity can be and should be accommodated to each individual child.

So….at that….here is another activity….and one just in time to make use of all those Easter Eggs floating around your house 🙂

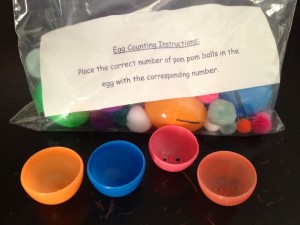
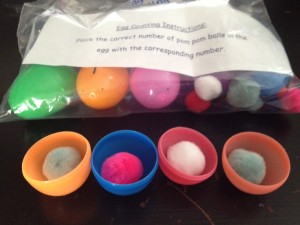
Egg Counting (The Link attached has other GREAT ideas, but try not to take them at face value….make a little step by step teaching plan for each activity because a “lesson plan” can structure the pace and aid the learning process)

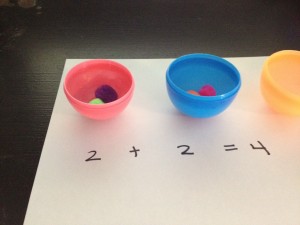
This activity has MULTIPLE uses… to teach counting one to one and to teach addition in the most organic way by teaching about all the ways to get to a number (1 + 1 + 1 + 1= 4 ; 2 + 2 = 4 ; 4 + 0 = 4)


I suggest that you work on counting to, or adding to, ONE number at a time.

1) Start with the smaller side of the eggs on their backs….if you are working on the number four then place four egg halves on their backs.

2) “Let’s use the Easter Eggs to see all the different ways we can count to four!” or for older kids “Let’s……ways  we can add to the sum of four”

3) Place one pom pom in each egg (I switched to the small pom poms after the first try because I wanted all of them to be able to fit in one egg half when attempted) One and one and one and one is four! (four younger kids you can use “and” in  place of “plus” and “is” in place of “equals” just for now while they are being introduced to adding.

3) Dump them out and say – let’s see if there is another way to fill the eggs to count to four …One, two and one and one is four so two and two more is four.

4) Continue this until you have exhausted every means of arriving at the sum of four.  For older children model and demonstrate how to write out each problem.

5) Pick a number close in proximity to the number you worked on (like 5) and do it again….together this time.

6) Pick a number easier than the original number (like 3) and allow your little one to try on their own as you watch and make encouraging comments.

Busy Bag (Take Two)

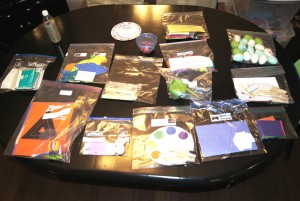
I really love the Busy Bag exchange!  Getting a bag full of age-appropriate activities is exciting, but, it helps to have some direction.  A bag of activities will only take your little one as far as you LEAD them.  There might be instructions on some of the activities, but I wanted to add my step-by-step teaching tips because otherwise your little one simply has something to occupy their time (which isn’t all bad! I am a mommy too remember?) BUT you also have a great teaching opportunity….to meet your little one in his/her zone of proximal development.  Wait what?  Basically….a chance to tap into their prior understandings, engage with their working memory, and BUILD onto what they already know.

I joked with my girlfriends the other night at dinner about one of the activities in the mix because it seemed almost too open-ended to even figure out what it’s purpose was.  But open-ended materials can leave room for some of the most organic learning experiences, and it has many purposes for more ages than the suggested age.

Lets begin with the Pom Pom Activity

1) I started by letting my little one investigate on his own so I could observe what observations he was making and so he could just get his curiousity out before I started something slightly more structured.

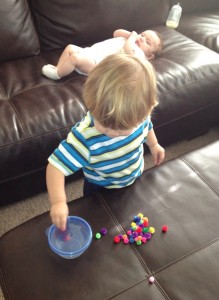
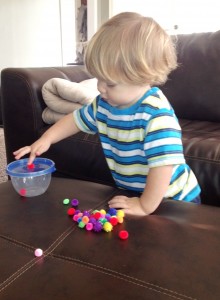
2) We talked about the colors (sorting them into groups for a better visual). We talked about how soft they were (texture).  We talked about how they were little (size). We talked about how there were a lot of pom poms and tried to count them (one by one correspondence) as we put them inside the tupperware.

3) We pretended we were little crawfish and used our pinchers to pick up the pom poms.  “Oooh, lets put the red ones in first!” (Pre-writing in mind….proper pencil grip!)

4) We practiced pushing them the pom poms in the hole with just our “pointer finger” and then just our “thumb” and later we were silly trying to push it in with our pinky finger.

5) Finally, we practiced taking turns and Sean Patrick had a blast racing me to push my pom pom in on my turn.

If you have older ones….accommodate and adapt the activity to fit what your little one is working on….estimation, graphing, or adding. You probably have the materials just lying around your house so it is too easy not to get it together.

So, my encouragement is not to take activities at face value EVEN IF the picture of the activity SEEMS self-explanitory.

Related Posts Plugin for WordPress, Blogger...

1 5 6 7 8 9 11