Year: 2014

Celebrate Martin Luther King Jr. Day

My oldest son is home from school today so whoop whoop IT’S PAJAMA DAY!  But more importantly, WHY is he home from school?

Today we celebrate the life and accomplishments of Dr. Martin Luther King Jr.  It is so easy for us to get caught up in teaching letters, numbers, patterns, and rhyming to our little ones… but we also need to remember to teach about history… especially a historical period that is pivotal in this country’s shift toward acceptance, freedom, and equality of all people.

That’s a pretty huge concept and a lot of information for our kids to grasp.  And they won’t grasp it all in one day!  But guess what?  Teaching about Martin Luther King Jr., black history, racial equality, segregation, and the infamous “I Have a Dream” speech does not have to only happen on the third Monday in January of each year.

I found this great video on YouTube that gives an age-appropriate biography of Dr. Martin Luther King Jr.   I clicked pause a lot so I could explain a few things such as “segregation” and “freedom.”

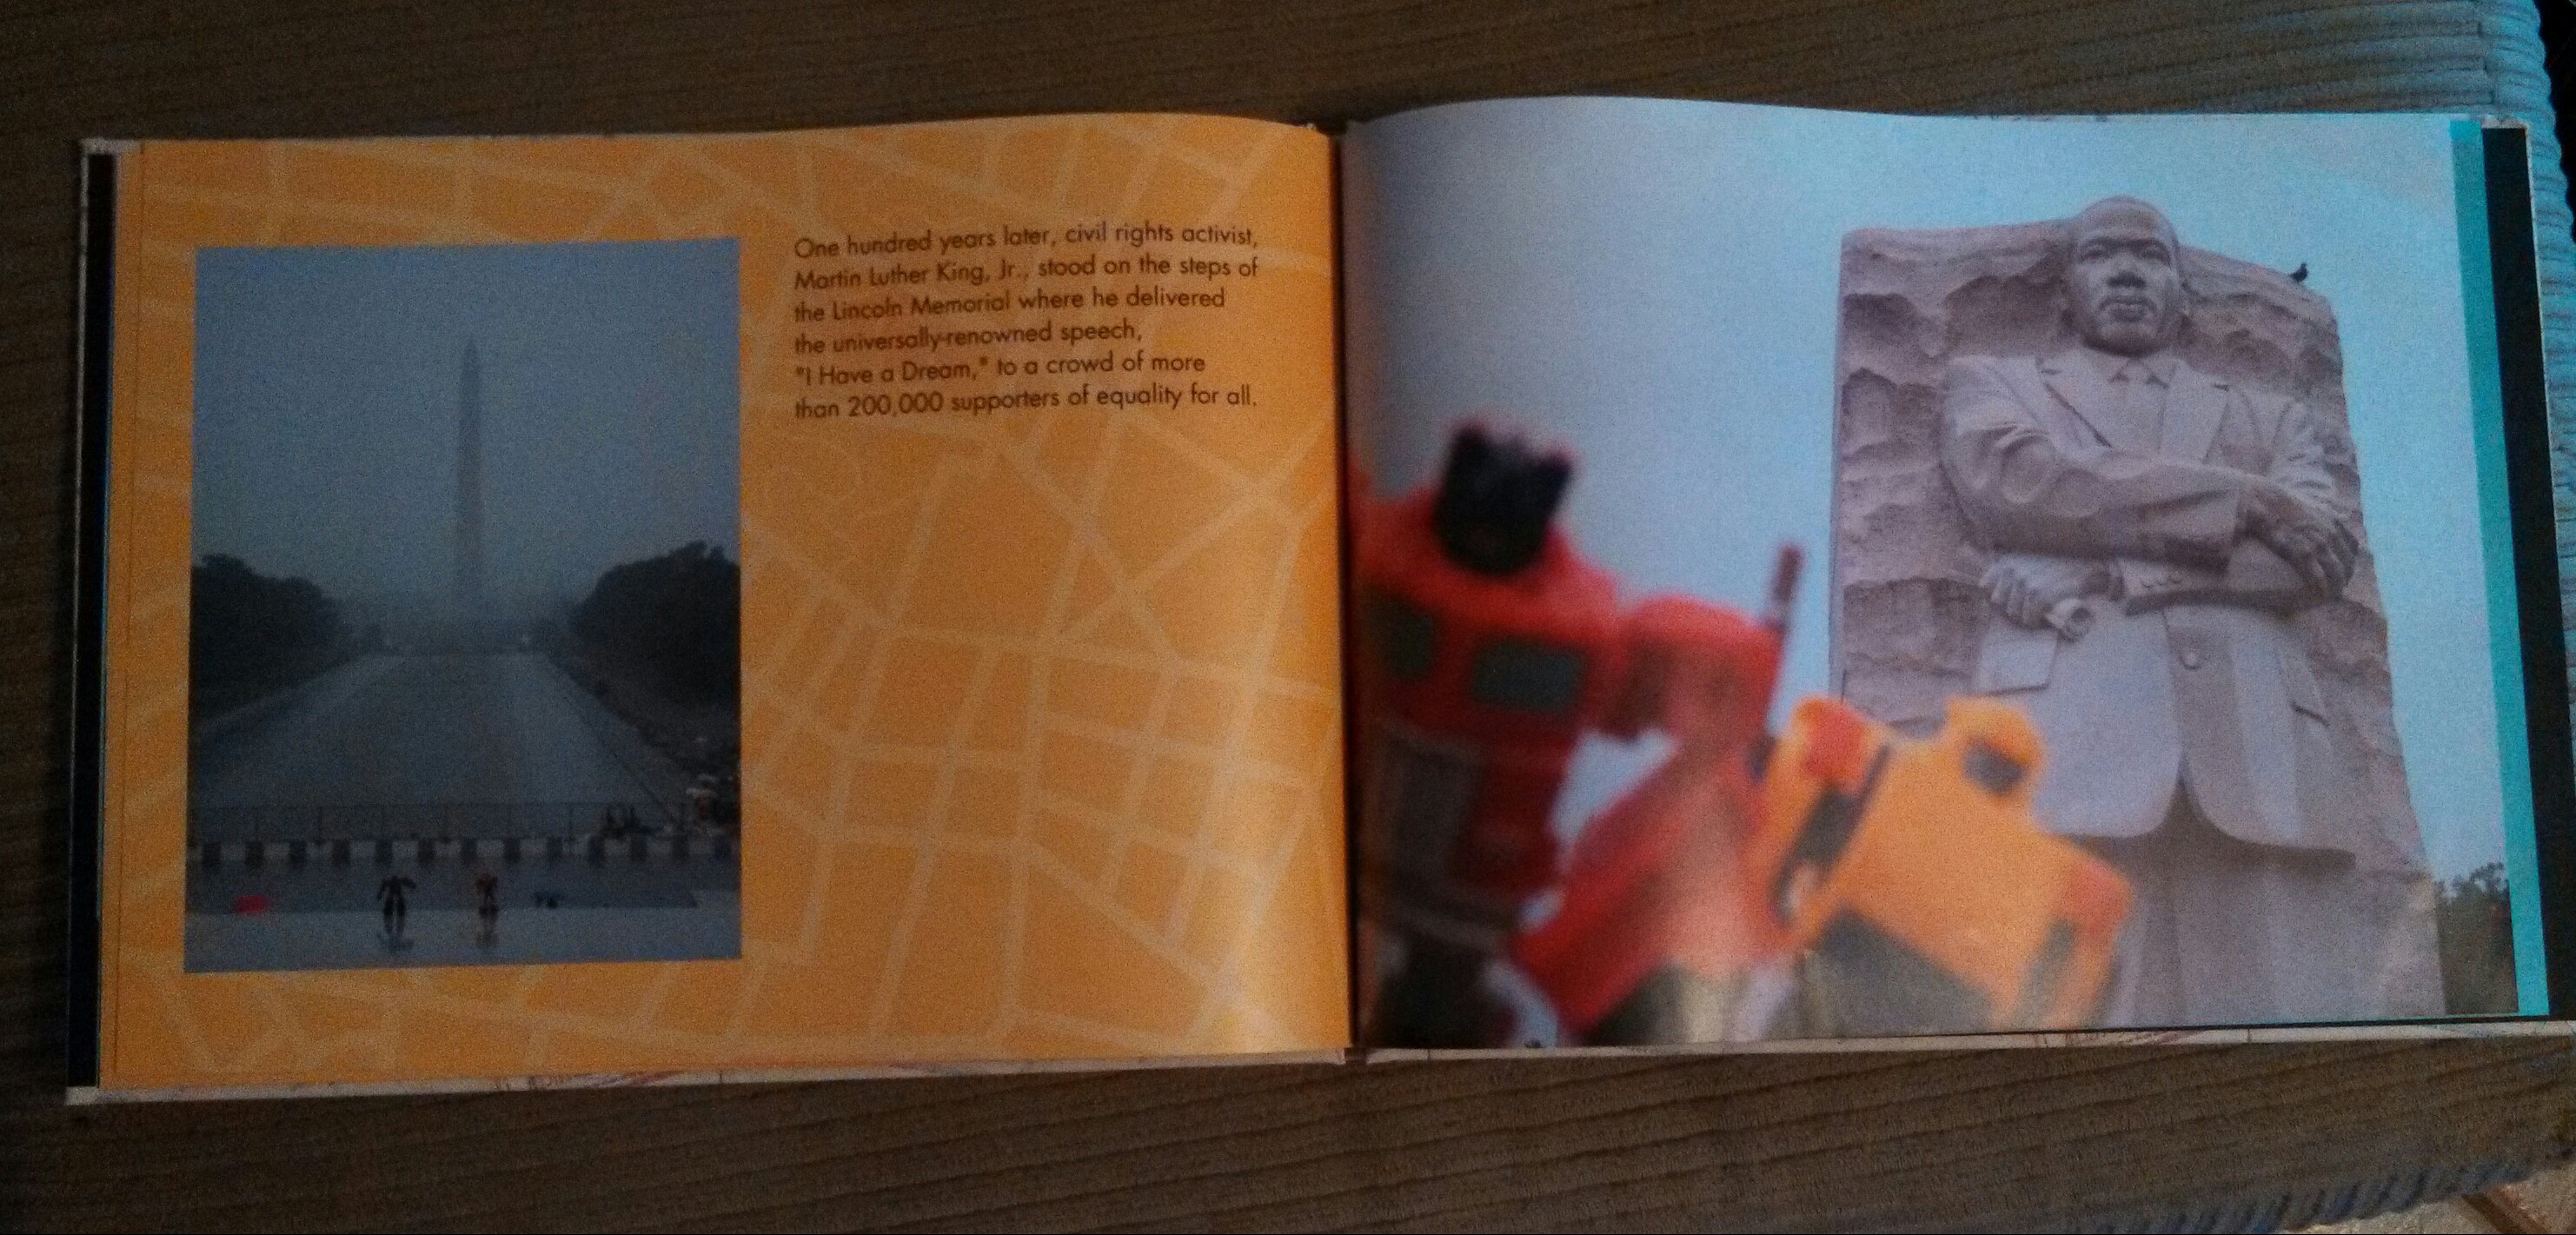
My oldest son made a reference to the pictures we once showed him of my husband and my trip to Washington D.C. after he saw the Washington Monument in the video.  I had forgotten all about them!  So we pulled them out and I was able to show him a picture I took standing from the spot where MLK Jr. delivered his “I Have a Dream” speech.

IMG_20140120_095936_316-1
I took pictures of the boys’ Transformers in front of all of the monuments in Washington, D.C. and then made them a book on Shutterfly.

Dr. King’s movement encouraged us to imagine a world where people were not set apart by their differences.  To kids, the biggest differences between people are all visual:  gender, hair color and length, height, kid versus adult and skin color; whereas, we adults also differentiate between cultures, language, religions and beliefs, lifestyles and socioeconomic statuses.

Today, we spent some time talking about our visual differences, specifically our different skin colors.  But, let’s not just talk about the different colors, let’s SEE the all of the different colors.  So of course, we busted out the paints!  I pulled out all of our different hues of brown paints from light khaki tan to milk chocolate to dark chocolate to raw umber.

IMG_20140120_093810_004-1

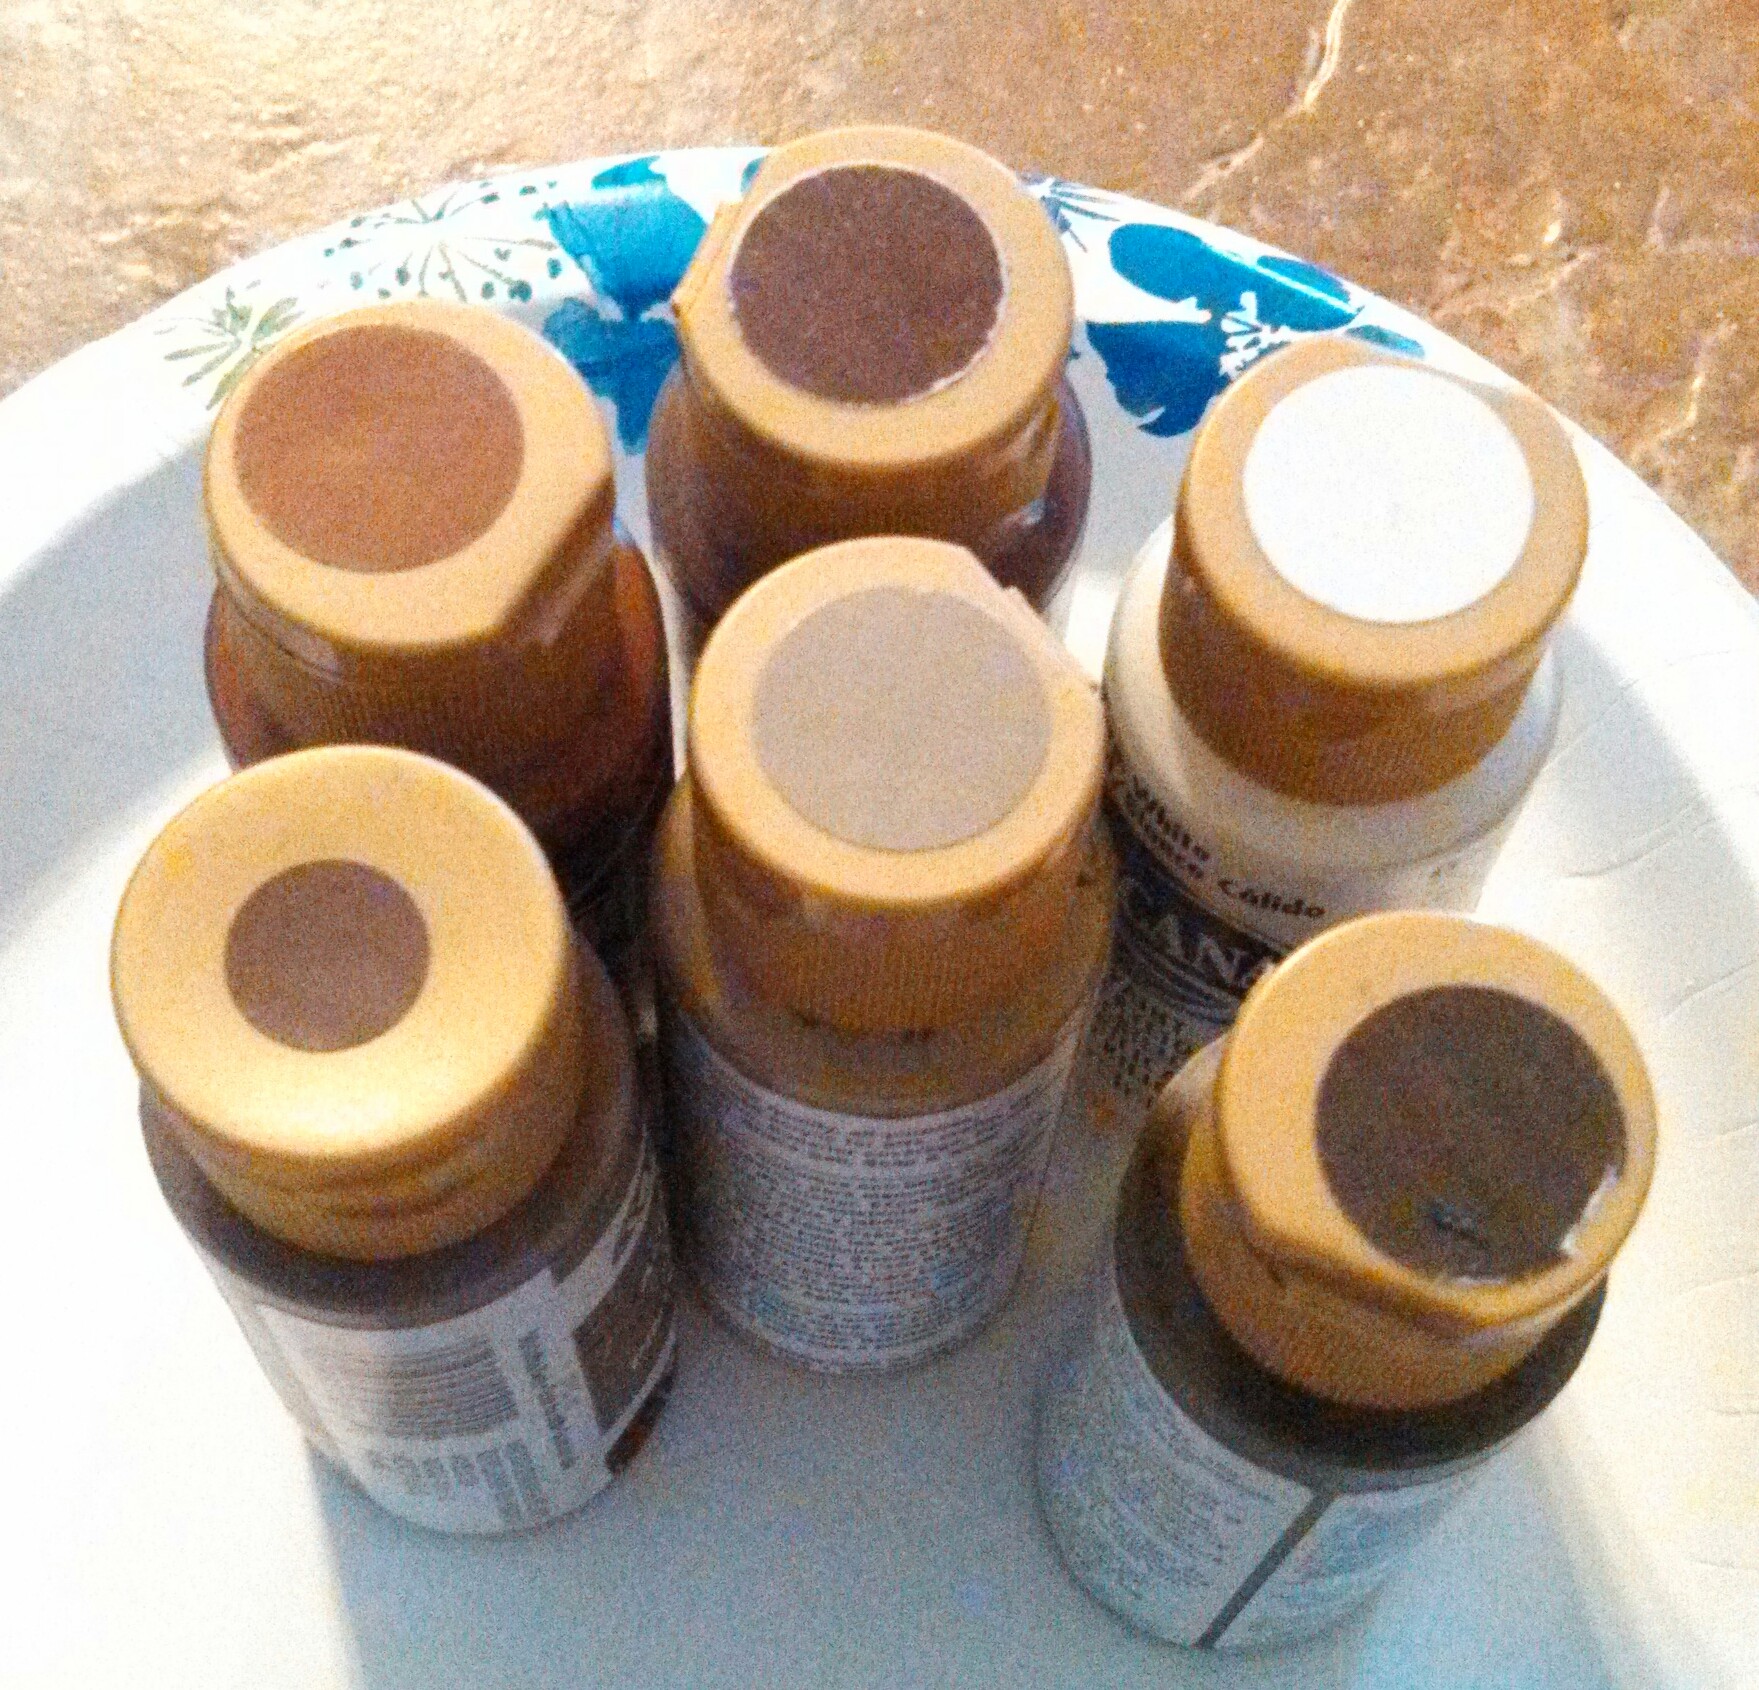
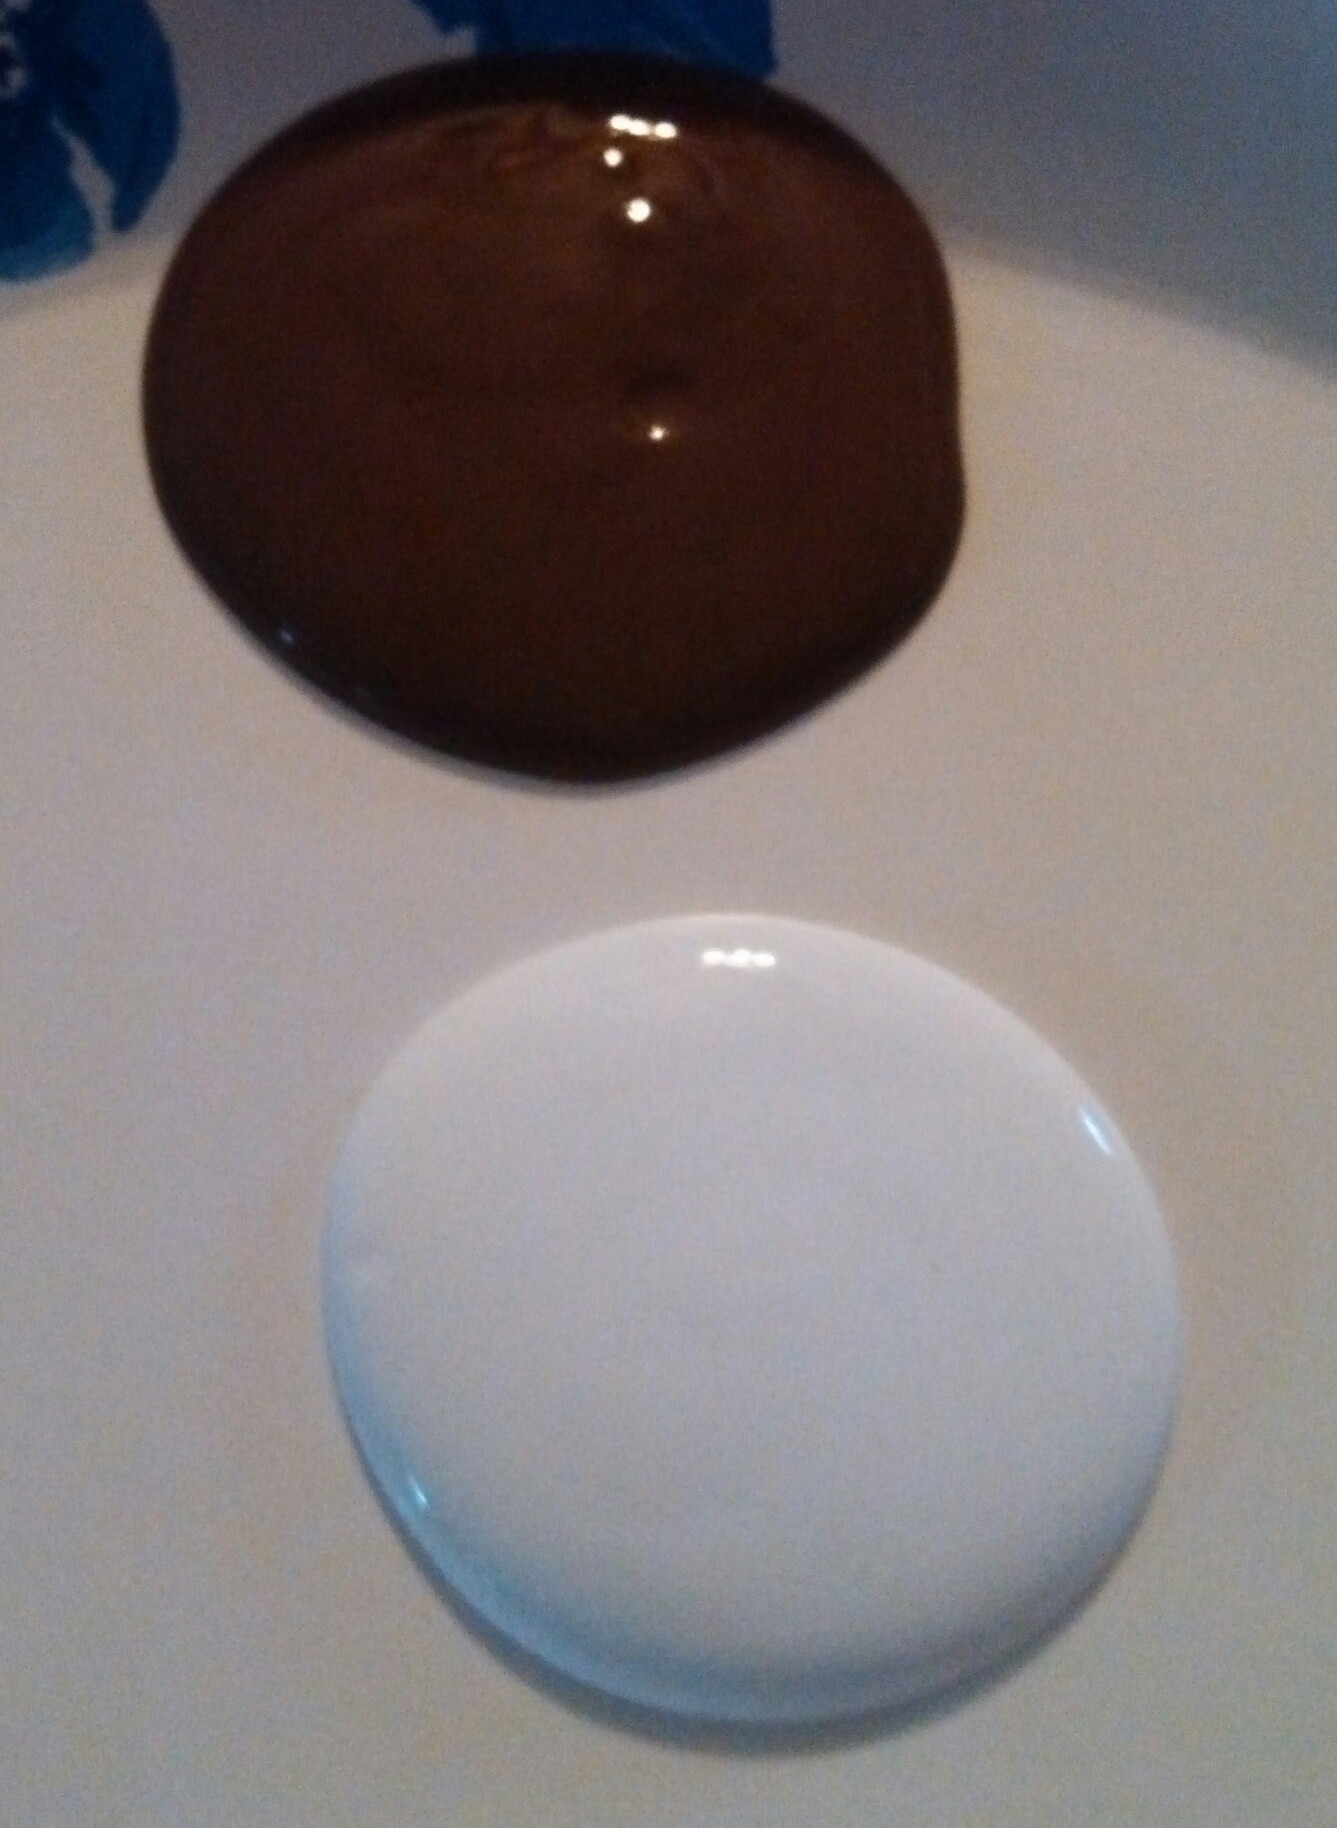
All of them are products of mixing two colors:  white and our darkest brown.

IMG_20140120_094330_276-1

We mixed together different combinations of the two colors:  1 scoop of white and 3 scoops of brown; 2 scoops of white and 2 scoops of brown; 3 scoops of white and one scoop of brown; and we mixed and mixed and mixed…

IMG_20140120_094900_056

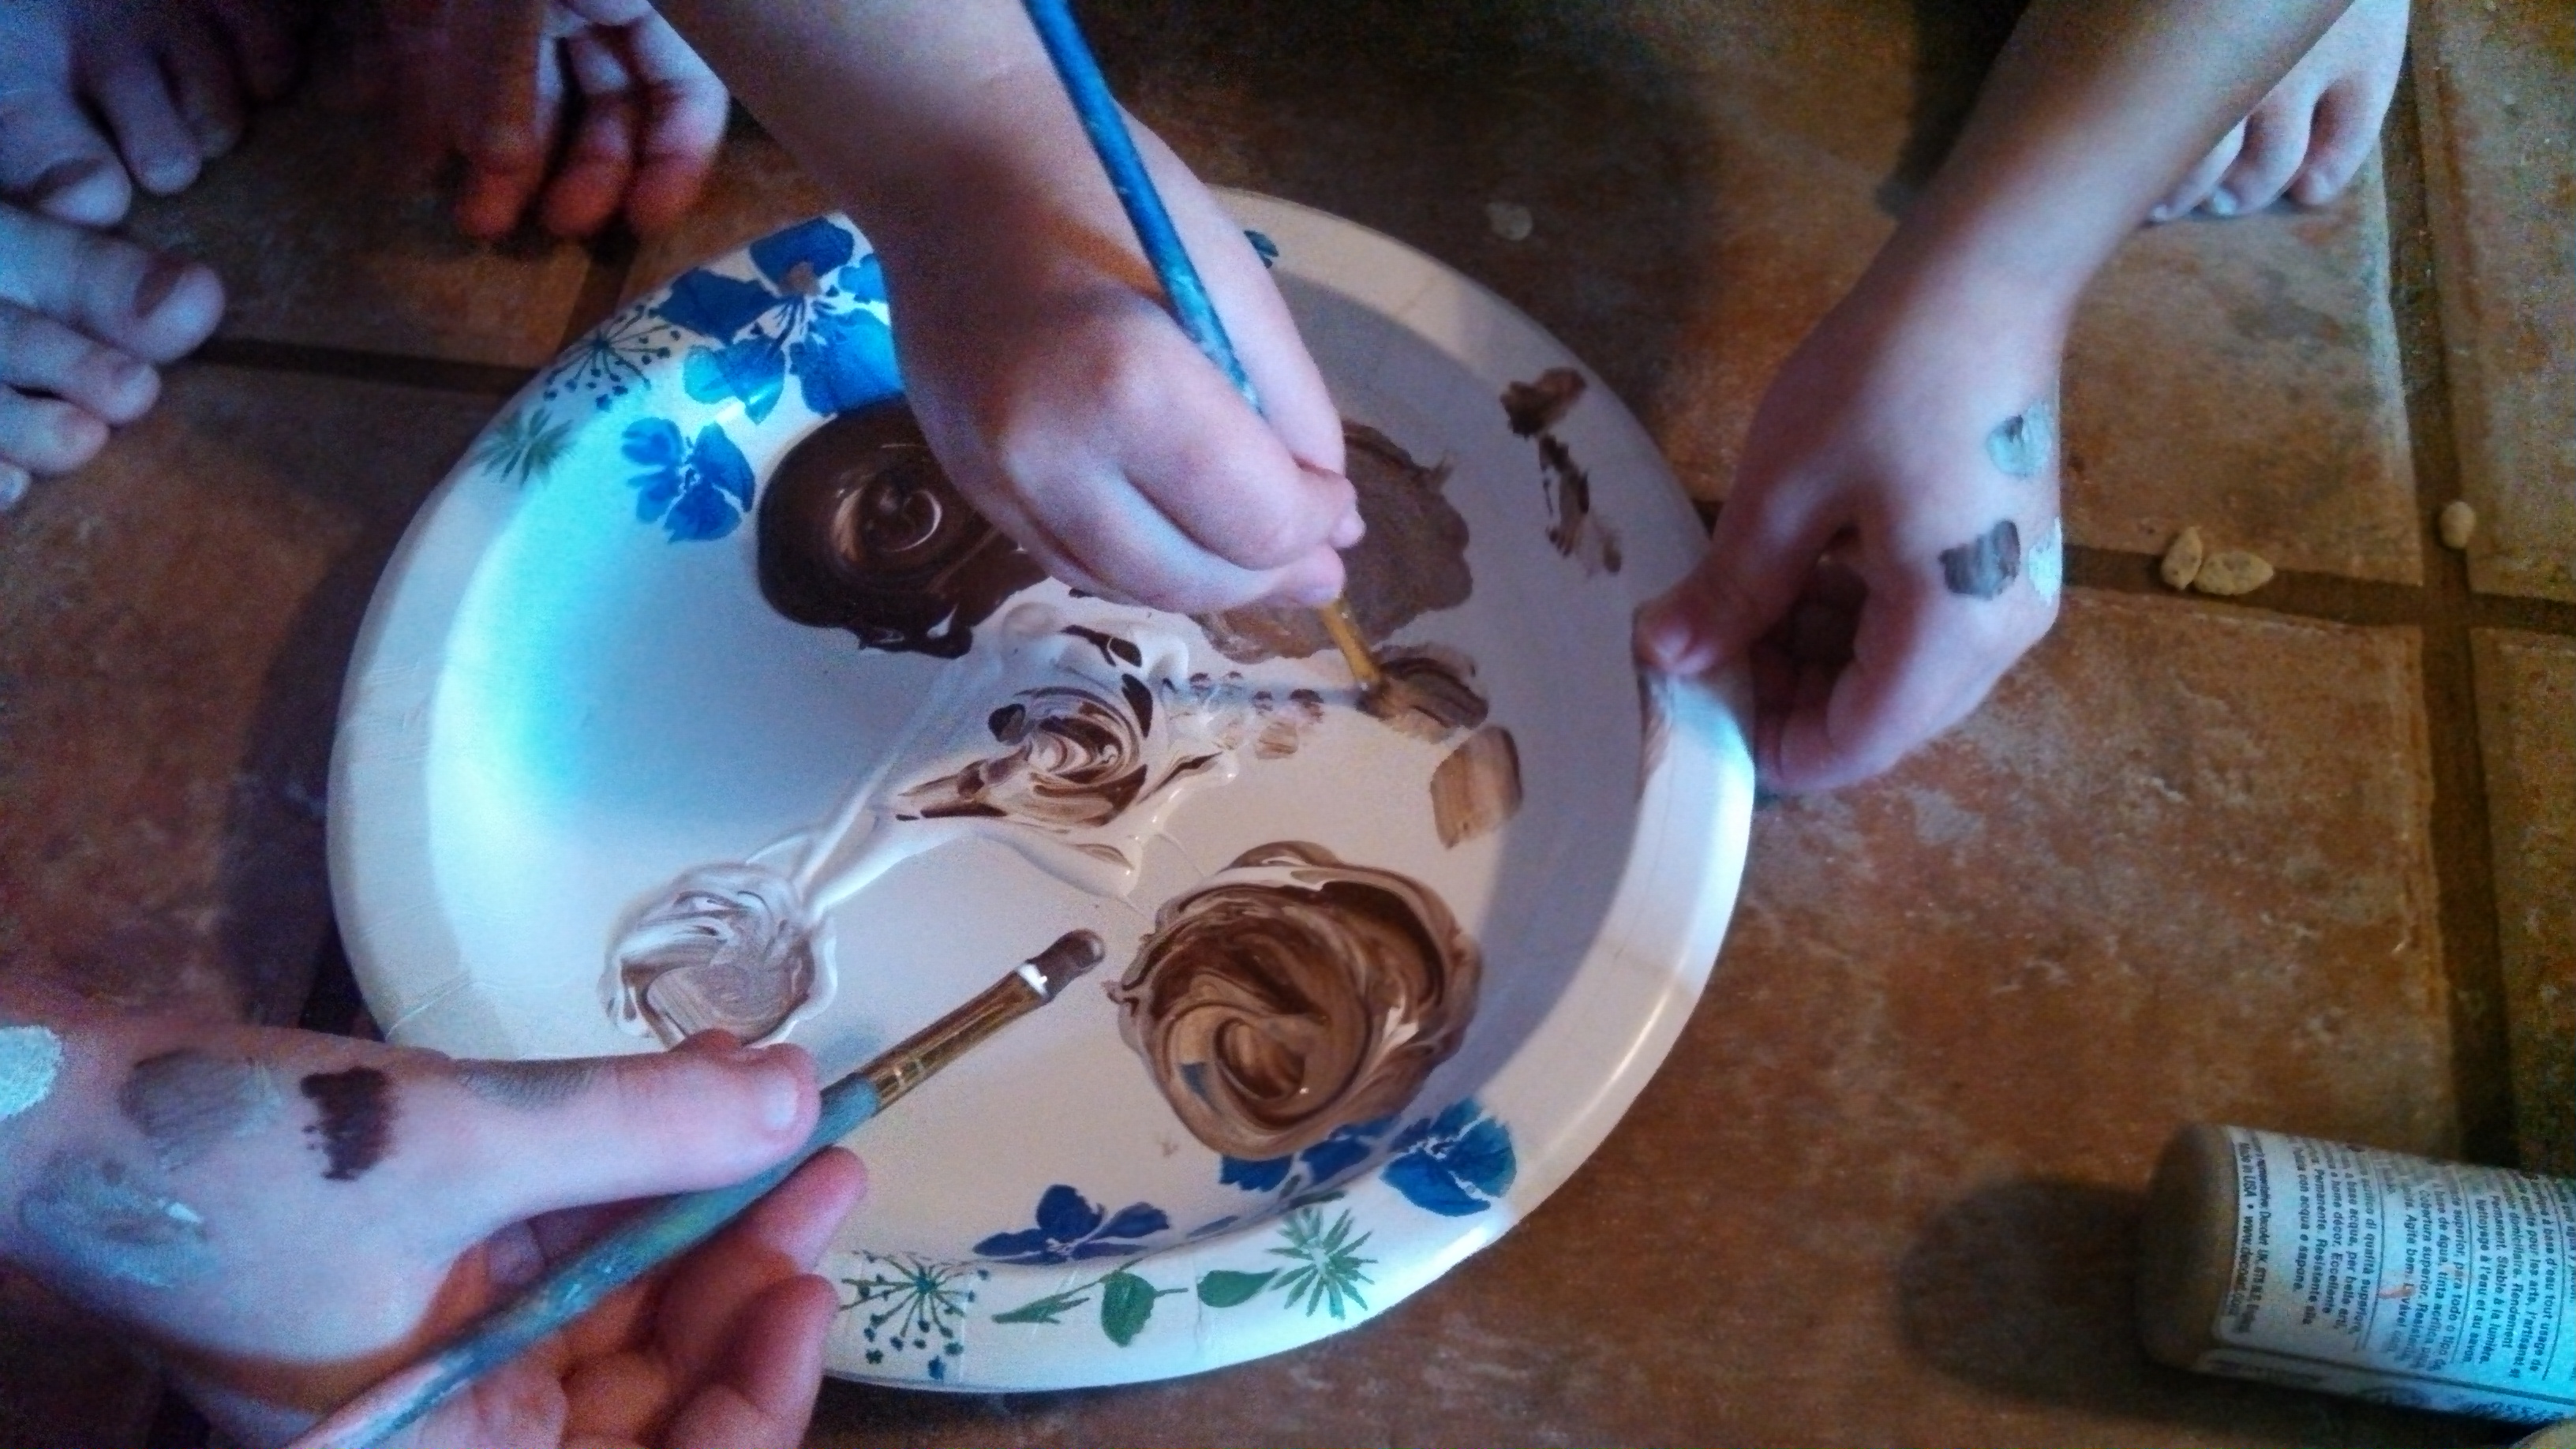
And then we painted the different colors on our hands to see which best matched our skin color.

IMG_20140120_094908_510-1

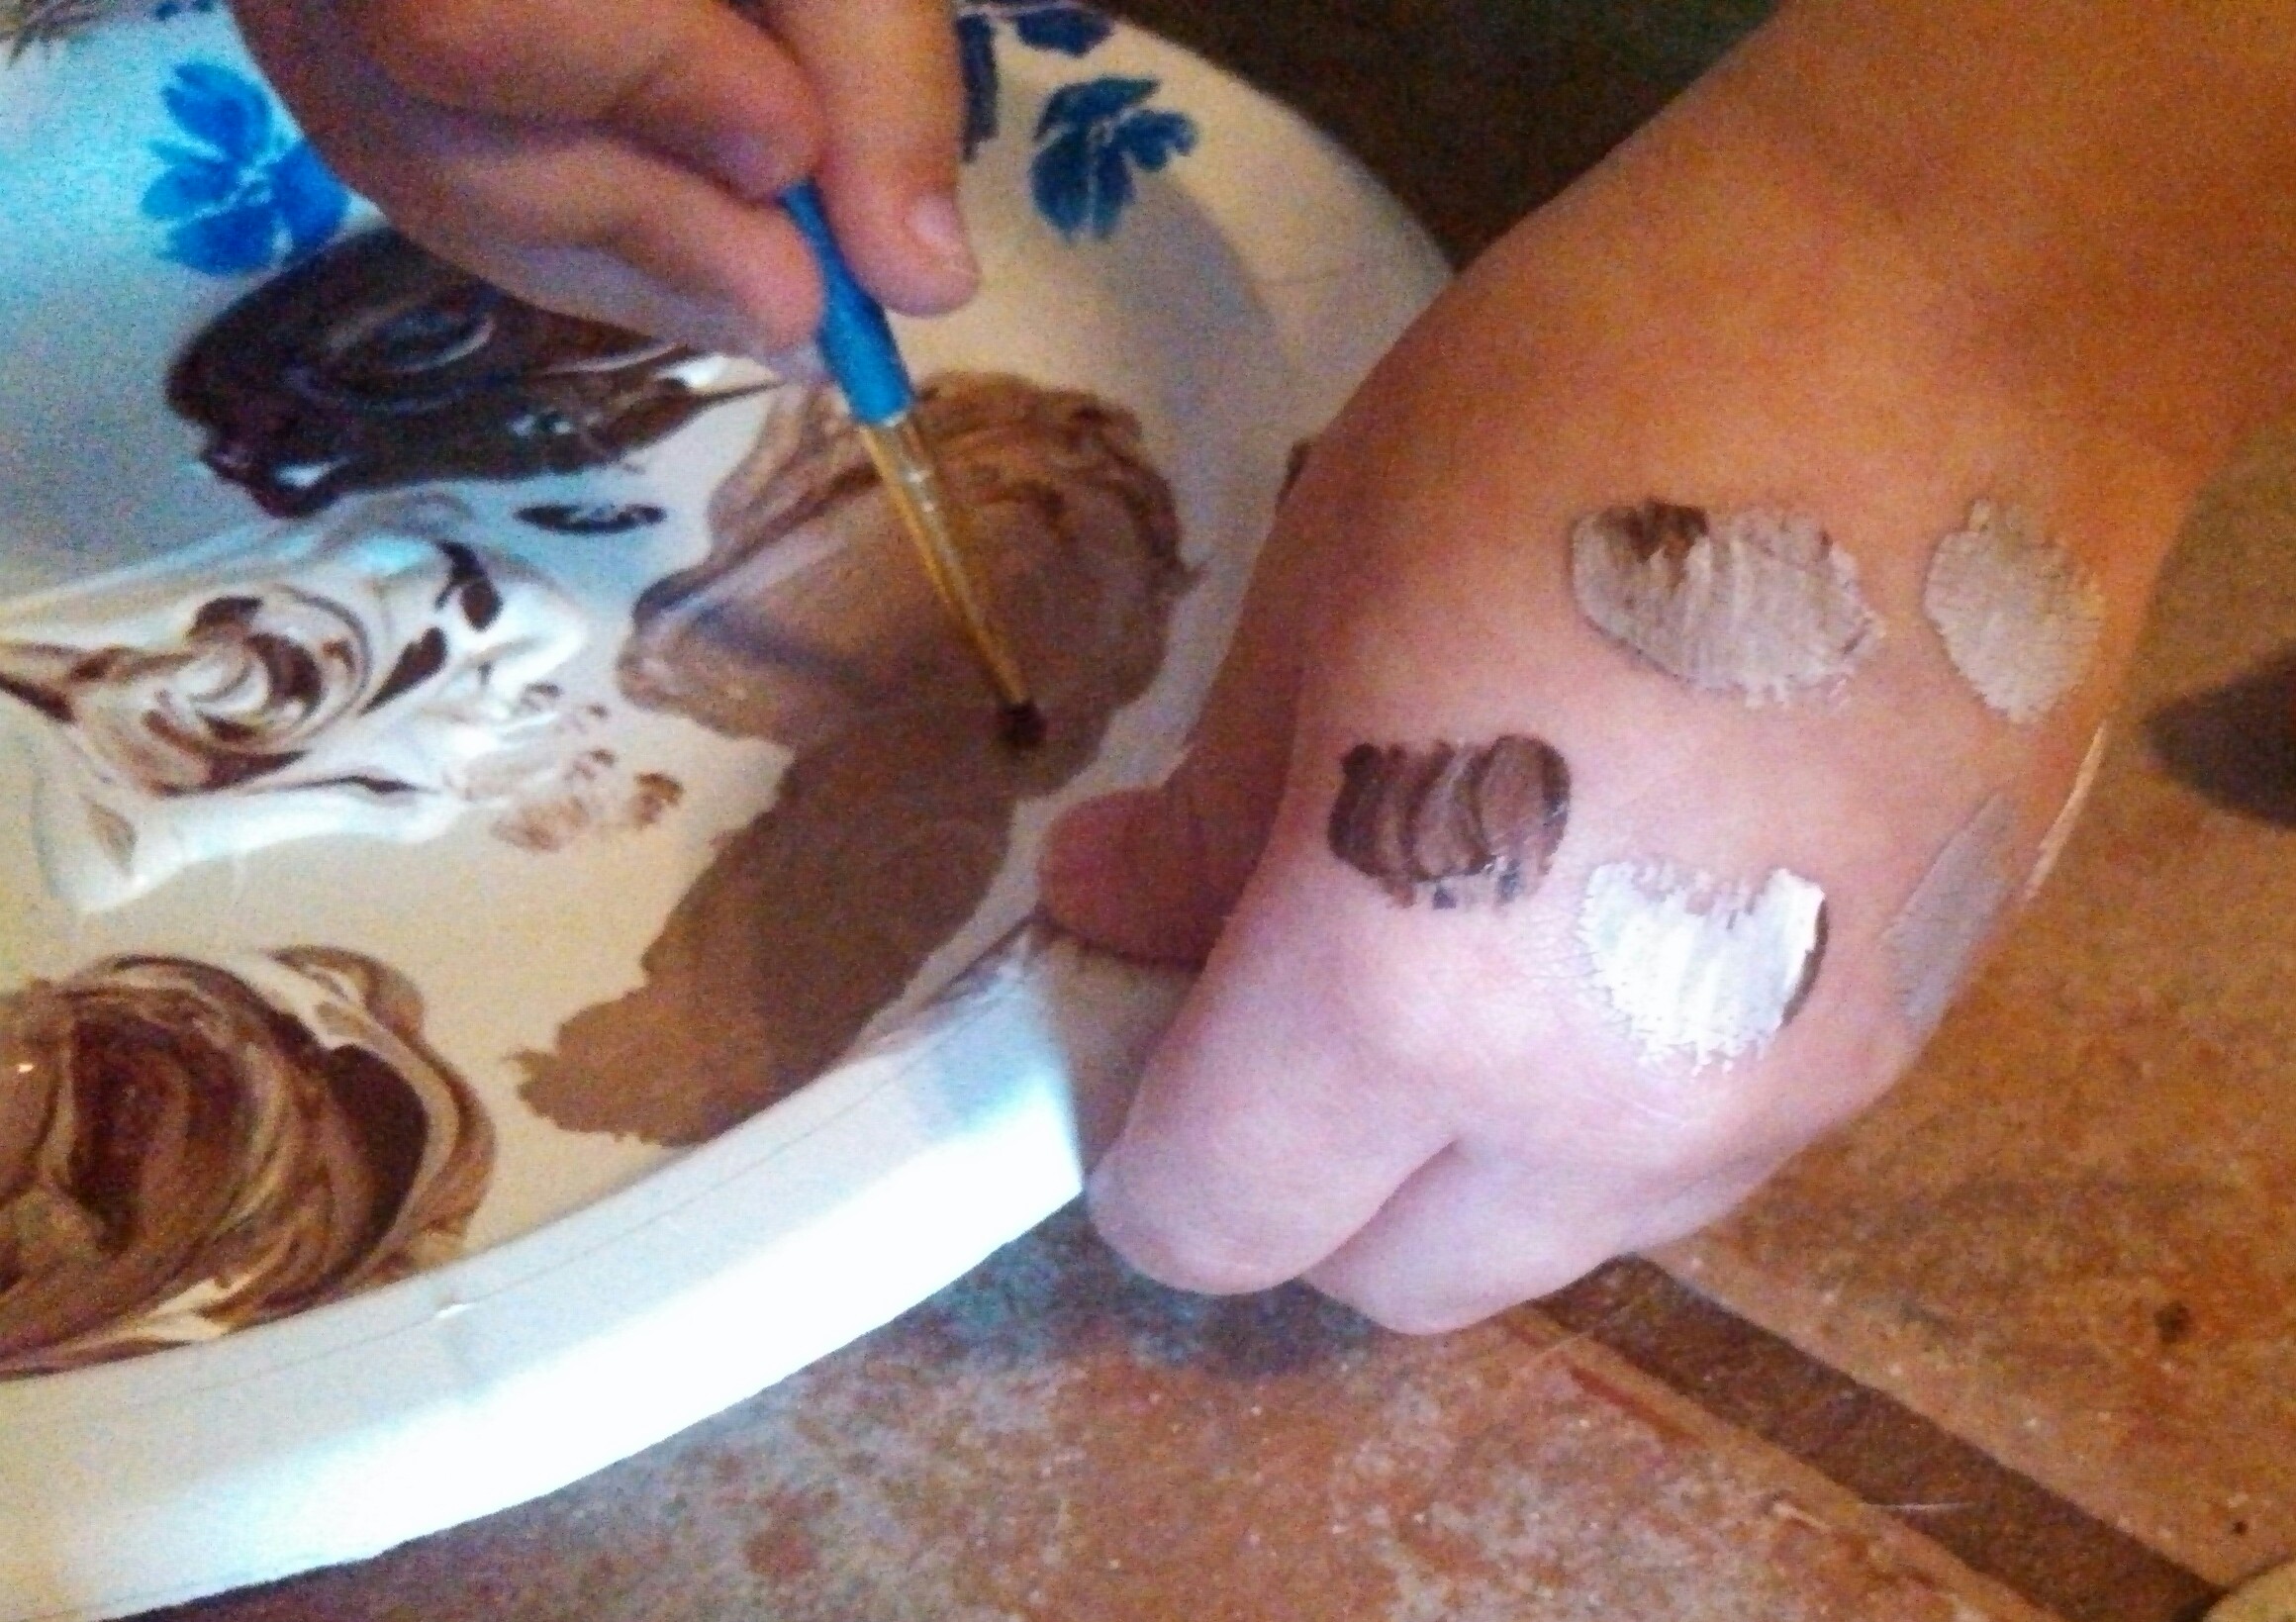
We talked about how everyone’s skin color has a different combination of these two colors. “It’s kind of like God has his own color palate and is mixing these different paints together to make us all uniquely beautiful!”

Let’s celebrate our differences today and every day and teach our kids to do the same!

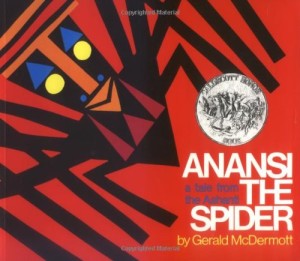
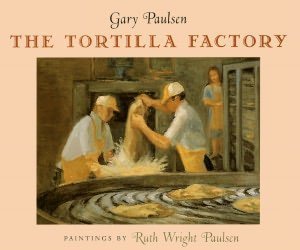
*** TEACHING TIP:  Make an effort to include historical and culturally-relevant books in your home library.

51O5KnRy4BL 51kj6kPHswL

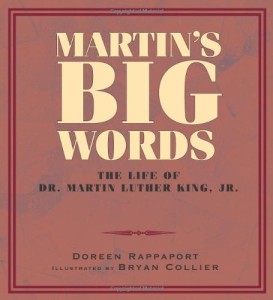
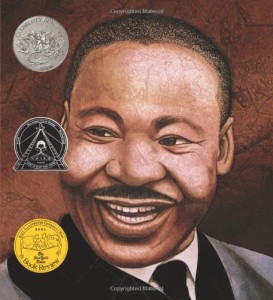
These are just a few of the books that I read in my classroom to my students, provided by a curriculum that encouraged culturally relevant teaching:

51H4LYE9fVL

31srBB-tjaL

Here is a great resource to learn about different cultures all around the world:  Kid World Citizen!  The best way for kids to learn to accept differences is to learn to appreciate and celebrate differences.  On this website you can search by continent, country, food, animals, language, crafts and more!  I am seriously in AWE over Kid World Citizen… what an amazing resource!

Show and Tell

James’ class studied astronomy this week (which is probably one of his favorite subjects).  For Christmas, James got a kids-size space suit from NASA and told his teacher all about it throughout the week.  He was so excited when she agreed to let him bring it to class to show his friends!  (I think he was also excited to have a platform to “teach” his class… no fears of public speaking for this guy!)

Even though the kid loves the spotlight, I thought it would be good to prepare him for his show and tell presentation to help him stay on track with the information he wanted to share with his classmates.

We googled “orange astronaut suit” to learn more about it.  We read some information together and I asked him what he learned from it.  I told him it would be a good idea to write a few questions down so that he could remember to answer them while speaking.

You will notice that some public speakers, pastors, leaders and politicians will state their bullet points in question form; this is a great way for kids to give and receive information as well.

James grabbed his pencil and paper and wrote:

1.  When do astronauts wear these suits?

2.  Why do they wear these suits?

3.  Why are the suits orange?

IMG_20140117_074339_278

Little brother wanted to write a speech too…

IMG_20140117_074315_848

1.  Astronaut?

He worked really hard to write his question down 😉

It also helps to practice a few times (but don’t over-do it because that can add to the nerves).  Give them short and simple reminders to speak slowly and loudly so everyone can hear.

Anyway, I wouldn’t let James just bring the astronaut suit to school shoved in his backpack, so I brought it to school for him (and of course I waited to see him give his presentation, camera in-hand).  Y’all… my heart was just so proud…

Here is the link to the video.


How To Survive The Waiting Room {Printable}

You know those days when you walk back to your car after an all-day-event of check-ups or appointments and you feel completely drained?

I have had plenty of those days.

But, I *think* I cracked a little code the other days when I went to the doctor with all three of my three and under to get flu shots and I walked out of the office wishing I had passed out business cards haha.

There are plenty of factors that marked the success of that day:

1) God’s good grace 🙂

2) Going early enough in the morning that I wasn’t torturing tired children

3) Bringing plenty of snacks to keep my little ones tummies happy

4) Staying Calm and Positive

and

5) Being Prepared!!

I was wearing my baby in the moby wrap, and I packed clip boards and a small dollar tree container of crayons in the diaper bag.

While I was filling out paperwork I put the clip boards and crayons on the floor and said something like: “The doctors need to know who we are and why we are here so we are going to write it down for them.”

Preschooler Activity for Waiting Room

While I was writing my information down I would just ask my preschooler questions like:

“Okay, they want to know your name.  What is your name?  What are the letters in your name?”  Simple questions.

He would answer me and then scribble his lines and circles.  But lines and circles mean that he is learning that we can communicate through print so every little moment counts.

This little waiting room success moment inspired me to make this for our next visit:

Waiting Room Printable

I know the whole space to draw a picture for why they at the doctor leaves room for T.M.I. but I am so curious to see what your kids “think” they are at an appointment for.

Please share on our Facebook Page !!

Displaying Art Work

I took my son to see the doctor for his routine “return-from-traveling-with-a-cold” visit.  After asking the typical questions about his diagnosis, “Is he contagious?”  “What can I give him to stop the whining pain?” my next questions were, “Can I take a picture of your art work?” and “Can I blog about it?”  From the look on her face, this was the first time she had gotten asked that question at an appointment.

You see, I fell in love with how she had her own children’s artwork displayed in her patient rooms.  After she agreed to allow me to take pictures and blog about them, she showed me around the office to see all of her kids’ art!  I just loved it all!  It’s so hard to not just love a painting or drawing done by a child… even if it’s just lines and dots.

The ways that she had the different projects displayed turned simple child art into masterpieces… framed and hung as if they belonged in a gallery.  What child wouldn’t feel so special to have their artwork displayed so prominently in their home?

This is the one that especially caught my eye:

IMG_20140108_142508_413 She took her kids to a local art class and this was the project they did with water colors and crayons.  I love this because she framed the same project done by all three kids.  It’s beautiful and so cheerful!

These paintings could have easily been placed in their baby boxes and forgotten for years until re-discovered down the road when the kids are heading off to college.  Instead, my eyes were immediately drawn to them when I walked into her office.

Arts and crafts stores such as Hobby Lobby and Michaels do custom framing, but you can also just bring them an old frame and whatever artwork/pictures you want to frame.  They will cut a matte to fit (that’s the purple part you see between the frame and the picture).  The matte is what makes this look so polished.

I also love how she had each of the kids sign their names under their artwork.  Real artists in the making!

Here is my other favorite from another of the patient rooms:

IMG_20140108_144332_118 What a great idea to allow your child to use his or her own picture in his/her painting!  I can’t wait to do something similar soon!

This also made me think of my friend’s house and how she displays her kids’ artwork:

1502687_10100239984196982_181946402_o 1. I love the wall decal with one of my favorite quotes and 2. I love the fact that this is interchangeable, but still clean.  (You can purchase a similar wall decal here on Amazon and the wall mount with clips here).

These ideas are all way better than how I have most of our artwork displayed (I’m pretty sure the whole alphabet will not fit on our back doors):

IMG_20140110_093017_846

And obviously my kids now think they can stick anything on the doors since they are now covered in stickers as well.

Here are two other ideas from my house:

IMG_20140110_093242_167

IMG_20140110_093059_264

Jessica also sent me these two amazing pictures and I am totally going to steal this idea because I love it so much!  Let the frame-collecting begin!

1552899_10102977038612785_1807117278_n

1555811_10102977038527955_67455725_n

How do you display your child’s masterpieces?  Please share with us on Facebook @themommyteacher!


DIY Play Kitchen

PLAY KITCHEN

Y’all, I have been DIY-ing to share with you the play kitchen and market that my husband and I made from an old entertainment center and a fishing rod and reel holder!  It was a lot of hard work, but in the end, it was way cheaper than buying a play kitchen from the toy store.  Another bonus was that I was able to design it so that it would look good in my living room since we don’t have a play room or space for a kitchen in the kids’ rooms.  I could not be more in love with how it turned out!

The key to making your own play kitchen is to have a good vision to see what could-be with a little TLC.  I found the old entertainment center at our local Habitat for Humanity ReStore (my favorite place for finds like this) for just $10… but my friend still had to talk me into buying it because I couldn’t quite see the vision yet!  Buuuut… It was 50% off that day and so I had to just try and see!  I was willing to lose the $10 if I completely made it look horrible (extra storage in the carport).  The top wasn’t in the best condition, but I could find something to cover it up.

The rod and reel holder was found on a local Craig’s List – type Facebook page.  I just randomly saw it and said, “That would make a GREAT market!” (There’s that vision I was talking about).  I talked the guy down from $30 to $15!  I’d like to say I have great negotiating skills, but I think he was just ready to get rid of it.

We already had some old fence panels lying around (we had to replace a few on our fence that our dogs CHEWED through… I have a few neurotic dogs)  and bam!  Free counter top! PLAY KITCHEN1

MAKING THE SINK:

We used a stainless steel mixing bowl for the sink.  I was originally going to use a dog bowl, but they were actually more expensive than the mixing bowls at Wal-Mart… I went with the cheaper and it’s actually deeper… $8 there.  I bought the faucet at the Habitat store as well.  It was $12, which was more than I wanted to spend, but it wasn’t used like the rest of them were and had a good shape to it. PLAY KITCHEN2

PLAY KITCHEN3

ADDING EMBELLISHMENTS:

I bought knobs for the stove and handles for the front sliding doors from the clearance section at Hobby Lobby and painted the burners on (and lightly sanded the burners to make it look more rustic).

I also bought a few baskets from Joann’s Fabrics that were 60% off, plus I had a 25% off in-store coupon!  I got my tiny market basket and my large play food storage basket for $15 total. PLAY KITCHEN4

PLAY KITCHEN5

I used an old piece of scrap wood for the shelf and decorated it with things all around my house.  The shelf brackets were purchased from Hobby Lobby when they were on sale for 50% off!  The window was an old find that I’ve had for months and I had no idea what to do with it until this project came along.  I have seen similar windows like this at local antique stores and my favorite Habitat store always has these lying around too!  PLAY KITCHEN6

PLAY KITCHEN7


My 6, 4 and 1 year olds ALL love their play kitchen!  We made this a group gift because we know all of them would enjoy this.  It has been the toy that has been most played with at my house since Christmas!   PLAY KITCHEN8

Below are pictures and links to the play kitchen items we purchased!  Enjoy!

Each of the kids got to open 3 gifts as well (just like Jesus got 3 gifts from the wise men).  Lena (age 1) got pots and pans because she likes to bang Mommy’s a lot.

042659o

James (age 6) got a cash register that has a working calculator because he loves learning how to count money (we played “store” a lot even before Christmas).

pTRU1-16865100dt

Leyson (age 4) got “Peel ‘N’ Play” fruit and vegetables since he loooves to cook.


51XWqwJndfL._SX300_

Related Posts Plugin for WordPress, Blogger...

1 4 5 6 7