Activity ideas

Stuffed Animal Overload

I have a very vivid memory of myself as a five year old running into my mom’s room, trying to convince her that I needed to sleep with her because there was just not enough room in my bed.  When she walked me back to my room to see what I was talking about I showed her all 20 of my stuffed animals tucked under my covers too snug to move them.  Of course at that point my mom figured out a way to re-arrange them without completely crushing my hopes that they could all sleep in my bed, but she made sure that I stayed in my own bed. 

I know you might be considering purging your stuffed animal collection, but before you give them ALL away, here are a couple ideas of how you can teach your little ones two important math skills:

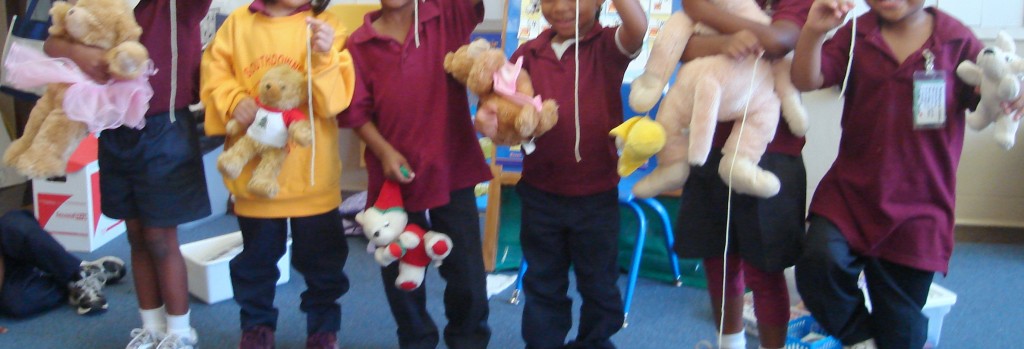
1. Measure those Teddy bears:  Two important standards to teach young children when it comes to measurement is to measure with “non-standard” units and to measure with “standard” units.  Some non-standard tools for measuring would be tape, cubes, your hands and feet, or yarn (as pictured below).  Standard measuring tools would include rulers, yard sticks, measuring tape, etc.

So, help your child measure his/her stuffed animals, and then compare which is longer, shorter, taller, etc.

2.  Sequence those stuffed animals:  This would be a perfect activity for following up measuring your child’s stuffed animals.  Simply ask your little one to put them in order from smallest to biggest, or shortest to tallest. 


Hundreds ch-ART

My sister Ali shared an activity that she and her 5 year old, Kaylee, worked on together for a Kindergarten class assignment. Today, we are going to simplify the activity for our 3 year olds OR use the activity for our 5 year olds. My sis is an AWESOME Mommy Teacher to both her 5 year old and her 2 year old girls.

Here is Ali’s description of the activity for your 5 year old,
but stay tuned for my modification for your 3 year old:
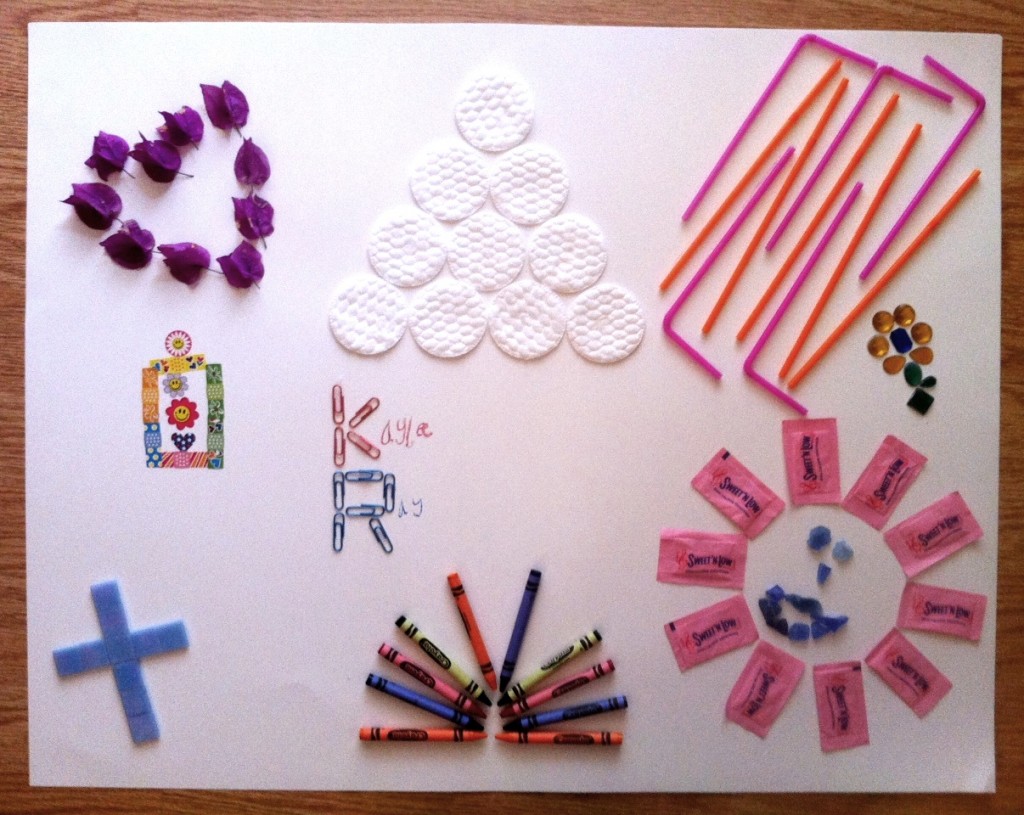
“This was for her 100th day of school; it was a home/family project that Rick, Kaylee’s dad, joked was more of mommies’ project. The assignment was to find 10 items around the house in groups of 10 and glue those things in groups on a poster board. The school gave examples like pennies, paperclips, etc.  Kaylee is very creative and I always call her “My Little Picasso” (which she got very mad the first time thinking I was calling her a bad name), but she wanted to do more colorful and unique items for her project.  For learning purposes, any small items would work and not take as long as we took, but she was “creating art” so to speak and the 2 hour project began.  We ran around the house finding a huge variety of items, jewels, sugar packets, even cut-up glass tile samples.  We counted each item up to 10 and spread them out in groups on the poster board. I was prepared for her to just start gluing them down when she said she wanted to make pictures out of each… put the bougainvillea tree flowers into a heart, the colors into a sunset, the sugar packets into a sun with rocks as the face in the sun.  The only input I had was the ‘K’, ‘R’ paperclips for her name, and the jewels in the shape of the flower. When everything was glued down, we counted by 10’s and 1’s to 100. It was really fun to do together because she was not only learning, but was being creative at the same time.

They also had another assignment that same week to hug 100 people. It could be the same person on the list several times (like moms, dads and siblings), but basically giving a hug to someone who needed it.  She must have given over 40 hugs to the staff and even customers at Lupe’s Restaurant and the dentist… she is already a social butterfly, but it really put a smile on everyone’s face too, amazing what a hug can do!”

I LOVE this whole assignment and this is the kind of hands-on project that really creates a sweet opportunity for shared learning and chances to BUILD on what your child already knows. If you have a 3 year old, collect as many groups of 10 things as your little ones attention span can handle….which might only be ONE group of 10…..and that is fine; consider it their work of art because you want quality more than quantity. Don’t try to do too much at one time; leave plenty of room for brain breaks (movement, outside playtime, music, snack, etc.). Finally, MODEL counting the objects by ones up to the number of objects you collected. And you can go ahead and INTRODUCE modeling counting by 10s if you collect more than one group. But make sure your little one has mastered counting to 10 by 1’s first (one object at a time).

Spring Forward

The weather is warming up and it is time to get outside with your kiddos!

Definitely allow lots of time for free play, running around outside and playing in the dirt a bit, but today I want to remind you about a GREAT outdoor writing activity. Of course, chalking is a great writing activity, but one that I love equally as much is painting with water.

All you need is a Tupperware (bucket or even an old empty paint can) and a paintbrush!

Kids love to write and watch it disappear. It is also a mini science lesson because they are learning about evaporation! Kids watch the pavement absorb the water and then the heat dry it up.

Talk to your kids during the experiment “What is happening to the letter you wrote?” “Why do you think it is disappearing?”, model different letters and words and see if your child can paint what you paint. Get wild…paint with the water on the brick of your house and remind them that painting with water is the ONLY time they can do this.

This is a great family fun writing activity to enjoy the outdoors 🙂

One Activity Can Go A Long Way

I know some of you are ready for more easy ABC activities that you can do with your little ones to really reinforce their knowledge of letter names and letter-sounds.

Well, today’s activity IS going to be a great game for practicing those skills, but it is also going to be a great game to practice lots of other skills to!

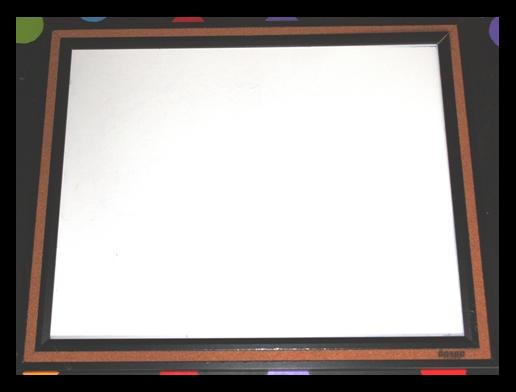
Take a mini chalkboard, mini whiteboard, or even a paper and pencil with a great eraser.  You basically just want any materials that you can use to wipe off what you have written/drawn.  A white board would probably be the easiest to clean.

Today’s game is all about writing or drawing a letter or picture and using different prompts to get your child to erase the letter or picture you are referring to.  You can play this game focusing on a lot of the skills that we have talked about in previous reading posts.  Here are some examples of different ways to play, depending on what “step” your child is on.

 I got my whiteboard at WalMart 🙂

Practice rhyming:

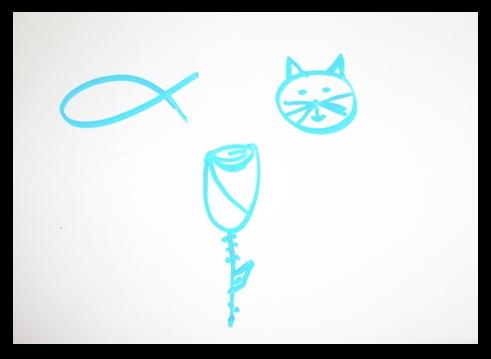
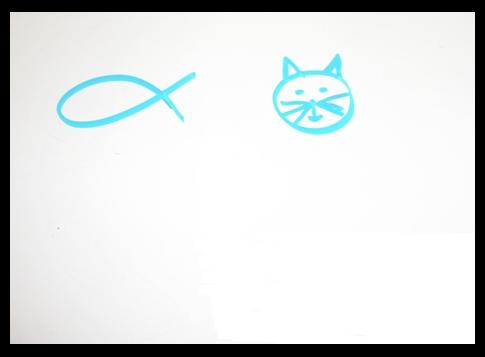
Draw simple pictures on a whiteboard, and ask your child to wipe off a picture that rhymes with _______.  Example: “I drew a fish, a cat, and a rose. Erase the picture that rhymes with NOSE ” (rose).

Practice listening for segmented words:

Draw simple pictures on a whiteboard, and ask your child to wipe off a picture that has these sounds  /_/-_____.  Example:“I drew a fish, a cat, and a rose.  Erase the picture that has all the sounds /r/ – ose” by saying just the first sound and the rest of the word.

Or, if this skill comes easily, have your child “Erase the picture that has the sounds /r/-/ō/ /s/” by saying all the sounds in the word.

Practice letter recognition:

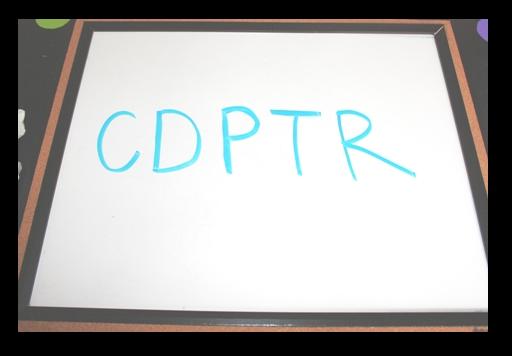
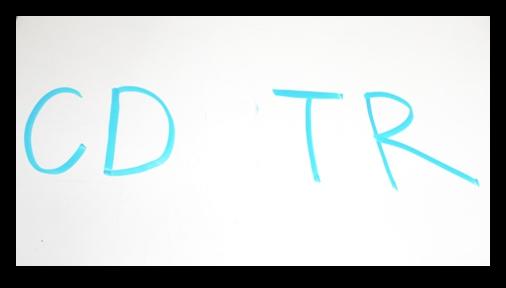
Write random letters on a whiteboard, and ask your child to wipe off a letter that you name.  Example: “I am going to write some letters on the board, can you erase the letter ‘P’?” You can even put it to a tune like “The Farmer and the Dell” and sing “Erase the letter ‘P’ Erase the letter ‘P’ Which letter do you know to be the letter ‘P’?”

Practice Letter-sound relationships:

Write random letters on a whiteboard, and ask your child to wipe off a letter starts with a certain sound like /p/.  Example: “I am going to write letters on the board, can you erase the letter that makes the sound /p/?”

Or to erase the picture that starts with the same sound as /r/abbit (rose).

Practice upper-lower case matching:

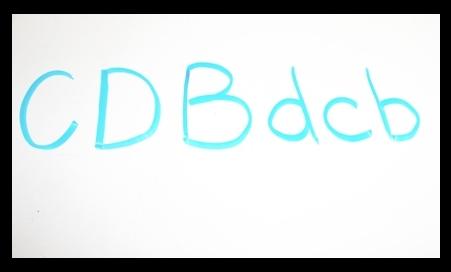
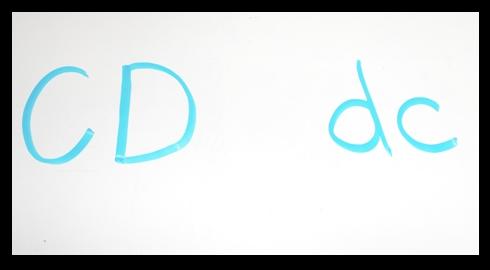
Write letter sets (upper and lower) on a whiteboard, and ask your child to wipe off the pairs of matching letters that you name.  Example:”I am writing mommy and baby letters on the board, can you erase the “Bb” family?” –Remember that “baby “b” fits inside of momma “B’’s belly.


Physical Activity Survey

A friend of mine has a request of the Mommy Teachers so this is from Lauren, studying physical therapy at the University of Southern Alabama:

“We are doing a research project on parent’s perceptions on young children’s (ages 1-12) physical activity. We have created a survey on surverymonkey.com and hopefully plan to distribute it to as many moms/dads as possible:)

I will attach the survey address below. Let me know what you think:) We will be collecting data all the way until February 28th… which leaves us about 1 week
Thanks so much!”

Depending on how many kids you have, it should only take 5-10 minutes.  Here it is:

http://www.surveymonkey.com/s/2CXM2XM

Related Posts Plugin for WordPress, Blogger...

1 16 17 18 19 20