Holiday

Easter Egg Letter Hunt

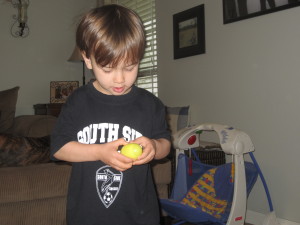
IMG_7785 Anyone else suffering from TMEEIMH (Too Many Easter Eggs in my House) Syndrome?  They are everywhere you look at my house – despite my best efforts to sneak a handful at a time into the trash.  But, don’t throw them away just yet!  These plastic eggs can actually serve as practical learning manipulatives for you!  My old teacher self used to actually buy dozens of them each year to use in my classroom for letter matching and rhyming words (I tell you, Jess and I share a brain because she does the same thing, too).

Leyson’s favorite word to read is “Leyson.”  Well, that and “pizza.”  In a past post I wrote about Busy Bags, I talked a little bit about the significance and  progression of a child learning to read and spell his/her name:

WHAT’S IN A NAME?:

Kids are so funny when it comes to learning how to spell their own names.  Most often kids learn how to spell their names before they completely understand the concept that letters make words when put together.  Take my son Leyson, for example; anytime he sees a word that starts with an L, he says it spells Leyson.  He thinks he owns the letter L.  The same goes for the letters E, Y, S, O and N… he owns them all.  You see, for young toddlers, they will not understand that the ORDER of letters actually makes a difference when spelling words.

Even in my kindergarten classroom, students who knew how to spell their names would sometimes slip into the idea of “owning” all the letters in their name and would write their names out of order.  LUIS would spell his name UILS… still thinking that it spelled the same thing.  Even more common would be for kids to write their names backwards (SIUL)… and several, get this, would write their names in mirror image!  I can’t even do that!  All of these are totally normal progressions when your child is learning how to spell his/her name…

Well, here’s another activity that not only teaches the letters of your child’s name, but also teaches the ORDER of the letters – and, of course, we are using Easter eggs because, well, who doesn’t love a good egg hunt?
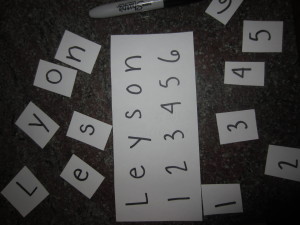
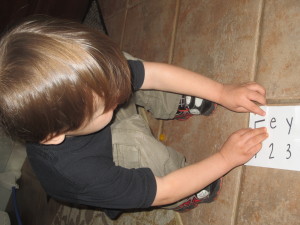
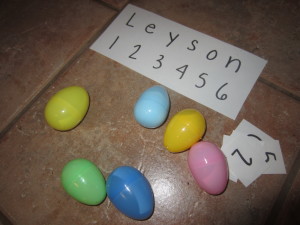
IMG_7783 I first wrote Leyson’s name and underneath each letter I wrote the numbers 1-6.  I did the same thing on another sheet of paper, but this time, cut out each letter and number.

We used 6 eggs… the same number of letters in Leyson’s name (no, that’s not a coincidence).  I stuffed each egg with 1 letter and the corresponding number and then I hid the eggs around the room while Leyson was in the other room.  Then, the hunt was on!

IMG_7787

IMG_7788

Once he found a letter and number inside of his egg, he had to tell me what he found:

Leyson:  “It’s the letter L and the number 1!”

Mommy Teacher:  “That’s right!  Because the letter L is the FIRST letter in your name!  L is the FIRST letter in Leyson!”

See that right there?  Right there in the bold, italicized, CAPITALIZED print?  See how I threw in some number recognition and some sequencing vocabulary?  Sneaky, sneaky, Mommy Teacher!

Now, the reason I have his name and numbers written on IMG_7796 another piece of paper  is, yes, so he can see the ORDER of his name, but to also see which way the shape of each letter is supposed to go.    Kids will recognize the SHAPE of the letter no matter which direction the letter/number is facing, so it’s important to also show them that they have to turn their letters/numbers around.
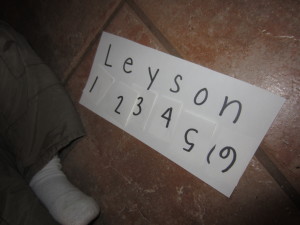
Reminder:  a letter, number, symbol is a SHAPE much like a square is a shape.  That’s why it’s so easy to confuse d, b, q, and p – they all have the same shape but are just turned different ways.  But, I digress…

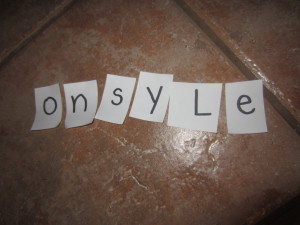
Next, I took away Leyson’s cheat sheet and asked him to spell his name.

IMG_7792

Juuuust as I anticipated.  So I brought out our language from the first activity…

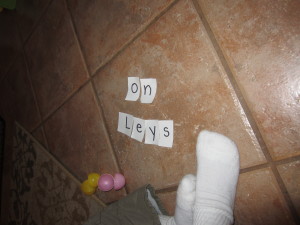
Mommy Teacher:  “What is the FIRST letter in Leyson?”

And he grabbed that L and put it underneath his scrambled name.

IMG_7795

And the whole time he was singing his very own name song saying each letter of his name to the tune of “Bingo.”  It really is magic how quickly they learn things when you tie a tune to it!

What other activities can you do with your Easter eggs?  Sorting?  Counting?  Compare/Contrast?  The learning possibilities are endless!

Sun Crosses – Easy Easter Craft

I had planned to do a different Easter craft activity every day this week, but you know what?  This week FLEW by and we were never home!

Being Spring Break, I knew my kindergartner would want to be on the GO so I planned the week chock full of stuff… play dates to the park, zoo, arcade and more!  So needless to say that by the time we got home, took naps, woke up, it was already dinner time!

Tonight we will be having a glow in the dark Easter egg hunt with all of our friends at our house!  It will be so much fun!  (If you want to do this, simply get a package of LARGE plastic eggs and glow in the dark bracelets to fill them.  Then throw them in your yard.  Bam!  Glow in the dark Easter egg hunt).

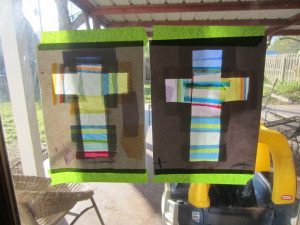
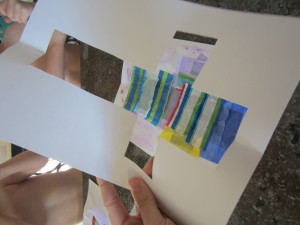
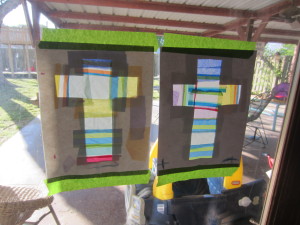
Anyway… onto the ONE Easter craft we were able to d IMG_7535 o – and we were able to complete it in about 15 minutes before we left for a play date one day this week!  My kids call them Sun Crosses, for lack of a better name.


Materials:
2 sheets of paper per kid, scissors, tissue paper and stick glue

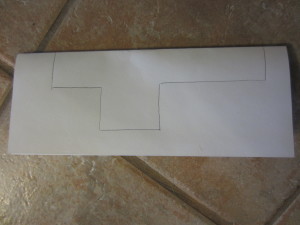
Step 1.  Fold the 2 sheets of paper in half long ways together.

Step 2.  Draw half of a cross on the fold.

IMG_7564

Step 3.  Cut out the 1/2 cross.

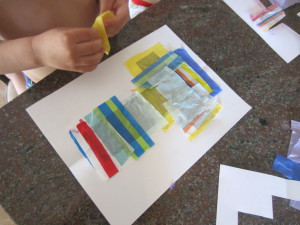
Step 4.  Flatten one cross and cut 3-4 inch strips of tissue paper (or use one large sheet of tissue paper for your entire cross).

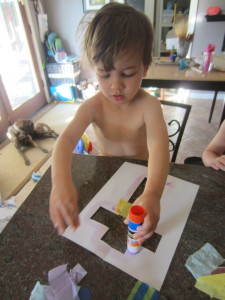
Step 5.  Put the stick glue around the outside edge of the cross. IMG_7532

Step 6.  Place the tissue paper across the opening for the cross.  Do not leave any gaps.

IMG_7533

Step 7.  Take the other sheet of paper with the cross cut out and cover one side with the stick glue.  Then glue it directly on top of the other cross on the tissue paper side.

IMG_7534

Step 8.  Add your own artistic flare around the crosses.

Step 9.  Place in a sunlit window and watch the light shine through the cross!

IMG_7536

Happy Easter, y’all!!!

Cheap and Easy, Easter Bunny Gift Baggie

I found this idea in my teacher stash of Easter activities.  I almost always have paper bags, glue, markers, contruction paper, and scissors in my playroom cubbies.  So, for me, this was just a “sweep-the-playroom” kind of activity.

I wanted to put a little Easter picture inside of a little gift bag for Sean Patrick’s grandma and great-grandma.
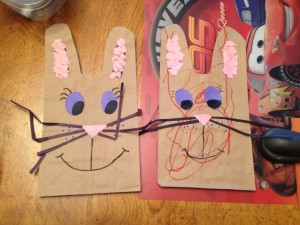
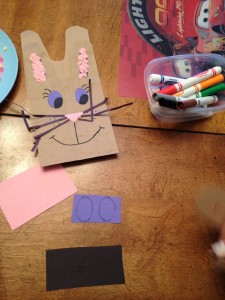
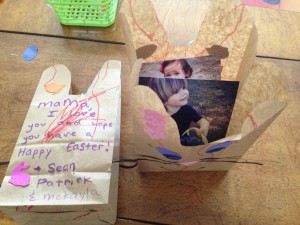
Way better than a gift bag was this little craft idea I found in my teacher shed (the one on the left is my “example” and the one on the right is the one Sean Patrick made):
 
 
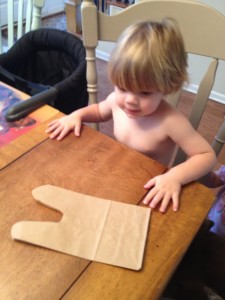
I just Cut a dip in the top of a brown bag (the side that opens) to so it left a shape that resembles a bunny.  You could cut a rectangle out of  the middle of the top of the bag if you don’t want them to be as rounded. (A white paper bag would be super cute too, but I was out).
 
I used pink, blue, & black construction paper to make the eyes, inner ears, nose, & whiskers.
 
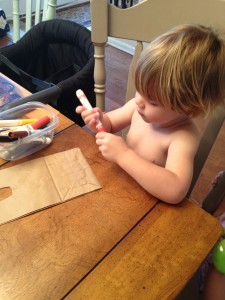
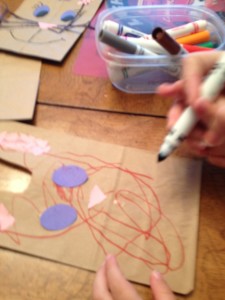
Sean Patrick wanted to color it first of course (red is his favorite color if you haven’t guessed by now).
 
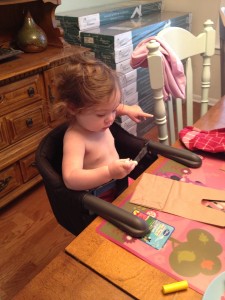
I always include my little bed-head one year old too.  (they are both shirt-less because I wanted to keep their cute shirts clean).
 
 
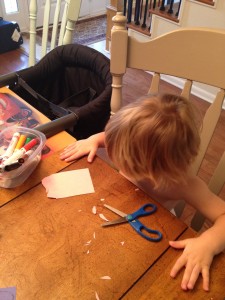
I then helped him cut/tear and glue little pieces of pink paper to a gluey oval in the inner ear.  Then he glued the eyes and nose (“just a dot, not a lot”)…. I glued the whiskers because I couldn’t find my glue stick which would be easier for him.
 
 
After we finished glueing, I grabbed a black marker, took his hand and guided him to make the pupil of the bunny’s eyes, the eyelashes, the little dots around the nose, and the mouth.
 
That was it!
We wrote a note from “Sean Patrick” on the back.
We put some Easter grass, starburst candies in some eggs, and the pictures inside & he will give them out when he sees them for Easter!
 

You can always add to it and share your ideas on facebook (like a cotton ball on the backside):

Impromptu, Getting-Ready-For-Easter Activity

IMG_6673
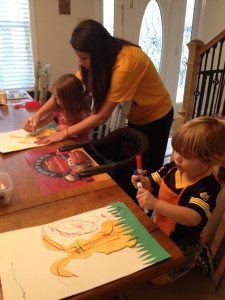
Simple Easter Bunny Art Using Bulletin Border

Being a teacher with a “teacher shed” and tubs full of bulletin borders, di-cuts, and other materials definitely pays off when making crafts.  But I think that this is something that you can just as easily re-create without the exact same materials that I used to create this simple but fun Easter activity for the kids.

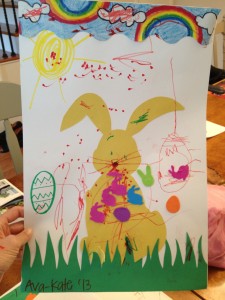
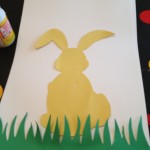
I grabbed a large piece of cardstock, a strip of grass border (any teacher supply store has this, but you could also cut contruction paper to look like this), a strip of rainbow/sky border, a bunny template (simple), markers, modge podge (any glue will due), and Easter stickers from the Dollar Tree.

IMG_6664 IMG_6668 IMG_6651

We glued the borders and bunny and let the kids decorate from there.
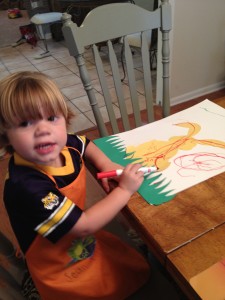
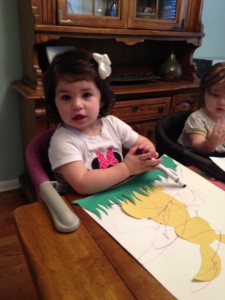
They drew the face for the bunny, drew eggs, drew a sun in the sky, and some dots and lines too. 🙂

IMG_6653

We included the one years old too.

IMG_6654
If I were doing this with older kids I would talk about “signs of spring” and encourage them to label or write about their picture on a sheet of paper that I would tape to the back.
But I loved this because it was super simple, but festive and fun. Creating a little scene for the Easter Bunny was really exciting for the kids.

Other thoughts…  Have a scratch sheet of paper or take your child’s hand to teach them how they might make new shapes or pictures.

IMG_6659

Give the little ones ideas like :

1.”I’m wondering if the bunny might want a carrot to eat?”

2.  “Does the bunny need a basket of eggs to deliver for Easter?”

3.  “What kind of flowers do you think we could draw for the bunny to pick on the way?”

4.  “I’m thinking that the bunny might have circle-shaped eyes, a triangle-shaped nose, and whiskers that look like lines.  I might draw the same amount of whiskers on each side so that it matches.”

Share Your Valentine Ideas With Other Mommy Teachers …

Okay, I need to know….. how many of you are the kind of moms who have your valentine’s bought weeks ahead of the Valentine Day Parties and how many of you are moms who are going to be up late on the 13th?

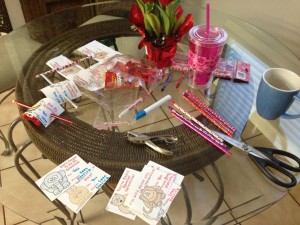
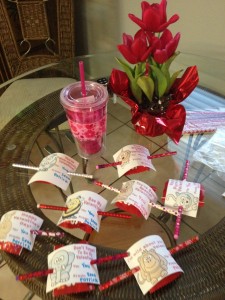
Well, here in Louisiana, we are out of school several days for Mardi Gras on Valentine week this year.  So, our parties were early, and the next picture might give you an idea of the kind of mom I am….. coffee cup, everything spread out on the table, morning light….. yep, Sean Patrick and I put the finishing touches on our little happies the MORNING OF!

IMG_5906

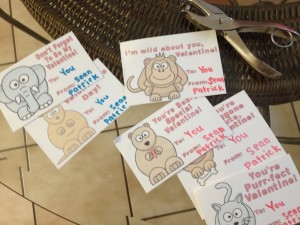
I found this cute valentine printable for free online that reminded me of one of Sean Patrick’s favorite YouTube videos.  I just printed it onto white cardstock and they came out so cute.

Each Valentine is for “You” because it was the easiest honestly, but I think personalized Valentines are great, but some teachers specify not to write the names because of time limitations and I felt like “you” was appropriate :

  IMG_5907

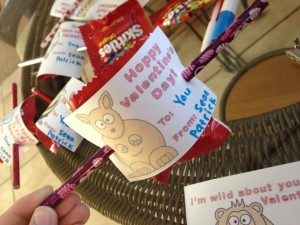
All they needed was to be cut, punched, and stuck with a Valentine’s Day pencil to give them that extra umph.

IMG_5911

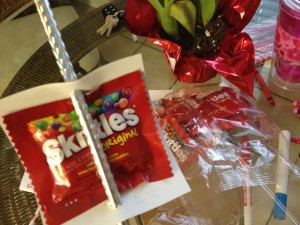
And conveniently, there was room when you flipped it over, to slide a pack of skittles right between the pencil and the valentine.  (This is obviously the best part.)

IMG_5909

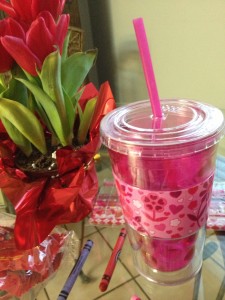
And of course…. we couldn’t forget about his teacher!  We cut out a valentine, personalized it to his teacher (because “you” wasn’t as appropriate in this case), cut it out, and slipped it in her tumbler.

IMG_5910

And there you have it folks, with 5 minutes to spare….

  IMG_5915
Please please share your valentine ideas with me via email jessica @ the mommy teacher (dot) com  so that I can share them here for other moms who might need last minute ideas!

Or quick upload pictures to share on my facebook page !

Related Posts Plugin for WordPress, Blogger...

1 9 10 11 12 13 15