Month: March 2013

Sun Crosses – Easy Easter Craft

I had planned to do a different Easter craft activity every day this week, but you know what?  This week FLEW by and we were never home!

Being Spring Break, I knew my kindergartner would want to be on the GO so I planned the week chock full of stuff… play dates to the park, zoo, arcade and more!  So needless to say that by the time we got home, took naps, woke up, it was already dinner time!

Tonight we will be having a glow in the dark Easter egg hunt with all of our friends at our house!  It will be so much fun!  (If you want to do this, simply get a package of LARGE plastic eggs and glow in the dark bracelets to fill them.  Then throw them in your yard.  Bam!  Glow in the dark Easter egg hunt).

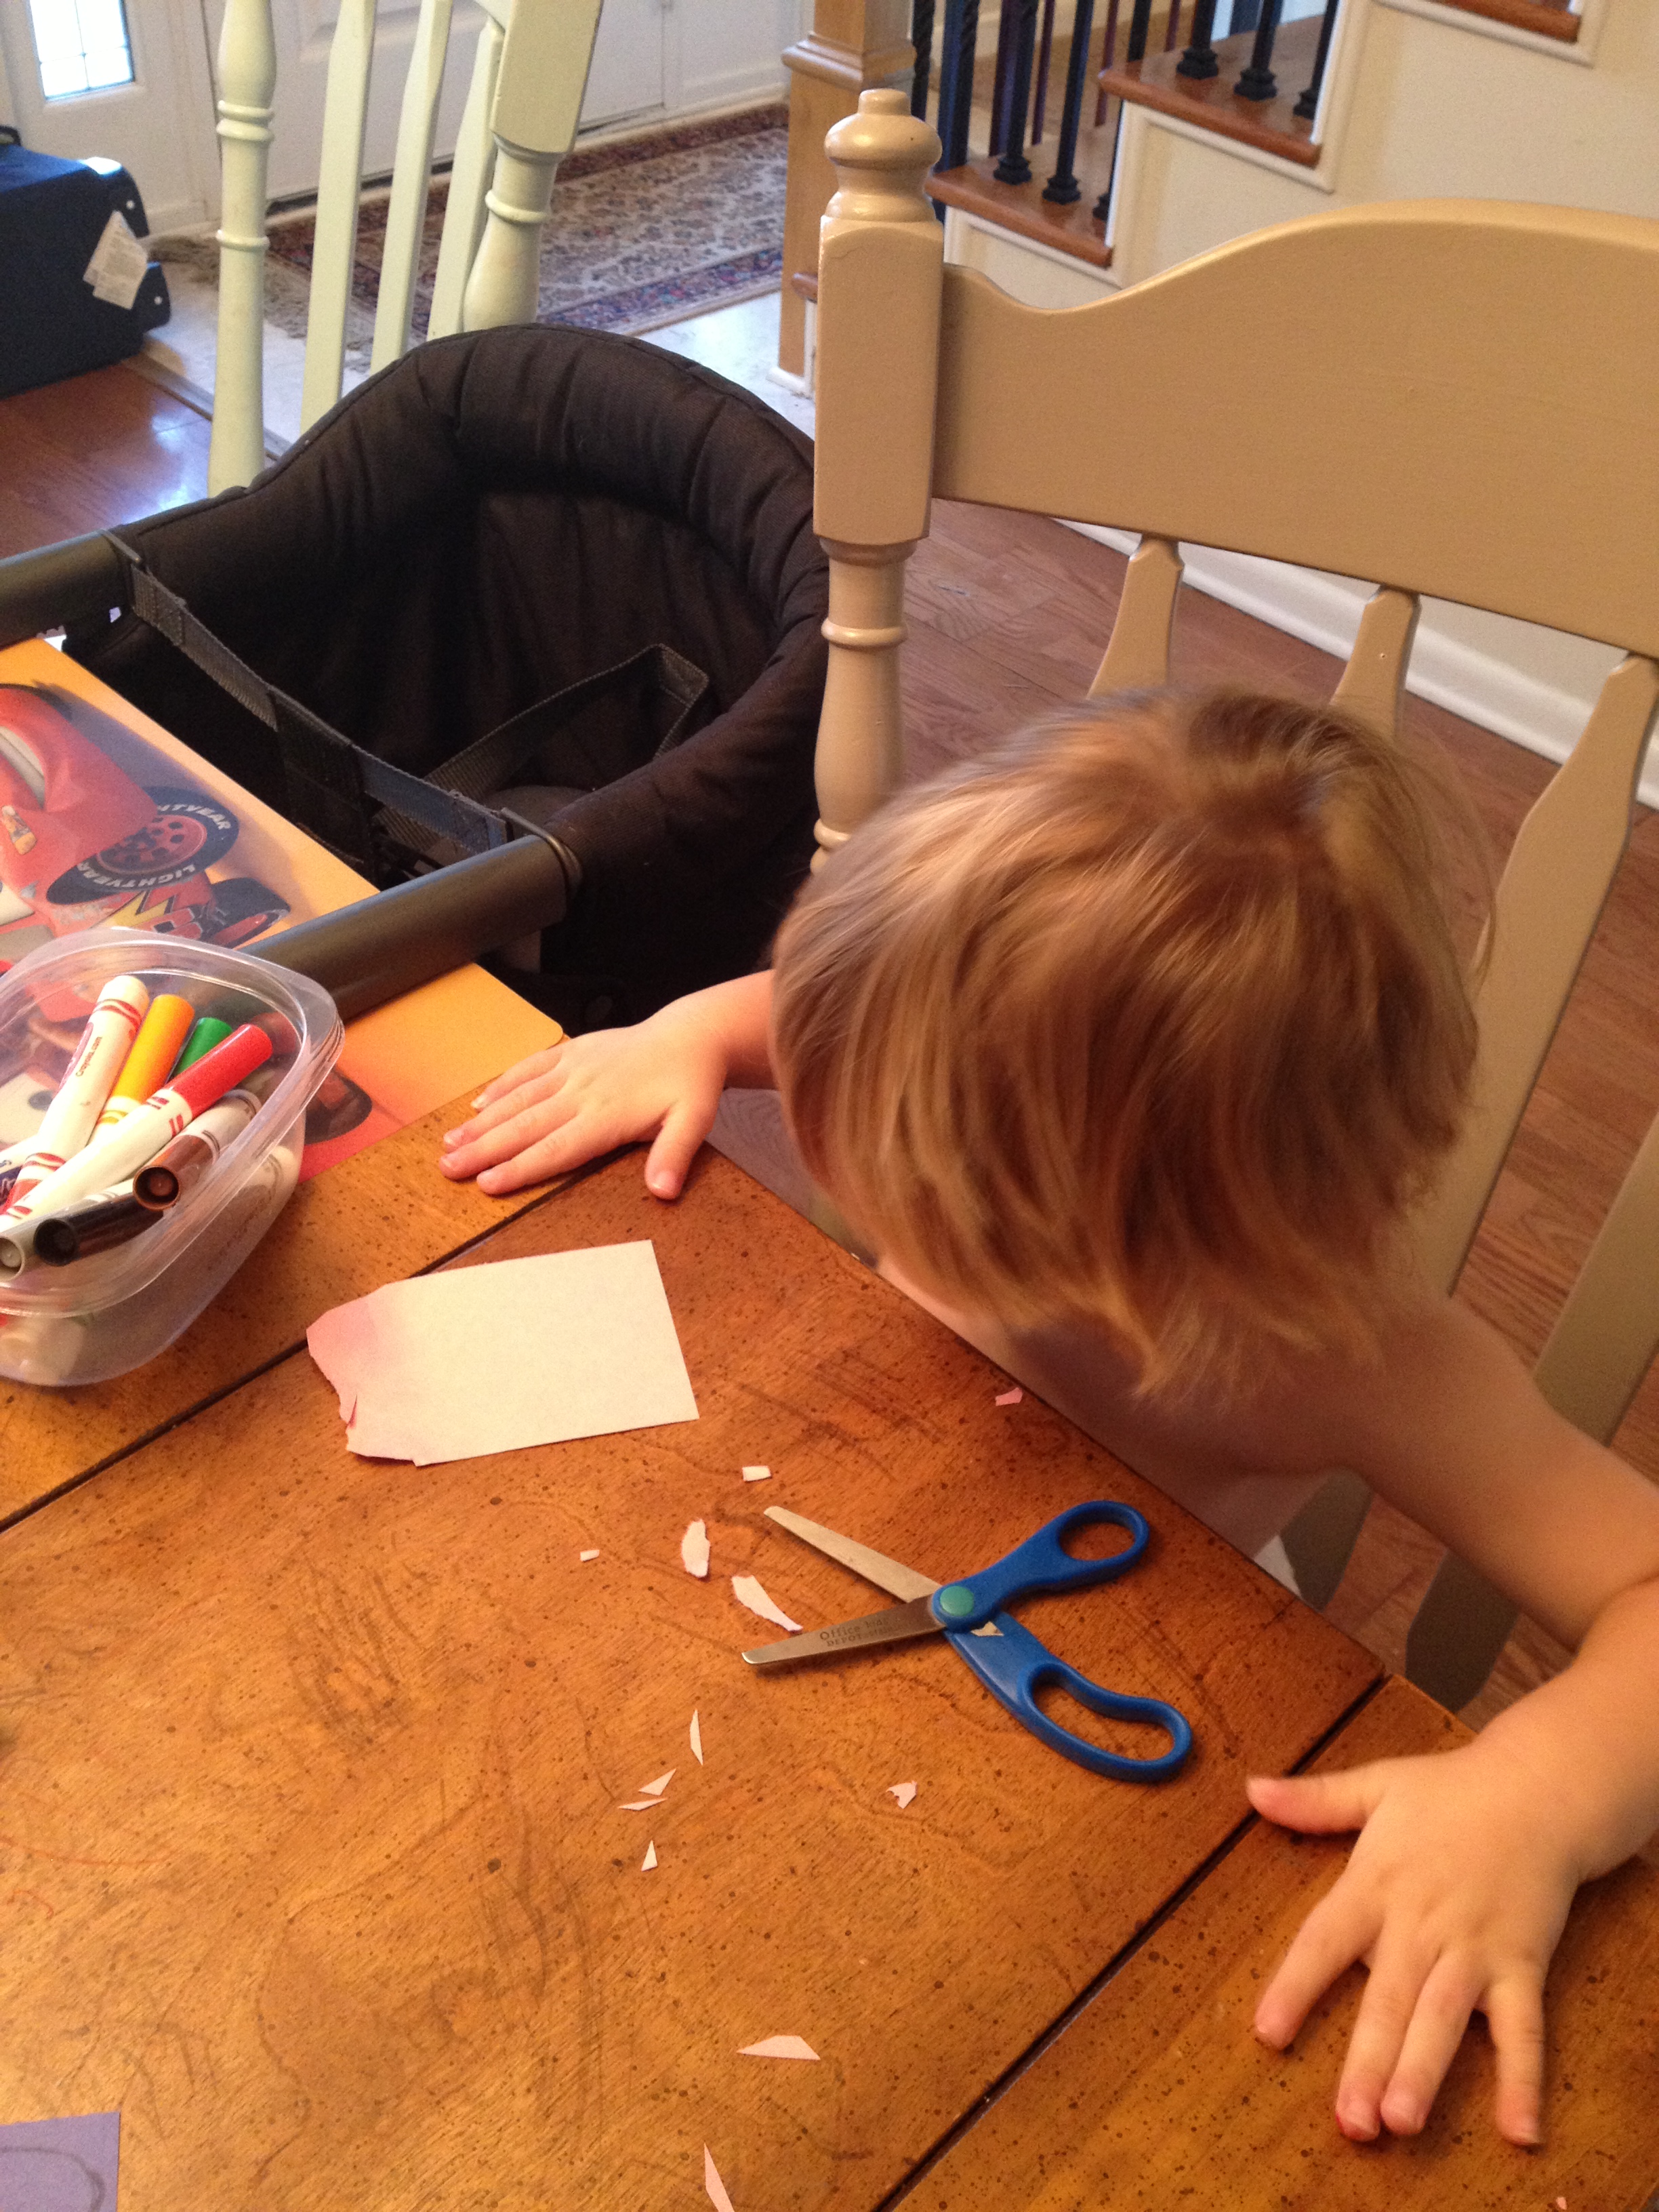
Anyway… onto the ONE Easter craft we were able to d IMG_7535 
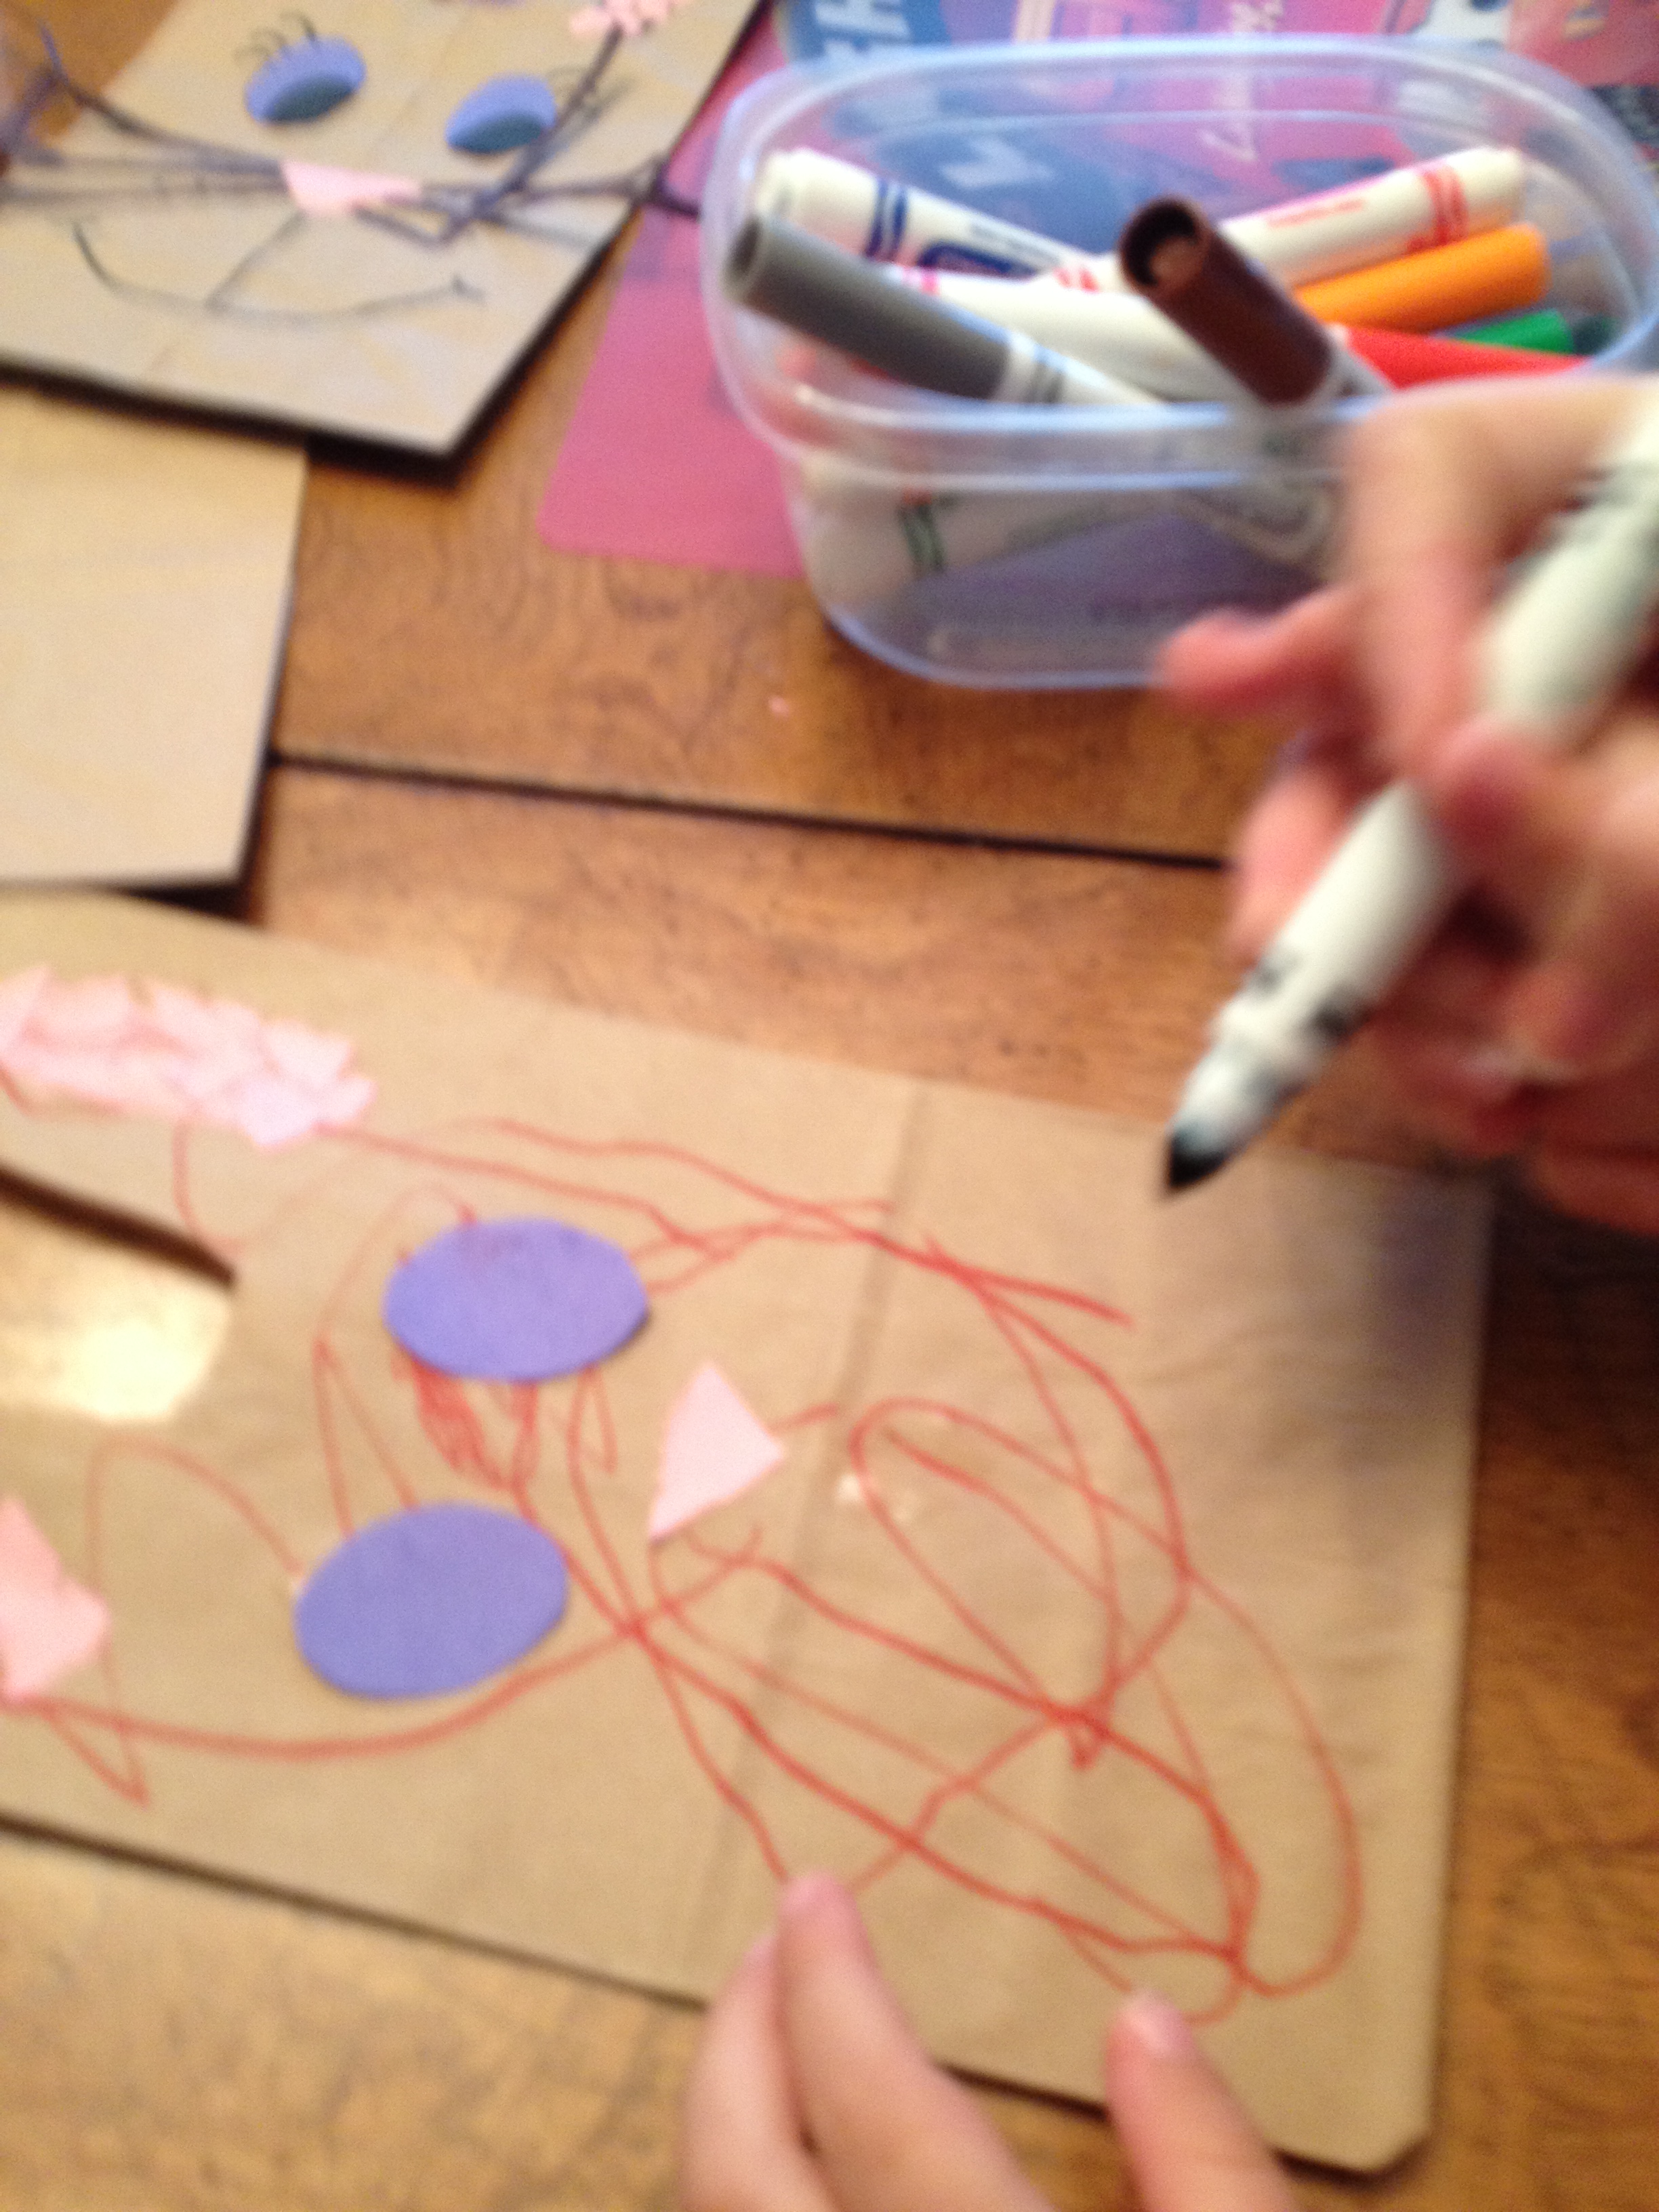
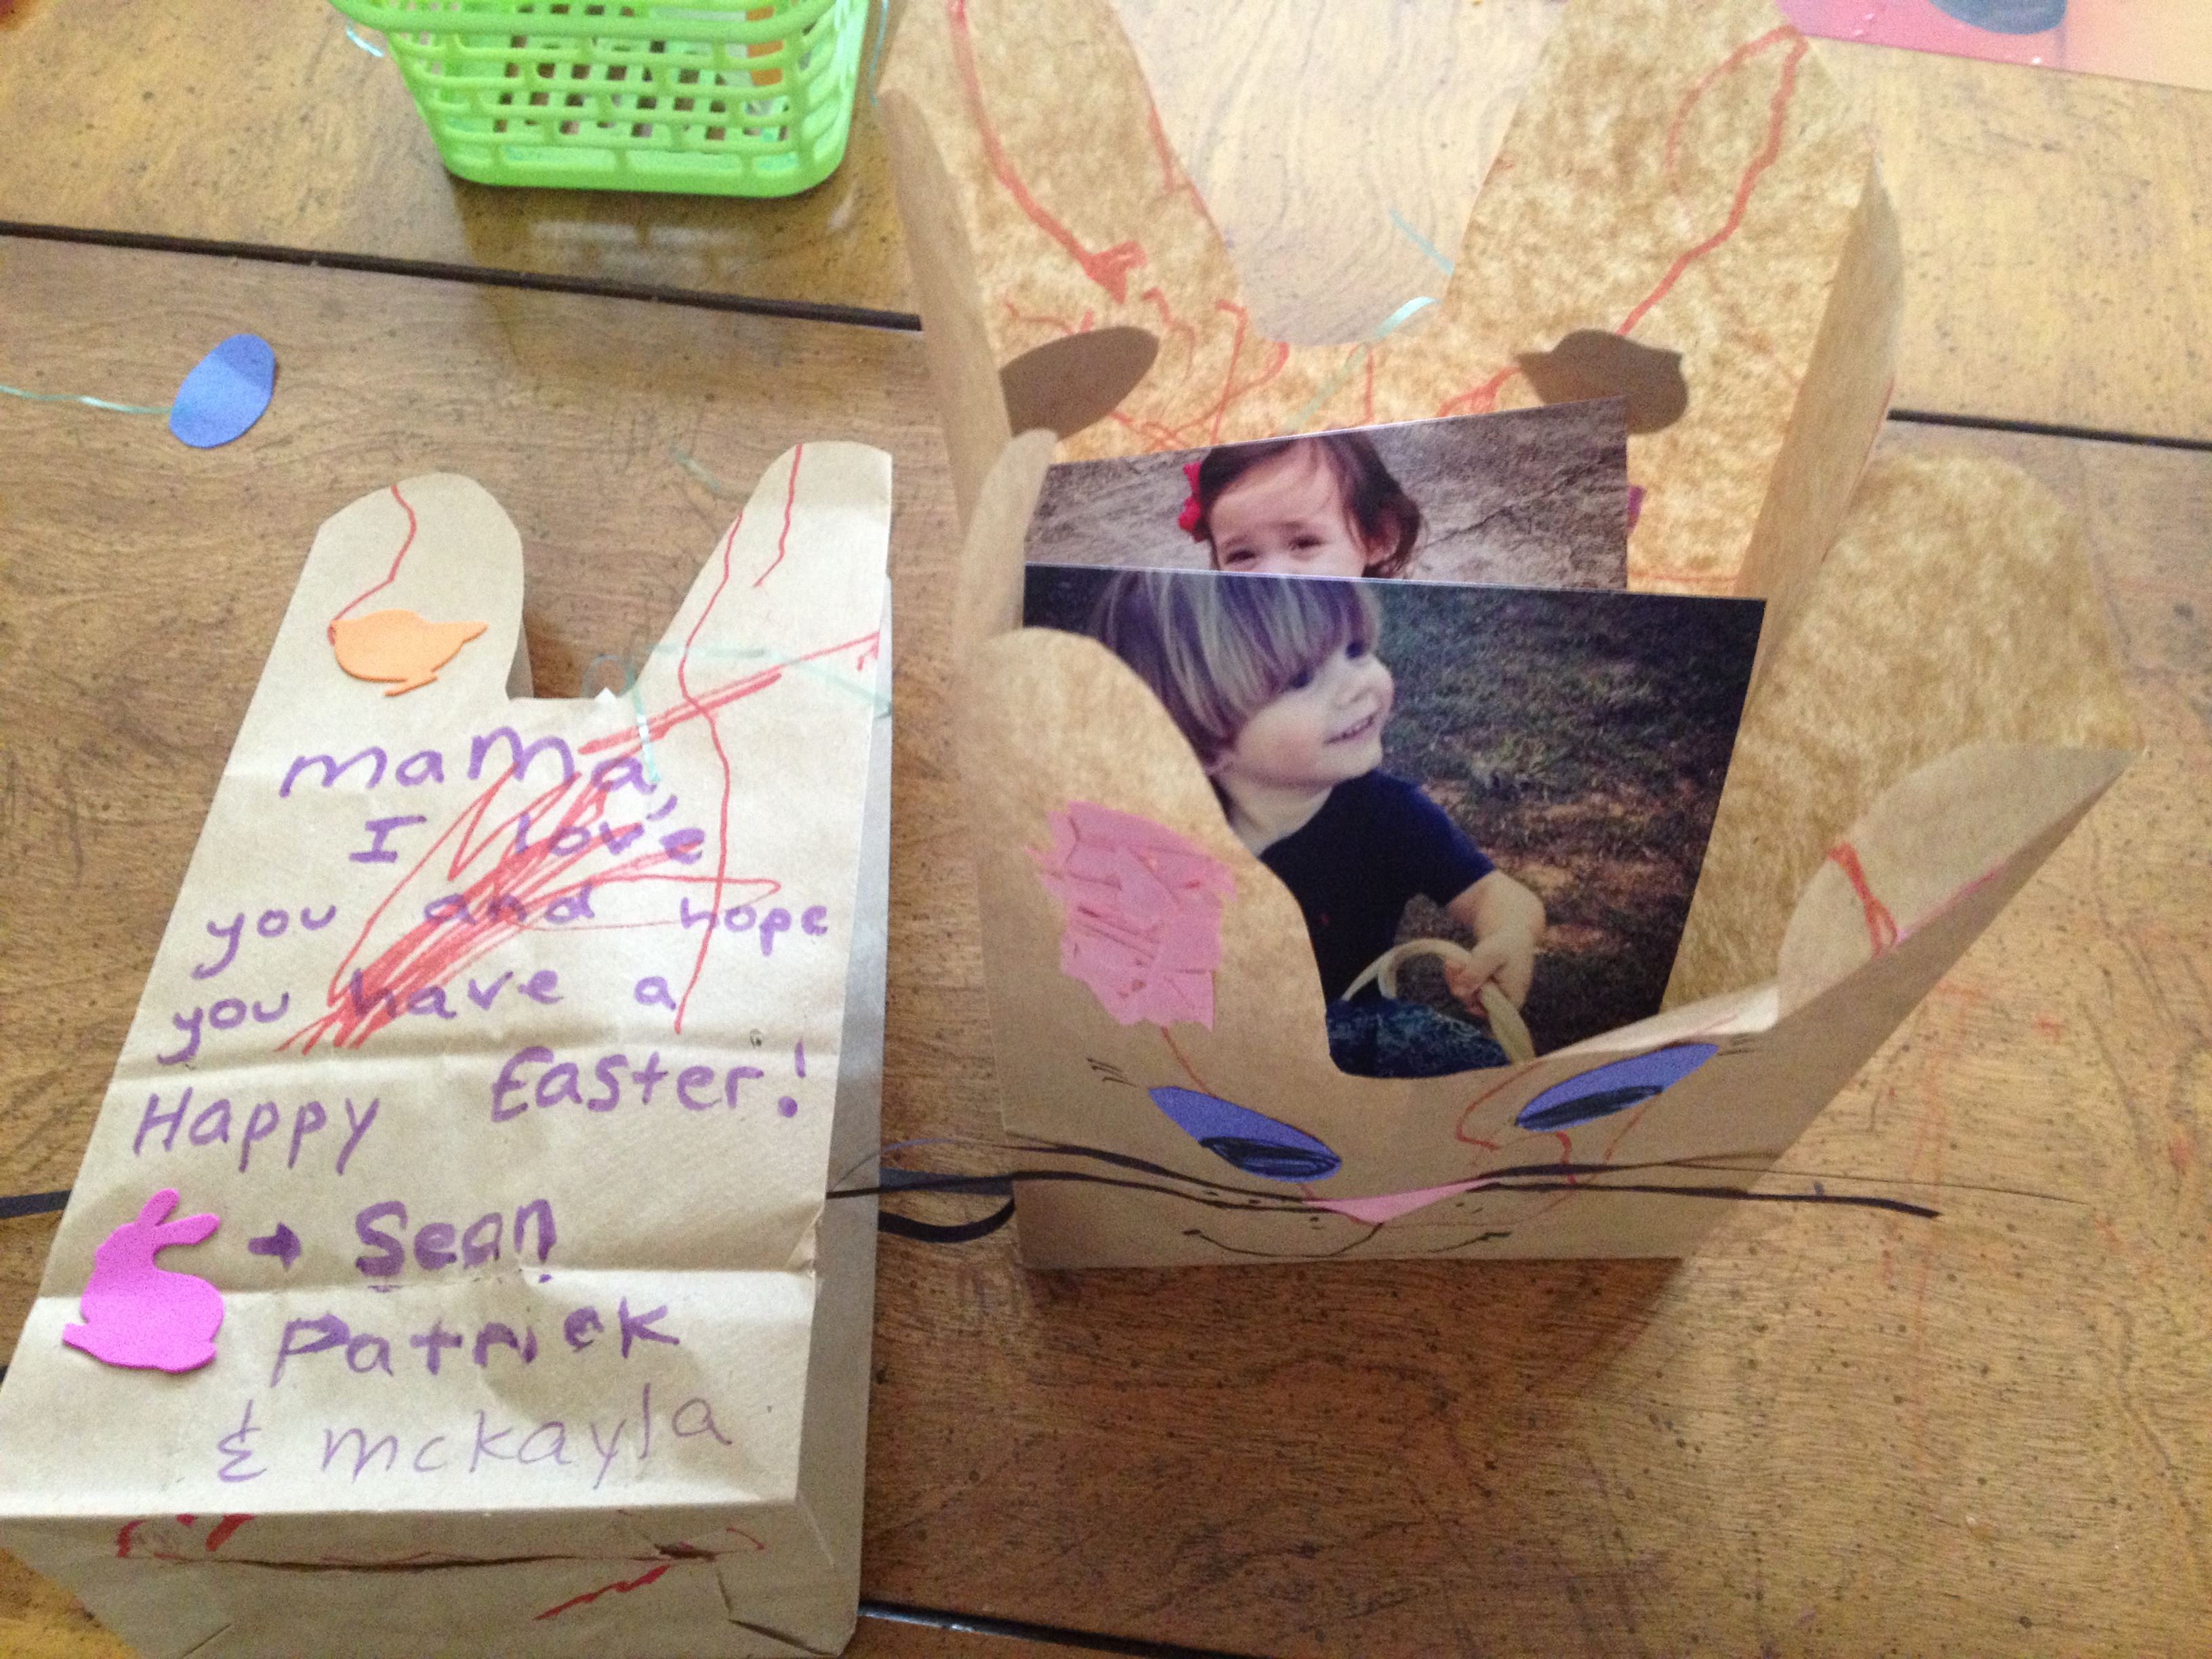
o – and we were able to complete it in about 15 minutes before we left for a play date one day this week!  My kids call them Sun Crosses, for lack of a better name.


Materials:
2 sheets of paper per kid, scissors, tissue paper and stick glue

Step 1.  Fold the 2 sheets of paper in half long ways together.

Step 2.  Draw half of a cross on the fold.

IMG_7564

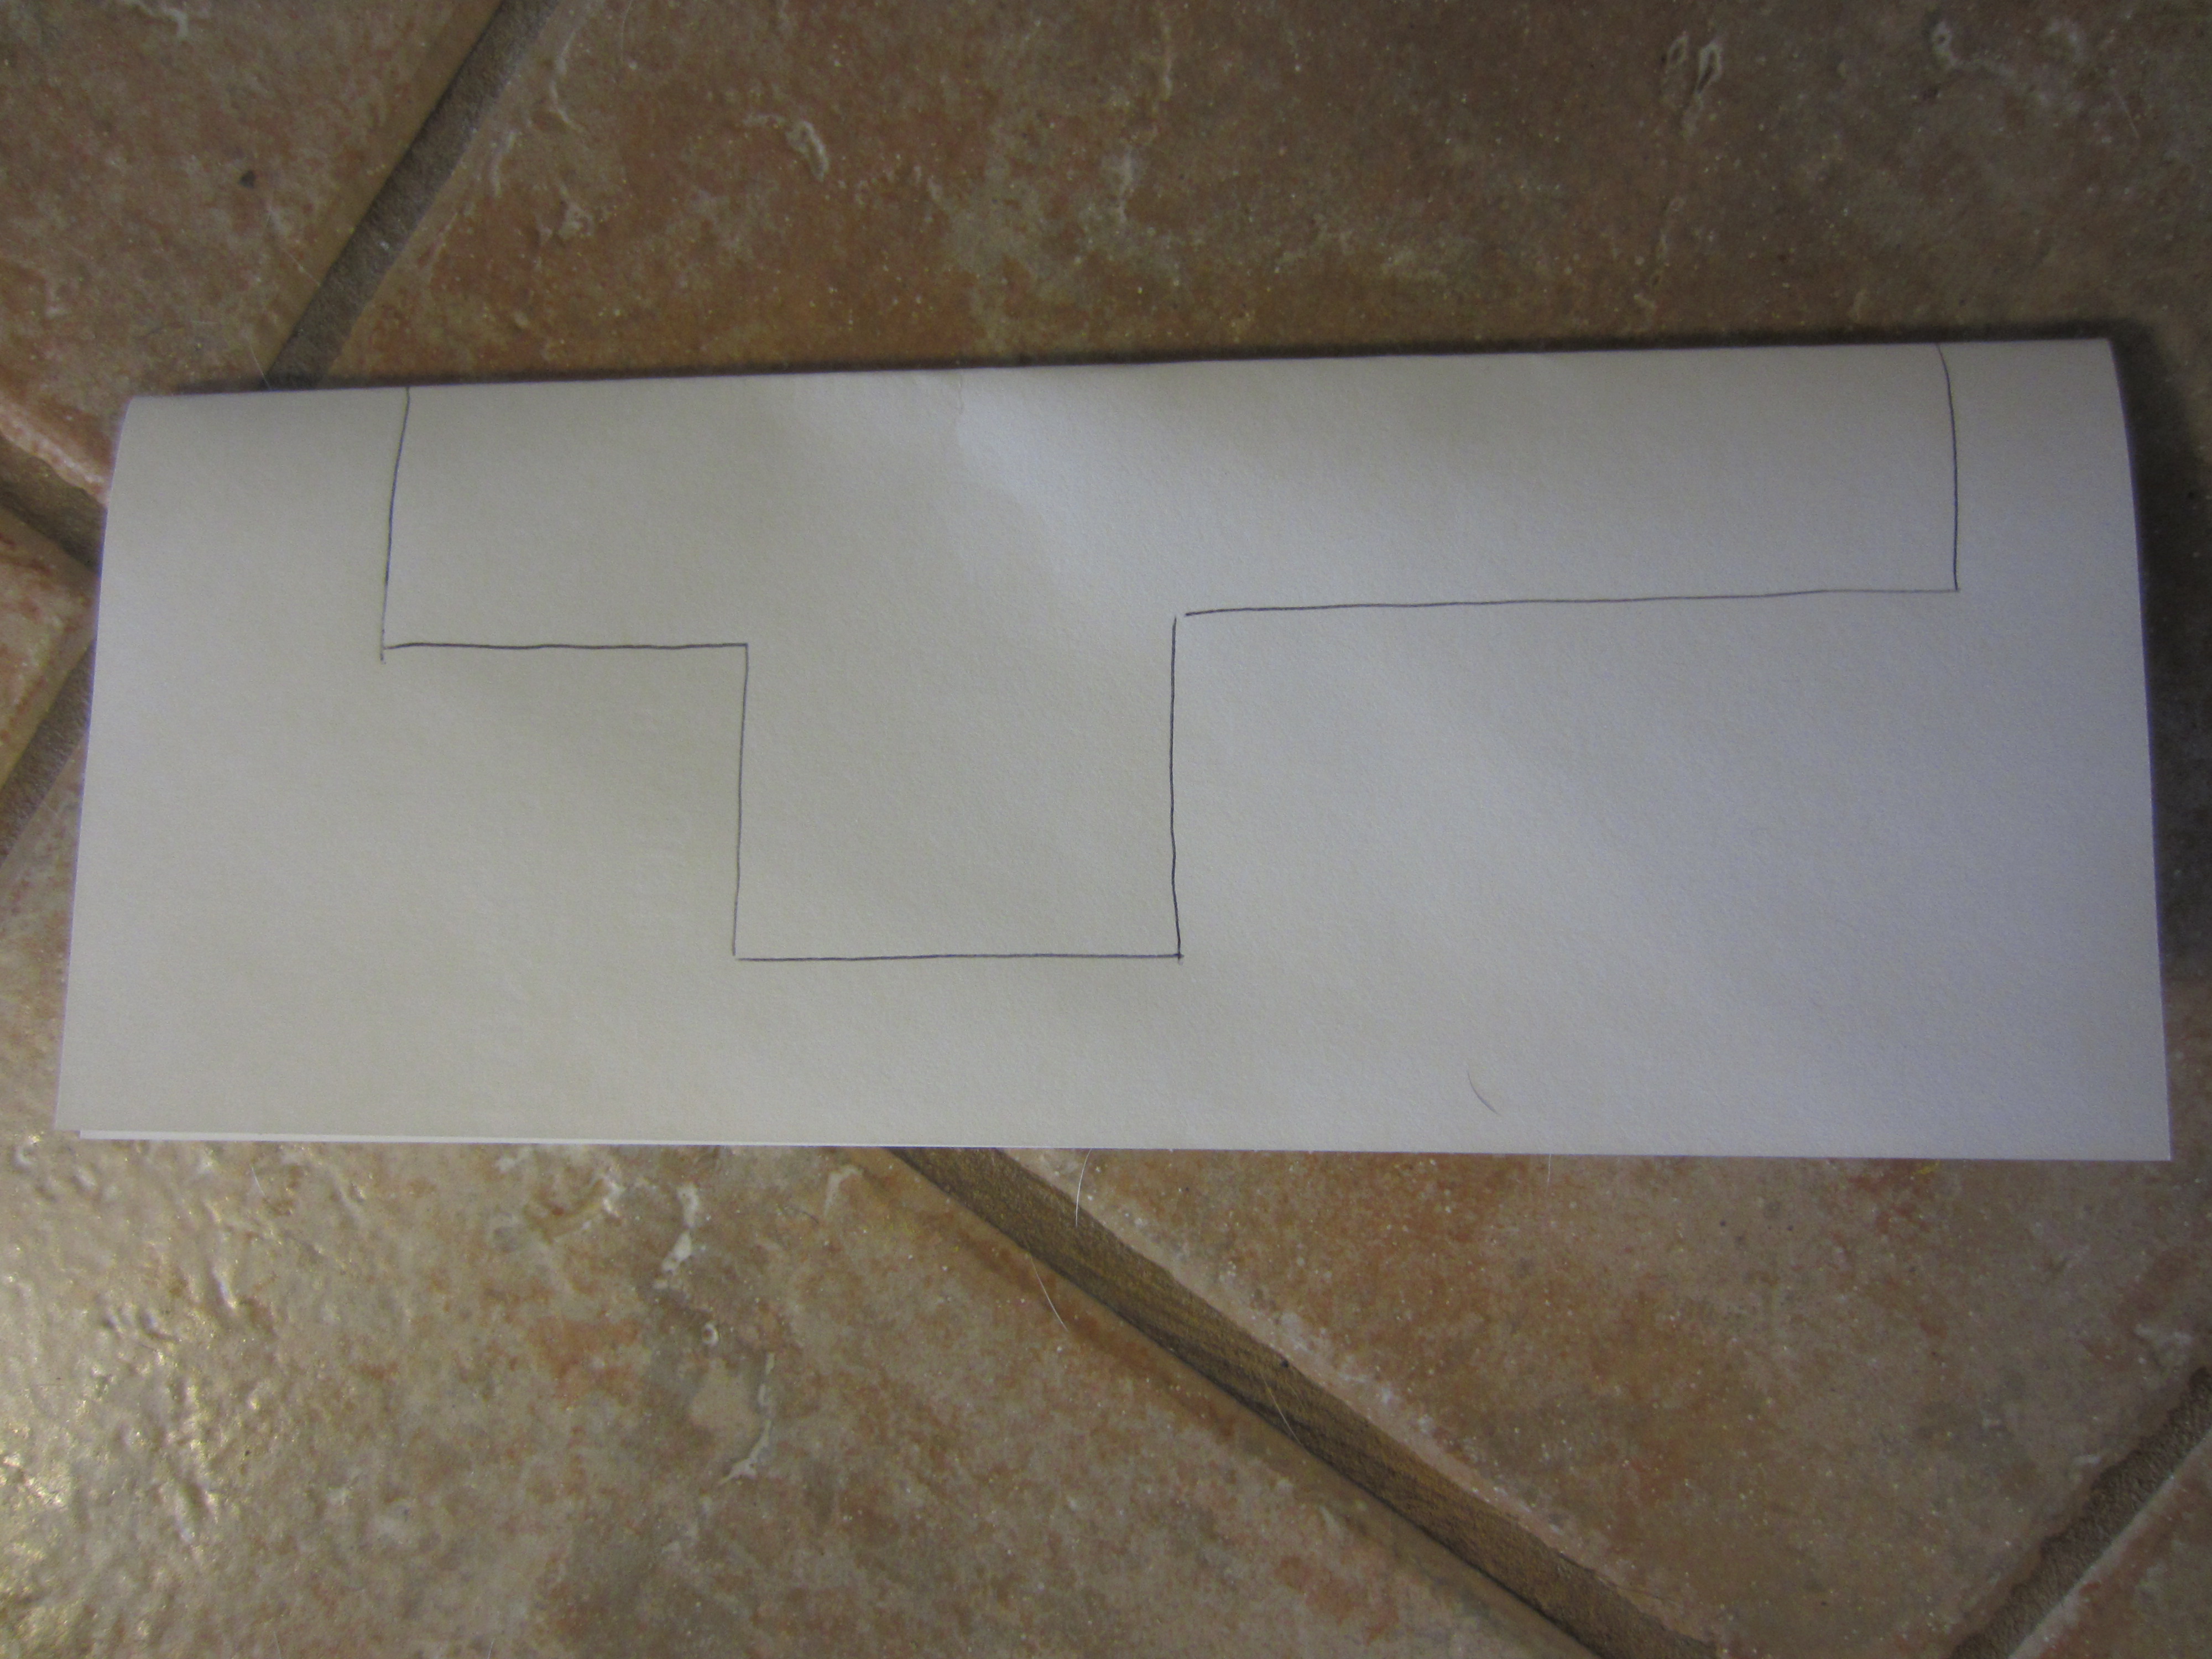
Step 3.  Cut out the 1/2 cross.

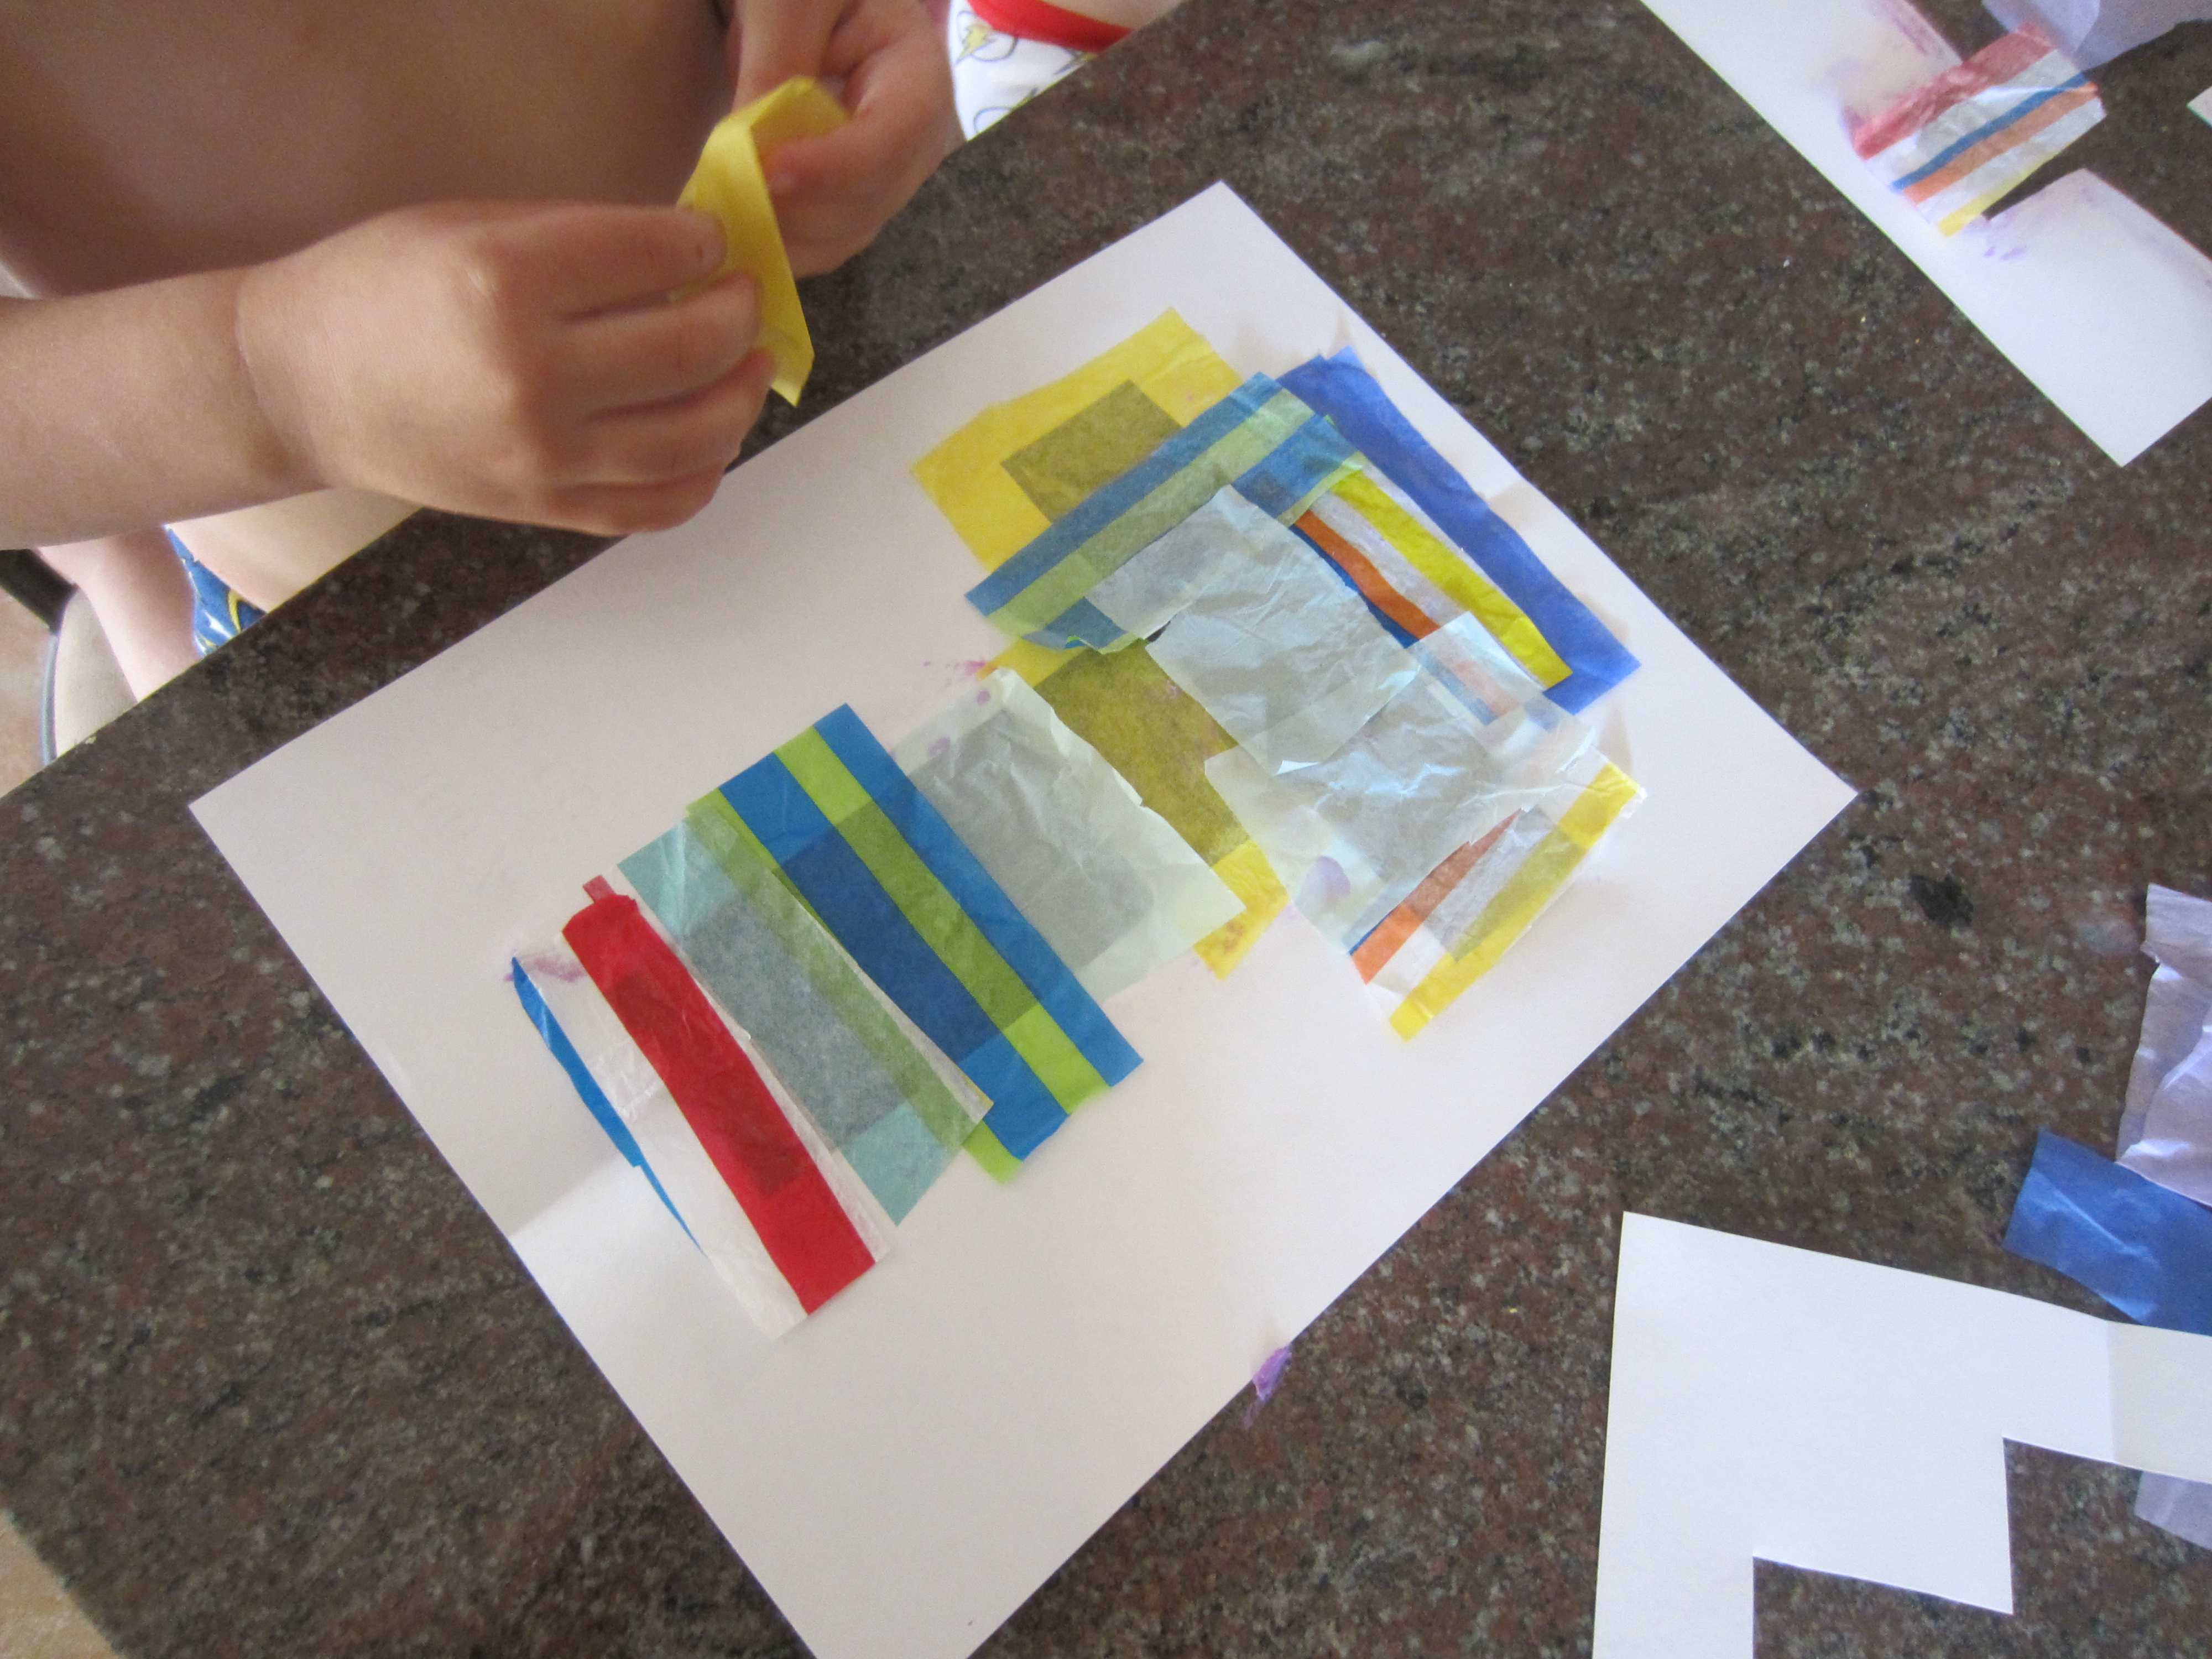
Step 4.  Flatten one cross and cut 3-4 inch strips of tissue paper (or use one large sheet of tissue paper for your entire cross).

Step 5.  Put the stick glue around the outside edge of the cross. IMG_7532

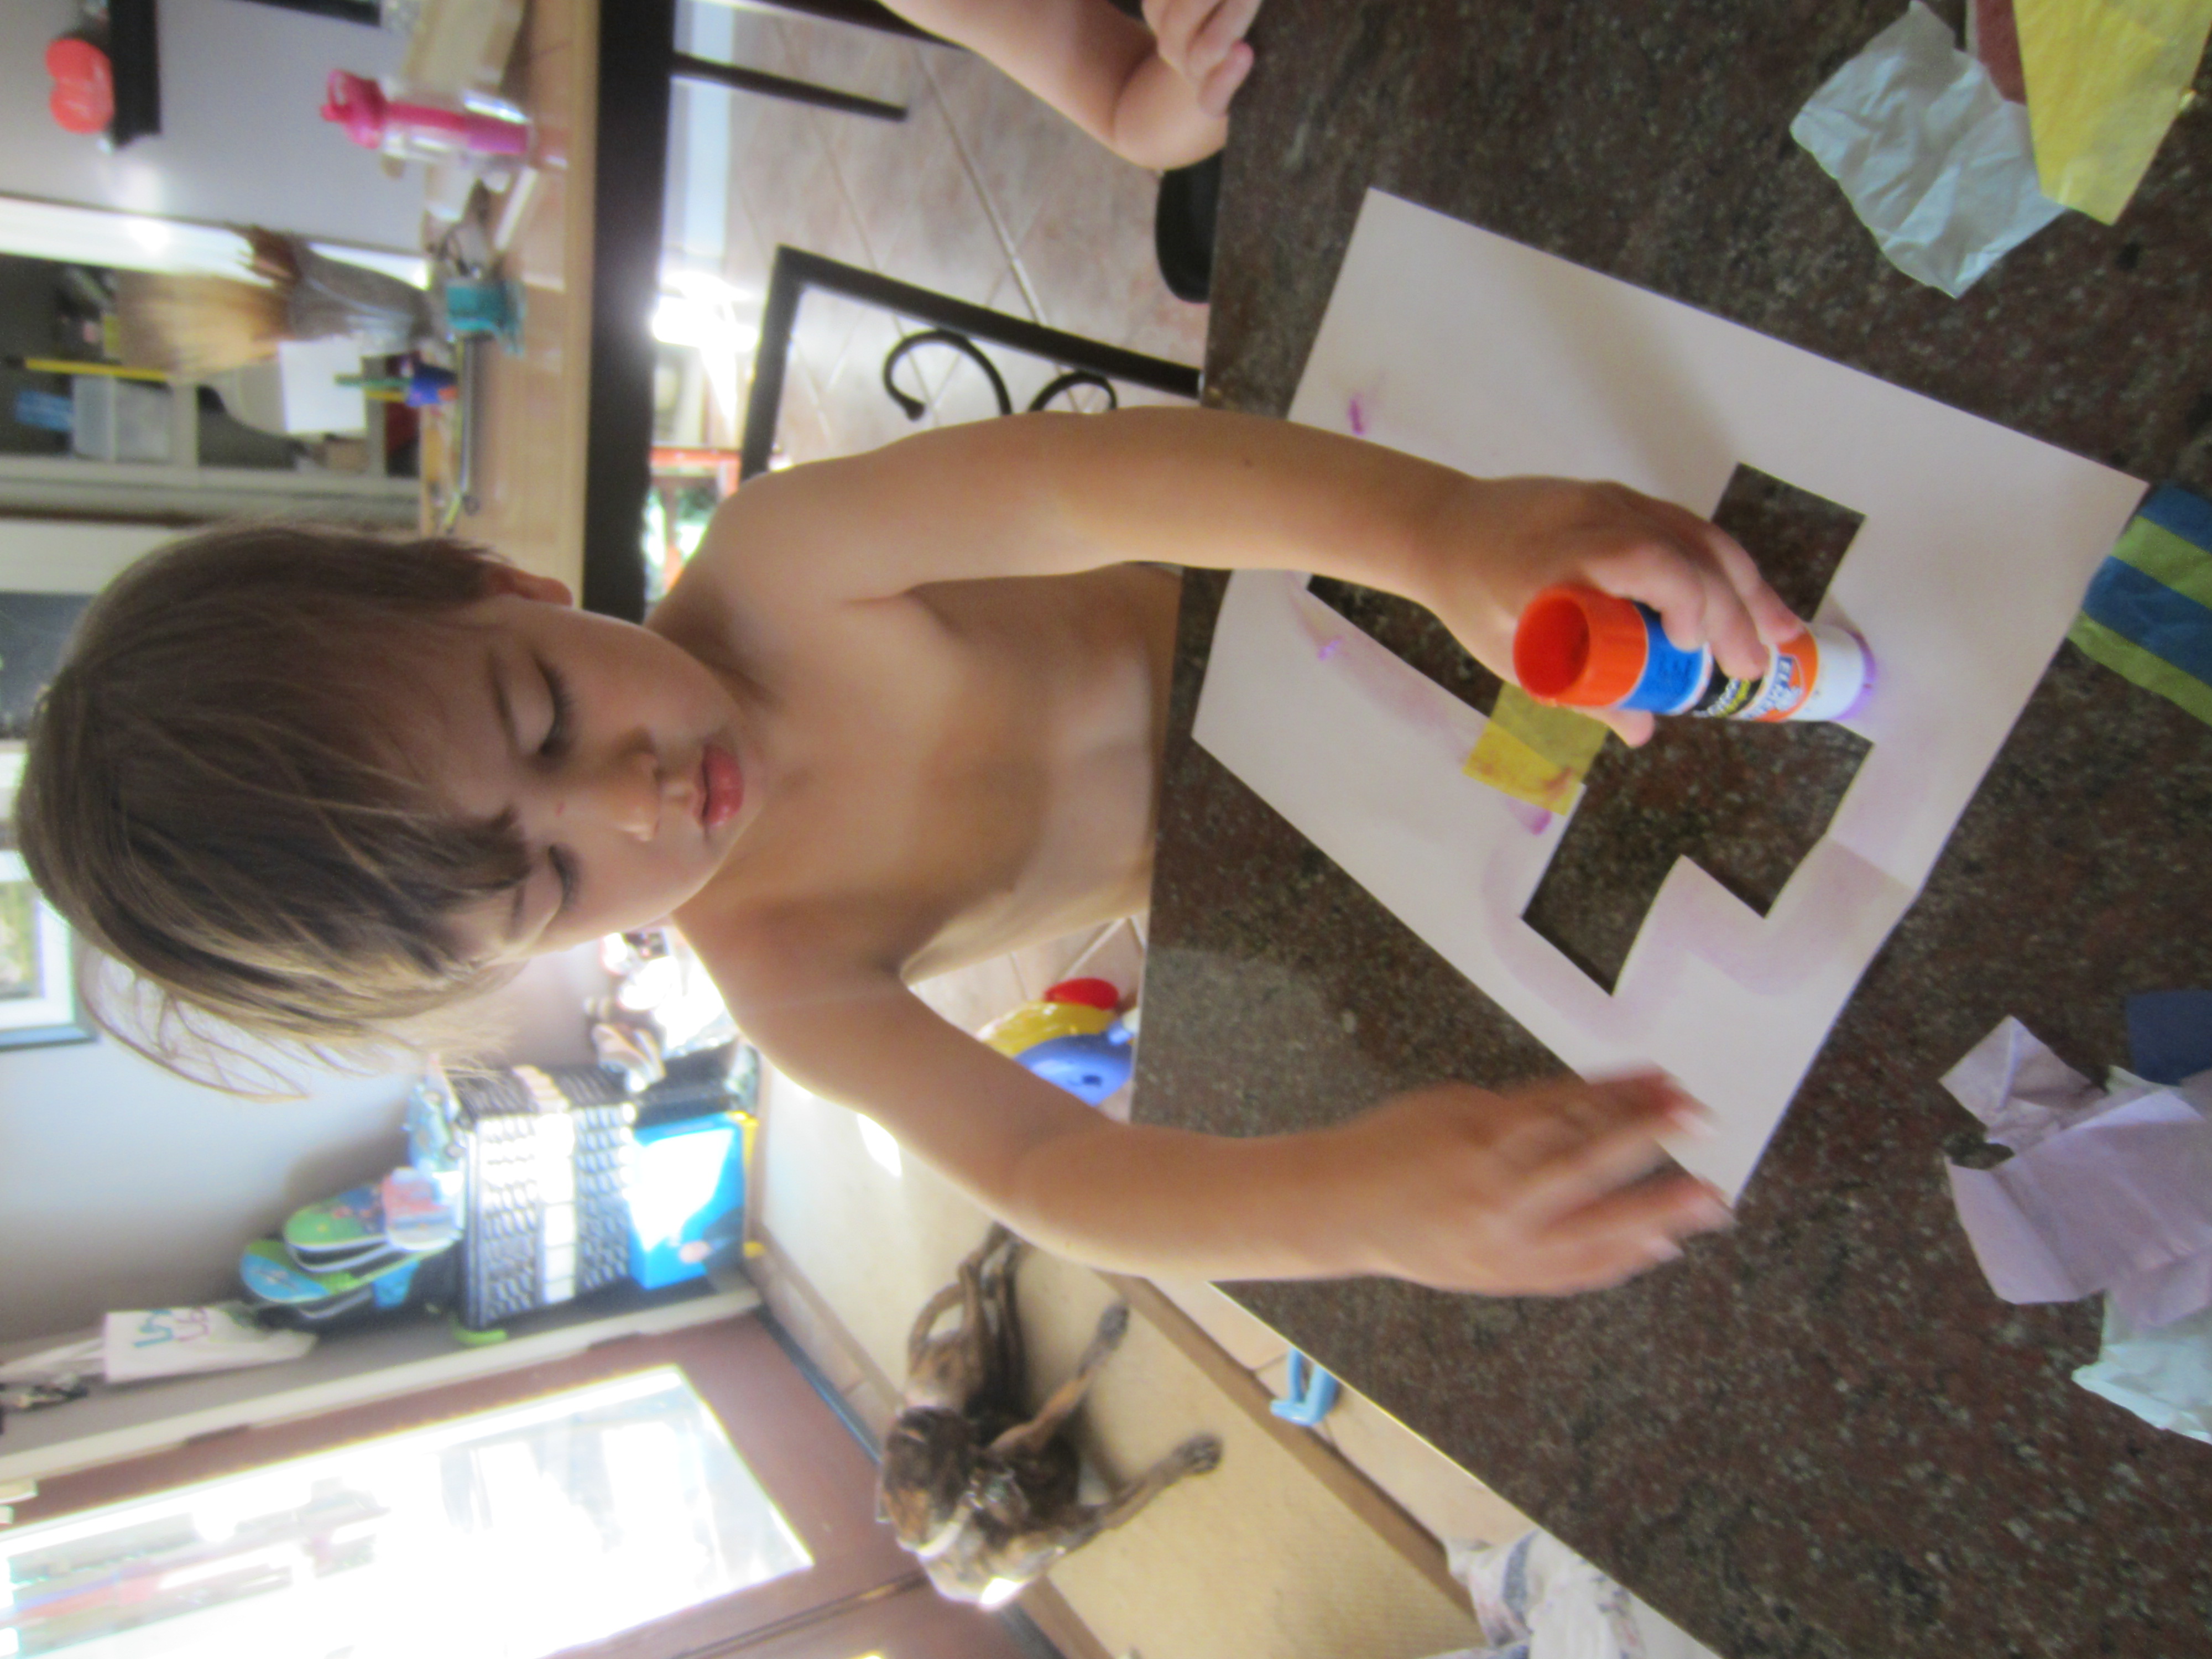
Step 6.  Place the tissue paper across the opening for the cross.  Do not leave any gaps.

IMG_7533

Step 7.  Take the other sheet of paper with the cross cut out and cover one side with the stick glue.  Then glue it directly on top of the other cross on the tissue paper side.

IMG_7534

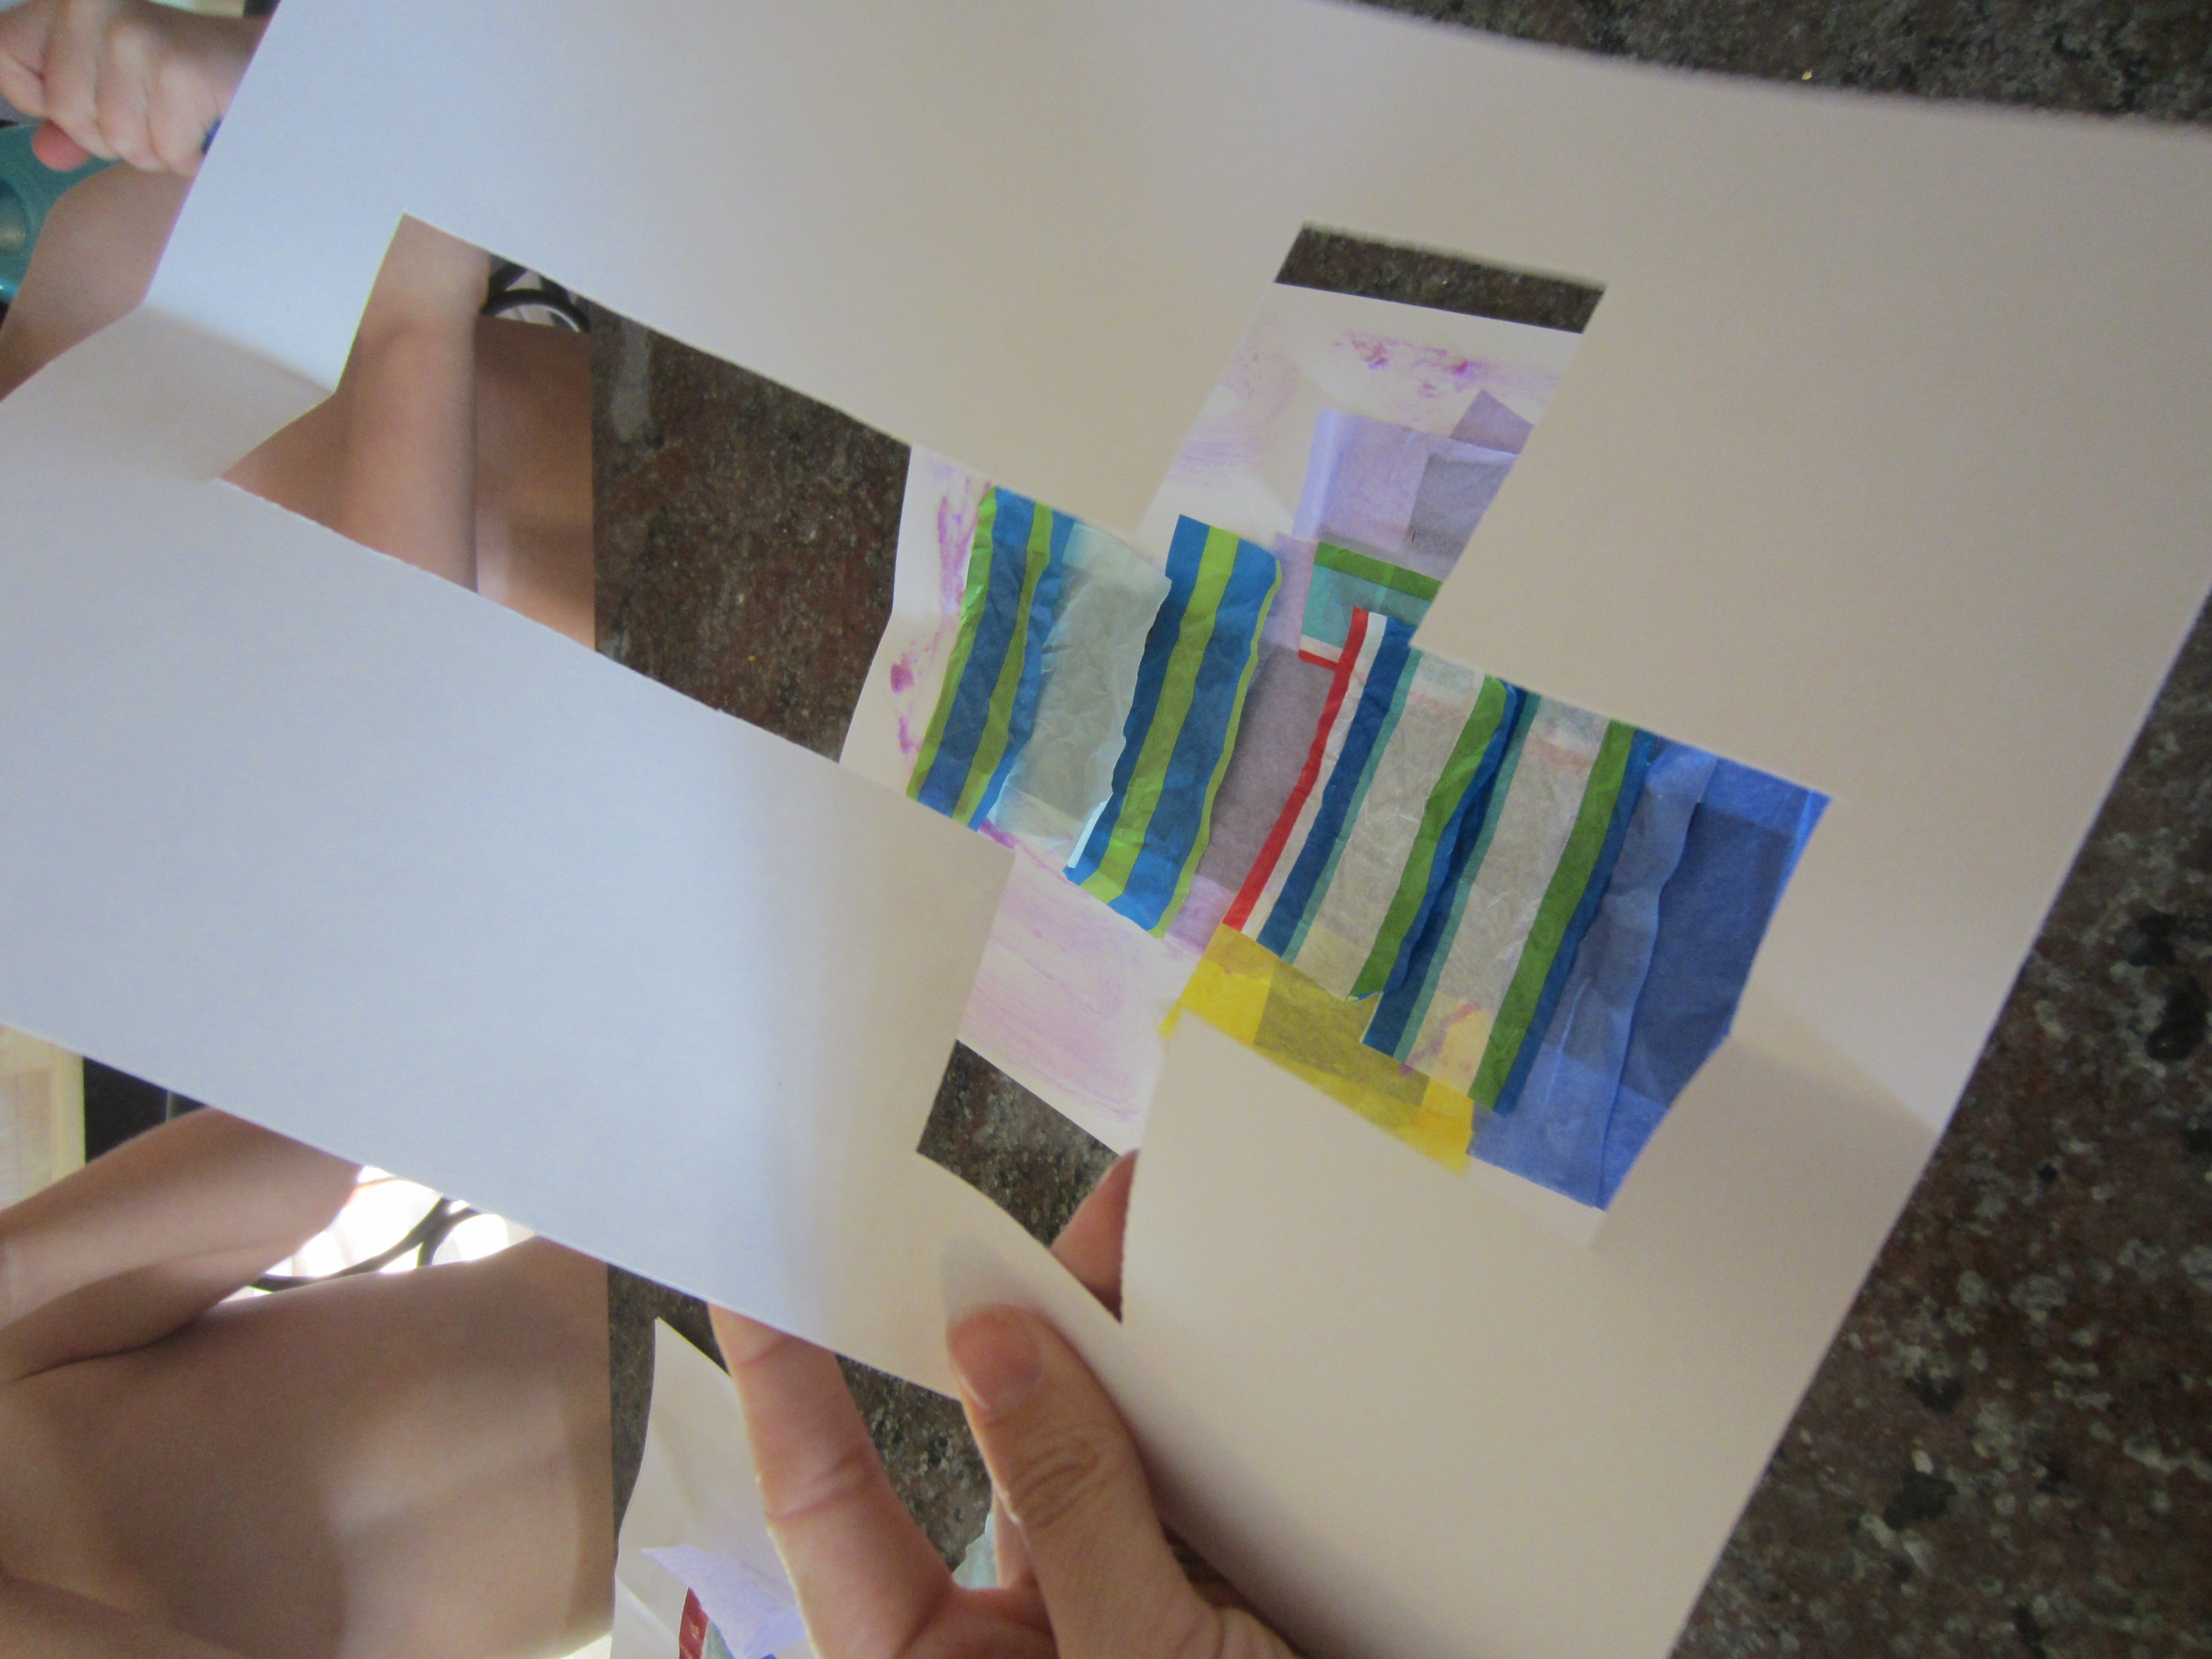
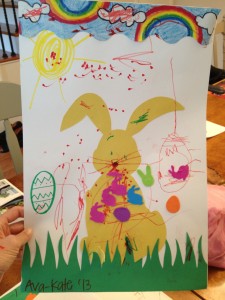
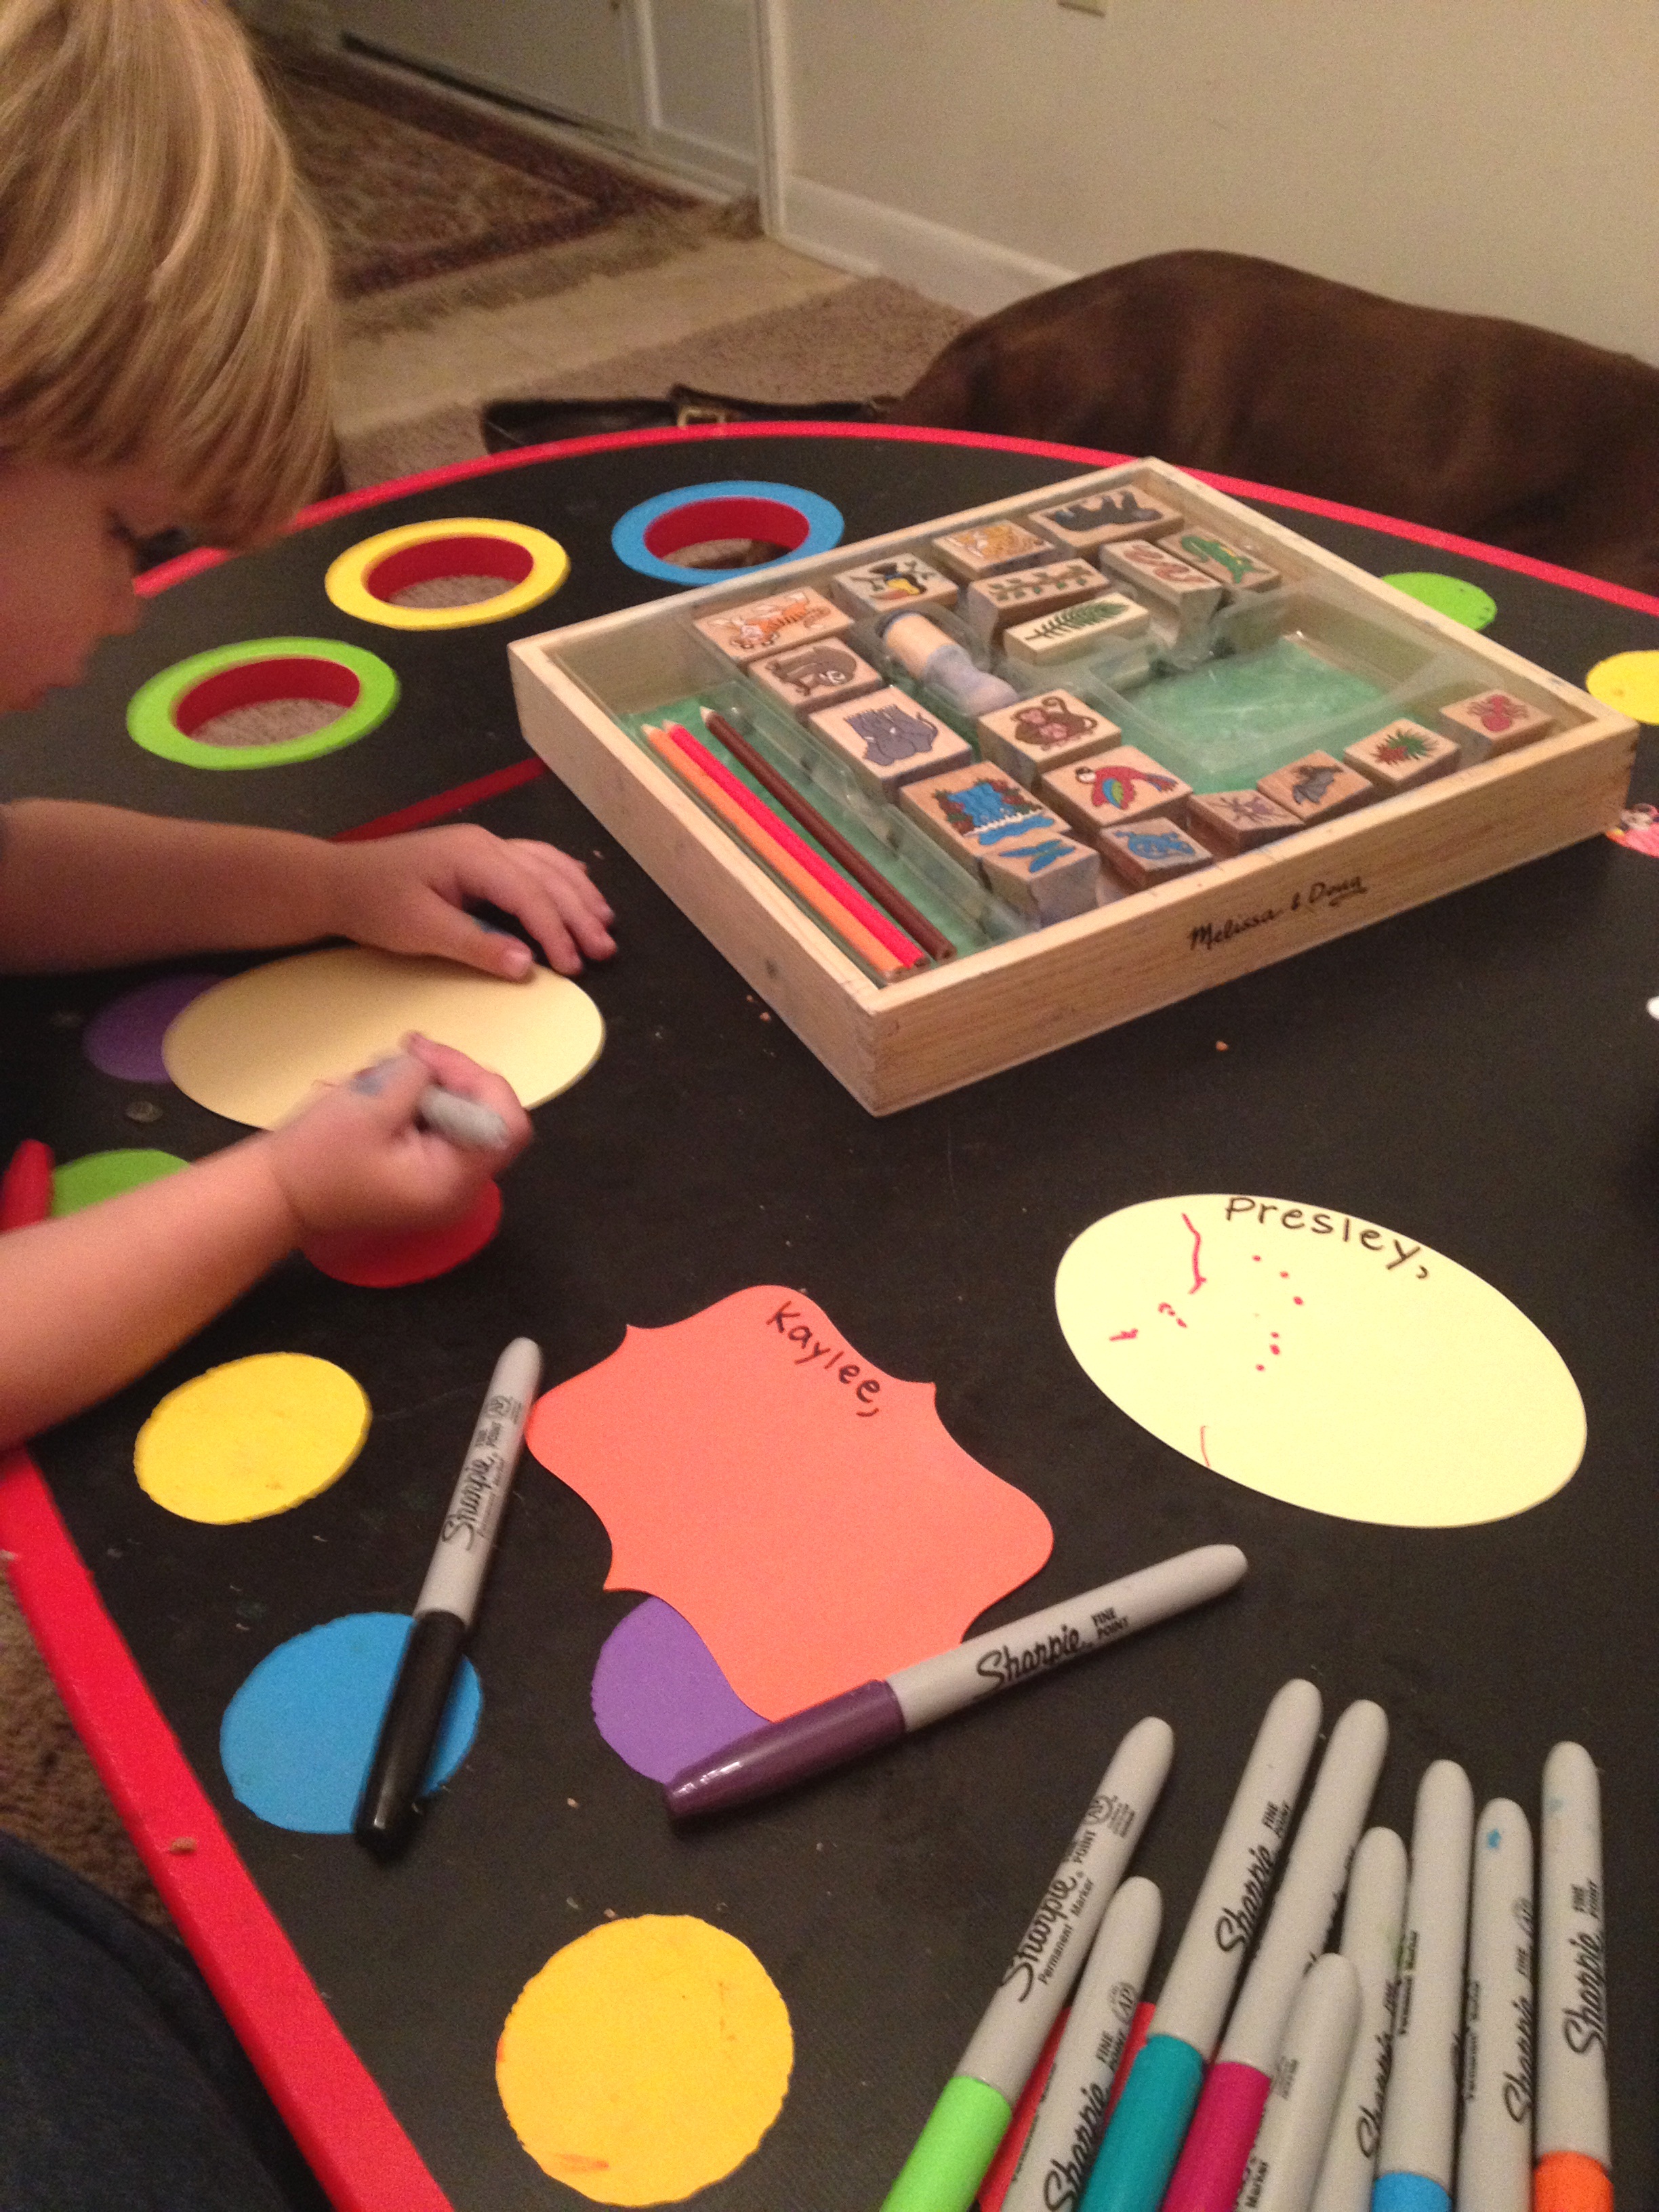
Step 8.  Add your own artistic flare around the crosses.

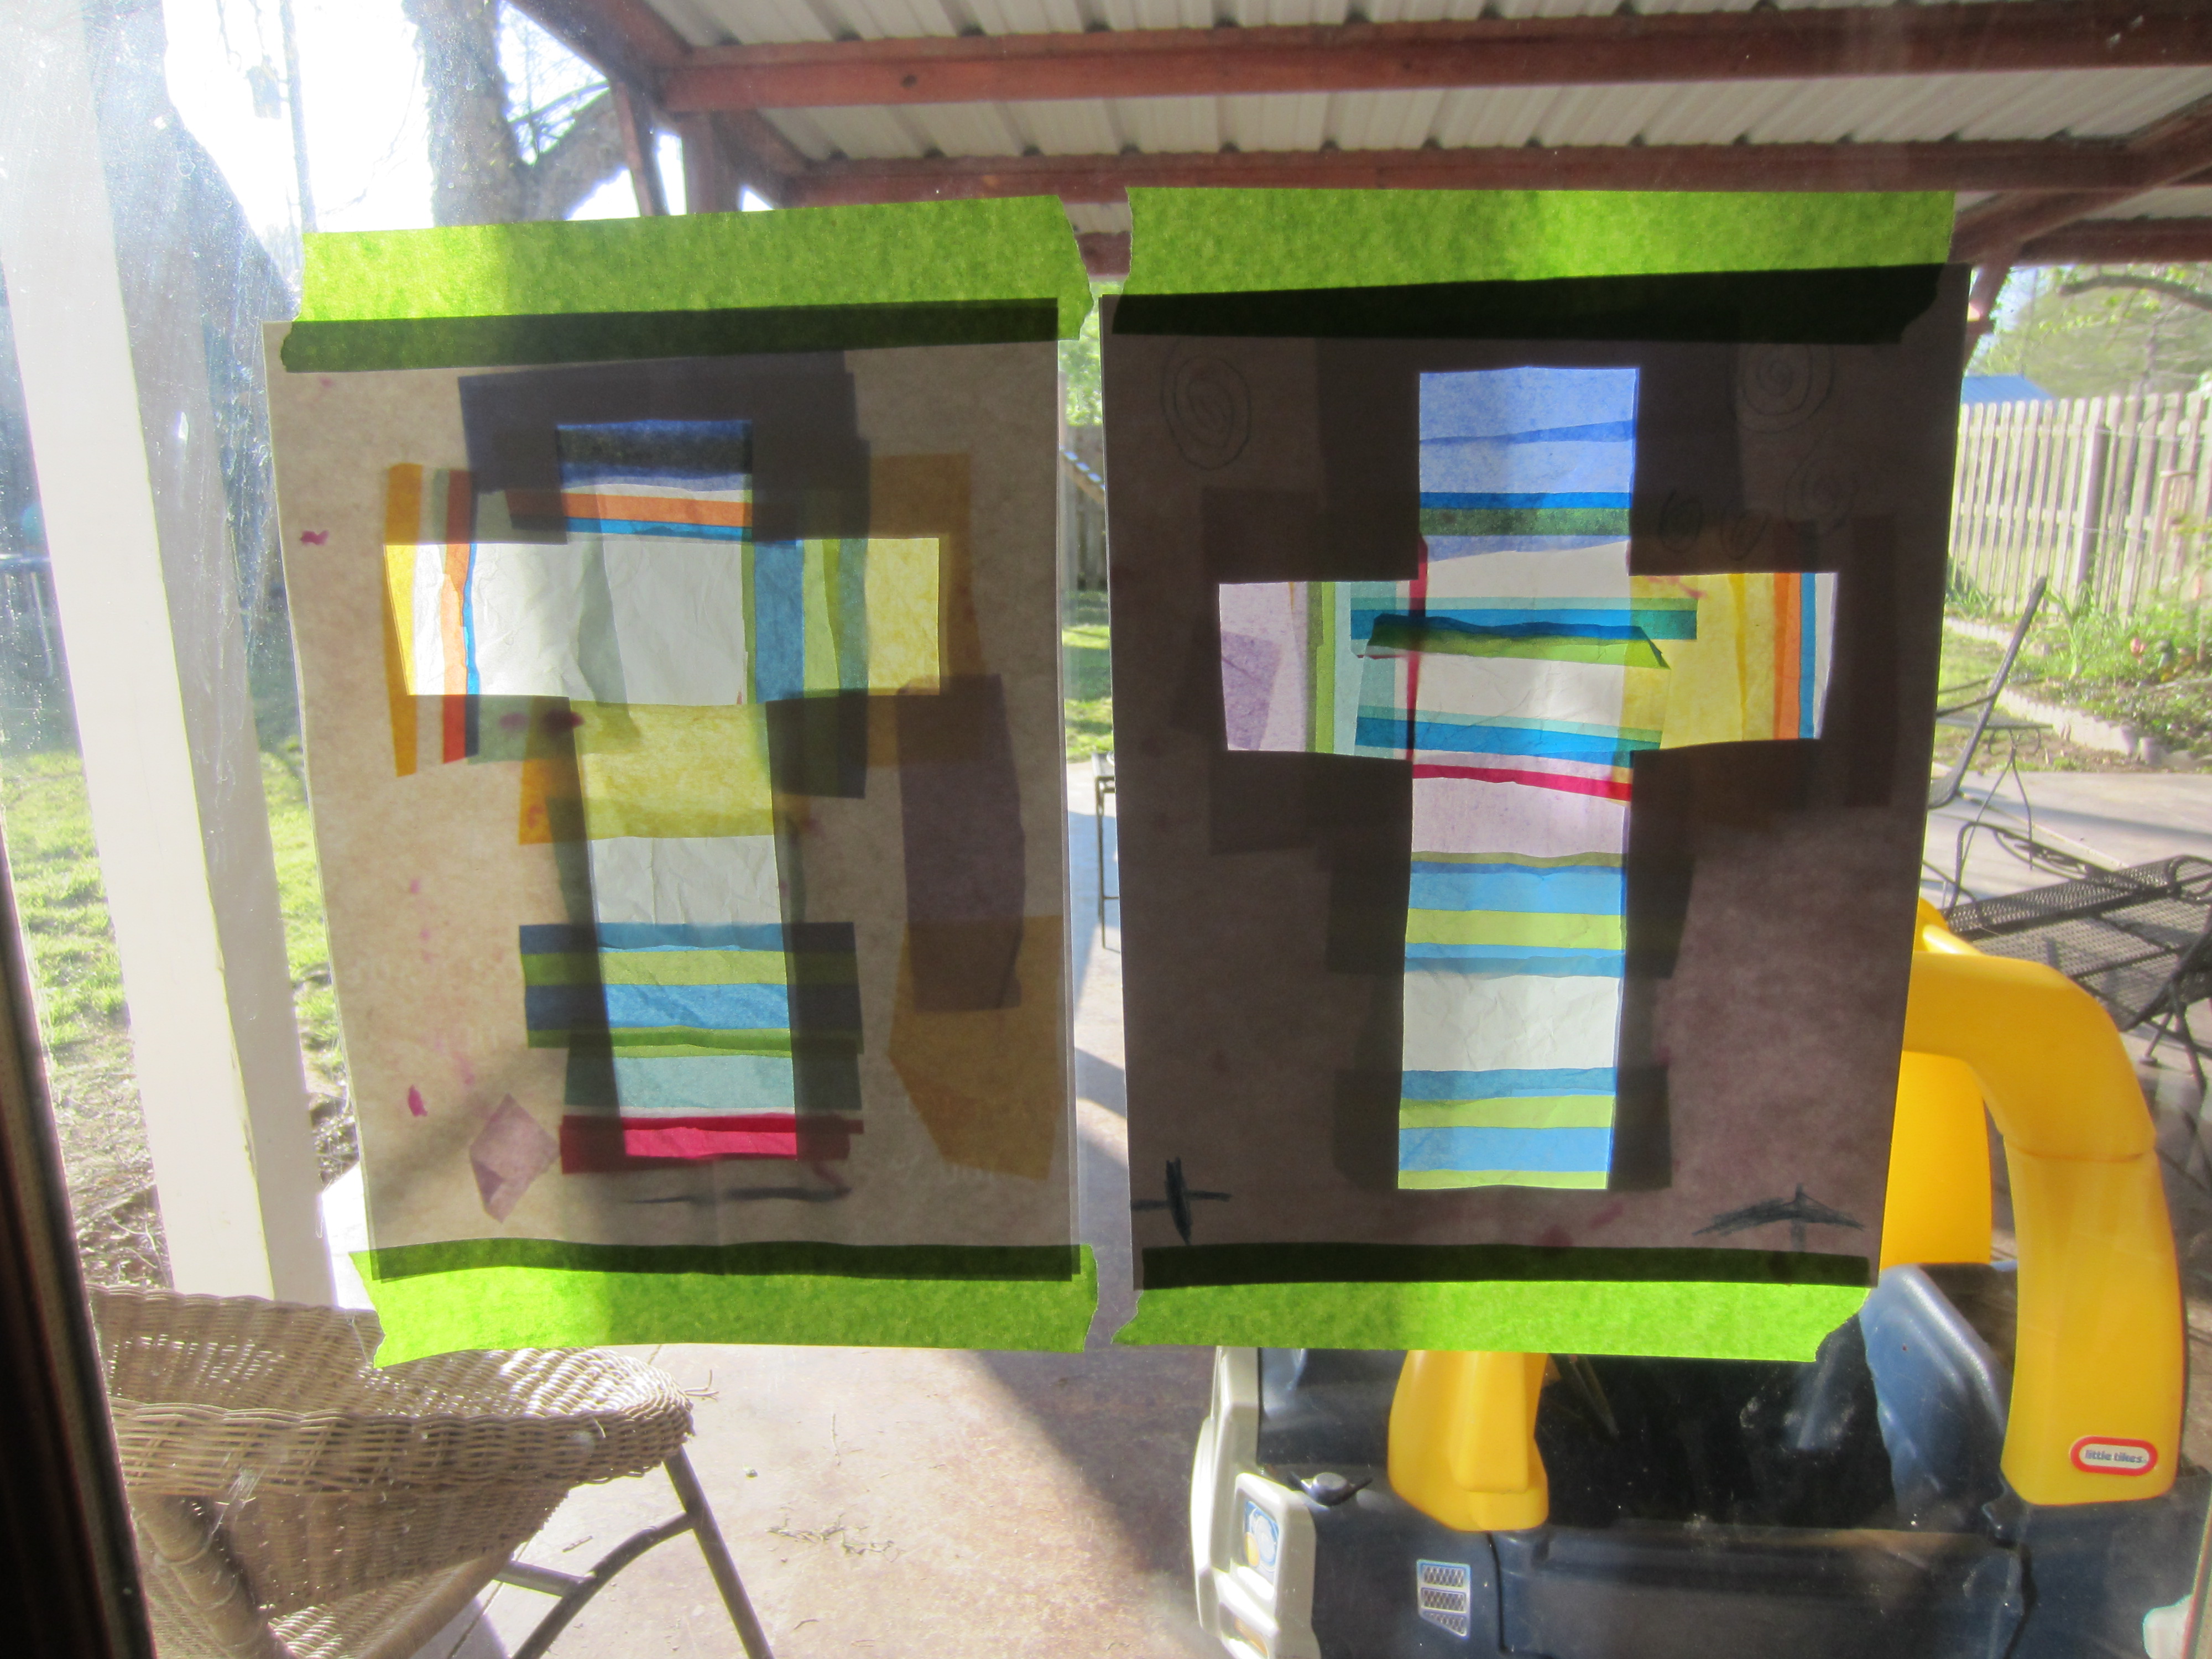
Step 9.  Place in a sunlit window and watch the light shine through the cross!

IMG_7536

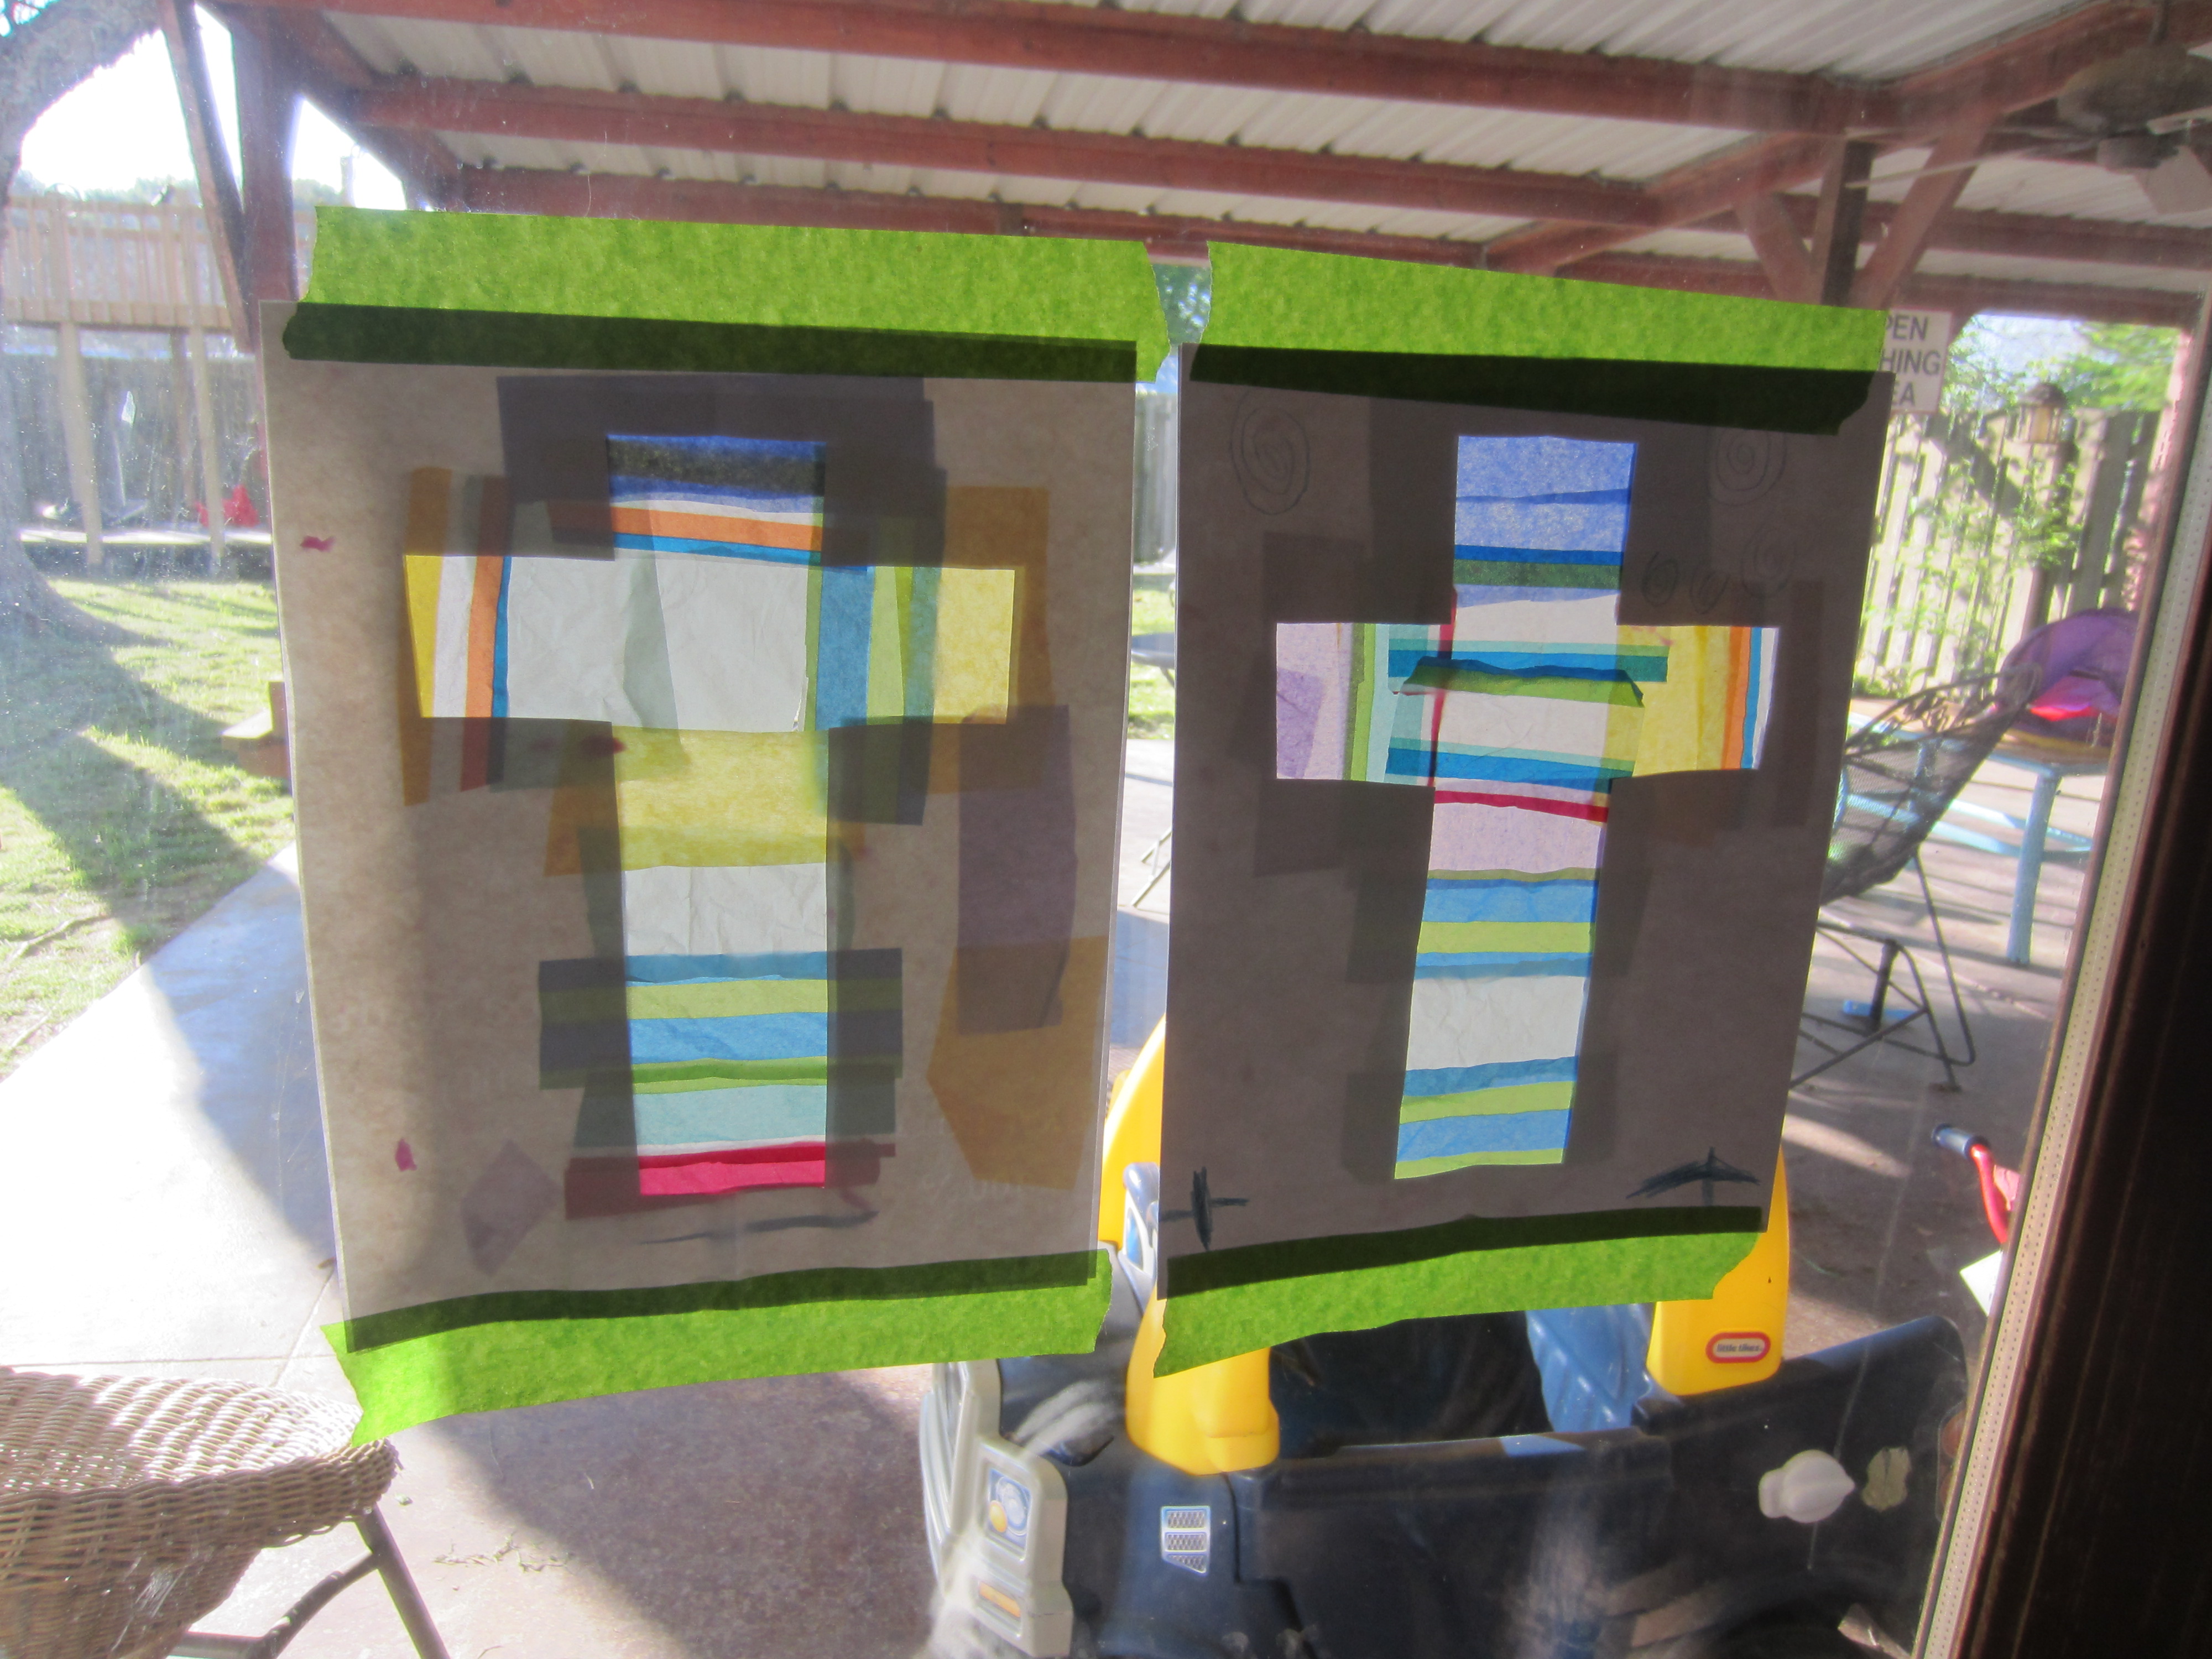
Happy Easter, y’all!!!

Cheap and Easy, Easter Bunny Gift Baggie

I found this idea in my teacher stash of Easter activities.  I almost always have paper bags, glue, markers, contruction paper, and scissors in my playroom cubbies.  So, for me, this was just a “sweep-the-playroom” kind of activity.

I wanted to put a little Easter picture inside of a little gift bag for Sean Patrick’s grandma and great-grandma.
Way better than a gift bag was this little craft idea I found in my teacher shed (the one on the left is my “example” and the one on the right is the one Sean Patrick made):
 
 
I just Cut a dip in the top of a brown bag (the side that opens) to so it left a shape that resembles a bunny.  You could cut a rectangle out of  the middle of the top of the bag if you don’t want them to be as rounded. (A white paper bag would be super cute too, but I was out).
 
I used pink, blue, & black construction paper to make the eyes, inner ears, nose, & whiskers.
 
Sean Patrick wanted to color it first of course (red is his favorite color if you haven’t guessed by now).
 
I always include my little bed-head one year old too.  (they are both shirt-less because I wanted to keep their cute shirts clean).
 
 
I then helped him cut/tear and glue little pieces of pink paper to a gluey oval in the inner ear.  Then he glued the eyes and nose (“just a dot, not a lot”)…. I glued the whiskers because I couldn’t find my glue stick which would be easier for him.
 
 
After we finished glueing, I grabbed a black marker, took his hand and guided him to make the pupil of the bunny’s eyes, the eyelashes, the little dots around the nose, and the mouth.
 
That was it!
We wrote a note from “Sean Patrick” on the back.
We put some Easter grass, starburst candies in some eggs, and the pictures inside & he will give them out when he sees them for Easter!
 

You can always add to it and share your ideas on facebook (like a cotton ball on the backside):

Impromptu, Getting-Ready-For-Easter Activity

IMG_6673
Simple Easter Bunny Art Using Bulletin Border

Being a teacher with a “teacher shed” and tubs full of bulletin borders, di-cuts, and other materials definitely pays off when making crafts.  But I think that this is something that you can just as easily re-create without the exact same materials that I used to create this simple but fun Easter activity for the kids.

I grabbed a large piece of cardstock, a strip of grass border (any teacher supply store has this, but you could also cut contruction paper to look like this), a strip of rainbow/sky border, a bunny template (simple), markers, modge podge (any glue will due), and Easter stickers from the Dollar Tree.

IMG_6664 IMG_6668 IMG_6651

We glued the borders and bunny and let the kids decorate from there.
They drew the face for the bunny, drew eggs, drew a sun in the sky, and some dots and lines too. 🙂

IMG_6653

We included the one years old too.

IMG_6654
If I were doing this with older kids I would talk about “signs of spring” and encourage them to label or write about their picture on a sheet of paper that I would tape to the back.
But I loved this because it was super simple, but festive and fun. Creating a little scene for the Easter Bunny was really exciting for the kids.

Other thoughts…  Have a scratch sheet of paper or take your child’s hand to teach them how they might make new shapes or pictures.

IMG_6659

Give the little ones ideas like :

1.”I’m wondering if the bunny might want a carrot to eat?”

2.  “Does the bunny need a basket of eggs to deliver for Easter?”

3.  “What kind of flowers do you think we could draw for the bunny to pick on the way?”

4.  “I’m thinking that the bunny might have circle-shaped eyes, a triangle-shaped nose, and whiskers that look like lines.  I might draw the same amount of whiskers on each side so that it matches.”

Buggy Xylophone

There are certain tasks that are fairly simple but when you throw kids into the mix, it can be downright miserable… especially when that task is to simply wait.

Take getting an oil change, for example.  Today we were quite lucky to only have to wait about 45 minutes, but there have been times where it has gone longer than the estimated time.

After about 2 minutes of everyone, including my toddler, cooing at my smiley 10 month old, we were already searching for a new game.  Here is when I invented Buggy Xylophone (patent pending).

I pulled several items out of the diaper bag and we brushed each of them against the metal rungs of the basket.

IMG_7233 IMG_7236 IMG_7235 IMG_7234

Auditory Learning / Music skills

Mommy Teacher:  “Does the pen make a HIGH pitched sounds or a LOW pitched sound?” (Make your voice go HIGH and LOW when saying those words.)

Mommy Teacher:  “Does the wallet make a LOUD or a QUIET noise on the basket?”  (Make your voice go LOUD and QUIET when saying those words.)

Mommy Teacher:  “Let’s change the tempo.  Can you move the pen fast across the rungs of the basket?  That is a fast tempo.  Now move the pen slow.  That is a slow tempo.”

Listening Skills / Following Directions / Counting / Rhythm

Mommy Teacher:  “I can tap 3 times tap tap tap.  Now you tap 3 times.”

Mommy Teacher:  “Repeat after me tap pause tap tap.”

Compare/Contrast

Mommy Teacher:  “Which object is loudest?”  “Which has the highest pitch?”

Grouping Like Objects (Science and Math)

Mommy Teacher:  “The spoon and the pen are both hard and are both LOUD.  The wallet and the purse are both soft and are both QUIET.”

Predicting (Science Skill)

Mommy Teacher:  “Do you think the spoon is going to be LOUD or QUIET?”

Opposites

Mommy Teacher:  “The pen is LOUD.  The wallet is the opposite of LOUD which is what?”

Vocabulary

Loud, quiet, high pitch, low pitch, opposite, tempo, fast, slow

And that, my friends, is how you annoy the other patrons at Walmart… OR that is a great way to entertain your kids while waiting for your car to be ready.  I prefer the latter.

An Activity A Day Can Go Such A Long Way

Ya know, I need to just start off by saying that I am just like any other mom. I go a little crazy when the chores pile up and my house is messy.  I don’t always have my meals thought out. I can’t compare myself to other moms…. Because then I’ll just feel like a hot mess.  I am not perfect, and I am actually relieved that I am not expected to be.   But, like any other mom, I want the best for my kids, and I am always trying to figure out what more I can do to be the best mom that I can be for them.

I give myself lots of grace because I believe there is a huge learning curve when it comes to raising these little impressionable people.

But, when I am not feeling like a very intentional, efficient, or productive mom, I am not completely satisfied in my role.  So that is why, both when I was a SAHM and now as a working mom, I get those motivational moments to sit down and plan out something to make the most of my time at home with my kiddos.

Sometimes just ONE thing can make your day feel like a HUGE success.  You might sweep one floor, exercise for one small chunk of time, cook one meal, check off one thing from the to-do list, etc.

Well, even though I aim to purpose learning as a mindset and not just in a compartmentalized way my ACTUAL GOAL is to purpose one quality activity a day.

Most of the time, I sit down & think of a daily activity that I think my son would enjoy and one that I know can be used to teach important skills.

In these times, I can get inspiration from:

1) Pinterest… depending on my children’s age or what I am working with on them.  Follow me    Follow Casey 
2) Friends…which is why I have teamed up with an AWESOME mommy teacher, Casey, to share ideas.
3) Teaching experiences… Which Casey and I both share with you here  🙂
4) Connecting with other moms, whether in my mom peer groups, or moms around the world who share what works for them.

But lots of times, I just get inspiration from what I know would be meaningful to my kids.

The other night, my son was missing his Texas cousins…. So, writing a letter to them was naturally the most meaningful activity for us to make the most of.

1) We pulled out some card stock cut into cutesy shapes (Stationary Template Printable here!),  as well as some markers, crafty stamps (his idea), pens, envelopes, and mailing stamps.  (Stickers would have been fun too.)

IMG_6447

2) I asked Sean Patrick what color he wanted for Kaylee, what color he wanted for Presley, and then I let him decorate.

letter writing materials

3) Then I asked him what he wanted to say and I re-vamped it a little and read it to him as I wrote it.  He also stamped the bottom with his fingerprints and I drew a heart around it.

IMG_6407
4) He carefully placed the stamp in the right-hand corner so the mailman knew we paid for it.

IMG_6410
5) He helped me say the numbers in the address so he the mail carrier would know where to bring the letter.
6) He stuffed & licked the letter.

IMG_6411
7) I let him put it in the mailbox and lift the flag.

IMG_6417

Here is the vocabulary he used to tell daddy about our activity:  mail, letter, address, deliver (he said “liver it”), mailman, and mailbox.

And as you can see…. just this ONE, SIMPLE activity made our day an unforgettable and meaningful one.

Share your simple, yet meaningful activities with us & other mommy teachers around the world…comment here or post pictures on our Facebook page 😉

Related Posts Plugin for WordPress, Blogger...

1 2