Activity ideas

Bubble Letters

I stay up late sometimes….it is 10:30.  But it feels much later so maybe I am being a little dramatic.  Being dramatic reminds me of my jr. high days of writing bubbly at all times.

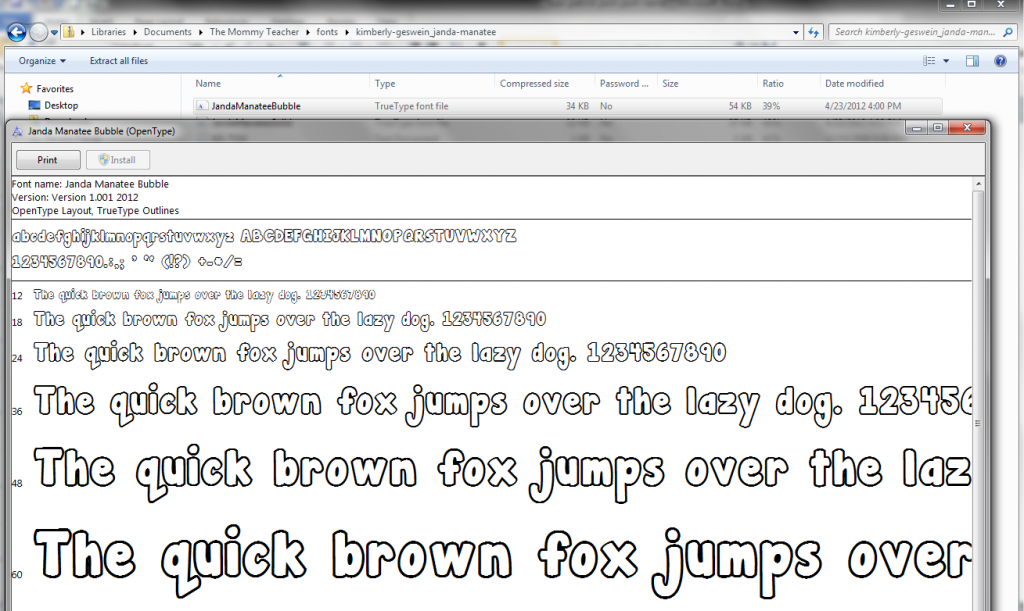
And  tonight, I got the itch to download a free bubble letter font….it happens.  I went to fontspace.com, searched for a bubble letter font, and I downloaded one called “Janda Manatee” because I liked it the best.

I opened the file, clicked “Install”

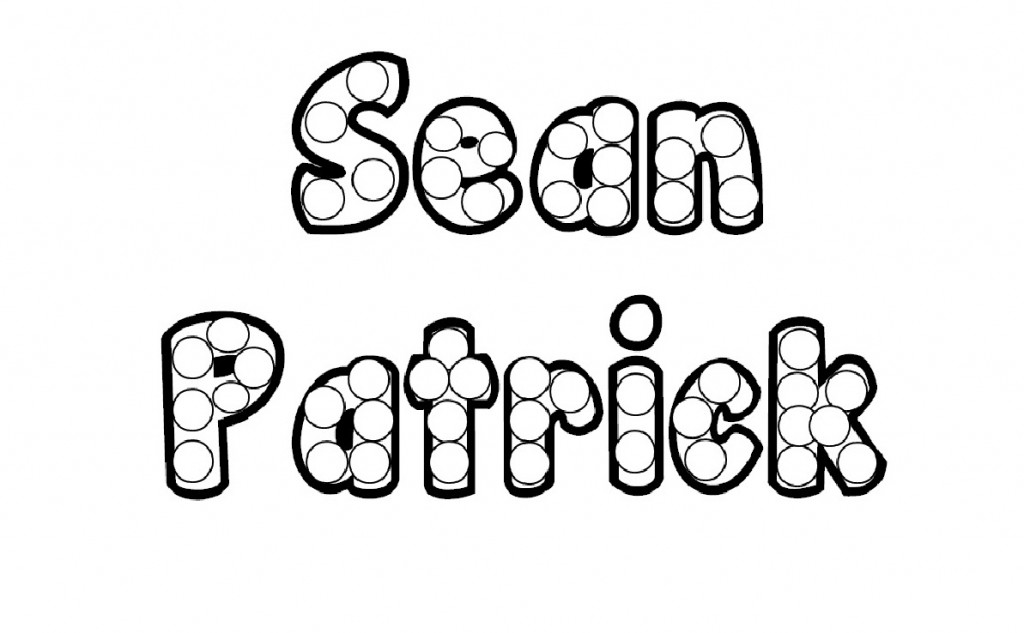
And then I opened a Word document, changed the page orientation to Landscape, and typed Sean Patrick’s name using the new cute font.

I then clicked “Insert Shape” and filled his name with circles (I copied the circle size I liked and pasted it a lot of times first to make this go by fast!)…

I had to blow it up a little in the “Paint” Program to make it the size I wanted, but tomorrow I plan to do one of three things (if not all three) with this simple activity:

1) Encourage SP to cover each circle with little “poms poms.”

2) Encourage Sean Patrick to stamp the circles with his dot paint markers.

3) Encourage SP to stamp his finger print (ink pad style) on each circle.

This is a great pre-writing skill that develops his fine motor skills while emphasizing letter formation of the letters that are most meaningful to him, with a concentration on lower-case letters at this time.  Do you have any other ideas??!?  Cover each circle with a sticker maybe?  Please share your thoughts!

Update: HOw the lesson went down>

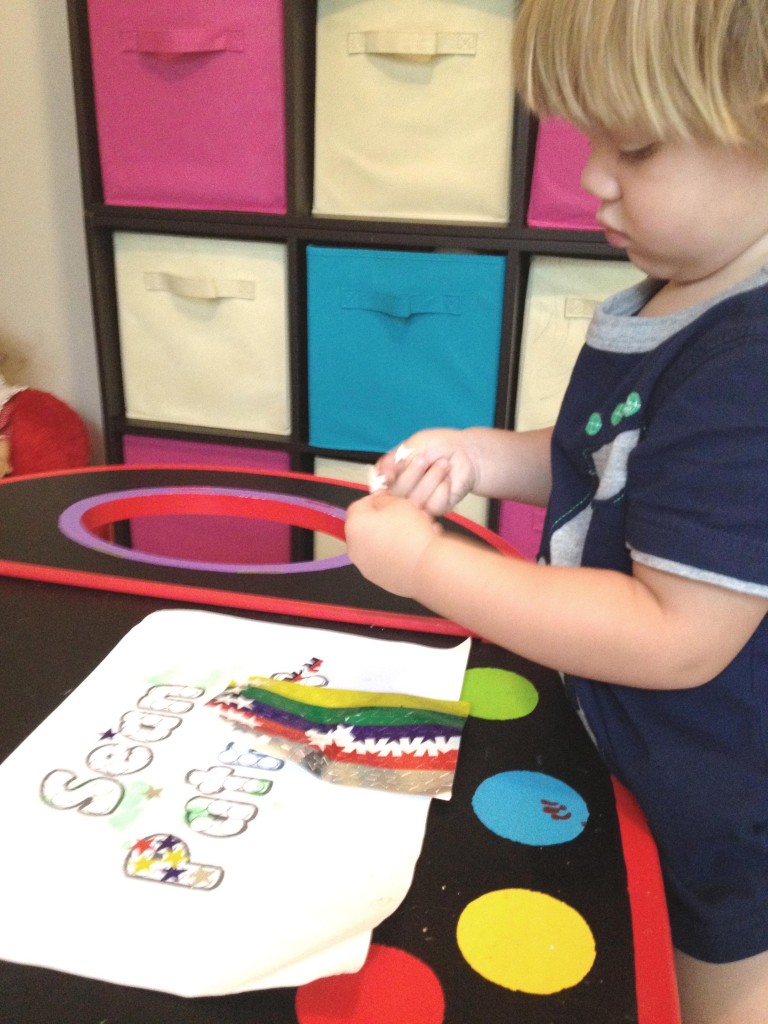
I used two print outs; one to show him ideas and the second to let him explore on his own.  I talked to him about the letters.  “Look Sean Patrick…mommy made your name with circles in the letters.  Can you still read the letters?  What letter is this? ” etc.
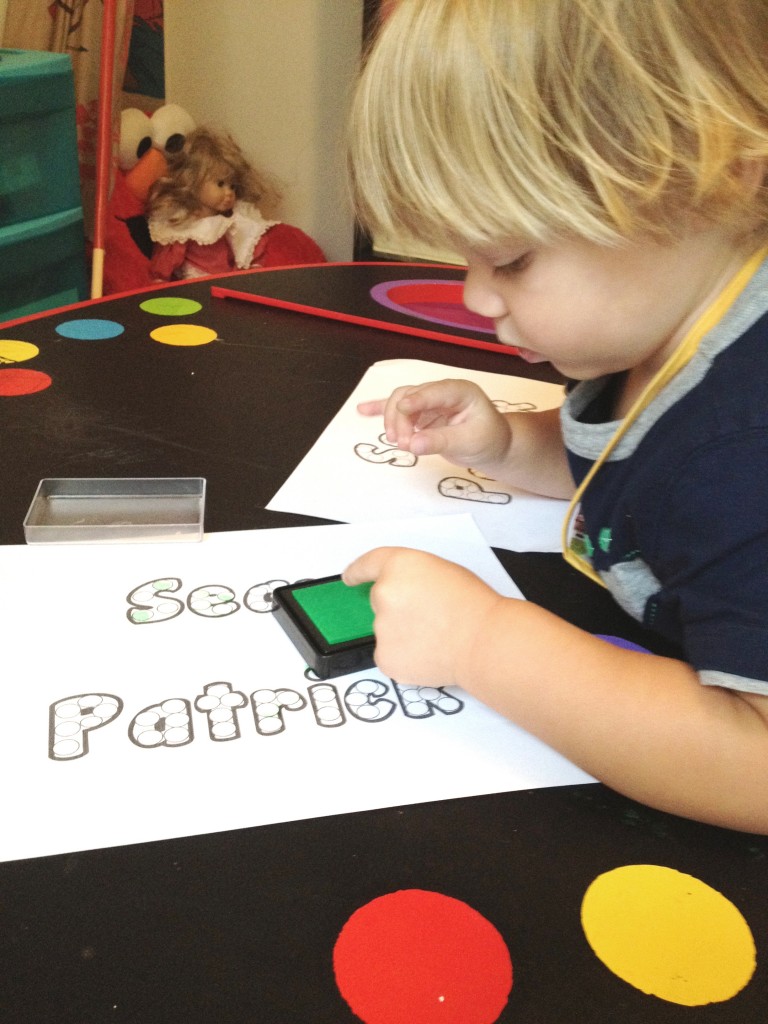
   We explored covering the letters with pom poms but that didn’t last long.  Sean Patrick had more fun stamping the letters with his fingers and decorating his name with star stickers.

Remedy for the little one with the “I can’t” bug!

My son has been using the phrase “I can’t” a lot lately because he is so catious, but lately I have noticed that he is using it as a crutch. We went swimming in the lake on the fourth of July and when asked to go into the lake he cried out “I can’t” because he was scared. I don’t want to ignore his fears so we are going to be swimming in pools more often until he is comfortable. But, I also want to implement the “I can” mentality into his vocabulary as much as I have the influence to do so.

So, here are a few things that I have casually introduced to Sean Patrick and spent time encouraging him with in the past week.

1) We started off coloring an “I Can” book that I could read to him and encourage him to “read” to daddy and others as well.

2) We made a homemade video of him on my iphone acting out all of the “I CAN” actions from the book (I would’ve shared this, but he didn’t feel like putting clothes on for the video haha).

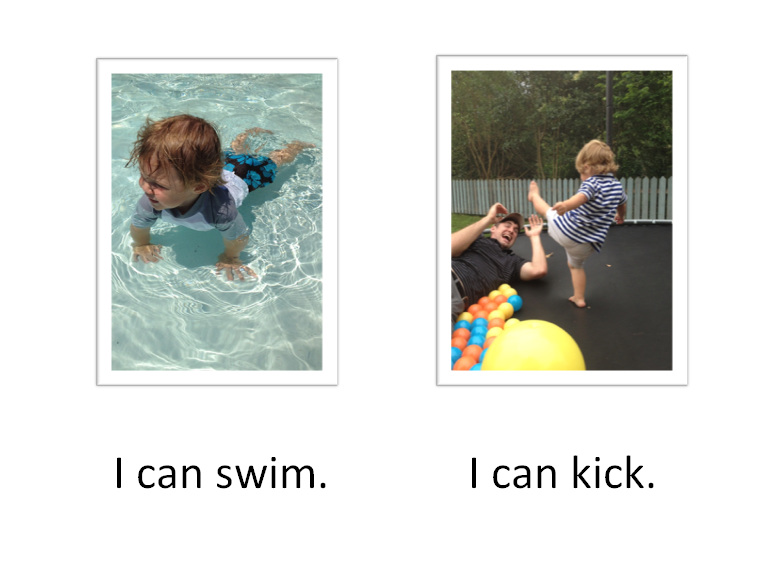
3) I started a little personalized “I can” book for him in a Word document:

And 4) I stumbled upon a Barney (yes the big purple dinosaur) video called “I Can Do That” featuring a group of friends playing “I Can _____” and then putting on a skit about it.

These tips are NOT a short-term “cure” for the I can’ts!  All of these ideas are things I am currently teaching toward a GOAL that we can replace “I can’t” with “I can.”  I’m sure there will be plenty of reminders 🙂

Education Near and Far

Has it been almost two weeks since I’ve posted? That is absurd. What have I been doing? I guess us Mommy teachers are being pulled in so many directions that sometimes we don’t even know which direction we just came from.

But, I can pinpoint where my mind has been…..  I can’t get my mind off the images of Haitian children.  My husband went to Haiti with an amazing organization and movement called “Respire Haiti” and God had been stirring my heart for the children in Haiti LONG before this trip.  My heart has AlWAYS had a steady beat for the country of Haiti because my parents were very invested in the people of Picot, Haiti for as long as I can remember.  The poverty astonishes me and the contrast to the way our kids live is baffling.  The privilege it is for a Haitian child to have an education is humbling.  Just read here for ONE example.

I have been praying that God will use my passion for education to benefit others both locally and globally.  And I have never done this kind of thing on my blog before, but I am linking an opportunity to donate to the Respire Haiti ministry to build and start a school for Restaveks where there is a great need in Gressier, Haiti.

Click Here to read about this opportunity, Read about the ministry, and Give if you feel led.

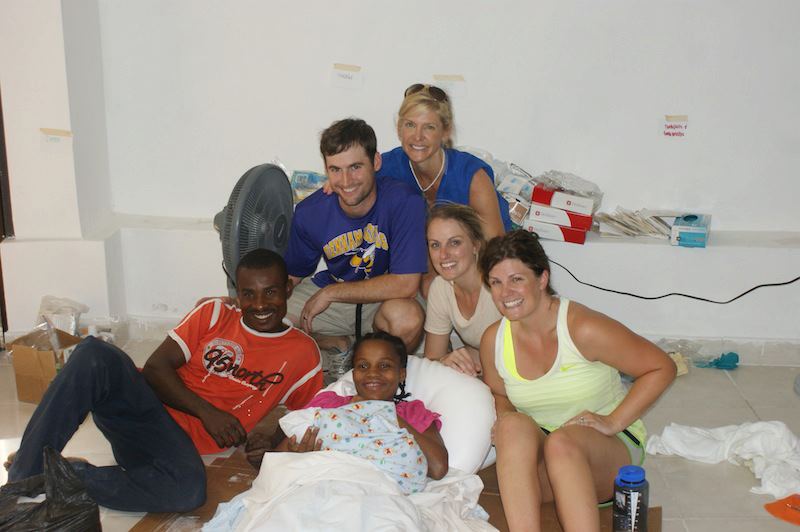
My husband, Patrick, is pictured above with the rest of the medical team that served from our church Chapel on the Campus and a Haitian couple with their new baby girl.  They helped deliver a baby and the story about that is linked here.

Geoboards

One of the teaching tools that I used to have in my classroom was a math geoboard.  What is a geoboard?  It is a teaching tool usually made up of five rows of five pegs on a square shaped plastic board.  Rubberbands are used to explore the basic characteristics of geometry, but it can be used to practice other skills as well.

 I used them for a few different things…I used them to reinforce shapes, numbers, letters, tangrams, counting, and more!

Here are a few different deals on amazon:

My favorite is the transparent geoboard because you can place a template behind it and it will help your little one “trace” the shape.

Here are my step-by-step teaching tips to introducing the geoboard to your little one:

1) First, I ALWAYS allow time for exploration with a new teaching tool.  Kids want to study it with their senses first before they can focus on what you are teaching them about the new “toy.”

2) I talk about it.  “This board has a fancy name.  It is called a geoboard, can you say that?” (time for response). “It has pegs that can hold rubberbands in place.   So, if I wrap a rubberband around this peg, and stretch it out to this peg on the same row, it makes a straight line.  Can you try that?”  (time for response)

3) Explore it’s features together.  “There are a lot of pegs on this board to hold rubberbands….I wonder how many there are. What is your best guess?” (time for response) “Let’s count them.”

4) Take a turn.  “I’m going to place a rubber band straight across the top row, one going straight down on the left side, and one going across on the bottom row.  What do you think this looks like?  What could I make with these three lines in place?”  (time for response)

5) Share a turn.  Let’s make something together.  Any ideas?  (time for response) Have a scratch sheet of paper in a geoboard template ready to brainstorm how you might make it.  Make it by helping your little one.

6) Give your little one a turn.  Let your little one try making something on their own and you stand by for affirmation and guidance.

I’d love to hear your thoughts… first time hearing about geoboards,  do you use them regularly, whether or not you would even consider using them, etc.

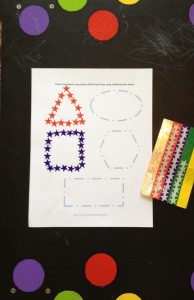
Sticker Activity Printables

I spent the babies’ nap time today making sticker activity printables that I promised you on Friday….. because I know everyone who works with kids loves a good printable 🙂

These printables have a simple instructional line at the top of the page, but my suggestion is to 1) print TWO of each, 2) MODEL how to do each page, 3) do it together, and 4) let your little one try it independently on their own page.

Hope you enjoy these:

sticker activity printables

Related Posts Plugin for WordPress, Blogger...

1 10 11 12 13 14 20