Step-by-Step Teaching Tips

5 Backyard Soccer Games For Kids – Thanks to U.S. Soccer Star Kristine Lilly & Dr. Pepper Snapple

Are there any parents out there lost in summer?
Some days I’m lost in the best ways….playing and swimming the day away with my three kids.
Other days, I’m lost in an August daydream when I will have even a few hours to run errands alone.

Even though I might get a little antsy some days for a little reprieve, I really admire (and am inspired by) moms who have not allowed their work load or daily tasks to drown out what really matters as a parent… making time for family.

So, it’s not very often that you get to spotlight a mom who has accomplished so many life goals as an athlete and entrepreneur (read bio at the end of the post!).  AND she also shares tips for moms like me, with young kids, to make time as a family (perfect timing in light of summer and the World Cup!).

U.S. soccer legend Kristine Lilly, a two-time Olympic gold medalist and Play Ambassador for Let’s Play, an initiative led by Dr Pepper Snapple Group to get kids and families active nationwide, shares tips below on how she transforms the soccer drills she learned on the field into fun games that keep her kids active all summer long.

1. Dribble Relay

o Set up some small orange cones or plastic cups in a zig-zag pattern.
o Divide your family into two equal groups and give one person from each team a soccer ball. Have the team members stand on opposite ends of the yard.
o To begin, the team member with the soccer ball has to dribble around each cone to the other side, tag their teammate and pass them the ball.
o Then, the teammate has to dribble the ball back through the cones and race to the other end of the field. The team to complete the obstacle course first, wins!

2. Kick-out Keep-away

o Great for a large group of kids, give all players a soccer ball (or any type of ball they can kick around) except for the person who is “it.”
o Set up four cones or plastic cups on each corner of your “field,” and when the game begins, all players dribble their ball while the person who is “it” tries to kick each ball out of bounds.
o When a player’s ball is kicked out of bounds, he/she is eliminated. The last player with a ball wins!

3. High-Five Goals

o Set up a couple of markers to signify a “goal.”
o Pass the soccer ball to your child, and have them kick it back to you.
o After three kicks back and forth, tell them to run over to you and give you a high-five, and then kick the ball into the goal. This is a great game for little ones!

4. Sideline Sprints

o Put a mark on the lawn or driveway about 15 yards away, or whatever distance works best for your space.
o Run to the line and back five times.
o Next, do five jumping jacks and count them off together out loud.
o Continue the sequence, but this time, run to the line and back four times, and work your way down to one time. It is a great workout game for parents AND kids, and helps little ones learn how to count.

5. Hydration Station

o It’s so important to stay hydrated when you’re playing outside in the heat. I like to keep a small cooler filled with cold water or juice in the fridge so I can easily grab it and during outdoor play in the summer.
o Just make sure your kids don’t drench the “coach” after they score a goal!

Kristine Lilly Kristine Lilly is a mom and an American soccer player who last played professionally for the Boston Breakers women’s professional soccer team. She was a member of the United States women’s national soccer team for 24 years and has appeared in more international matches than any other player in the sport, appearing in her 352nd and final match against Mexico in a World Cup qualifier in November 2010. She is the founder of the Kristine Lilly Soccer Academy and author of an e-book, Girls Soccer: My Story. Lilly lives with her husband and their two daughters outside of Boston, Massachusetts.

Halloween Game {Heads Or Tails}

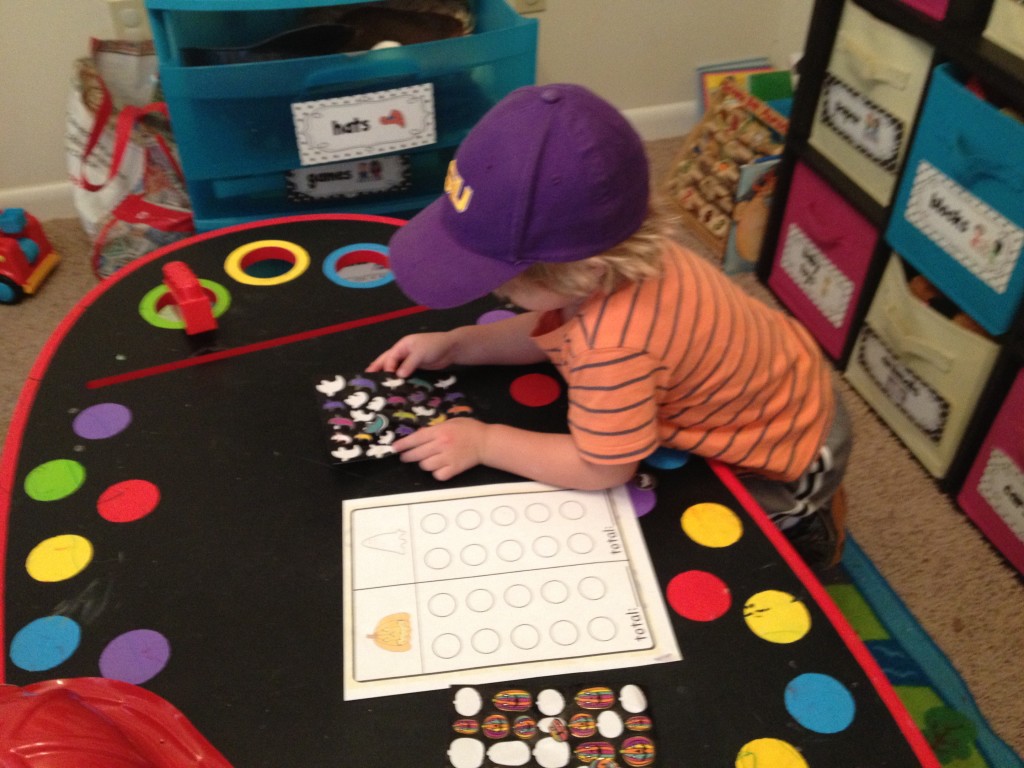
When we were “Boo’d”  the other day, we got some stickers in our little surprise basket that I wanted to do something with, but couldn’t quite put my finger on what that should be.

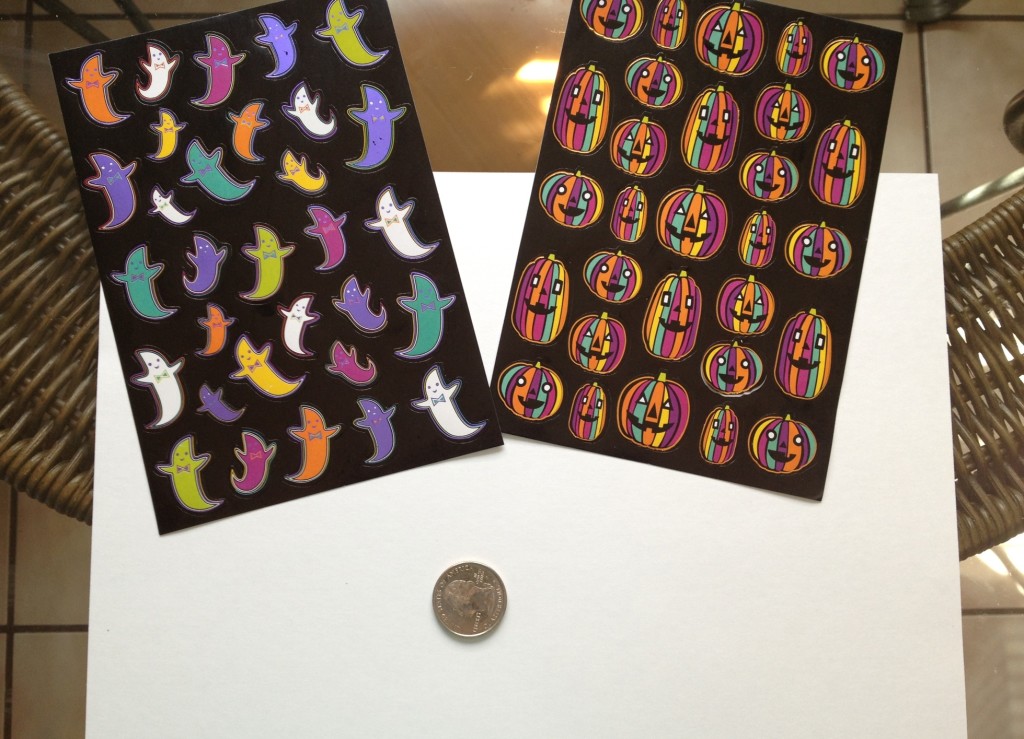
Then, for some unknown reason…. the following activity popped into my brain….I turned the stickers into a “heads or tails” game with just 5 SIMPLE materials:  2 sheets of stickers, one piece of paper, a marker/sharpie, and a coin bigger than the smallest sticker on your sheet.

game materials


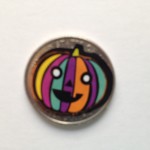
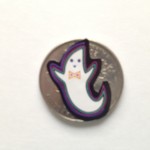
jack-o-lantern coin ghost coin

I placed a jack-o-lantern sticker on one side of the coin, a ghost sticker on another side of the coin,


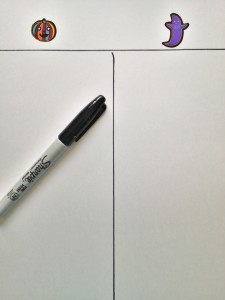
and then made a SIMPLE sorting sheet by drawing a line down the middle of the page and one at the top.  I place a sticker on either side of the sorting sheet.

simple sorting mat

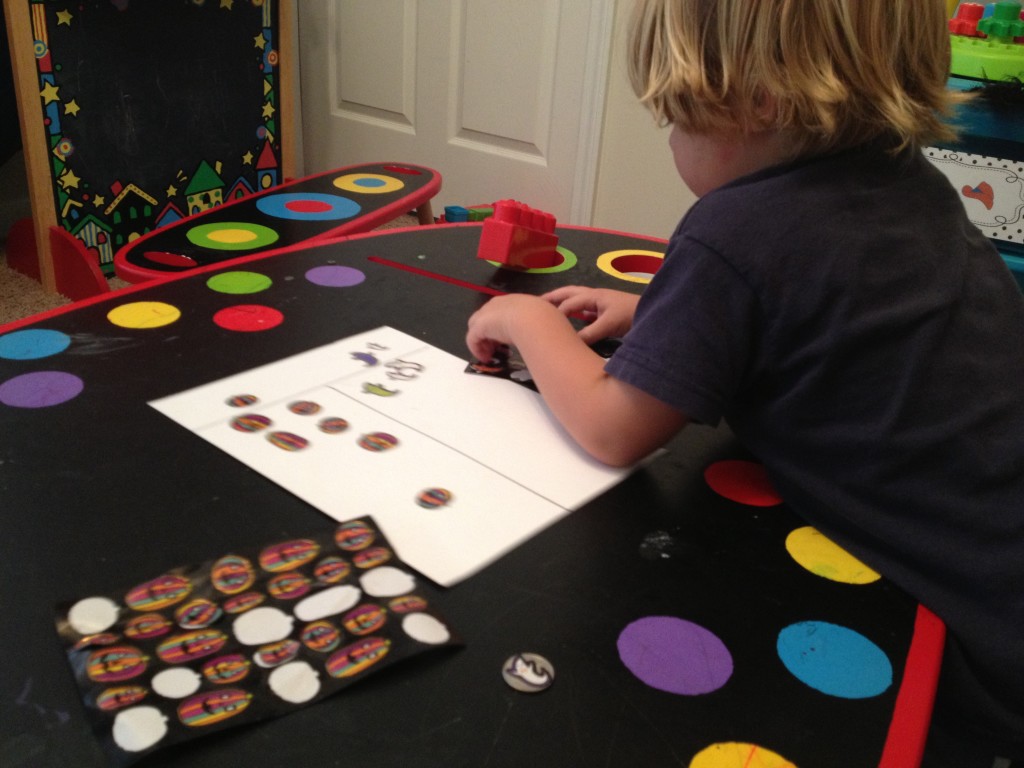
I explained to Sean Patrick that we would flip the coin to see if it landed on heads (the jack-o-lantern) or tails (the ghost) and whatever it landed on would get to put that sticker on the chart under the matching sticker.

sorting stickers

playing with my sticker template
The next day we played again using the sticker activity printable I made on the computer and I liked it better because it was easier to do 🙂

I showed him one example and then he took over and got the hang of it.


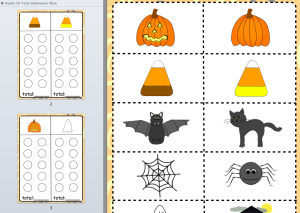
SS Halloween Game I decided to make a printable for this in case you wanted to download it and save it in your files for any teachers, homeschoolers, or for all you organized moms.

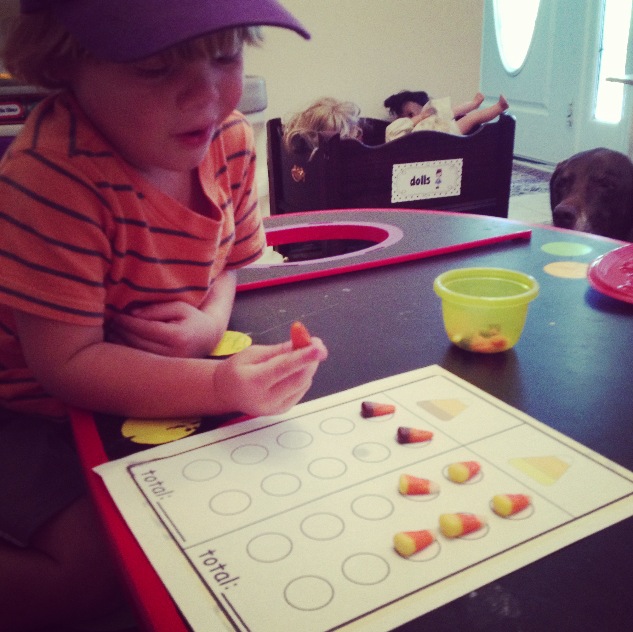
As you can see, this halloween printable has other images in case you have different stickers and it has candy corn images in case you want to sort your autumn mix candy instead.  We sorted the candy corn and had a blast…. the dog was a little jealous!

candy corn sort

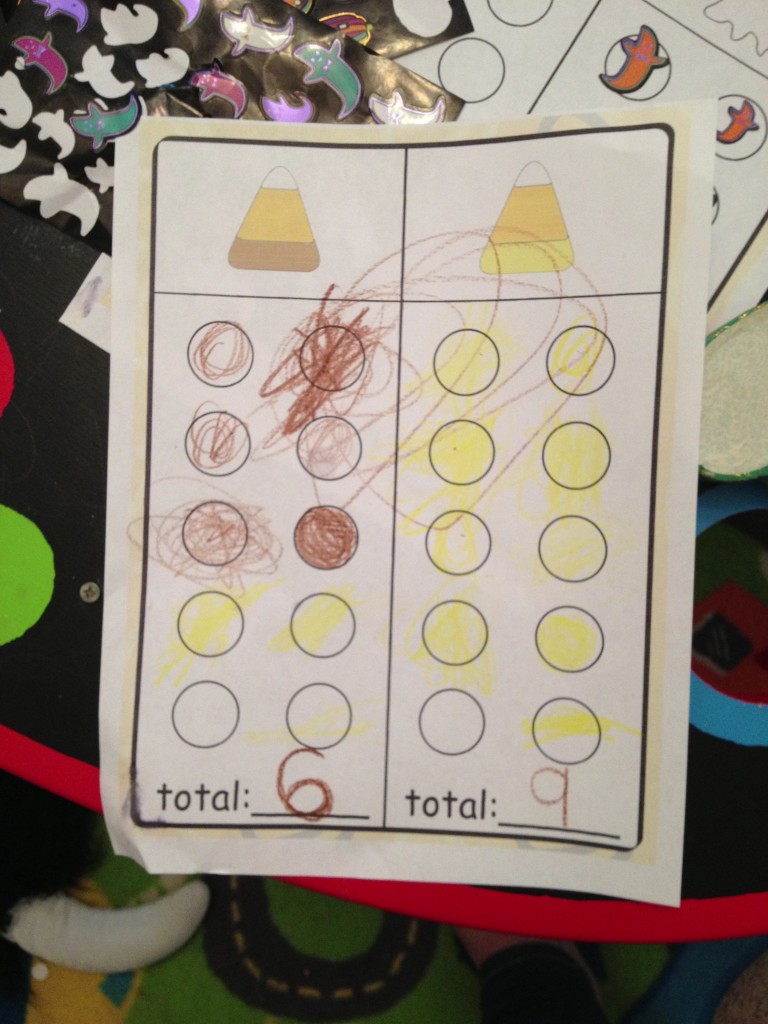
He had to color each space the matching color before he could eat each candy corn, and he got a little carried away at the end… maybe it was the sugar high.

Mommy wrote the numbers after he counted each side.

candy corn recording sheet

You can also use the other images in this printable to make playing cards for memory or Halloween Go Fish.

If you have younger kids that you would like to do this activity with, you can simply have them sort these items without any of the bells and whistles.  For the sticker activity, Just say “Let’s sort the groups of stickers.  Can you put ALL of the jack-o-lanterns on this side of the chart under the jack-o-lantern and ALL of the ghosts on this side of the page under the ghost?”

Finally, if you want the download it is just around $1 in my TeachersPayTeachers Store,

OR become a member and get this printable along with ALL of my other printables for just a few dollars more!!


Don’t Just Pin it – Do it! Jack-O-Lantern Art

Recently in my mom group we were talking about how we are more likely to pin, than to DO the activities with our kids.

I admitted that this was a tendency of mine too but that I had recently committed to make a habit to plan on DOING at least one activity from my Pinterest boards a day… which may mean that I need to pick one the night before to make sure I have what I need.

The activity I’m going to share today isn’t one that I had on my Pinterest Board “October Activities” but it will be added today because it was always one of my favorite activities in the classroom and I had fun doing this activity with Sean Patrick.

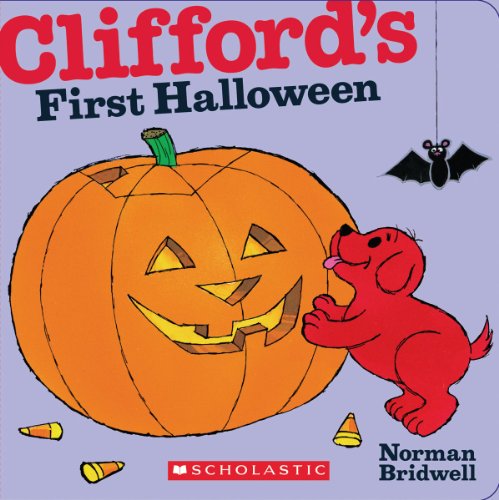
I read this book so I could show the kids a jack-o-lantern and we could talk about the colors, shapes, and function of a jack-o-lantern Clifford's First Halloween

(If you do not participate in halloween you can still make this craft asa Fall pumpkin).

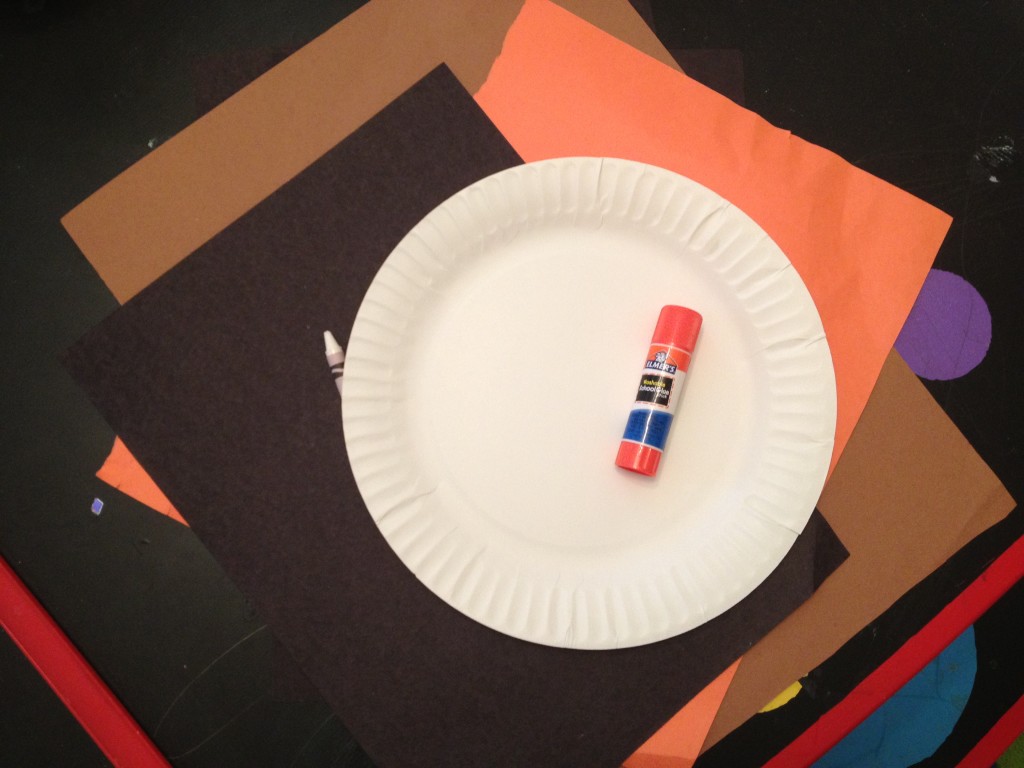
First, I pulled an orange sheet of construction paper, a brown sheet of construction paper, a black sheet of construction paper, a yellow sheet of construction paper, a white crayon, and a glue stick…. these materials can vary (if you don’t have one of those colors then COLOR a white sheet of computer paper (that is what I did for the stem of the pumpkin).

Yellow piece of construction paper not pictured.

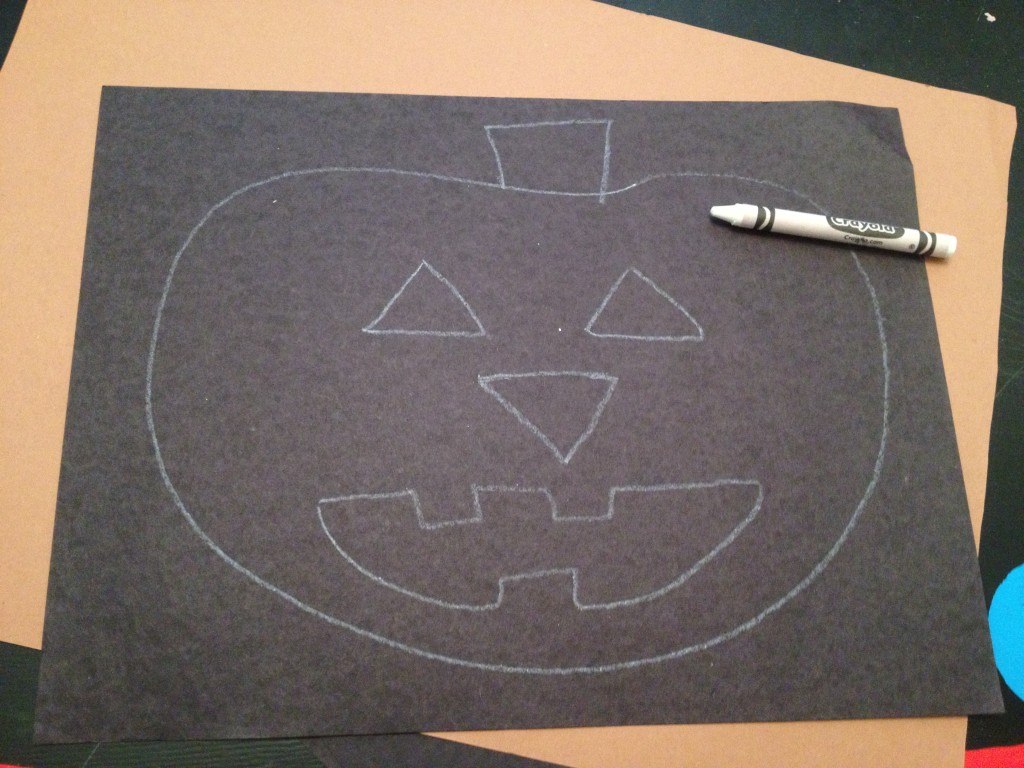
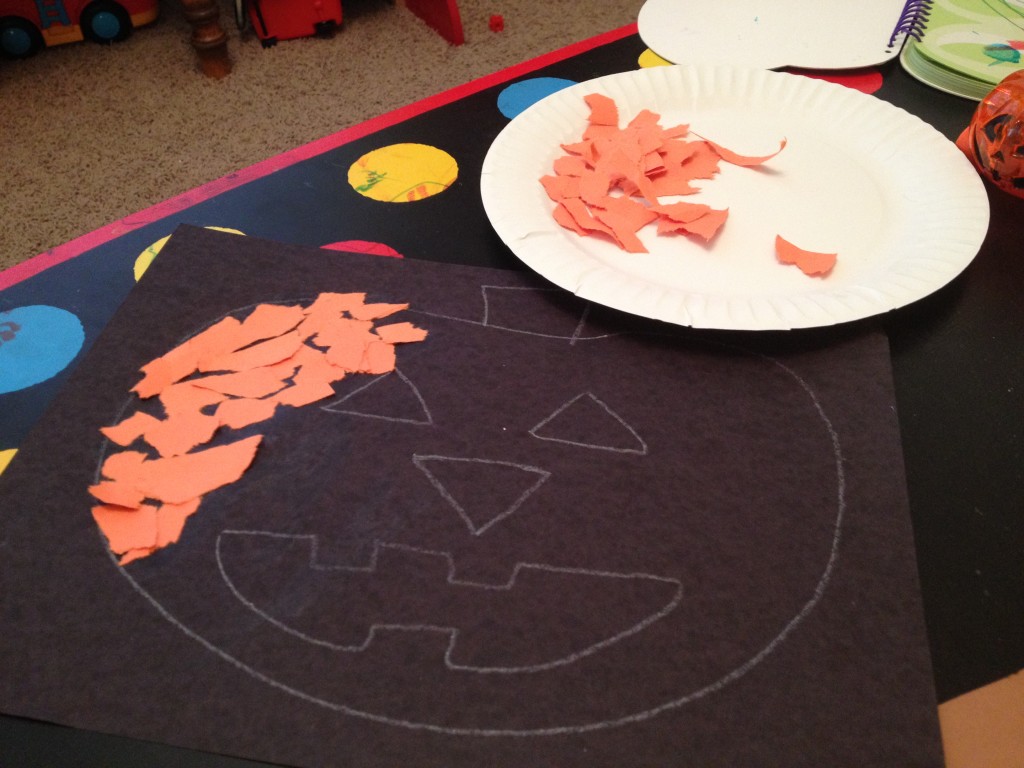
Next, I drew a pumpkin shape with my white crayon onto the black construction sheet of paper.  I drew triangle eyes, a nose, and a mouth that you can fill in with yellow construction paper or leave blank. Great time to talk about shapes 🙂

jack-o-lantern on black paper

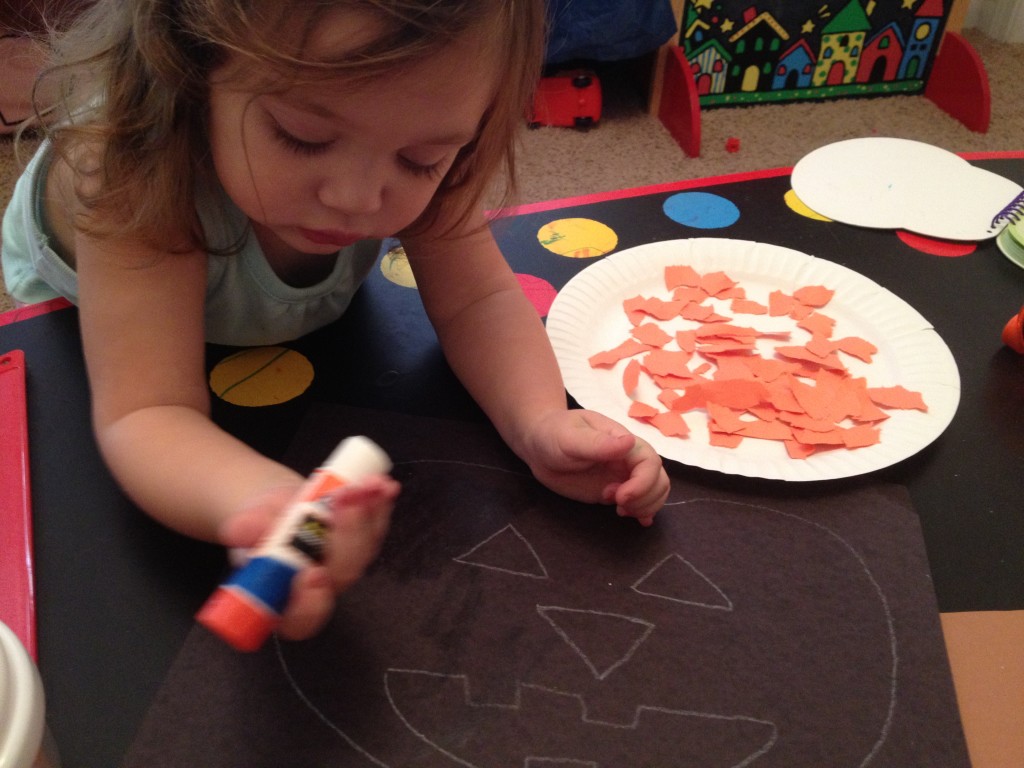
Then,  together the kids and I tore the orange sheet into lots of pieces, and we used the glue stick to cover the inside of the shape on everything that we wanted to be orange.

glueing paper to jack-o-lantern

And, we covered the pumpkin (or jack-o-lantern when you glue around the facial features).

covering jack-o-lantern

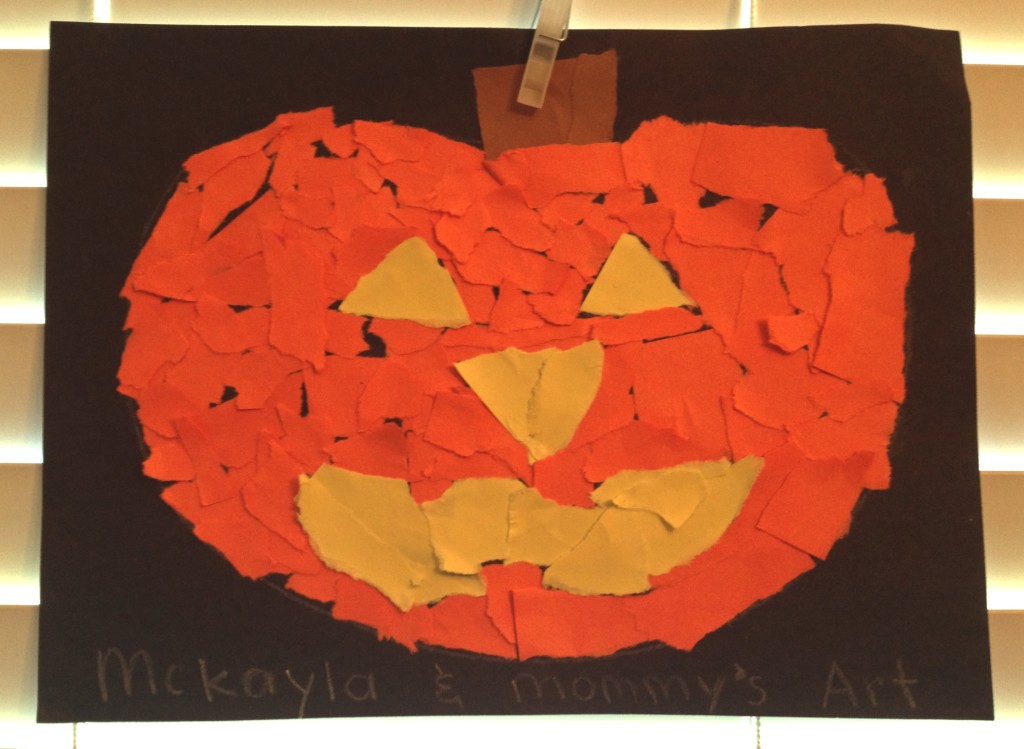
Finally, we filled in the stem with brown, the facial features with yellow, and hung it up on our playroom blinds with a clothespin to take pride in our Jack-o-lantern!  (If I did it again I would start with the yellow facial features then do the orange).

jack-o-lantern tear art

We had fun, we accomplished something together, and they “worked out” their little fingers which is always a great way to prime them for writing.

This craftivity would be best for a four and up child in my personal opinion, but we didn’t finish this in one sitting and mommy helped A LOT!

After sharing one of these pics on my Instagram, a mommy teacher friend of mine took this approach….

painting jack-o-lanterns

And I LOVE LOVE LOVE that she used what she had, she made an activity geared toward her girl’s interests, and she inspired me to do this spin on the activity too! Thanks Allie!


Bat-Math Printable

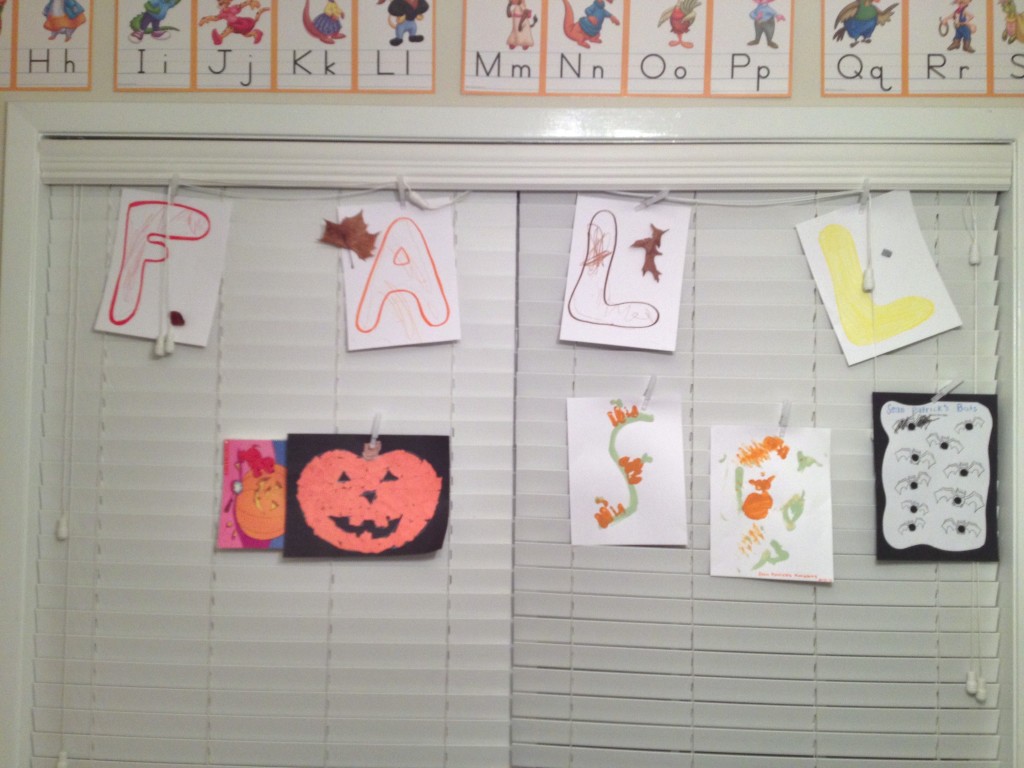
I was inspired by another mommy teacher and finally got my act together and started hanging our Fall activities on the blinds of the playroom and it got me SO motivated to purpose even more seasonal teaching moments.

I am not over-zealous… I purpose one activity a day… and today’s activity was “Bat- Math.”   I wanted to give y’all the step-by-step breakdown in case you wanted to print this FREE Bat-Math Printable and have some duh nuh nuh nuh nuh nuh nuh nuh da nuh nuh nuh nuh nuh BAT – MATH.  Sorry, had to set the tone for this.

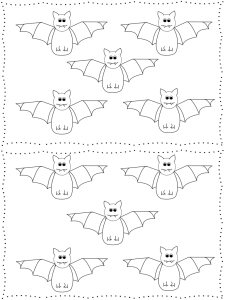
The way that my mini bat-math lesson started is funny… Bat Printable I found a VERY simple page with the outline of 10 bats in an Elmo activity book (by the Count) and I thought…

Today, Sean Patrick is going to learn that The LAST NUMBER he says when counting is the AMOUNT of bats that there are on this page.  (I know that that is an abnormal thought).  That is a common core math standard – that children can simply recognize that the last number they say represents the amount in the group they are counting. (Example: If there are 5 bats on the page then when I count 1-2-3-4-5, I know that there are FIVE bats because it was the last number that I said when I counted the last bat).

I started with too many – I will be honest.  The page had 10 bats.  He can count to 10 but I wish I would’ve started with 5…. which is why I made this free printable with 5 and with 10 because you know your kiddo and can choose.

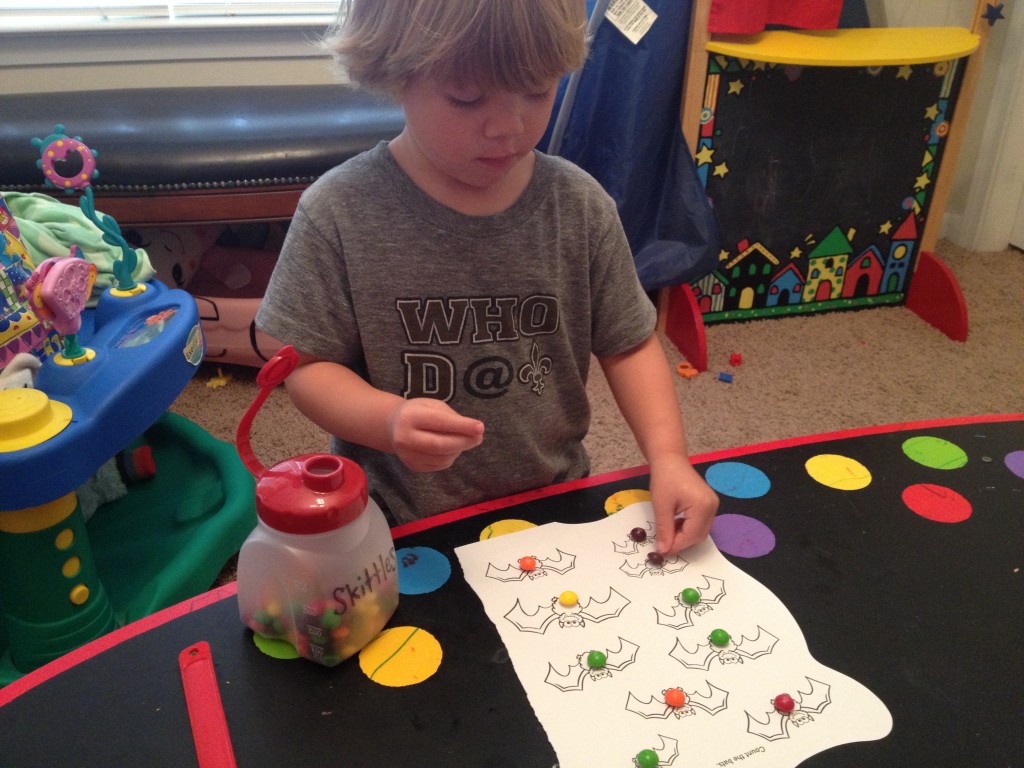
Skittle one to one

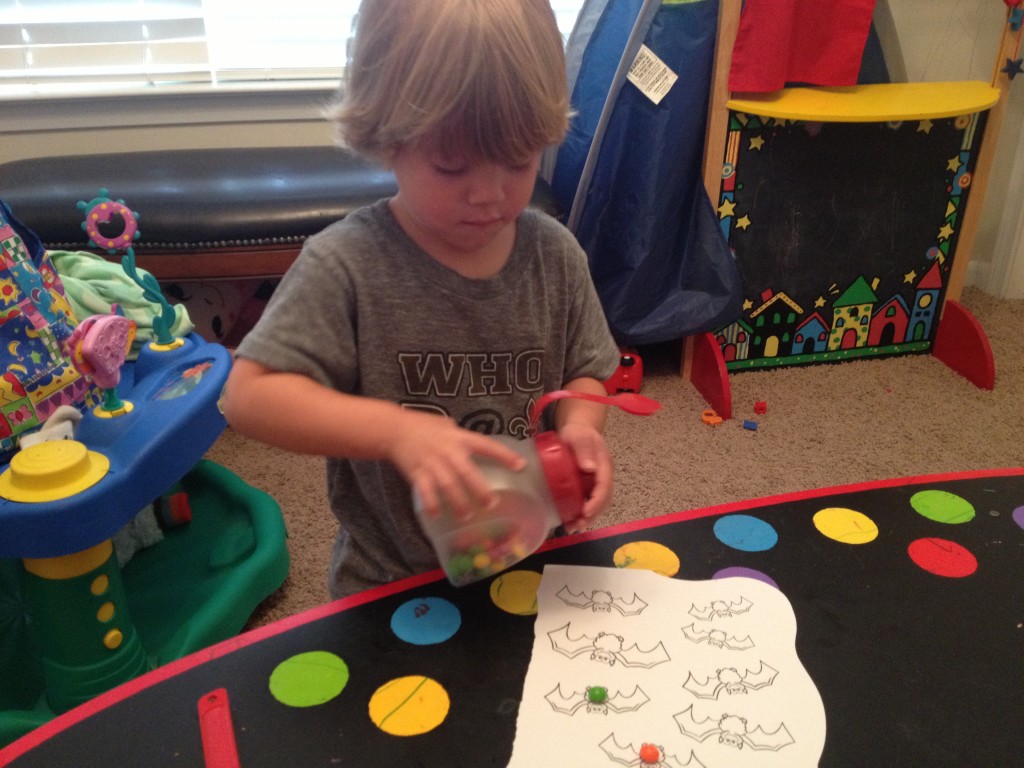
First I said “Alright Sean Patrick… today lets cover up each one of these bats with skittles.  Each bat gets ONE skittle so that we can count how many bats there are.  When we figure out the right number of bats then we can eat that many skittles!” (once again… he normally only gets to eat THREE skittles so I wish I would’ve started with my own printable haha).

bat printable with skittles

He covered up each bat (one skittle on each bat) and then started to count.  He counted slow – one number for each skittle which is GREAT, but he miscounted because he didn’t count strategically (he started at the bottom and jumped up and around) so I said “Okay baby, try counting from the top then over, and go to the next line so we can count the right number. “

He tried again and he said “ten” but kept counting.

So I said “That was great counting…. lets try it one more time and when I say STOP, try to remember the number that you said!”

He counted it again and then I said “What was the last number you just counted to?”…. he said “five” haha okay this is great….this is the moment I realized 10 was too high to count a group number, and it was the moment that I realized we could work on this one skill all week.

Then we counted it again and I said “Did you hear yourself count to ten…. watch mommy and listen…. I shouted “10!” when I counted to that number and then said “How many?” and he finally said “Ten!”

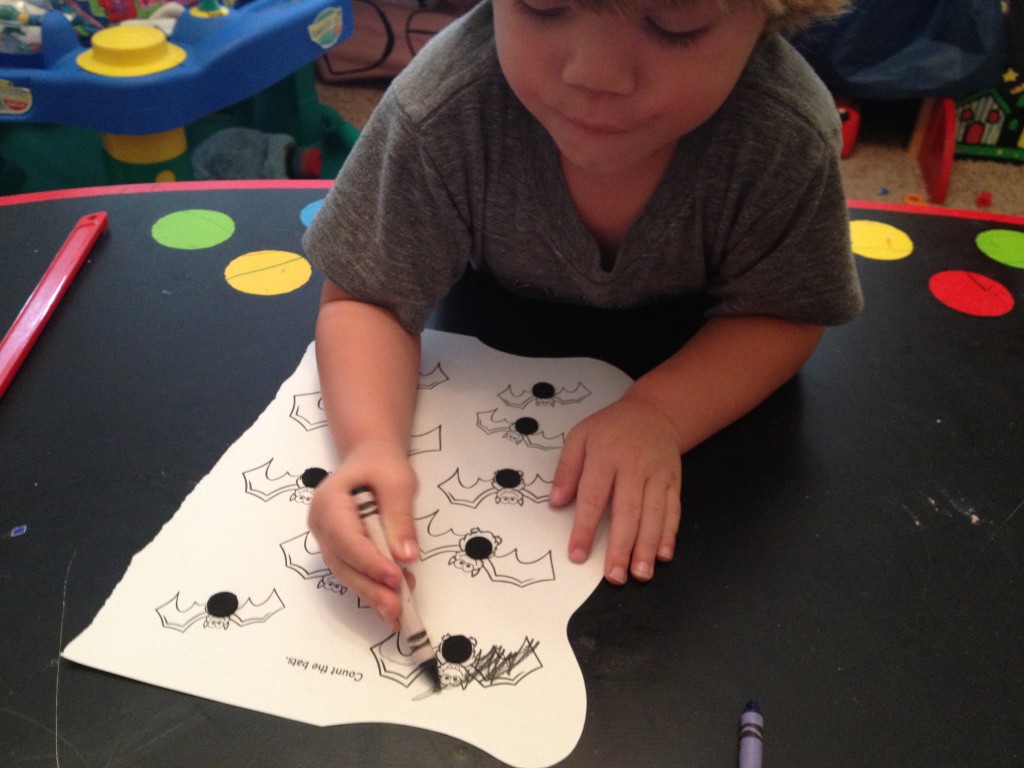
I said “YEAH! lets celebrate great counting… eat your treats and then we will give all TEN bats a sticker, then we can color them.  Let’s put the stickers on in the same “smart way” to count…. from the top to the bottom.

Bat With Stickers

He was content with coloring just one bat so we glued the “finished” product onto a black sheet of construction paper and hung it up on our “fall art” wall…. (which I will share the play-by-plays of those activities next week).

fall playroom wall

Writing and Tracing Tips and Ideas

Sean Patrick has really just lately taken an interest in writing.

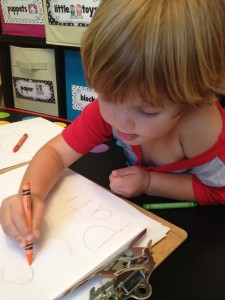
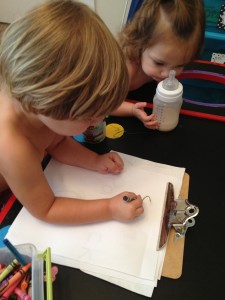
Compare his grasp here to the ones in the following picture and you will see that he is just getting used to the "alligator chomp."
Compare his grasp here to the ones in the following picture and you will see that he is just getting used to the “alligator chomp.”

We have done lots of pre-writing activities to work out his little muscles in his hands to ready him for writing…with Playdough, drawing in the dirt with sticks, driving his little cars all over different surfaces, chalking outside, coloring, tearing paper, etc.

But only lately has tracing HIS letter “S” really become a priority.

When I introduced him to holding his crayon with the “ALLIGATOR CHOMP” he became obsessed with it… he would literally tell random receptionists in offices that he could hold his crayon with the alligator chomp too.

This grip has to be modeled and you may have to take your little one’s hand to get them to have a feel for it, but first we did the alligator chomp without holding anything in our hands.

I have really started to take advantage of the love of his pencil grasp and his love for his letter S by trying out lots of different tracing activities.

I always model what he is going to do first, then I take his hand and we do it together (if he will let me – independence is important to him too), and then see what he can do on his own.

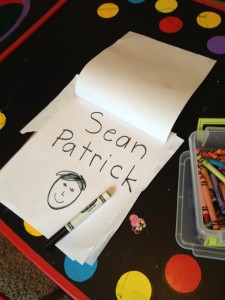
1) I wrote out his name while singing his song (I always do this first…. he knows his song).

IMG_8782 - Copy

2) Then I showed him how to trace his S with a little saying “Make a ‘c’ and then back around” (talking out the process of making the letter is important).

rainbow writing 4

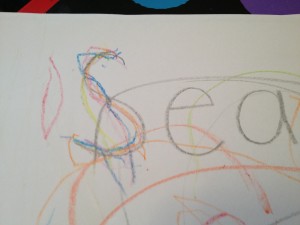
3) He then traced his “S” in every color … also called “rainbow writing”

rainbow writing 3
His little sister scribbled all over it but you can see that he had fun with his “S”

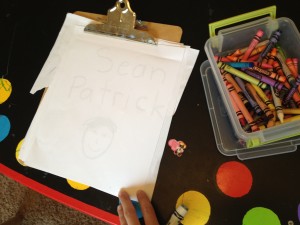
4) We then put a  paper over his name written in black marker so he could trace his name that way.

IMG_8783 - Copy

IMG_8785

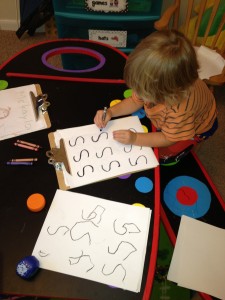
5) Since he mostly focused on “S” we made an entire page of just “S” and he had so much fun with this.  He finally took off the top paper and started tracing his “S” with all the colors again, but side by side as shown in the following picture would be the next step after he masters tracing 🙂

IMG_8820 - Copy

If you try this and it is not fun for your little one… then go back to some of the pre-writing activities I mentioned earlier.  You don’t want writing to be stressful for your little one… your little one will write when he/she is ready 🙂

Here is a short video demonstration:

If you have any questions or tips to add then please message or share them here in a comment on this post!

Related Posts Plugin for WordPress, Blogger...

1 2