Displaying Children’s Work

Sun Crosses – Easy Easter Craft

I had planned to do a different Easter craft activity every day this week, but you know what?  This week FLEW by and we were never home!

Being Spring Break, I knew my kindergartner would want to be on the GO so I planned the week chock full of stuff… play dates to the park, zoo, arcade and more!  So needless to say that by the time we got home, took naps, woke up, it was already dinner time!

Tonight we will be having a glow in the dark Easter egg hunt with all of our friends at our house!  It will be so much fun!  (If you want to do this, simply get a package of LARGE plastic eggs and glow in the dark bracelets to fill them.  Then throw them in your yard.  Bam!  Glow in the dark Easter egg hunt).

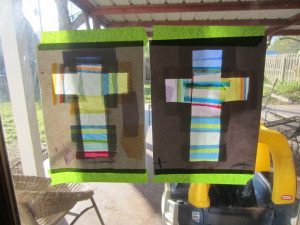
Anyway… onto the ONE Easter craft we were able to d IMG_7535 o – and we were able to complete it in about 15 minutes before we left for a play date one day this week!  My kids call them Sun Crosses, for lack of a better name.
 

Materials:
2 sheets of paper per kid, scissors, tissue paper and stick glue

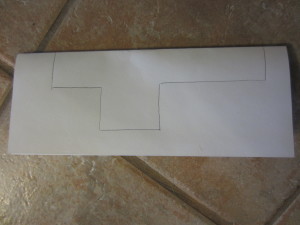
Step 1.  Fold the 2 sheets of paper in half long ways together.

Step 2.  Draw half of a cross on the fold.

IMG_7564

Step 3.  Cut out the 1/2 cross.

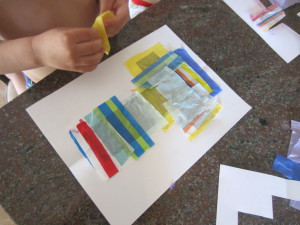
Step 4.  Flatten one cross and cut 3-4 inch strips of tissue paper (or use one large sheet of tissue paper for your entire cross).

Step 5.  Put the stick glue around the outside edge of the cross. IMG_7532
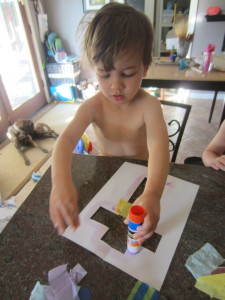
Step 6.  Place the tissue paper across the opening for the cross.  Do not leave any gaps.

IMG_7533

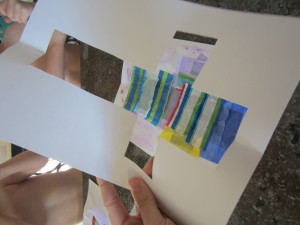
Step 7.  Take the other sheet of paper with the cross cut out and cover one side with the stick glue.  Then glue it directly on top of the other cross on the tissue paper side.

IMG_7534

Step 8.  Add your own artistic flare around the crosses.

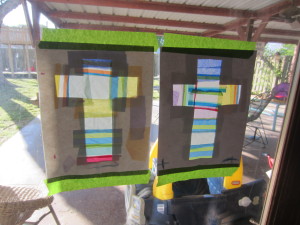
Step 9.  Place in a sunlit window and watch the light shine through the cross!

IMG_7536

Happy Easter, y’all!!!

Plate ART

I threw out the uppercase  A-R-T  in the title of this post because even though my friend and I had a blast decorating plates with our kids, the following images do  NOT show plates that you can eat from or really even wash.  They will be on a plate stand in the kitchen most likely 😉

IMG_6139

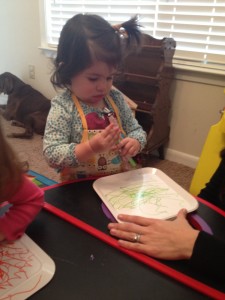
My friend Allie and I are both 24 weeks pregnant, we both have a two year and a half year old, and we both have a one year old (this was not planned by the way).  So, we have had a sleepover this weekend to let our crazy worlds come together for a few days.  It has been so sweet, and funny, and crazy of course.  We decided it would be fun to let the little ones do an art activity together.

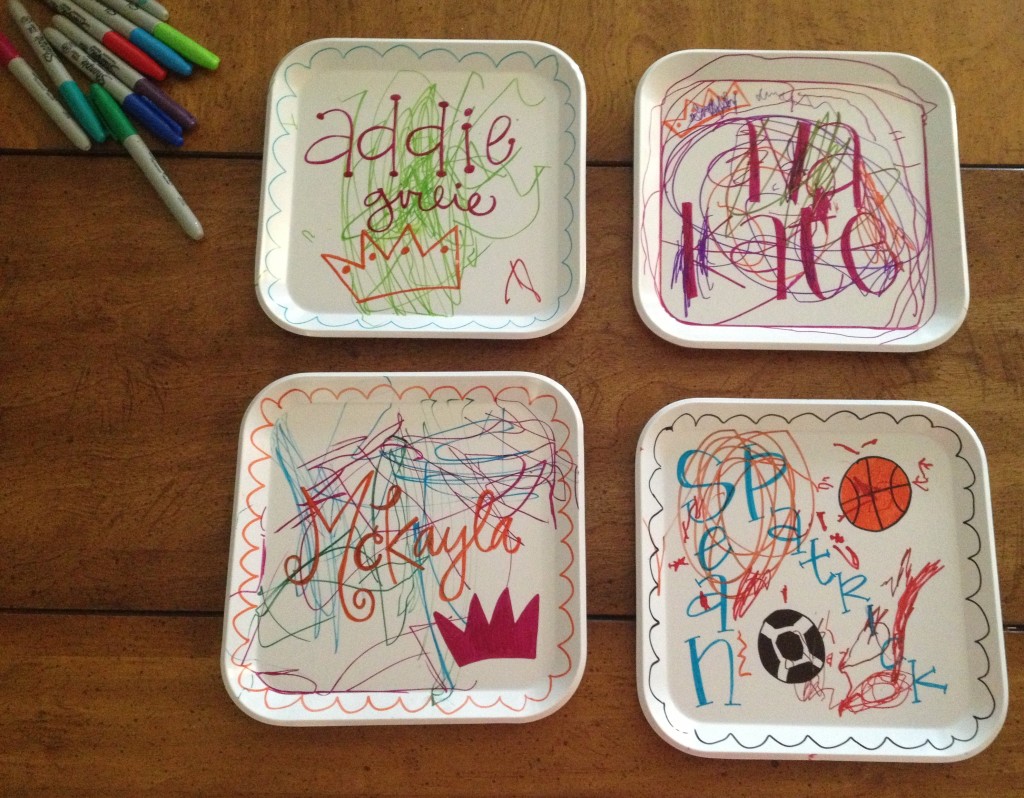
We found some pefect small, white melamine plates at Target and purchased some colorful sharpies, we headed back home to let our little ones decorate away. (PS – we learned the hard way that the bamboo melamine plates we found at Big Lots were a NO GO!  Just trust me on this one.)

My friend Allie can write really cutesie and I can NOT write cutesie at all so she personalized all of the plates for us.  Thanks Allie ! 🙂

IMG_6138

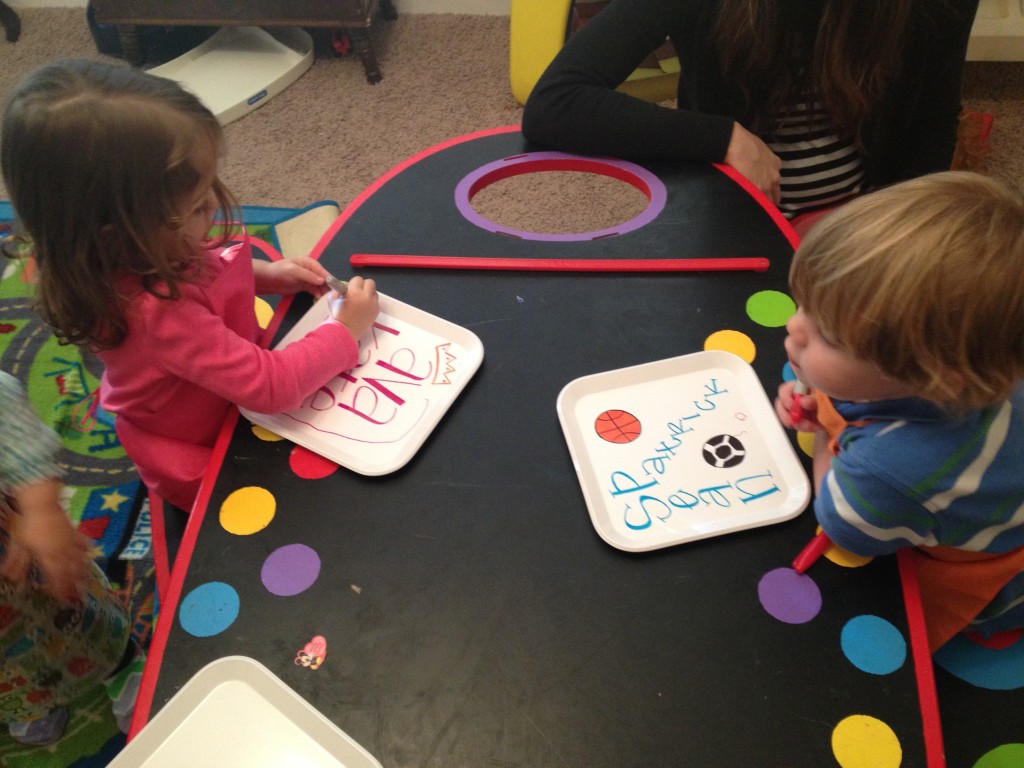
We threw aprons on the little ones and let them color on their plates….

Decorating Around Names

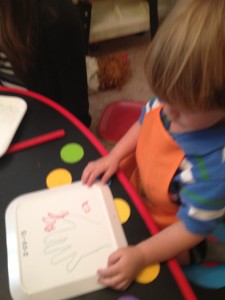
Then, we threw aprons on the one year olds and let them color on their plates (without their names on them), and we found out that this actually worked better to write the name AFTER coloring.

IMG_6136 IMG_6135

This next low-quality shot is just showing that I traced my little ones’ hands on the back and wrote the date.

IMG_6133

I had originally intended to make dinner plates, but it didn’t quite workout that way.  And after researching melamine and the process of making dinner plates, I was even more happy with the final product as a keepsake.  We wanted a fast and funky activity to do so this was perfect for the weekend.   But I found this if this is your kind of thing….. http://www.ehow.com/how_6913770_paint-melamine-dinner-plates.html  –  I’m sure I’ll make this happen in the future too 😉

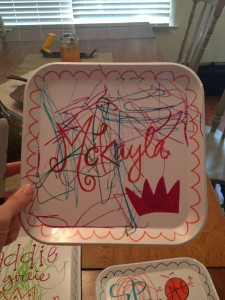
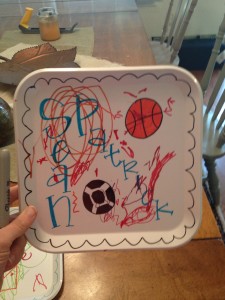
Once again…here are my two kiddos plates…..up close and personal:

IMG_6146 IMG_6145

I am happy with the way they turned out!

Folder Finds…Trash or Treasure?

During the school year so many things come home in the back pack/folder; so many pictures are made just for you. This means that you have to choose whether you want a huge box full of papers to stash OR you can condense and keep a neat collection of work that shows growth over the course of the year.
One great way to display work your little one creates is to place the work in a sheet protector before putting it on the fridge. I know this seems overzealous but here is my reasoning:

 1) You can preserve their work.
2) When you are ready to put a new picture on the fridge, you can take the old one down and stick it right into a binder.
3) You show your little one that you really prize their hard work and display it proudly.

Here is how I decide what to display…. In the classroom, I encouraged little ones that the things that go on the “wall”:
1) Have meaning – they remind them of something.
2) Shows their best work – they put a careful, attentive amount of time into it.
3) May be unique – it is different in some way from other things saved in the binder.
4) Have added detail – has something extra special about it (a new word, a new attempt to draw something, etc.)

*Obviously, you don’t want to disqualify their work if it doesn’t meet the “criteria,” you just want to start talking to them about the work that is extra “fancy” and is unlike anything else they have ever done.
Last bit of advice:
Date it….you WILL forget and it makes it easier to organize when you have a timeline.

Discuss it….whatever your little one learned, bring it up again…reinforce that skill.

OR…. take a picture…. it lasts longer!

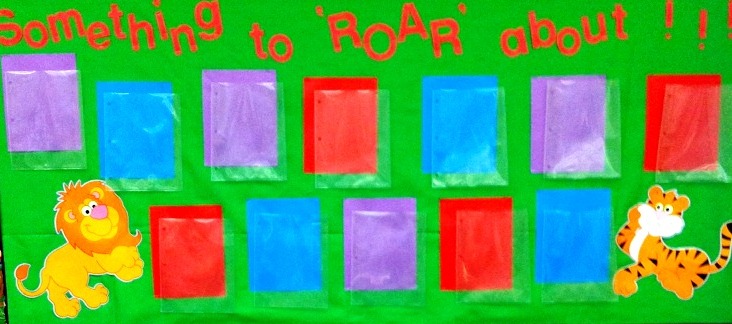
Here is an example of the sheet protector display that a classroom teacher and friend of mine, Taryn, uses for her precious little ones.  I thought you may want to “borrow” this look (contruction paper-backed sheet protector) for your fridge or make a mini display board to hang across from your pantry:

Now it’s your turn…..for a “mommy share” question:
** How do you choose which artwork you display & how do you display it?**
If there is enough of a response and enough good ideas I am going to condense them and put them into a post for all mommy teachers to benefit from. And I’d love for you to share pictures on the mommy teacher facebook page.

Related Posts Plugin for WordPress, Blogger...