Halloween

Bat-Math Printable

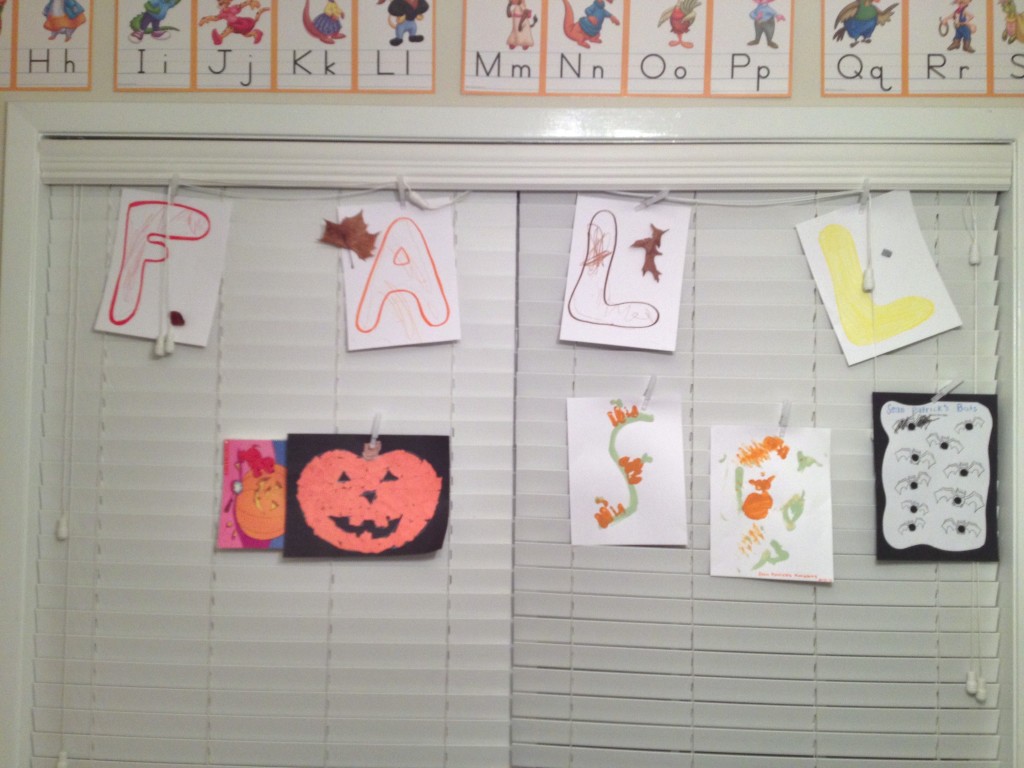
I was inspired by another mommy teacher and finally got my act together and started hanging our Fall activities on the blinds of the playroom and it got me SO motivated to purpose even more seasonal teaching moments.

I am not over-zealous… I purpose one activity a day… and today’s activity was “Bat- Math.”   I wanted to give y’all the step-by-step breakdown in case you wanted to print this FREE Bat-Math Printable and have some duh nuh nuh nuh nuh nuh nuh nuh da nuh nuh nuh nuh nuh BAT – MATH.  Sorry, had to set the tone for this.

The way that my mini bat-math lesson started is funny… Bat Printable I found a VERY simple page with the outline of 10 bats in an Elmo activity book (by the Count) and I thought…
Today, Sean Patrick is going to learn that The LAST NUMBER he says when counting is the AMOUNT of bats that there are on this page.  (I know that that is an abnormal thought).  That is a common core math standard – that children can simply recognize that the last number they say represents the amount in the group they are counting. (Example: If there are 5 bats on the page then when I count 1-2-3-4-5, I know that there are FIVE bats because it was the last number that I said when I counted the last bat).

I started with too many – I will be honest.  The page had 10 bats.  He can count to 10 but I wish I would’ve started with 5…. which is why I made this free printable with 5 and with 10 because you know your kiddo and can choose.

Skittle one to one

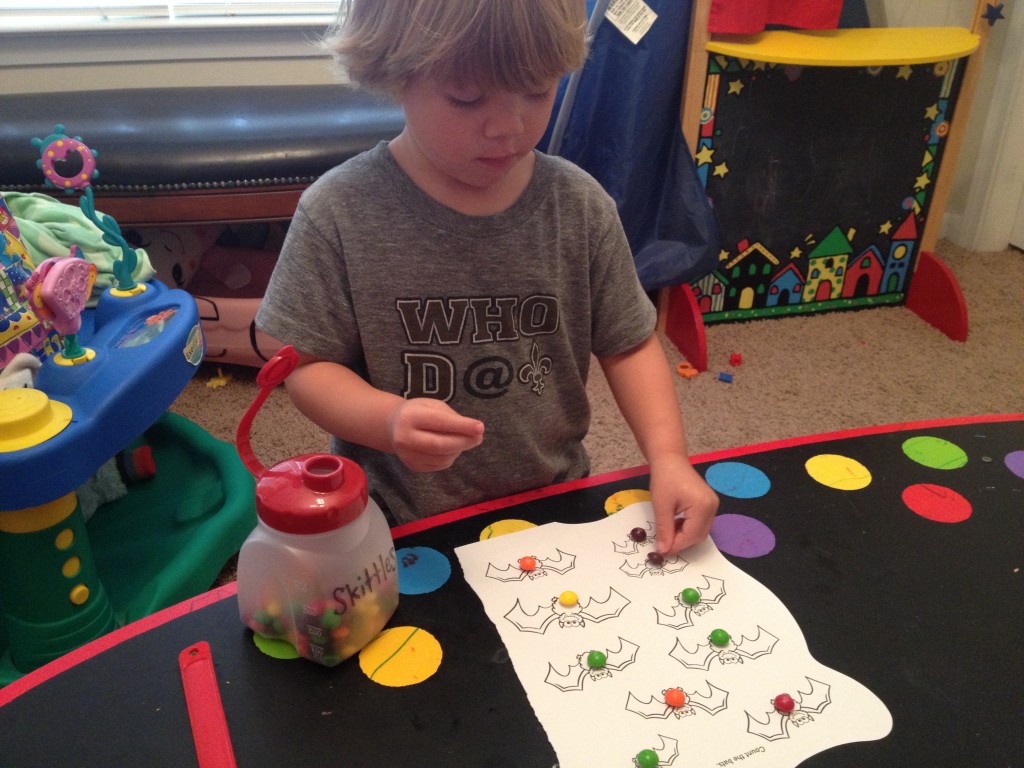
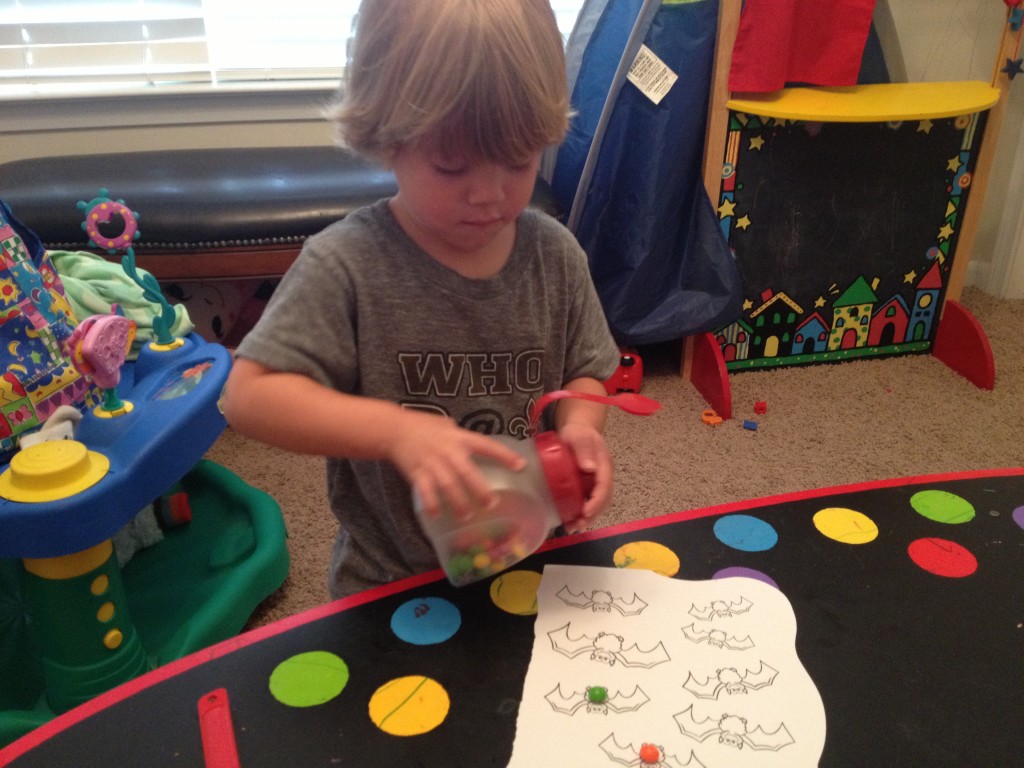
First I said “Alright Sean Patrick… today lets cover up each one of these bats with skittles.  Each bat gets ONE skittle so that we can count how many bats there are.  When we figure out the right number of bats then we can eat that many skittles!” (once again… he normally only gets to eat THREE skittles so I wish I would’ve started with my own printable haha).

bat printable with skittles

He covered up each bat (one skittle on each bat) and then started to count.  He counted slow – one number for each skittle which is GREAT, but he miscounted because he didn’t count strategically (he started at the bottom and jumped up and around) so I said “Okay baby, try counting from the top then over, and go to the next line so we can count the right number. “

He tried again and he said “ten” but kept counting.

So I said “That was great counting…. lets try it one more time and when I say STOP, try to remember the number that you said!”

He counted it again and then I said “What was the last number you just counted to?”…. he said “five” haha okay this is great….this is the moment I realized 10 was too high to count a group number, and it was the moment that I realized we could work on this one skill all week.

Then we counted it again and I said “Did you hear yourself count to ten…. watch mommy and listen…. I shouted “10!” when I counted to that number and then said “How many?” and he finally said “Ten!”

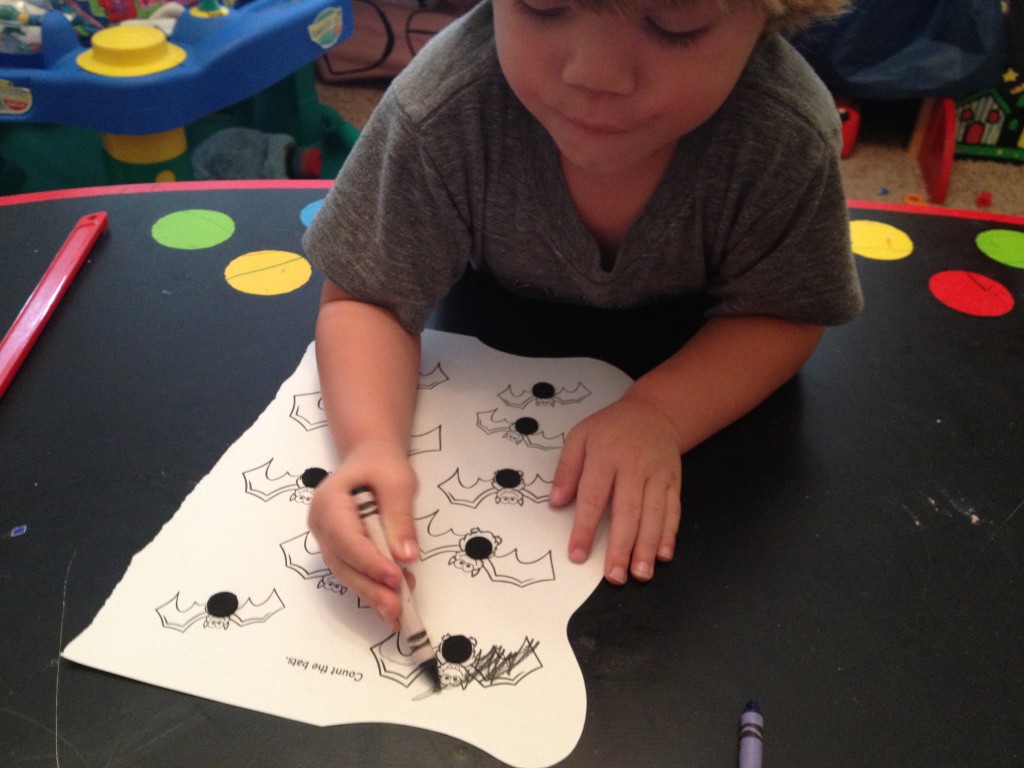
I said “YEAH! lets celebrate great counting… eat your treats and then we will give all TEN bats a sticker, then we can color them.  Let’s put the stickers on in the same “smart way” to count…. from the top to the bottom.

Bat With Stickers

He was content with coloring just one bat so we glued the “finished” product onto a black sheet of construction paper and hung it up on our “fall art” wall…. (which I will share the play-by-plays of those activities next week).

fall playroom wall

DIY Peel & Stick Window Decals

IMG_20131013_082342_031 My mother-in-law just did a super fun and easy Halloween craft with the kids (and me…she brought extra supplies because she knew I’d want to do one too!).

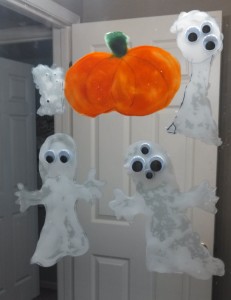
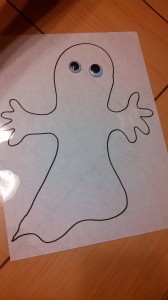
We made ghost and pumpkin window peels/decals and decorated the kid’s bathroom for Halloween.  We had so much fun doing this super easy craft that I think we might just have to make our own window decals for every holiday!


Materials for Ghost Window Decals:

  • transparency sheets
  • white paper
  • school glue
  • permanent marker
  • googly eyes (optional)
  • nail polish remover

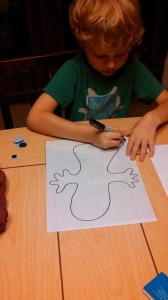
Step 1:  Place a blank paper underneath your transparency (easier to see that you are not writing on your table with a permanent marker).

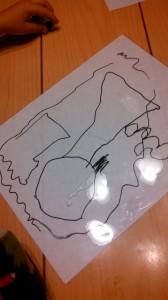
Step 2:  Draw your picture onto your transparency using your permanent marker.

IMG_20131011_210820_181 IMG_20131011_210842_900


Tip:  My 6-year-old had the genius idea to TRACE a picture.  Look through a few coloring books or print a picture off the computer of a simple shape to trace.

IMG_20131011_210849_334

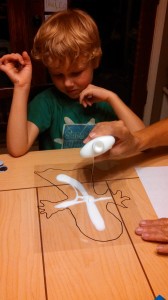
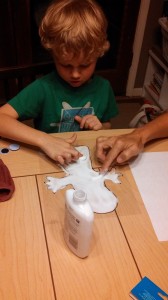
Step 3:  Pour a whole lot of glue inside the outline of your picture and use your finger to “paint” the picture.*  Make sure the glue is thick and even across your entire picture.  It’s ok if the glue goes out of the lines, you can trim that off later.

IMG_20131011_210958_639 IMG_20131011_211328_667

Step 4:  Place your transparencies on a flat surface to dry.  You will be finishing your craft tomorrow.  When all of your glue has turned from white to transparent, it is dry.  (We let ours sit for about 24 hours).

Step 5:  Using a small amount of glue, place googly eyes on your ghost.  Wait for the glue to dry.

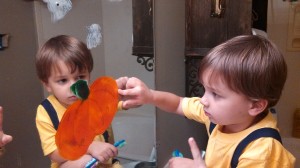
Step 6:  Peel off and stick to your window or mirror!  (Getting it started to peel off is the tricky part.  Try bending the transparency while using your finger nail to lift it from the sheet.  Then gently peel it off.)

IMG_20131012_203007_822

Step 7:  Use nail polish remover to erase the permanent marker from the transparencies and begin the craft all over again!

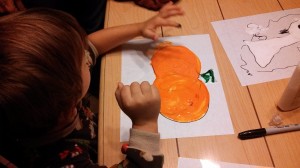
*To make COLOR decals, when doing Step 3, add a few drops of food coloring to your glue and mix together while you are spreading it.  For our pumpkins, we added 4 drops of yellow to 1 drop of red in the glue and mixed it together to make orange.

IMG_20131011_212046_150

Another option is to use fabric paints instead of glue, but 1. I love finger painting with glue, and 2. using glue is a cheaper alternative to fabric paint.

If you do this craft with your children, please post pictures to The Mommy Teacher Facebook page!

Halloween “We’ve Been Boo’d” Free Download

I was going to wait til’ Monday to share this with you, but I couldn’t wait any longer and I wanted to give everyone enough time before Halloween to make this happen in your neighborhood if you wanted to.

Neighborhood "Boo"
We wen’t “boo”ing in our neighborhood all morning and it was a blast!

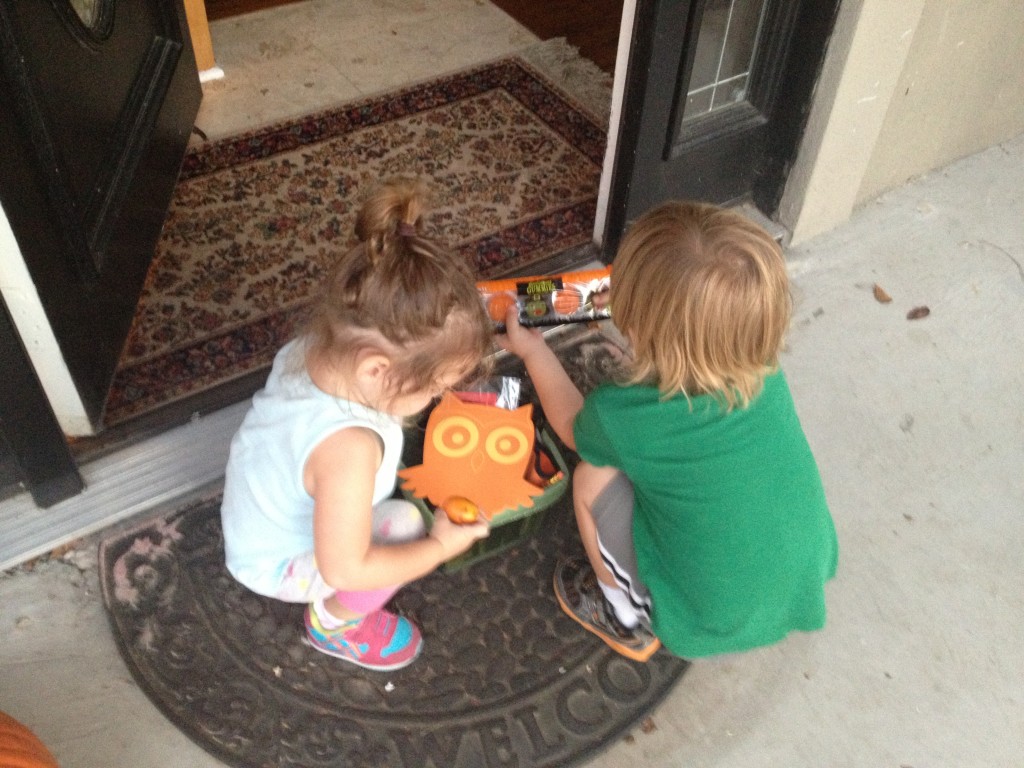
Two days ago we were surprised by a basket of Halloween goodies on our doorstep… I still don’t know who did it but it was so fun!

Halloween Surprise

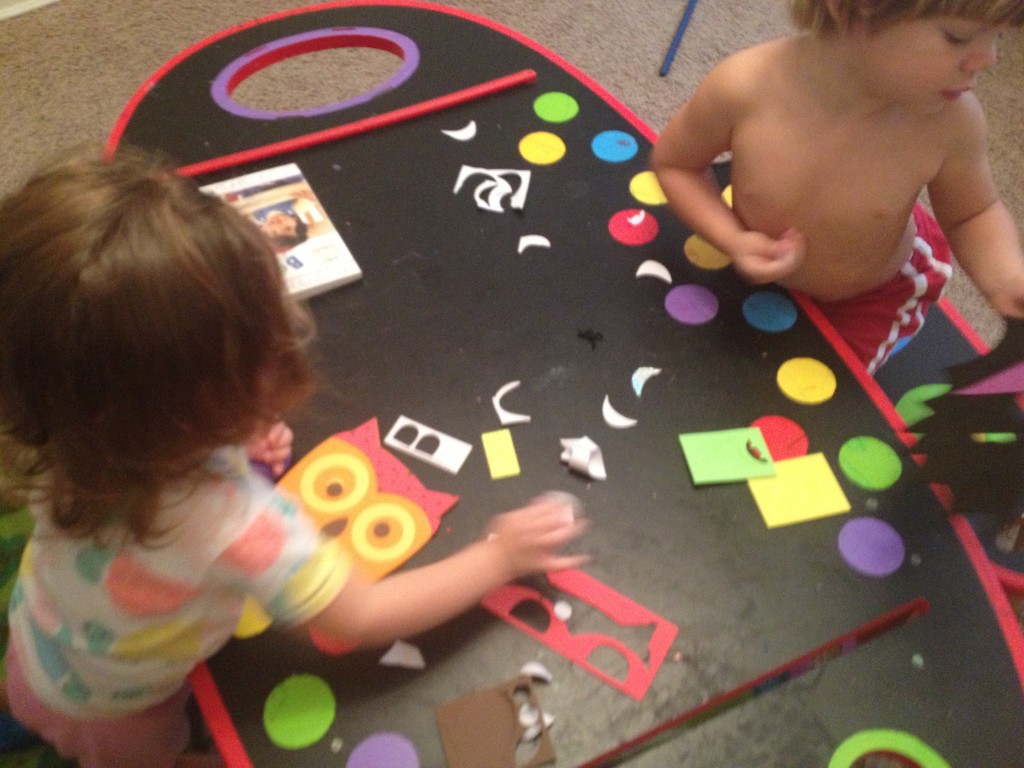
Whoever “boo’d” us  colored jack-o-lantern faces on oranges, gave us two little craftivities, jack-o-lantern stickers, pencils, gummies, glow-in-the-dark vampire teeth, and bib for our baby girl.  They did a great job!  The little seasonal sticker activity was so cute…

sticker activity

I couldn’t wait to keep this going because I knew how much fun we would have putting the little treat baskets together and delivering them.

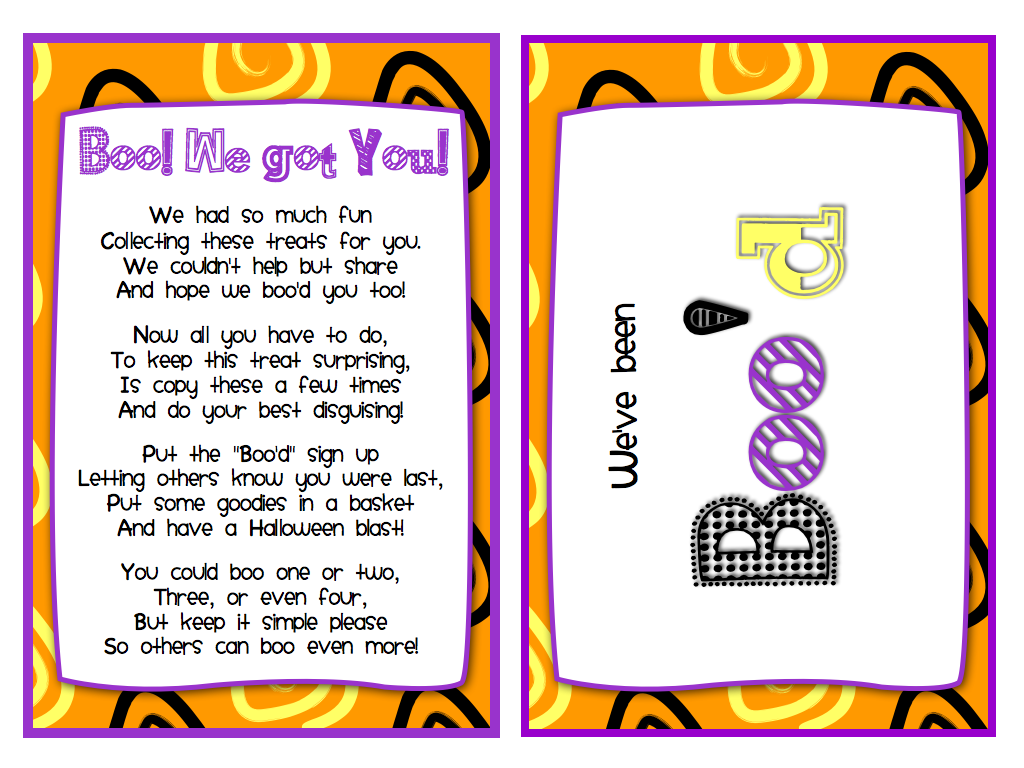
But, I couldn’t find the template so I made my own, and wanted you to have it!

Boo'd.001

Click here to download.

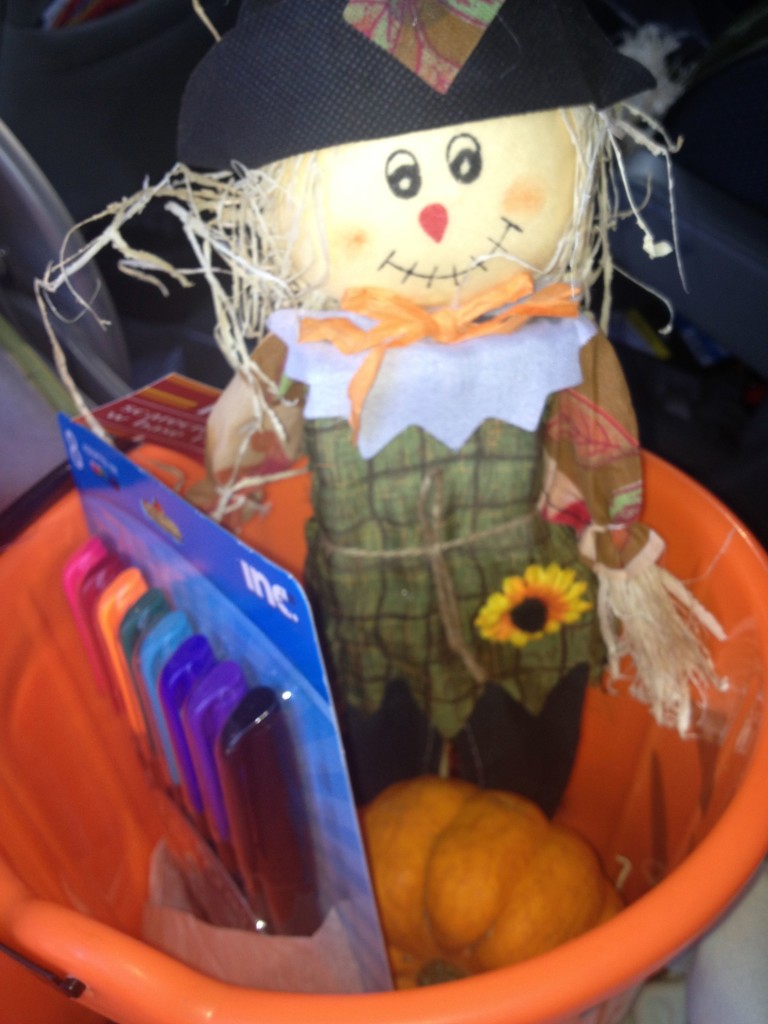
So, Sean Patrick helped me pick out some little pumpkins and then we went to family dollar and got a jack-o-lantern bucket, a little scarecrow, some spooky ring pops, and colorful sharpies (to decorate the pumpkins).

Halloween Gift Basket

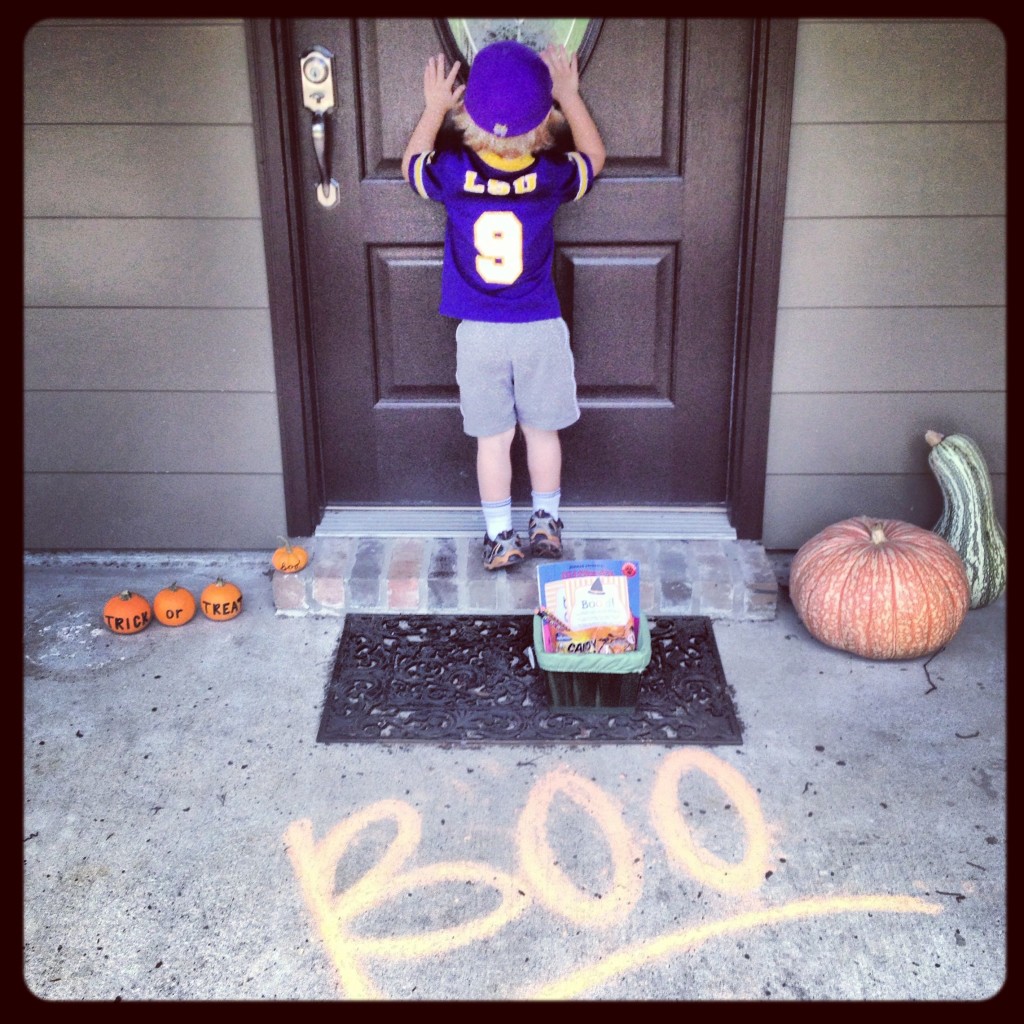
Then I encouraged Sean Patrick to carry the goodie basket to their door, knock, and tip toe away and watch from the car so it could be a surprise.

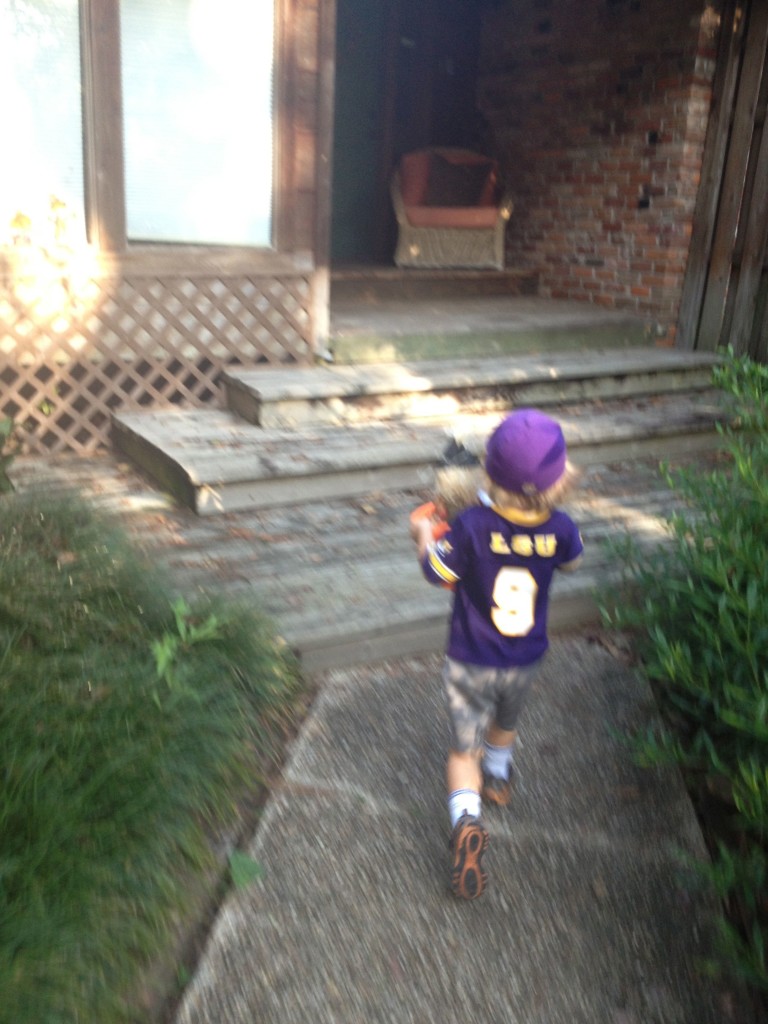
We had so much fun…he was running!

IMG_0614

And if friends caught us outside it was fun too!

I hope you make the time to do this… It doesn’t have to be fancy…. You could drop off a little ziploc of something with the printable and it would still be fun for the whole family!  You still have time before Halloween!

Disclaimer: the friend already had the chalked word “Boo!”  but I would totally ask a neighbor if they wouldn’t mind and do that because it looked so cute!

Reading To A Pumpkin

So, as you might know, I am a Kindergarten Teacher AND a Mommy Teacher.   I like to share classroom ideas that are practical for Mommy (and Daddy) Teachers that WANT to have some supplemental learning fun with their kids at home…..

Or, maybe you are a homeschooler and you tie these fun activities into what you are already doing…..either way, don’t stop! You are making such a difference!

 So, you might find this interesting…

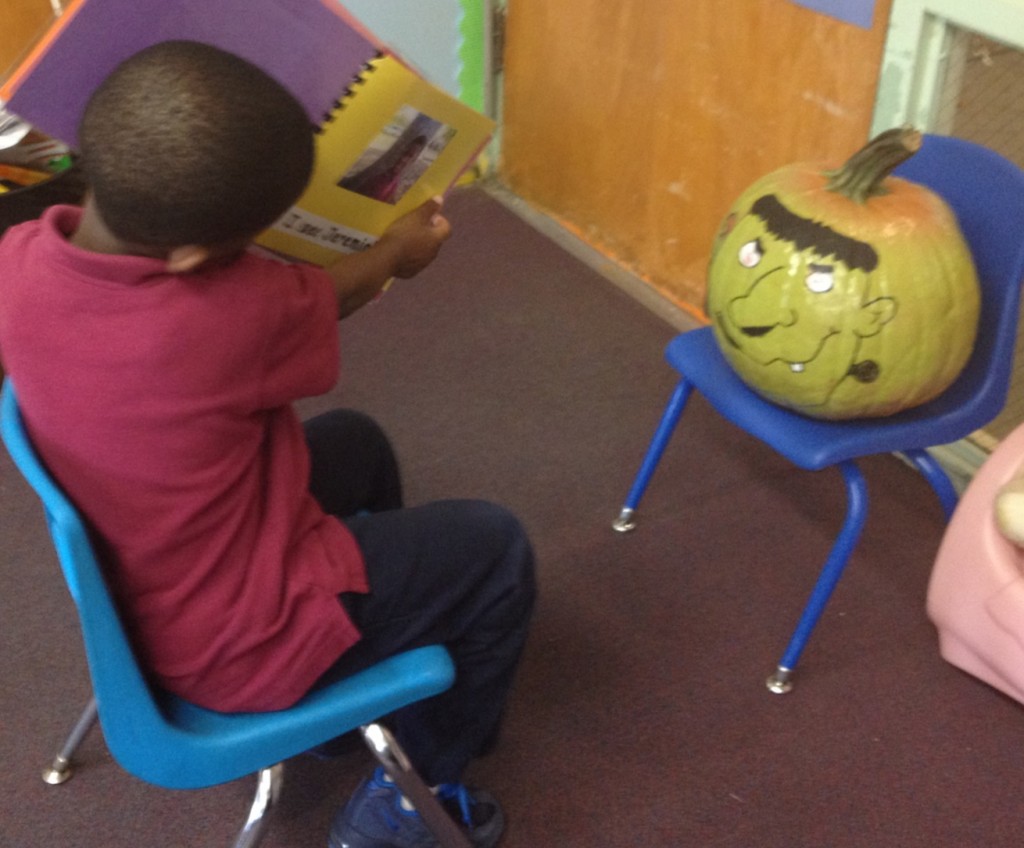
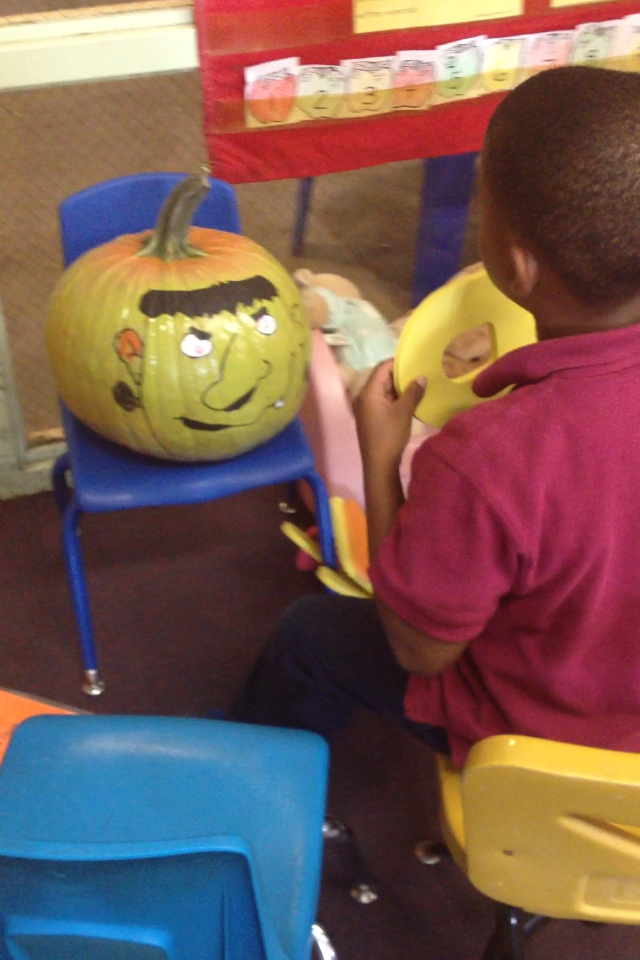
We have a pumpkin in our class that a Reading Friend gave us.  We call him Frank (short for Frankenstein) and we read to him, write to him, and teach him his ABC’s and numbers.

He has kind of become a member of our class…the kids tell him “goodbye” when they walk out the door at the end of the day.   He has also given our class a sense of responsibility because he takes the role of class keeper who keeps an eye out for hard-workers and good friends.

I recommend painting a face on your family pumpkin and give him a role or two that might encourage your little ones to take ownership of their chores or homework.  🙂  Enjoy!

Napkin Book

This is just so fun and so versatile!

A friend of mine and retired Kindergarten teacher named Joy helps me in my classroom and has introduced me to one of many of my new favorite things!


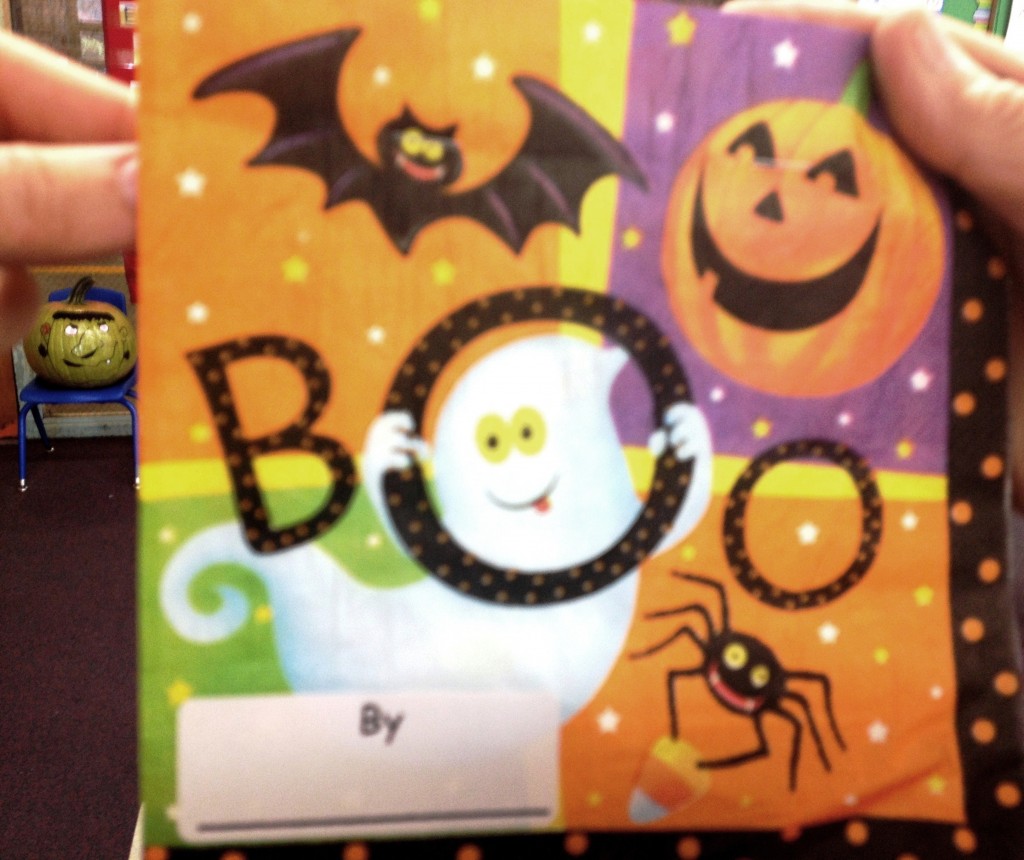
A NAPKIN BOOK…. I mean, how many fun seasonal and themed napkins can you find at dollar tree or even leftover from birthday parties of ages past?!?

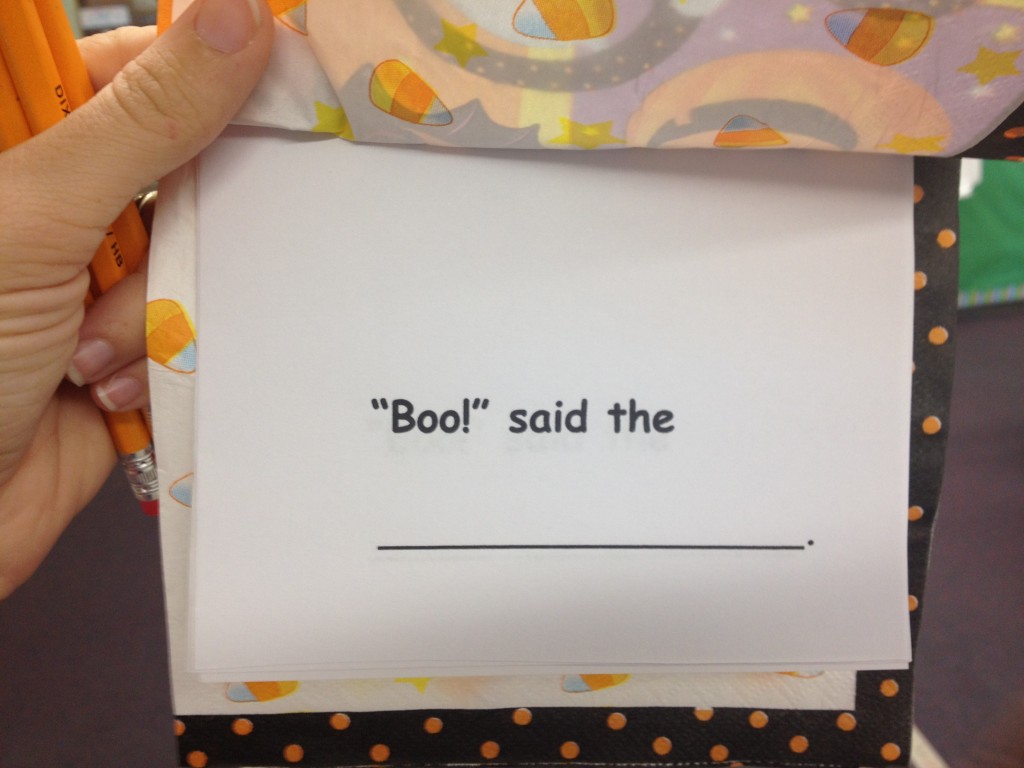
All you need to do is make labels with a chosen title and a space for your little “author” like “By ___________” and stick it on the front….. Unless you find an awesome napkin like Joy found that says “Boo!” which is the title of our frist napkin book.

Then print a fun sentence that coordinates with the book like “Boo said the __________.” multiple times on a single page,  Cut it out, and staple it inside the napkin.

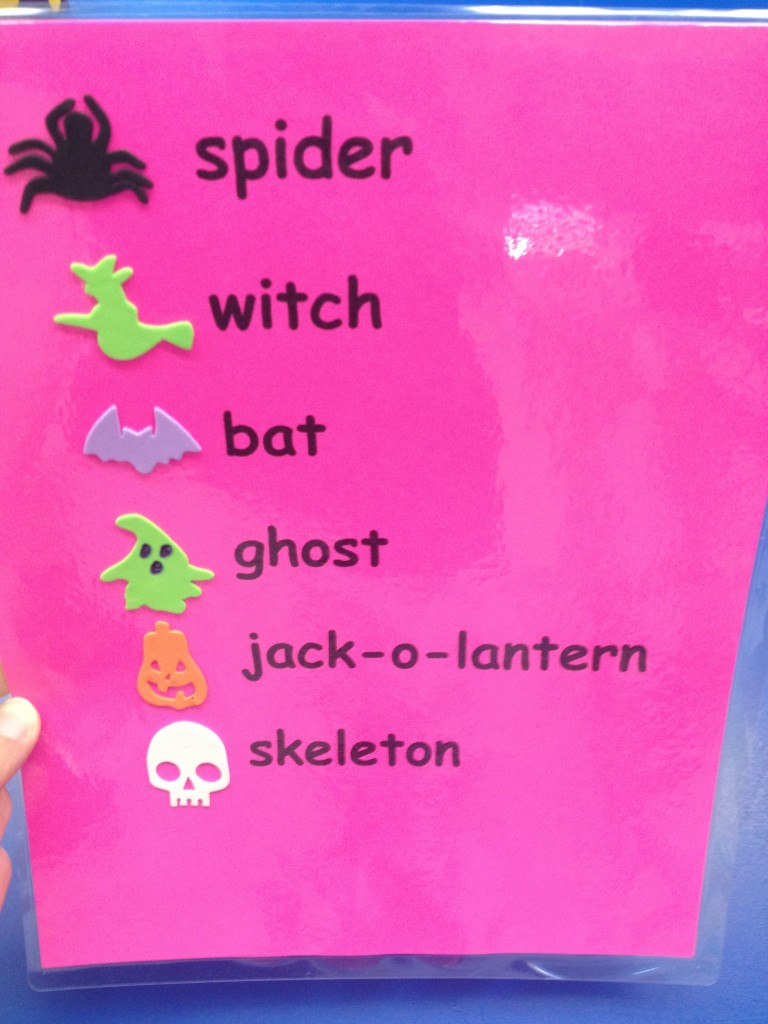
To make it that much more fun, Joy found Halloween themed stickers and that is going to be the illustration of each page of the book.

She even made a legend so the kids will know how to write the words in the free space of their sentence.

I love love this activity and will be making lots of books like it 🙂

Related Posts Plugin for WordPress, Blogger...

1 2