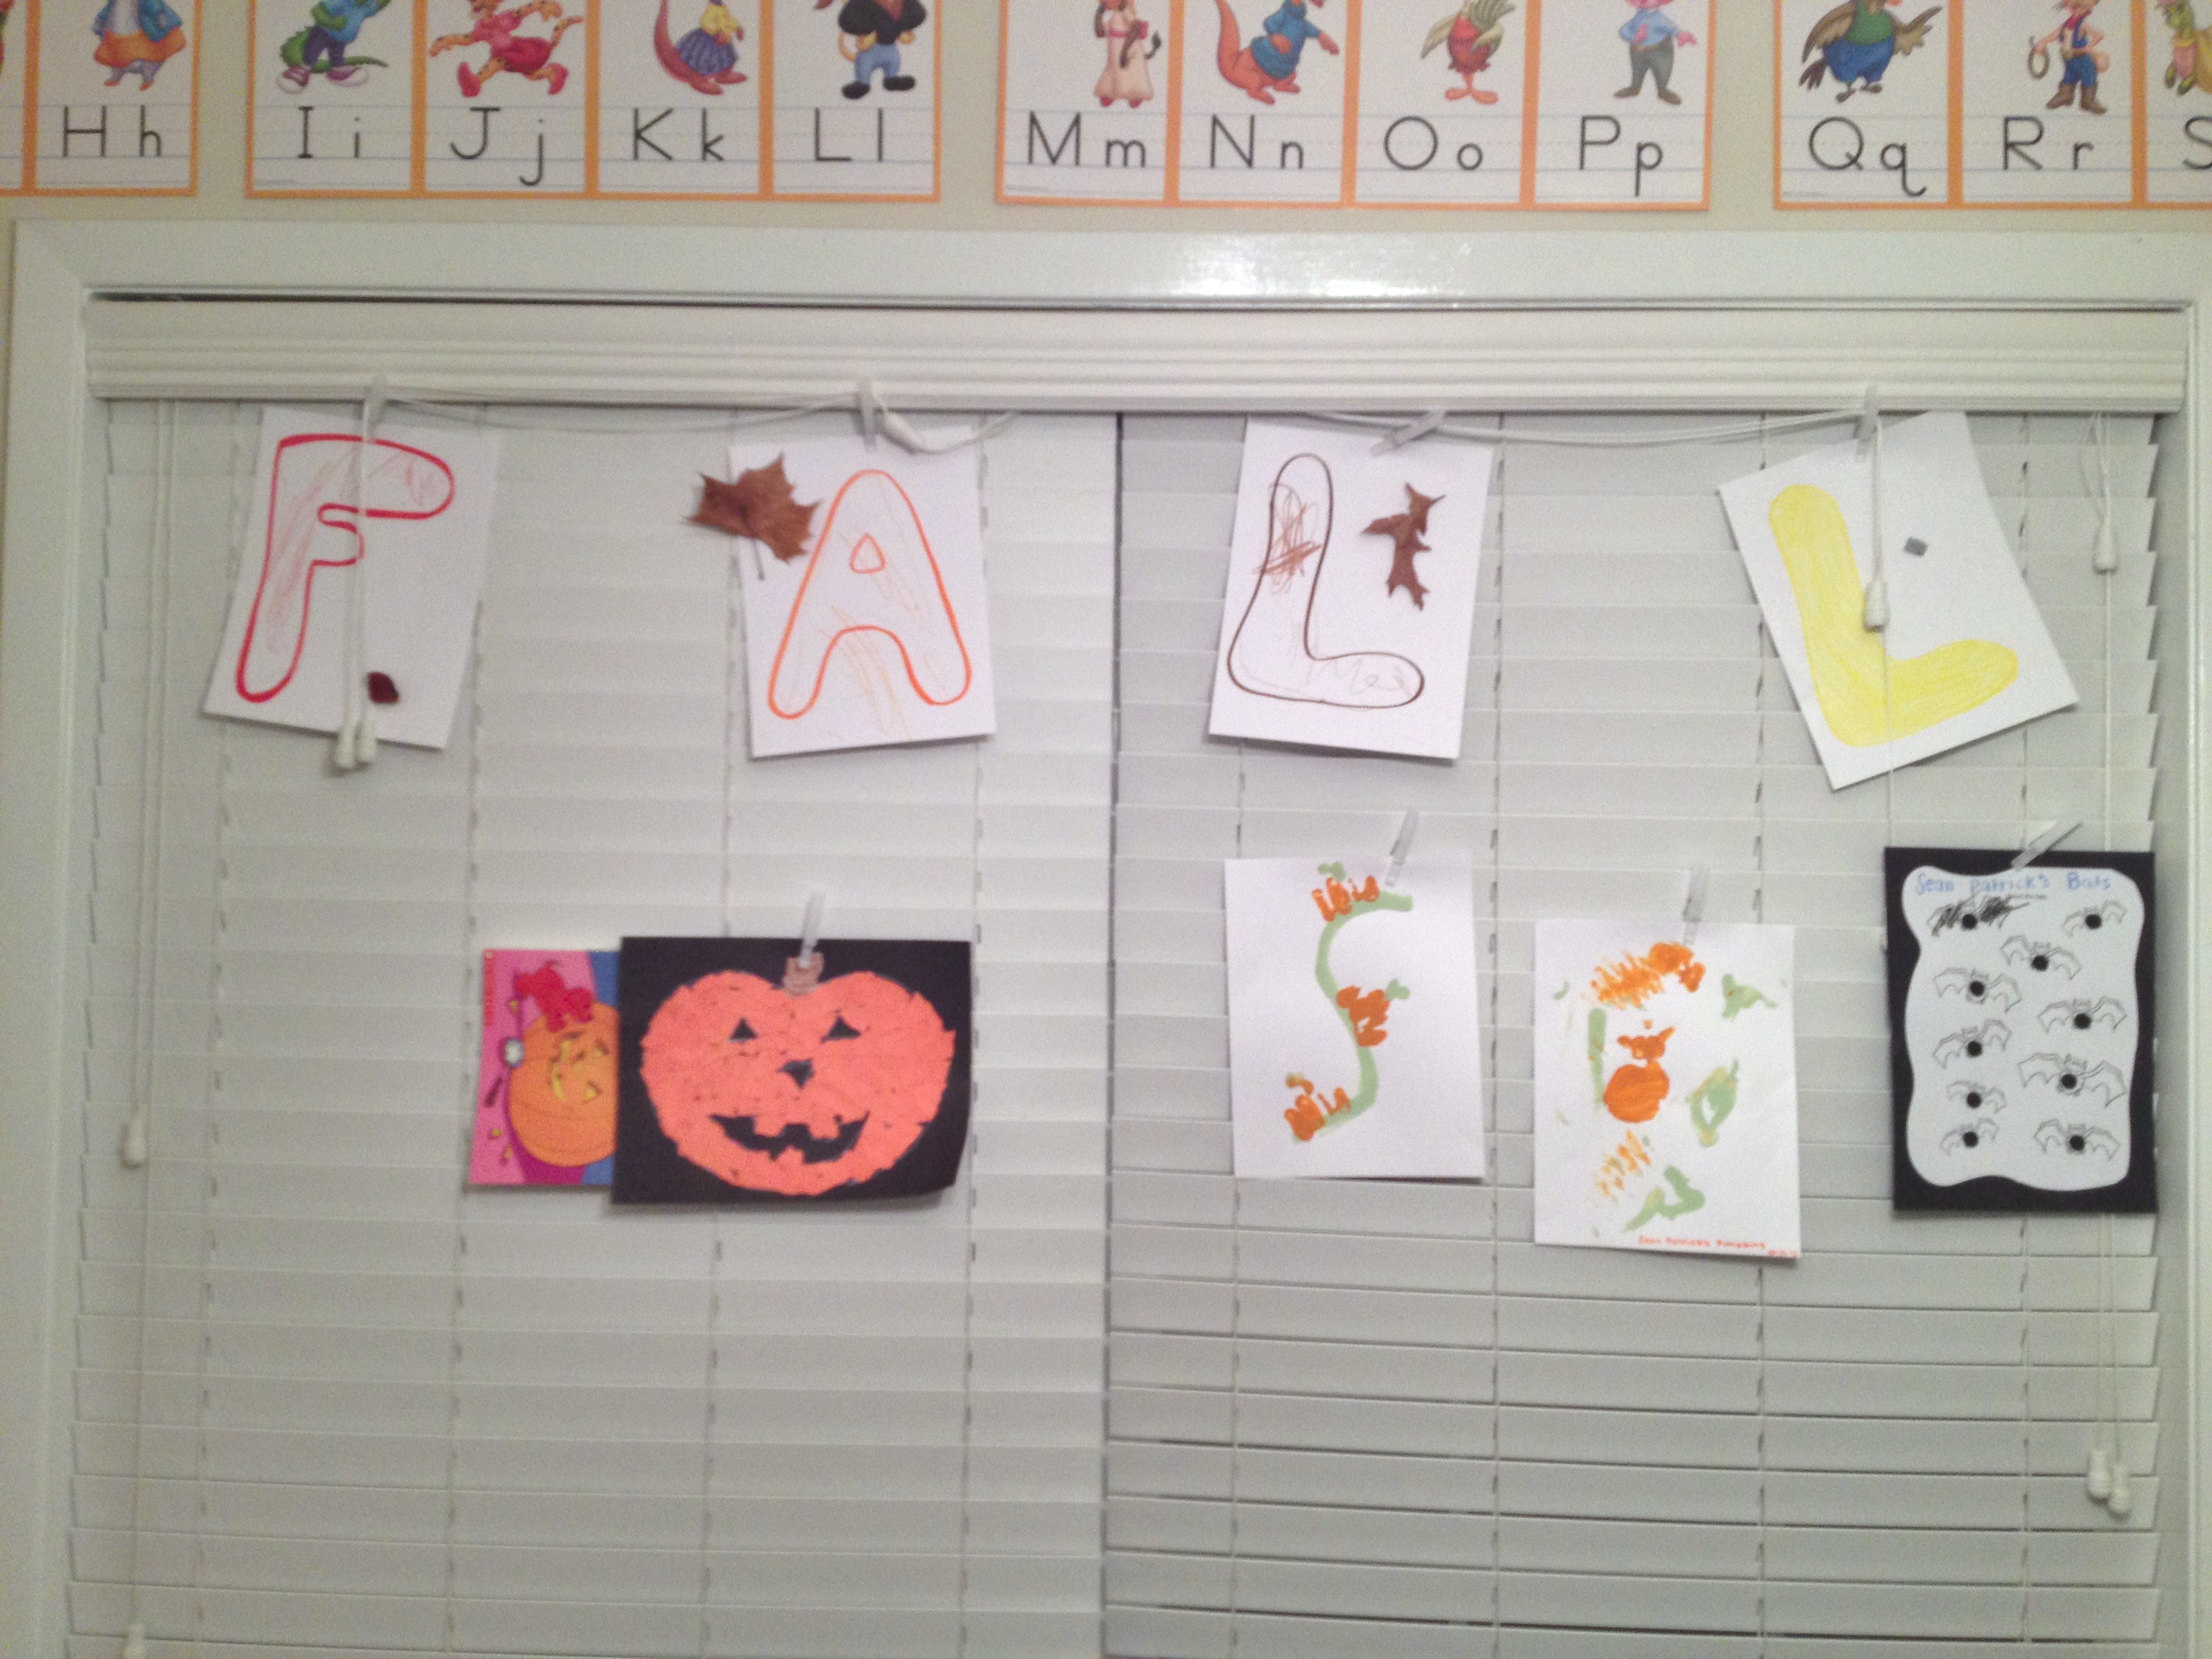
I was inspired by another mommy teacher and finally got my act together and started hanging our Fall activities on the blinds of the playroom and it got me SO motivated to purpose even more seasonal teaching moments.
I am not over-zealous… I purpose one activity a day… and today’s activity was “Bat- Math.” I wanted to give y’all the step-by-step breakdown in case you wanted to print this FREE Bat-Math Printable and have some duh nuh nuh nuh nuh nuh nuh nuh da nuh nuh nuh nuh nuh BAT – MATH. Sorry, had to set the tone for this.
The way that my mini bat-math lesson started is funny… I found a VERY simple page with the outline of 10 bats in an Elmo activity book (by the Count) and I thought…
Today, Sean Patrick is going to learn that The LAST NUMBER he says when counting is the AMOUNT of bats that there are on this page. (I know that that is an abnormal thought). That is a common core math standard – that children can simply recognize that the last number they say represents the amount in the group they are counting. (Example: If there are 5 bats on the page then when I count 1-2-3-4-5, I know that there are FIVE bats because it was the last number that I said when I counted the last bat).
I started with too many – I will be honest. The page had 10 bats. He can count to 10 but I wish I would’ve started with 5…. which is why I made this free printable with 5 and with 10 because you know your kiddo and can choose.
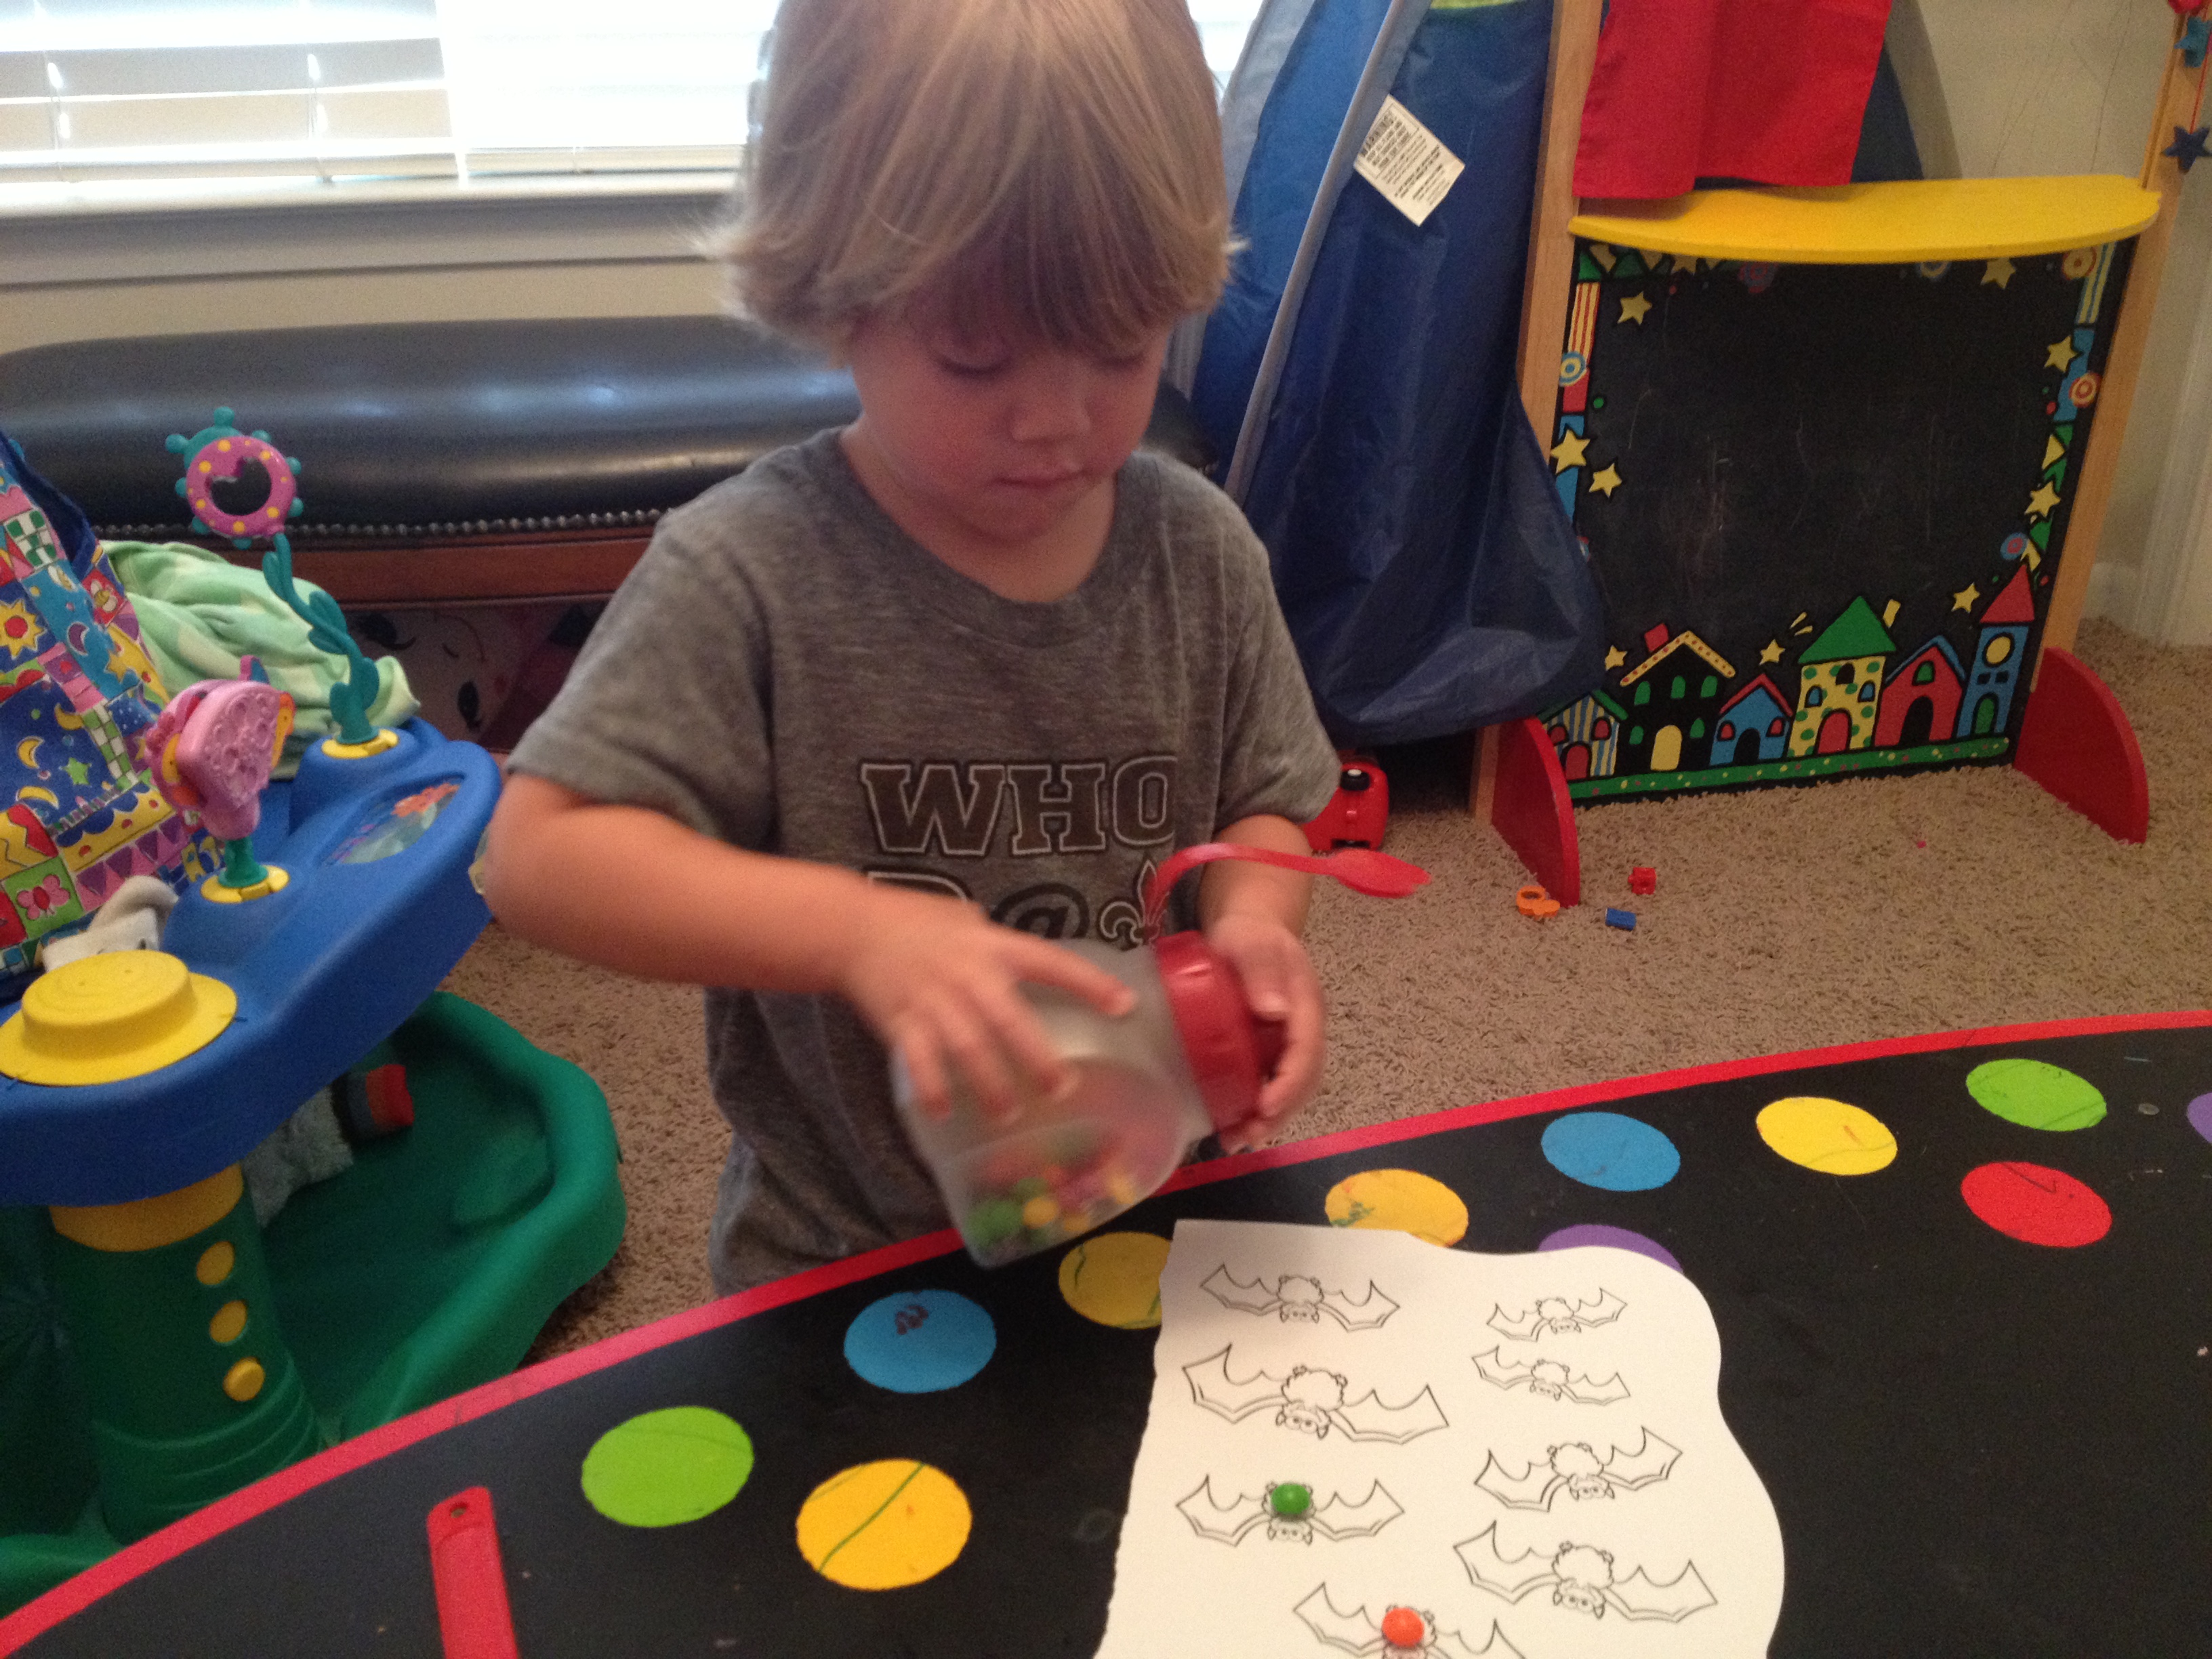
First I said “Alright Sean Patrick… today lets cover up each one of these bats with skittles. Each bat gets ONE skittle so that we can count how many bats there are. When we figure out the right number of bats then we can eat that many skittles!” (once again… he normally only gets to eat THREE skittles so I wish I would’ve started with my own printable haha).
He covered up each bat (one skittle on each bat) and then started to count. He counted slow – one number for each skittle which is GREAT, but he miscounted because he didn’t count strategically (he started at the bottom and jumped up and around) so I said “Okay baby, try counting from the top then over, and go to the next line so we can count the right number. “
He tried again and he said “ten” but kept counting.
So I said “That was great counting…. lets try it one more time and when I say STOP, try to remember the number that you said!”
He counted it again and then I said “What was the last number you just counted to?”…. he said “five” haha okay this is great….this is the moment I realized 10 was too high to count a group number, and it was the moment that I realized we could work on this one skill all week.
Then we counted it again and I said “Did you hear yourself count to ten…. watch mommy and listen…. I shouted “10!” when I counted to that number and then said “How many?” and he finally said “Ten!”
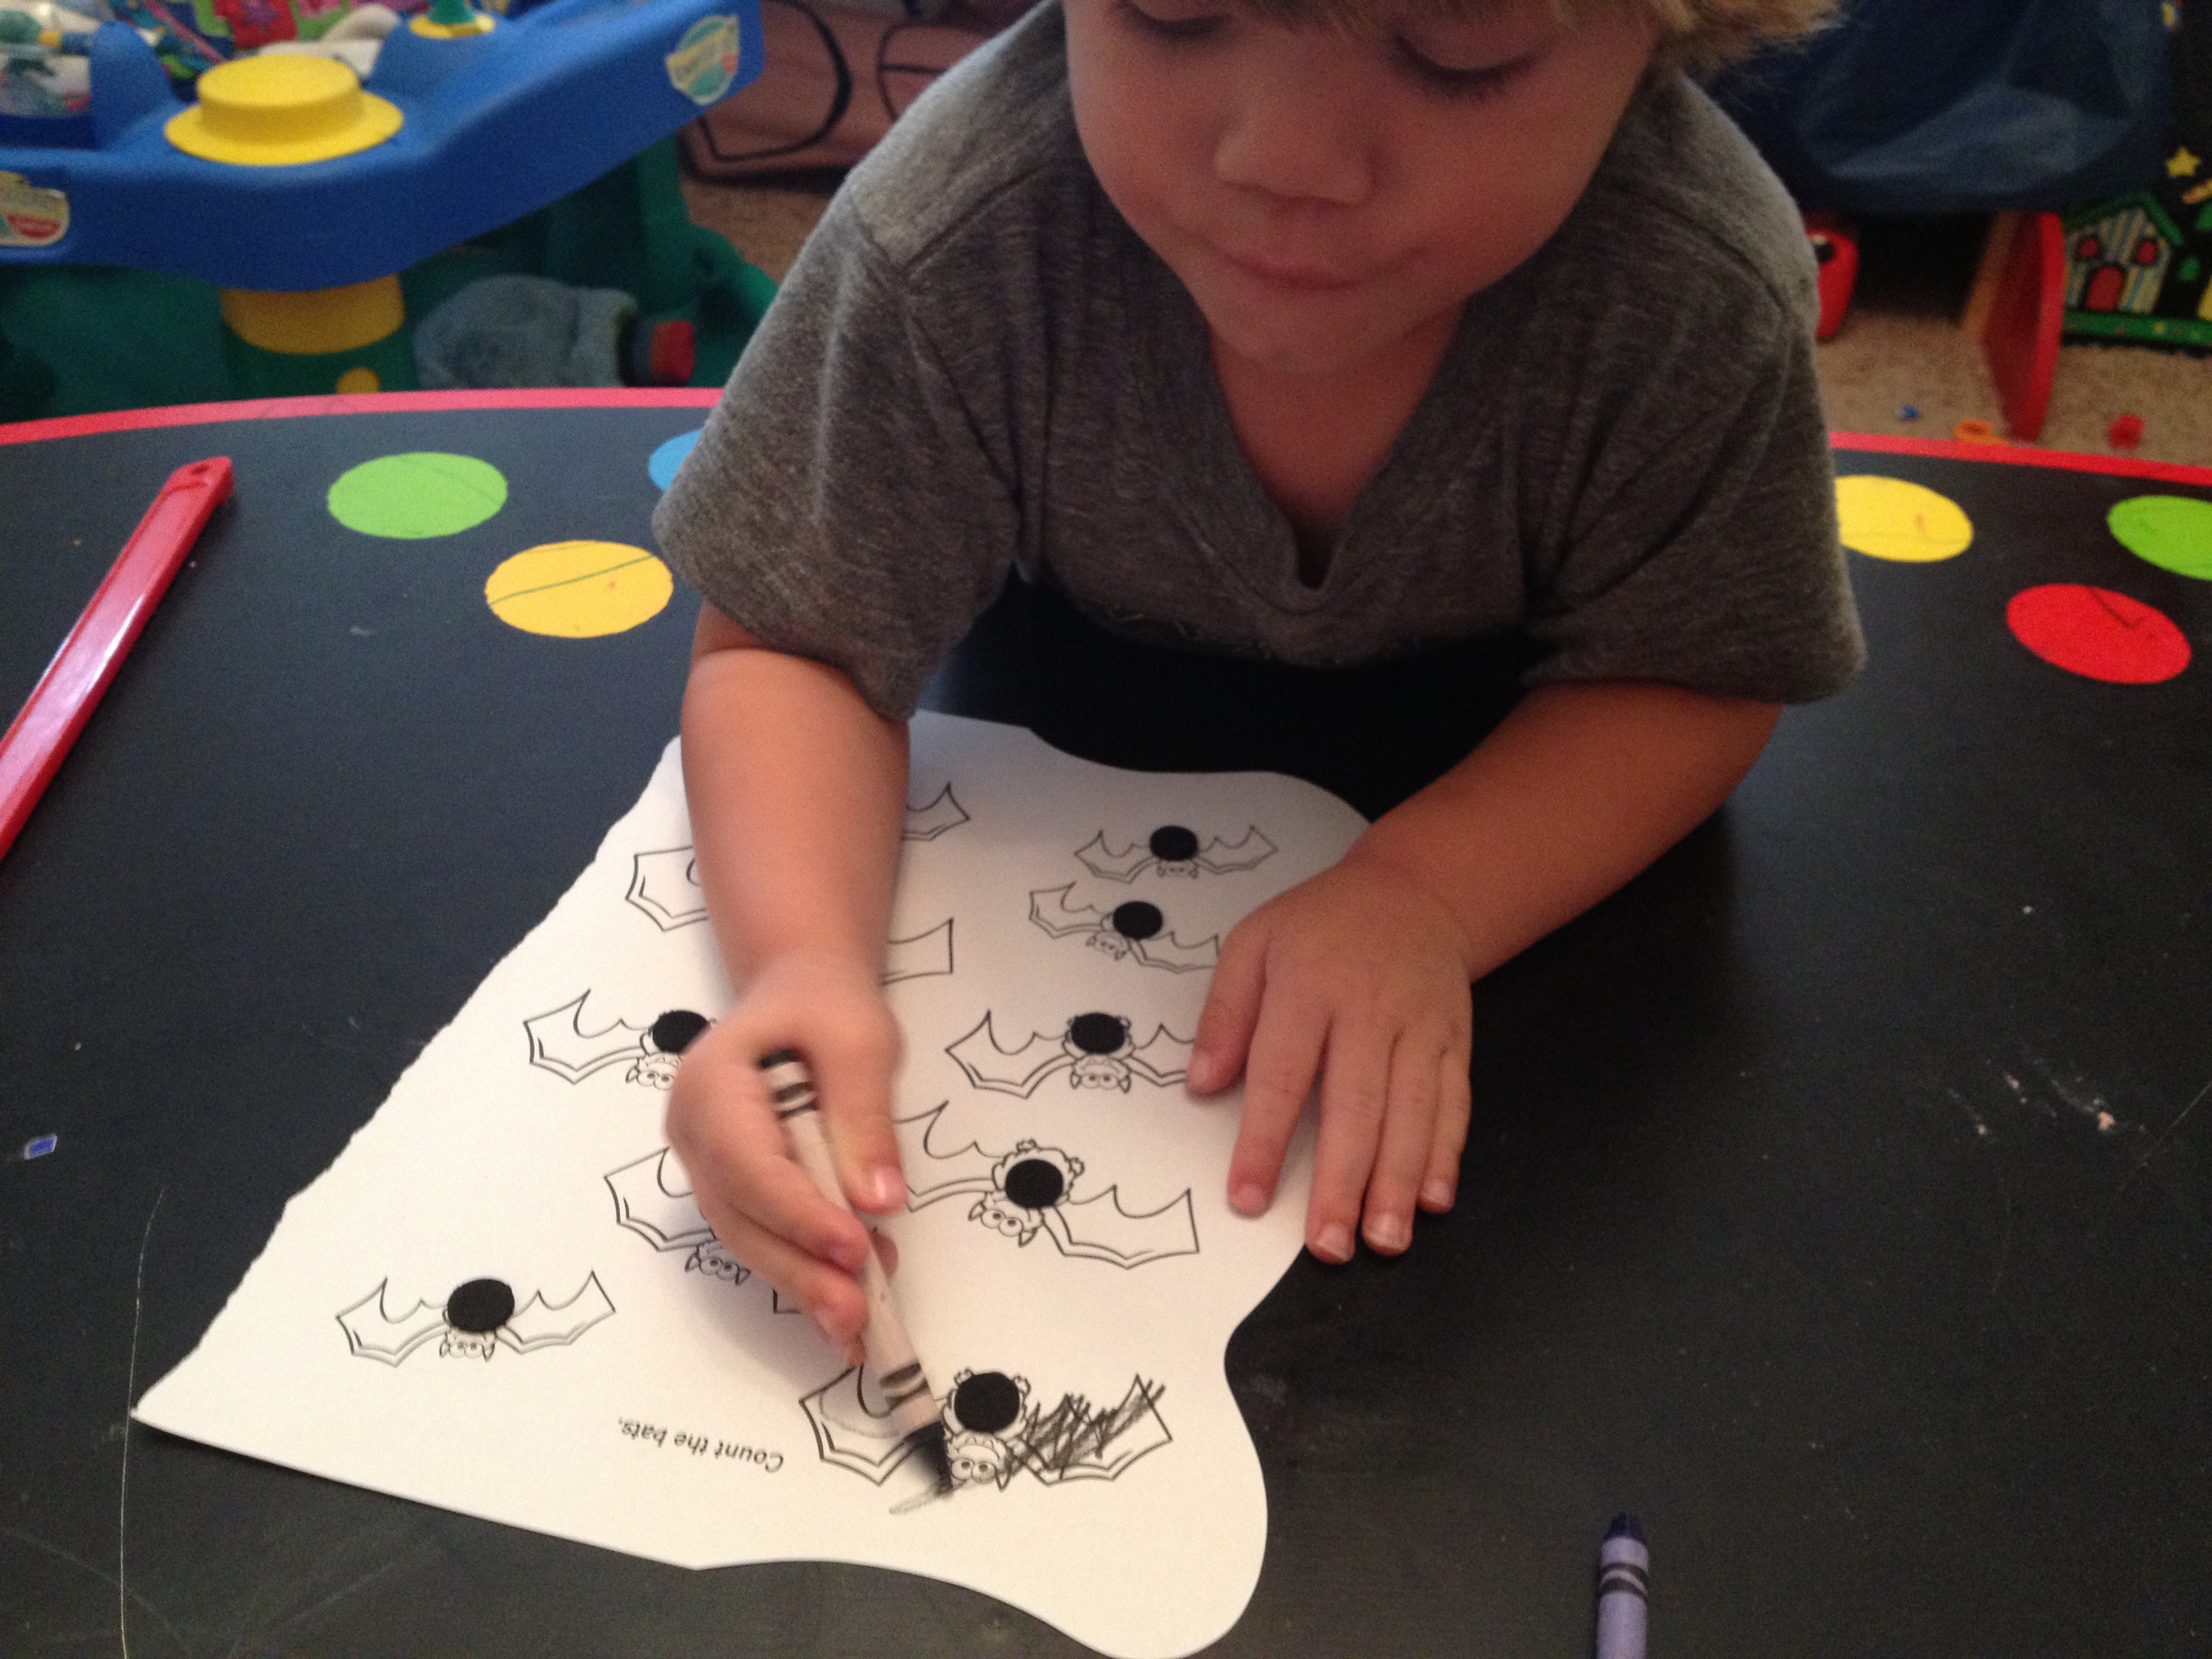
I said “YEAH! lets celebrate great counting… eat your treats and then we will give all TEN bats a sticker, then we can color them. Let’s put the stickers on in the same “smart way” to count…. from the top to the bottom.
He was content with coloring just one bat so we glued the “finished” product onto a black sheet of construction paper and hung it up on our “fall art” wall…. (which I will share the play-by-plays of those activities next week).
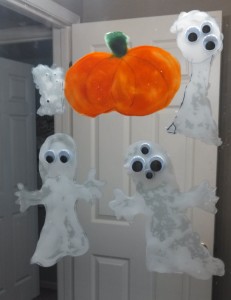
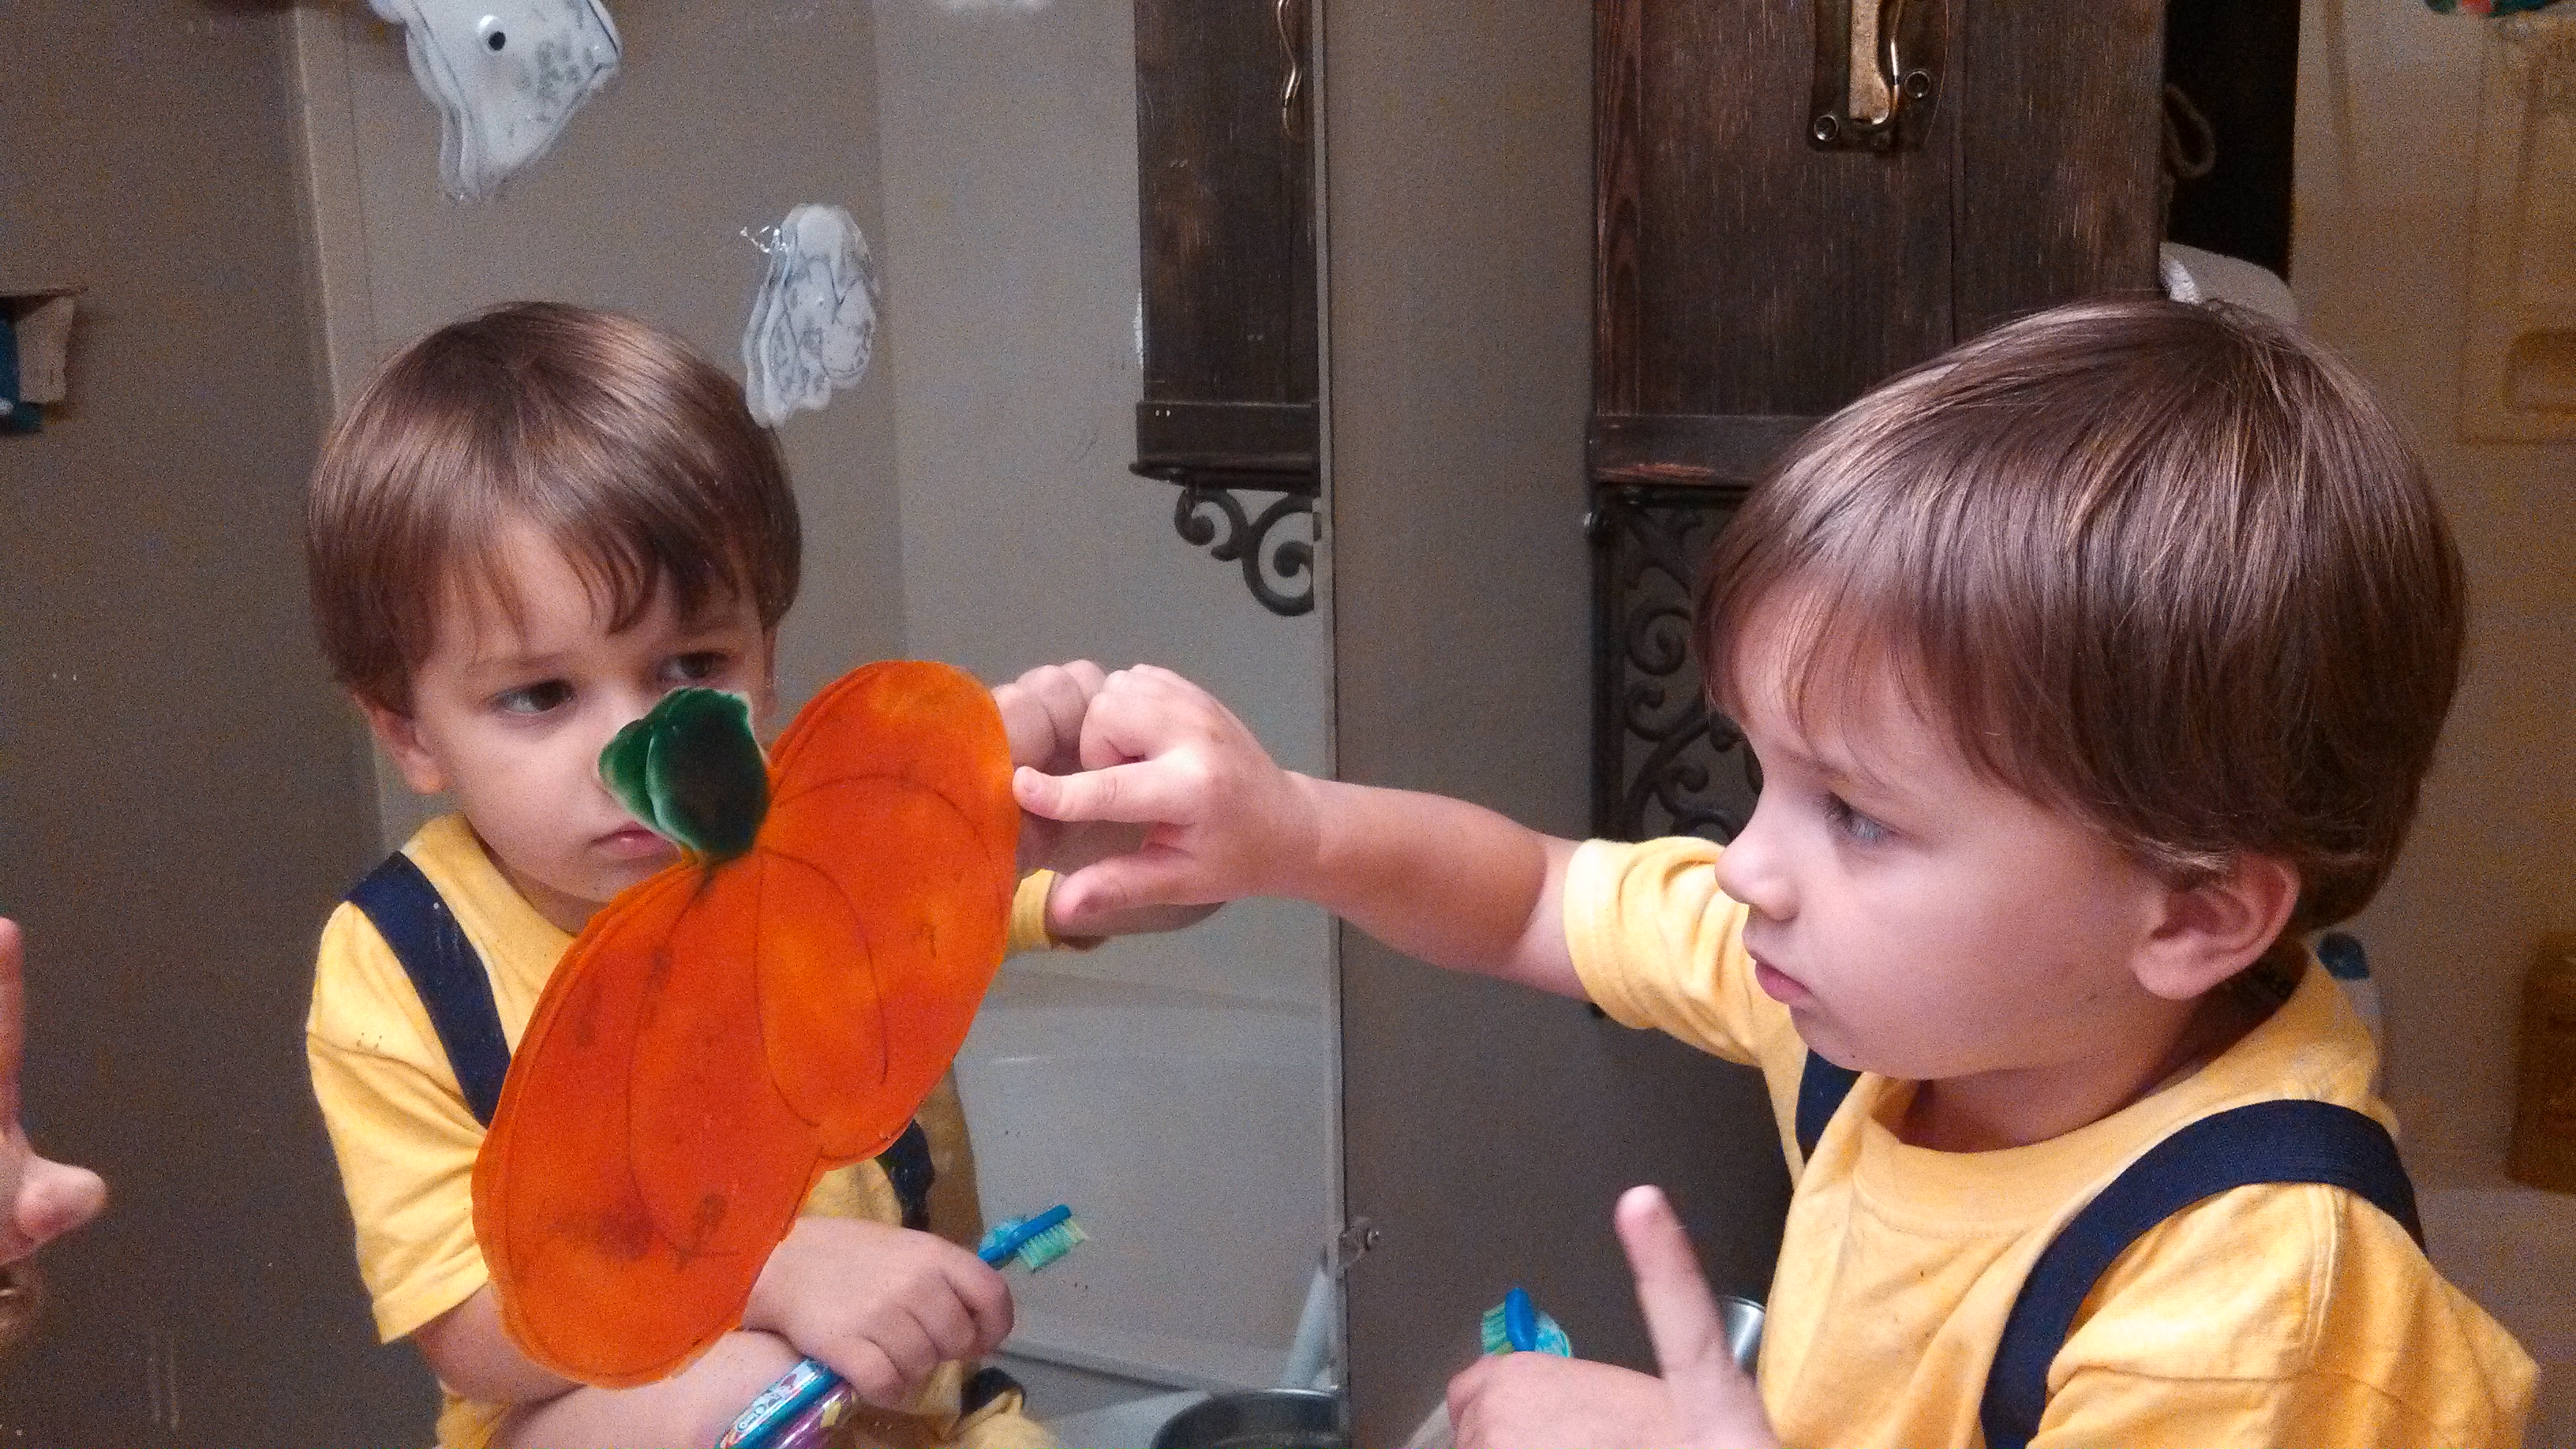
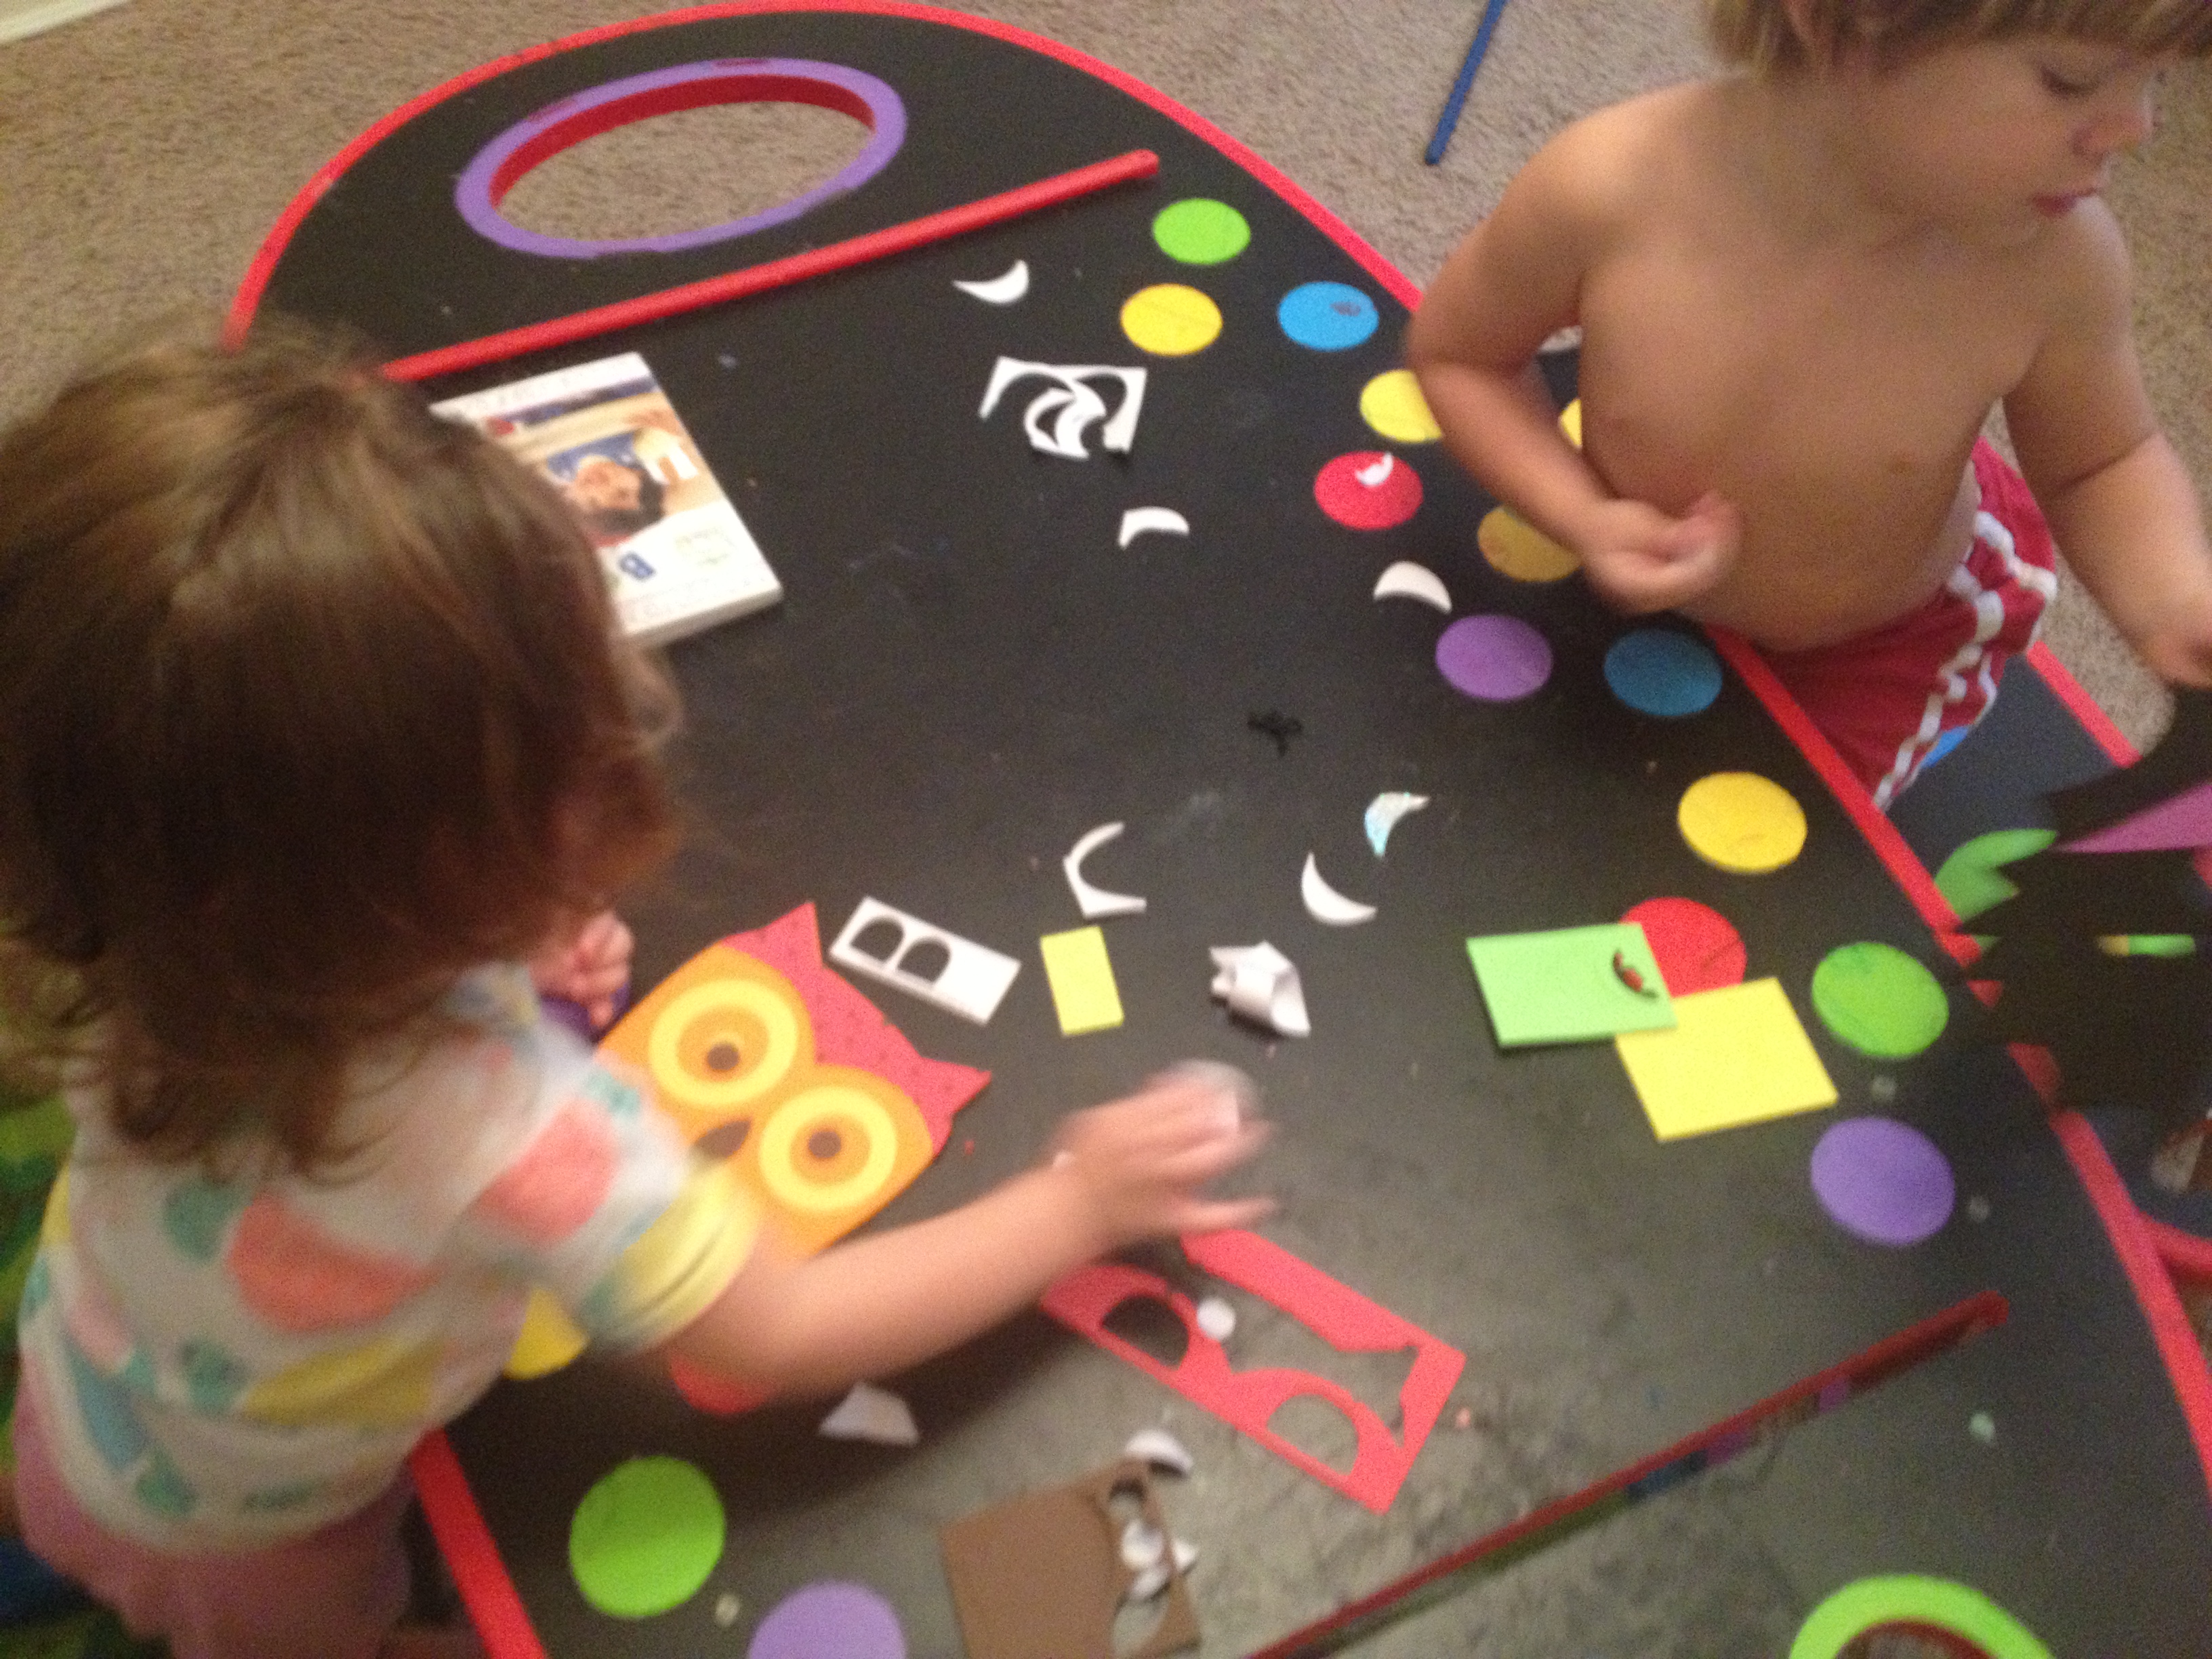
My mother-in-law just did a super fun and easy Halloween craft with the kids (and me…she brought extra supplies because she knew I’d want to do one too!).
We made ghost and pumpkin window peels/decals and decorated the kid’s bathroom for Halloween. We had so much fun doing this super easy craft that I think we might just have to make our own window decals for every holiday!
Materials for Ghost Window Decals:
transparency sheets
white paper
school glue
permanent marker
googly eyes (optional)
nail polish remover
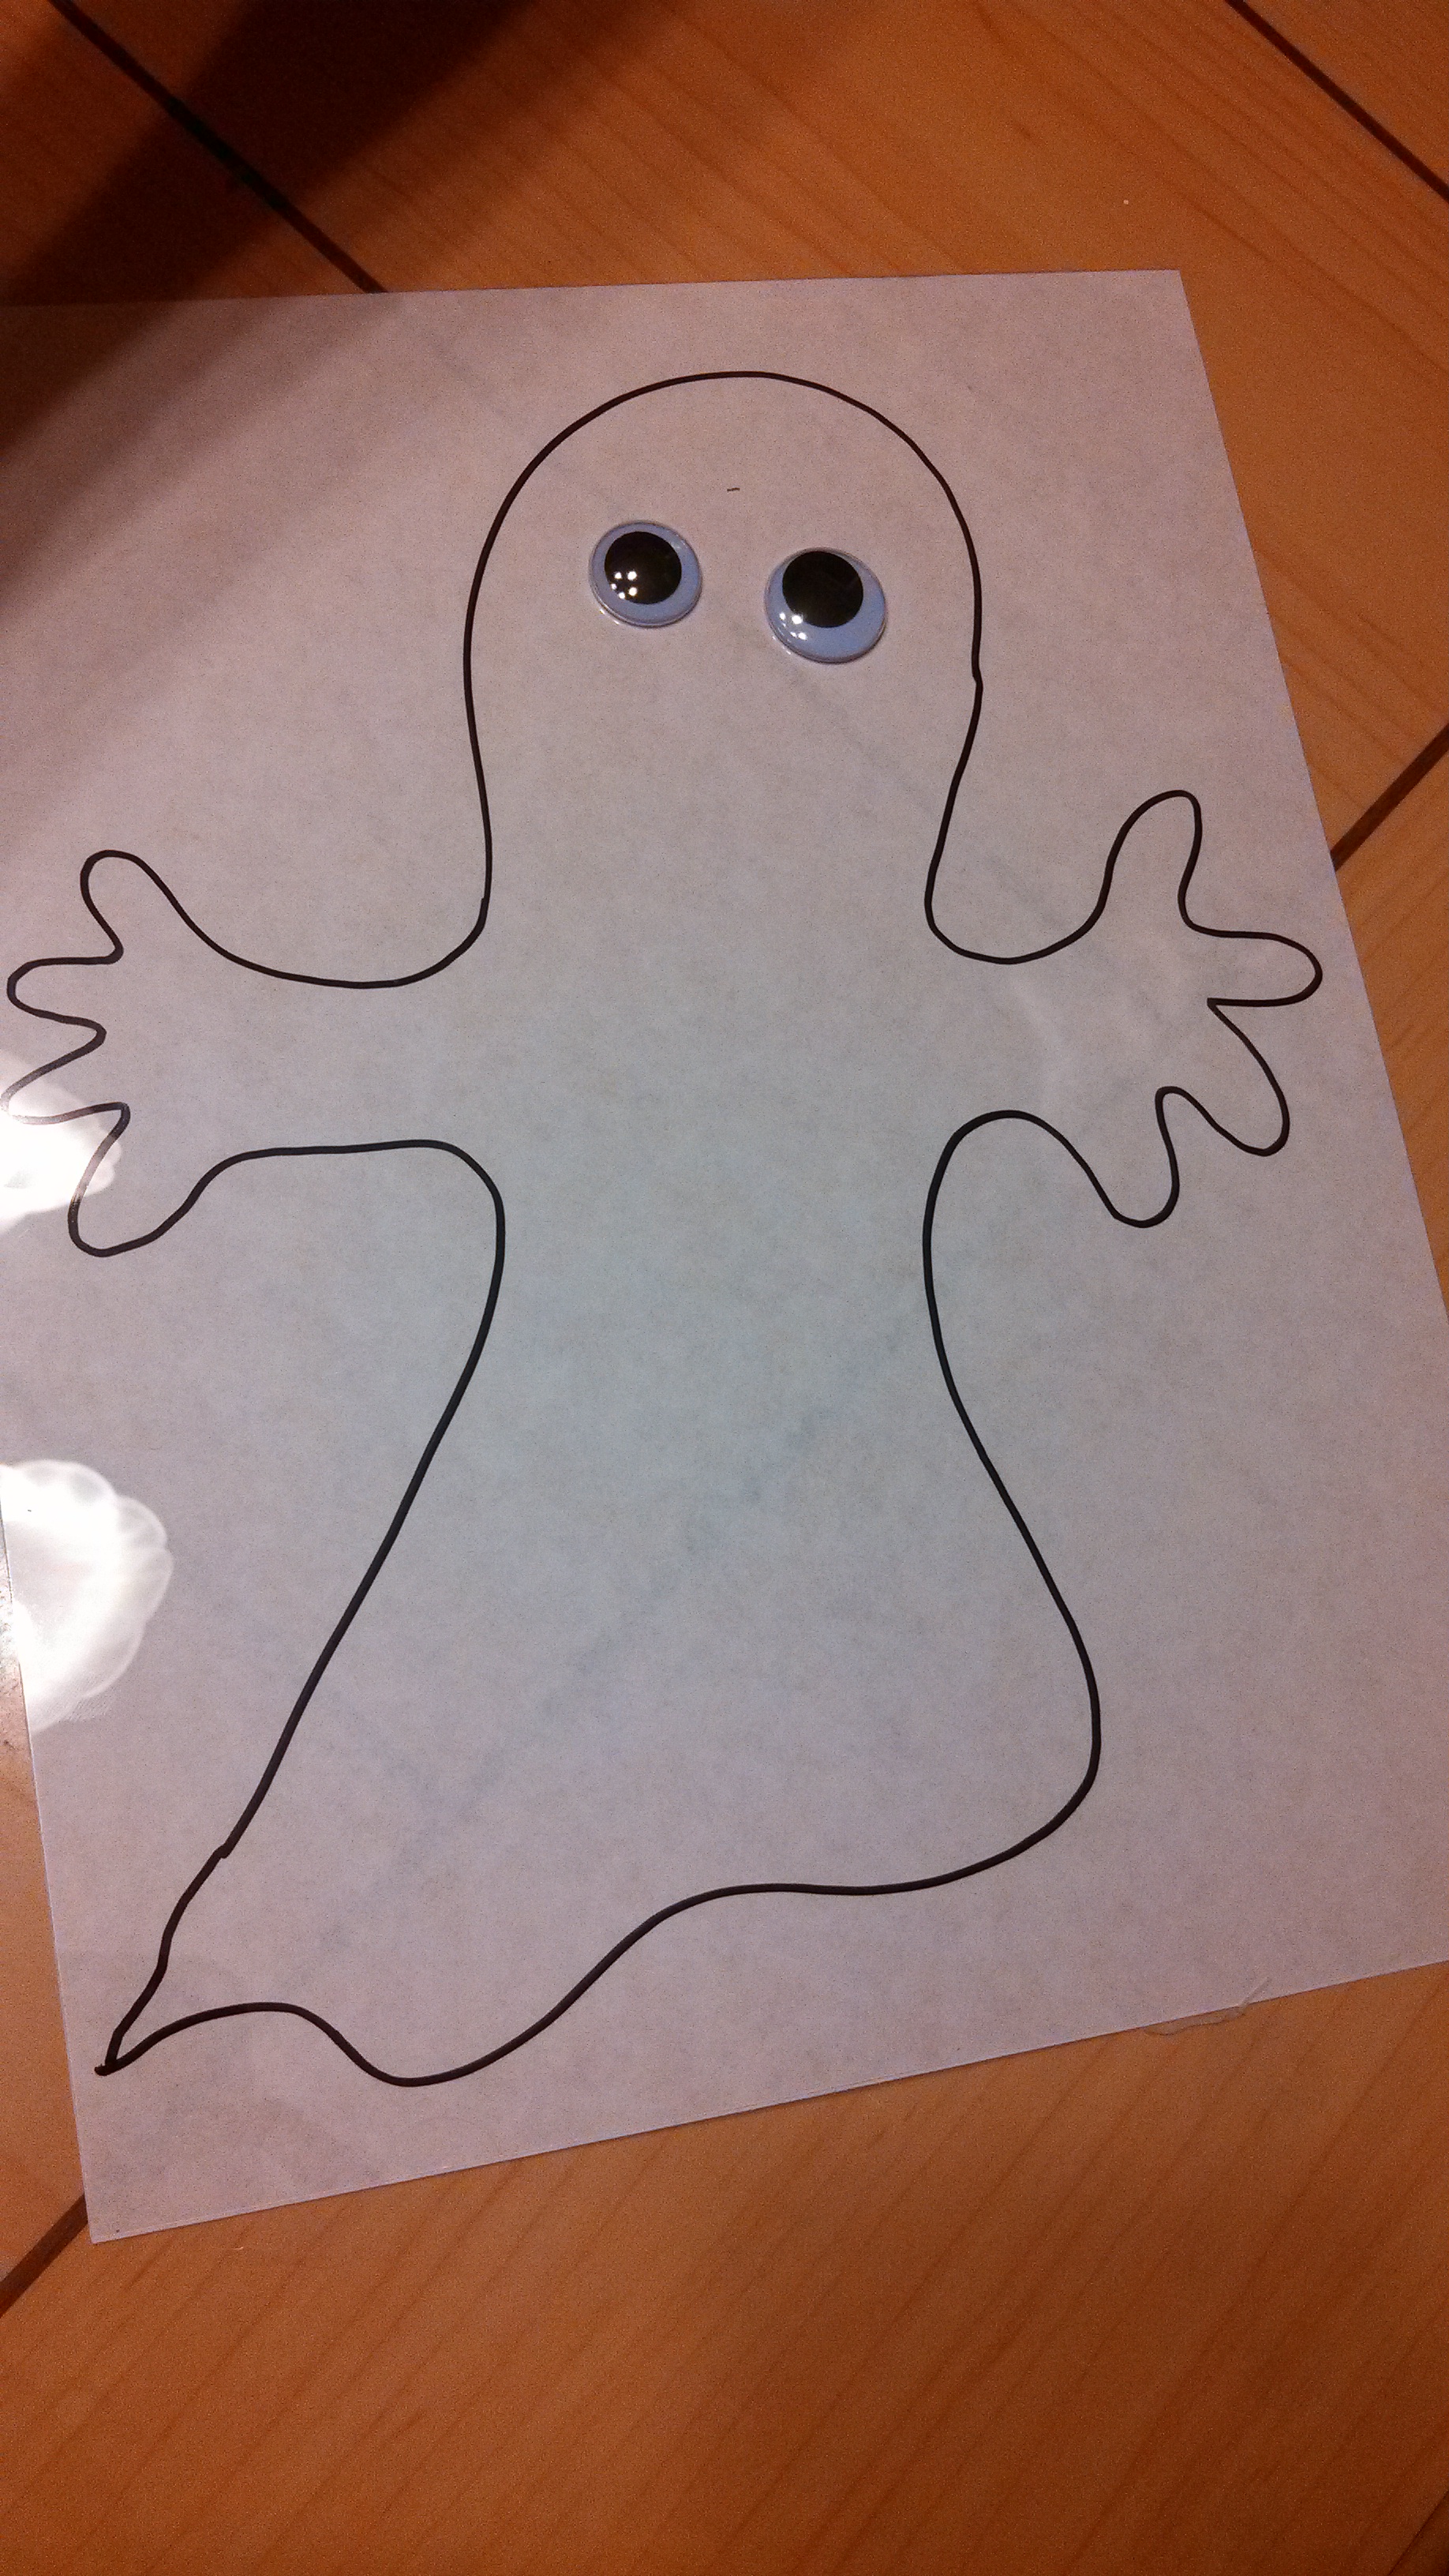
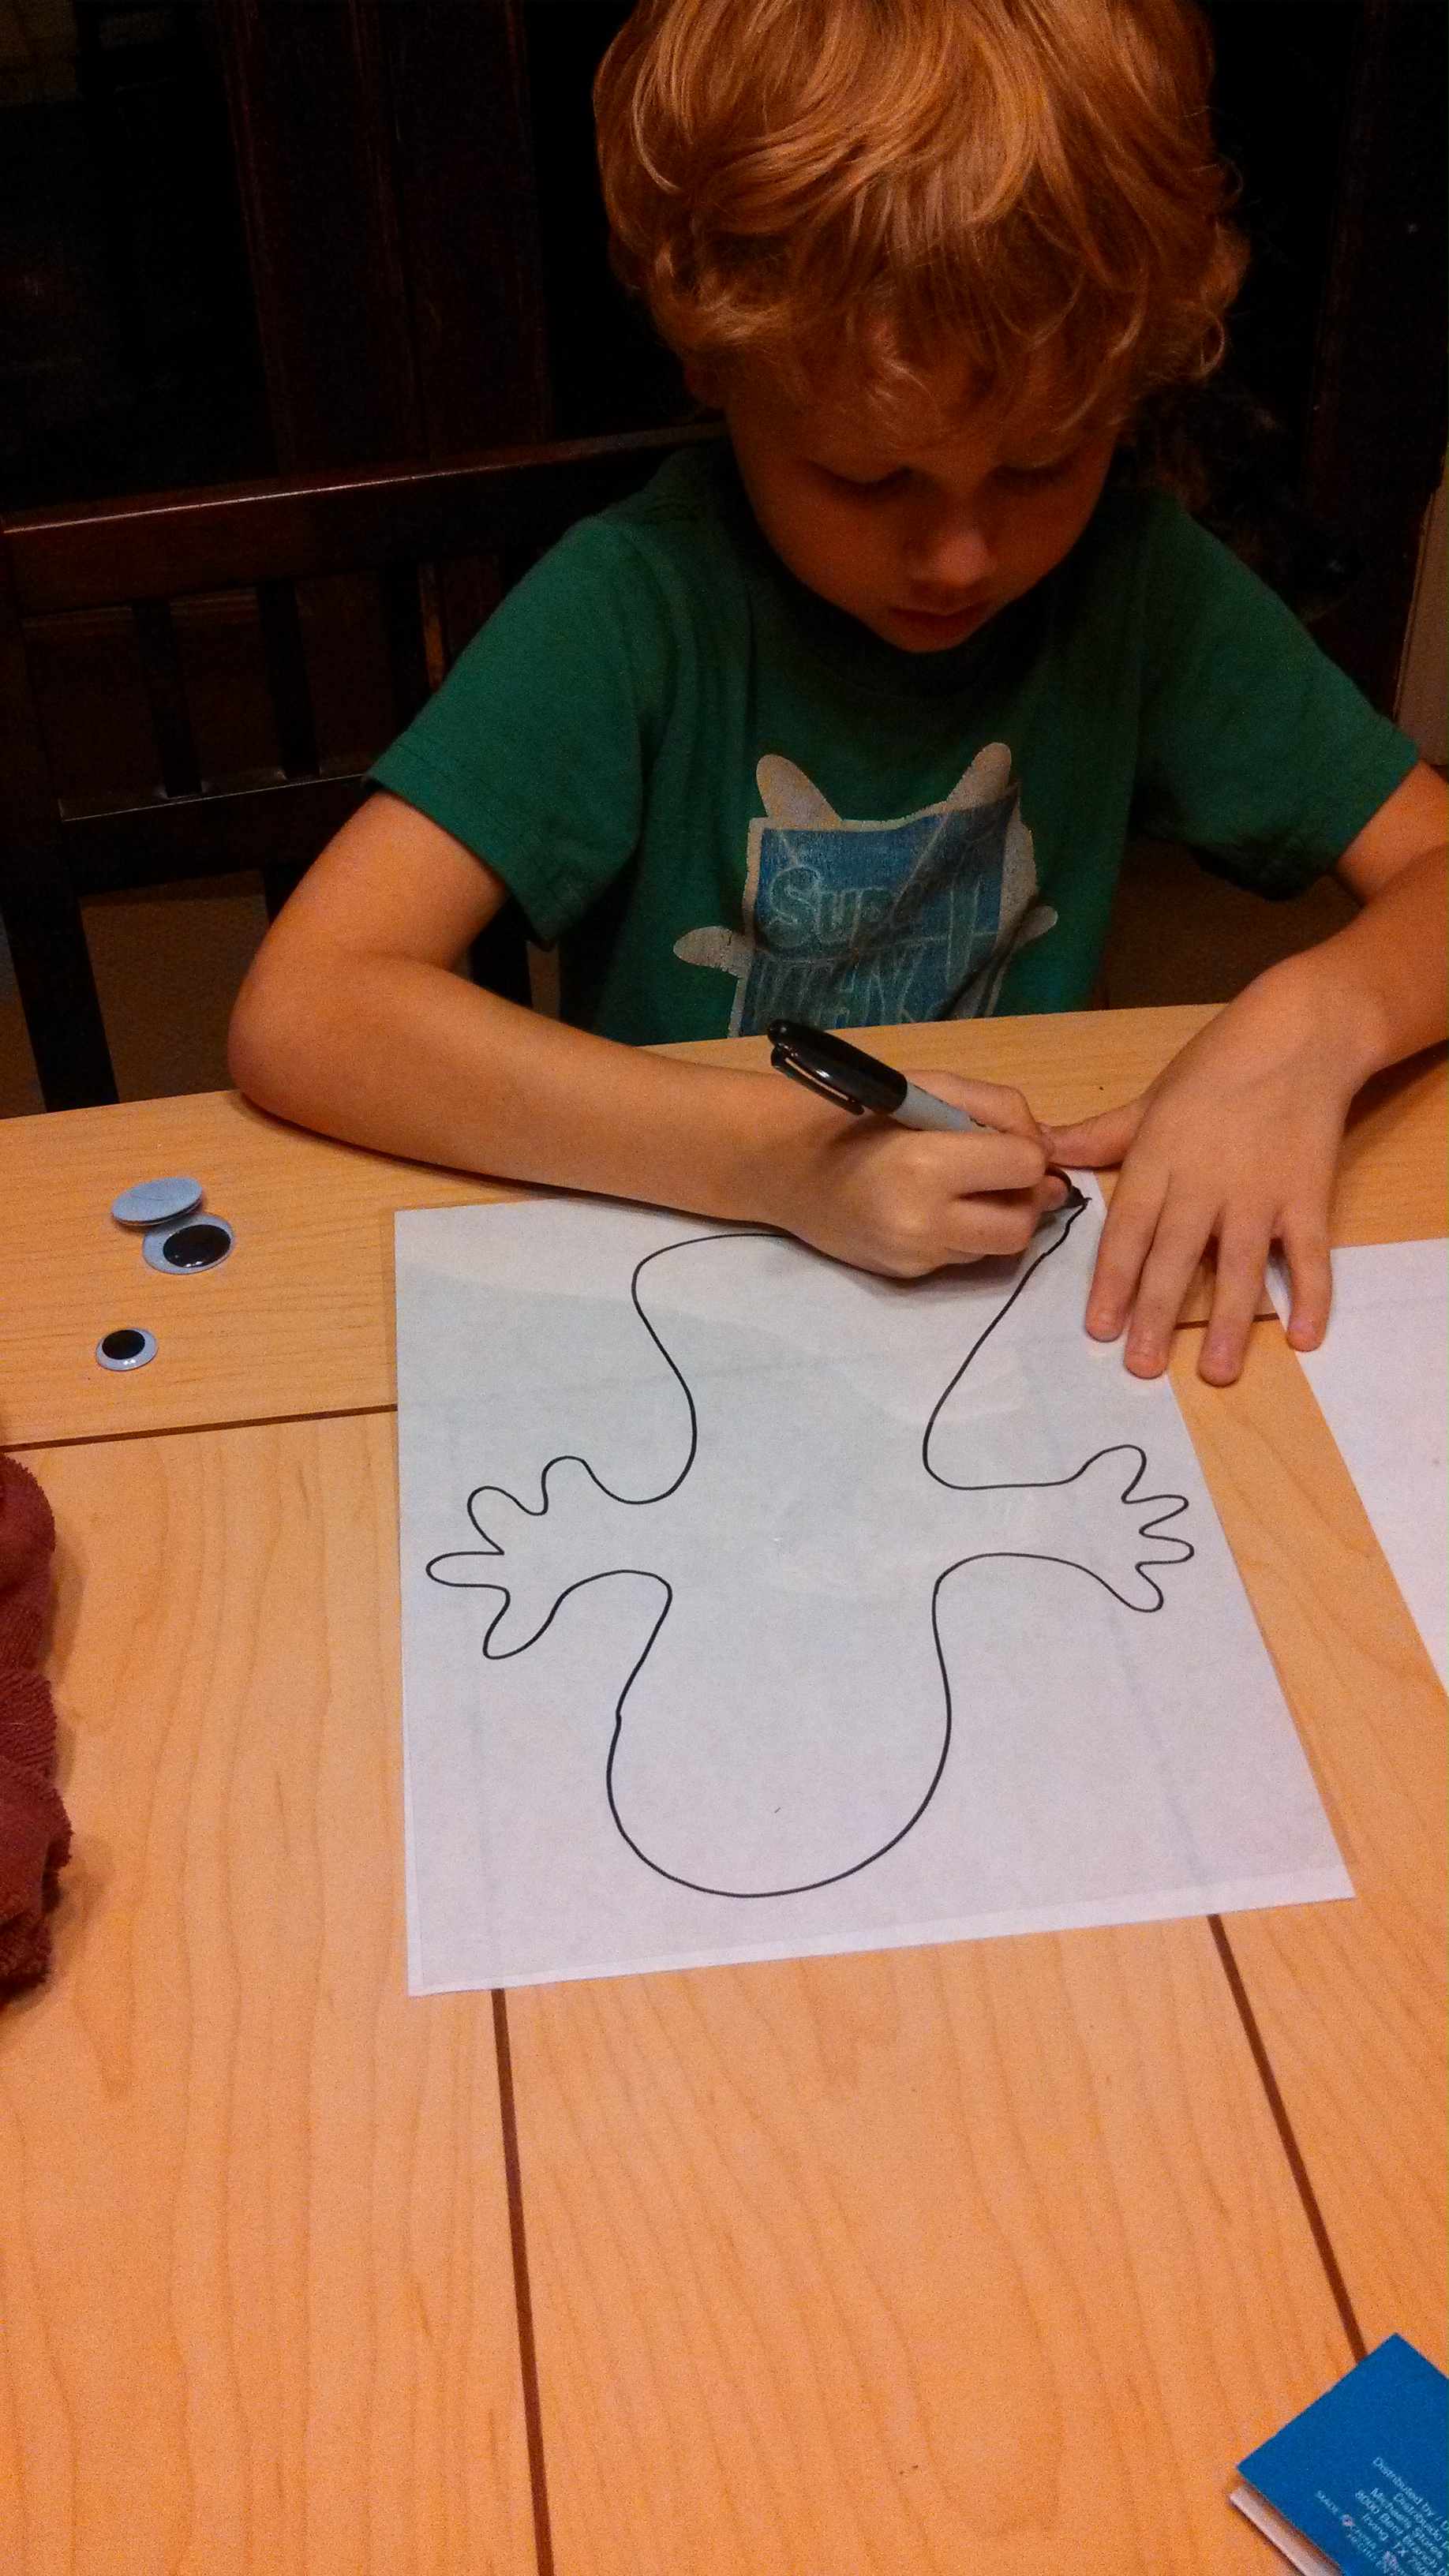
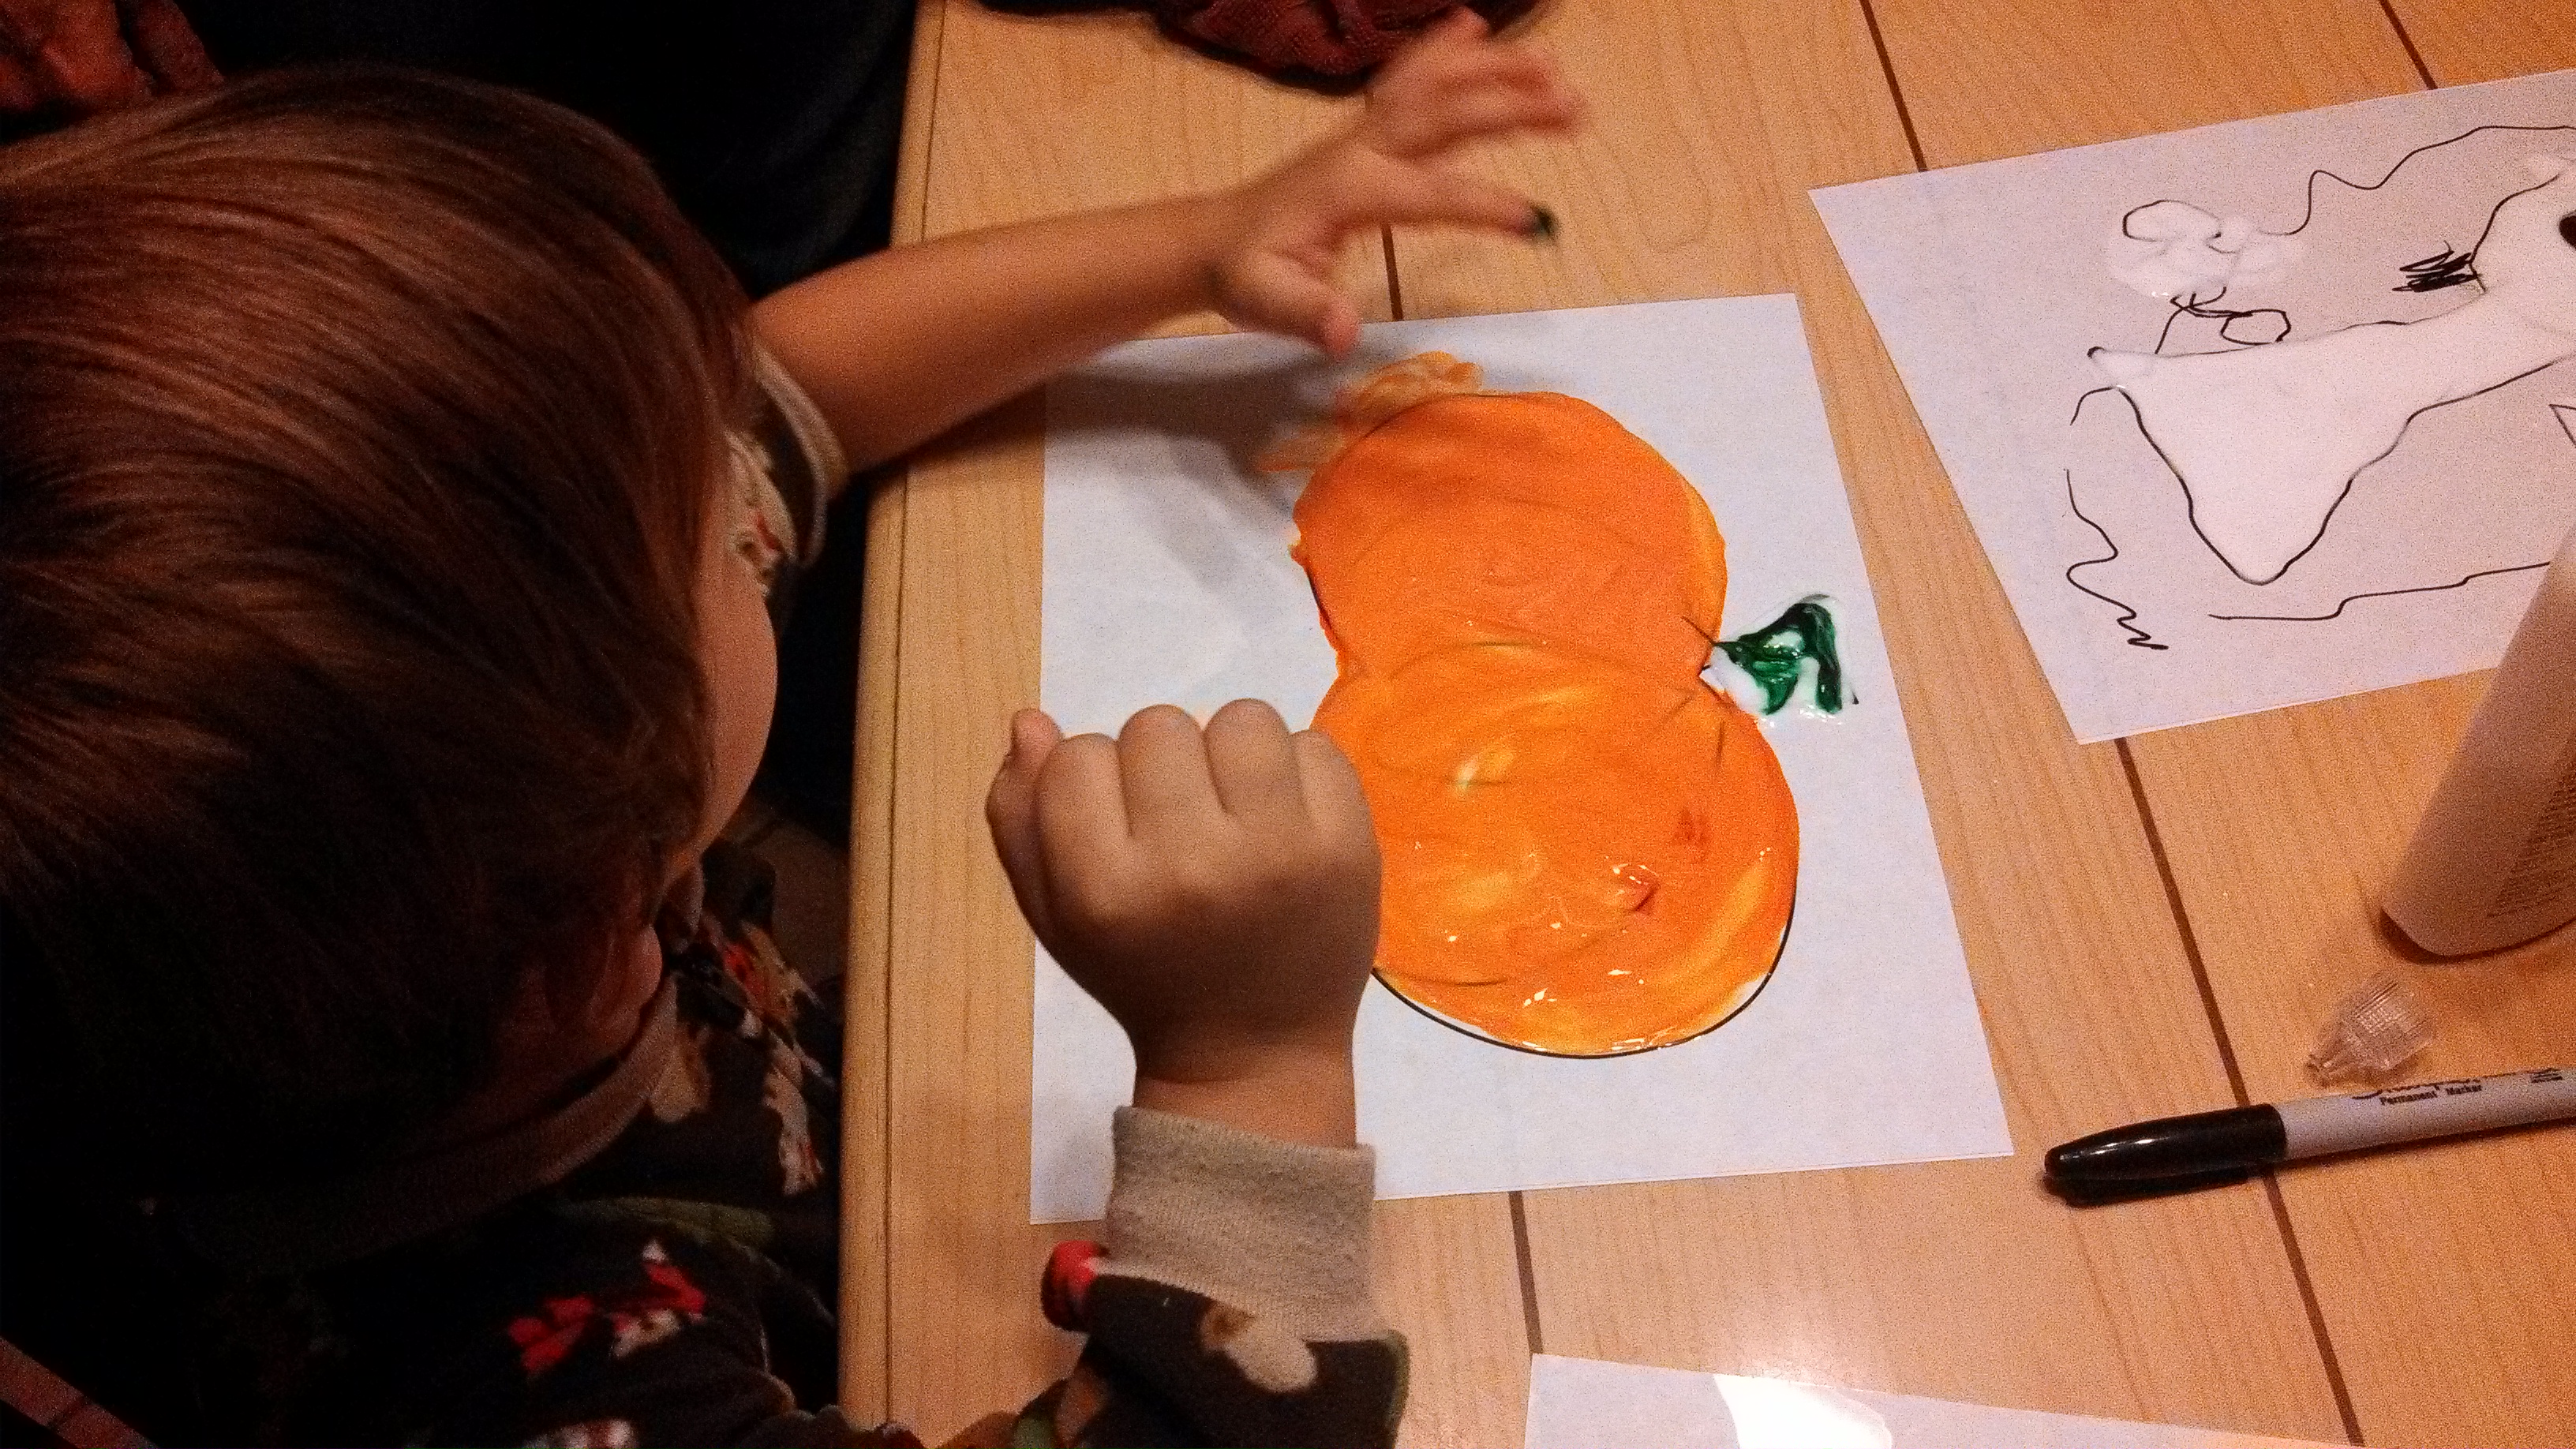
Step 1: Place a blank paper underneath your transparency (easier to see that you are not writing on your table with a permanent marker).
Step 2: Draw your picture onto your transparency using your permanent marker.
Tip: My 6-year-old had the genius idea to TRACE a picture. Look through a few coloring books or print a picture off the computer of a simple shape to trace.
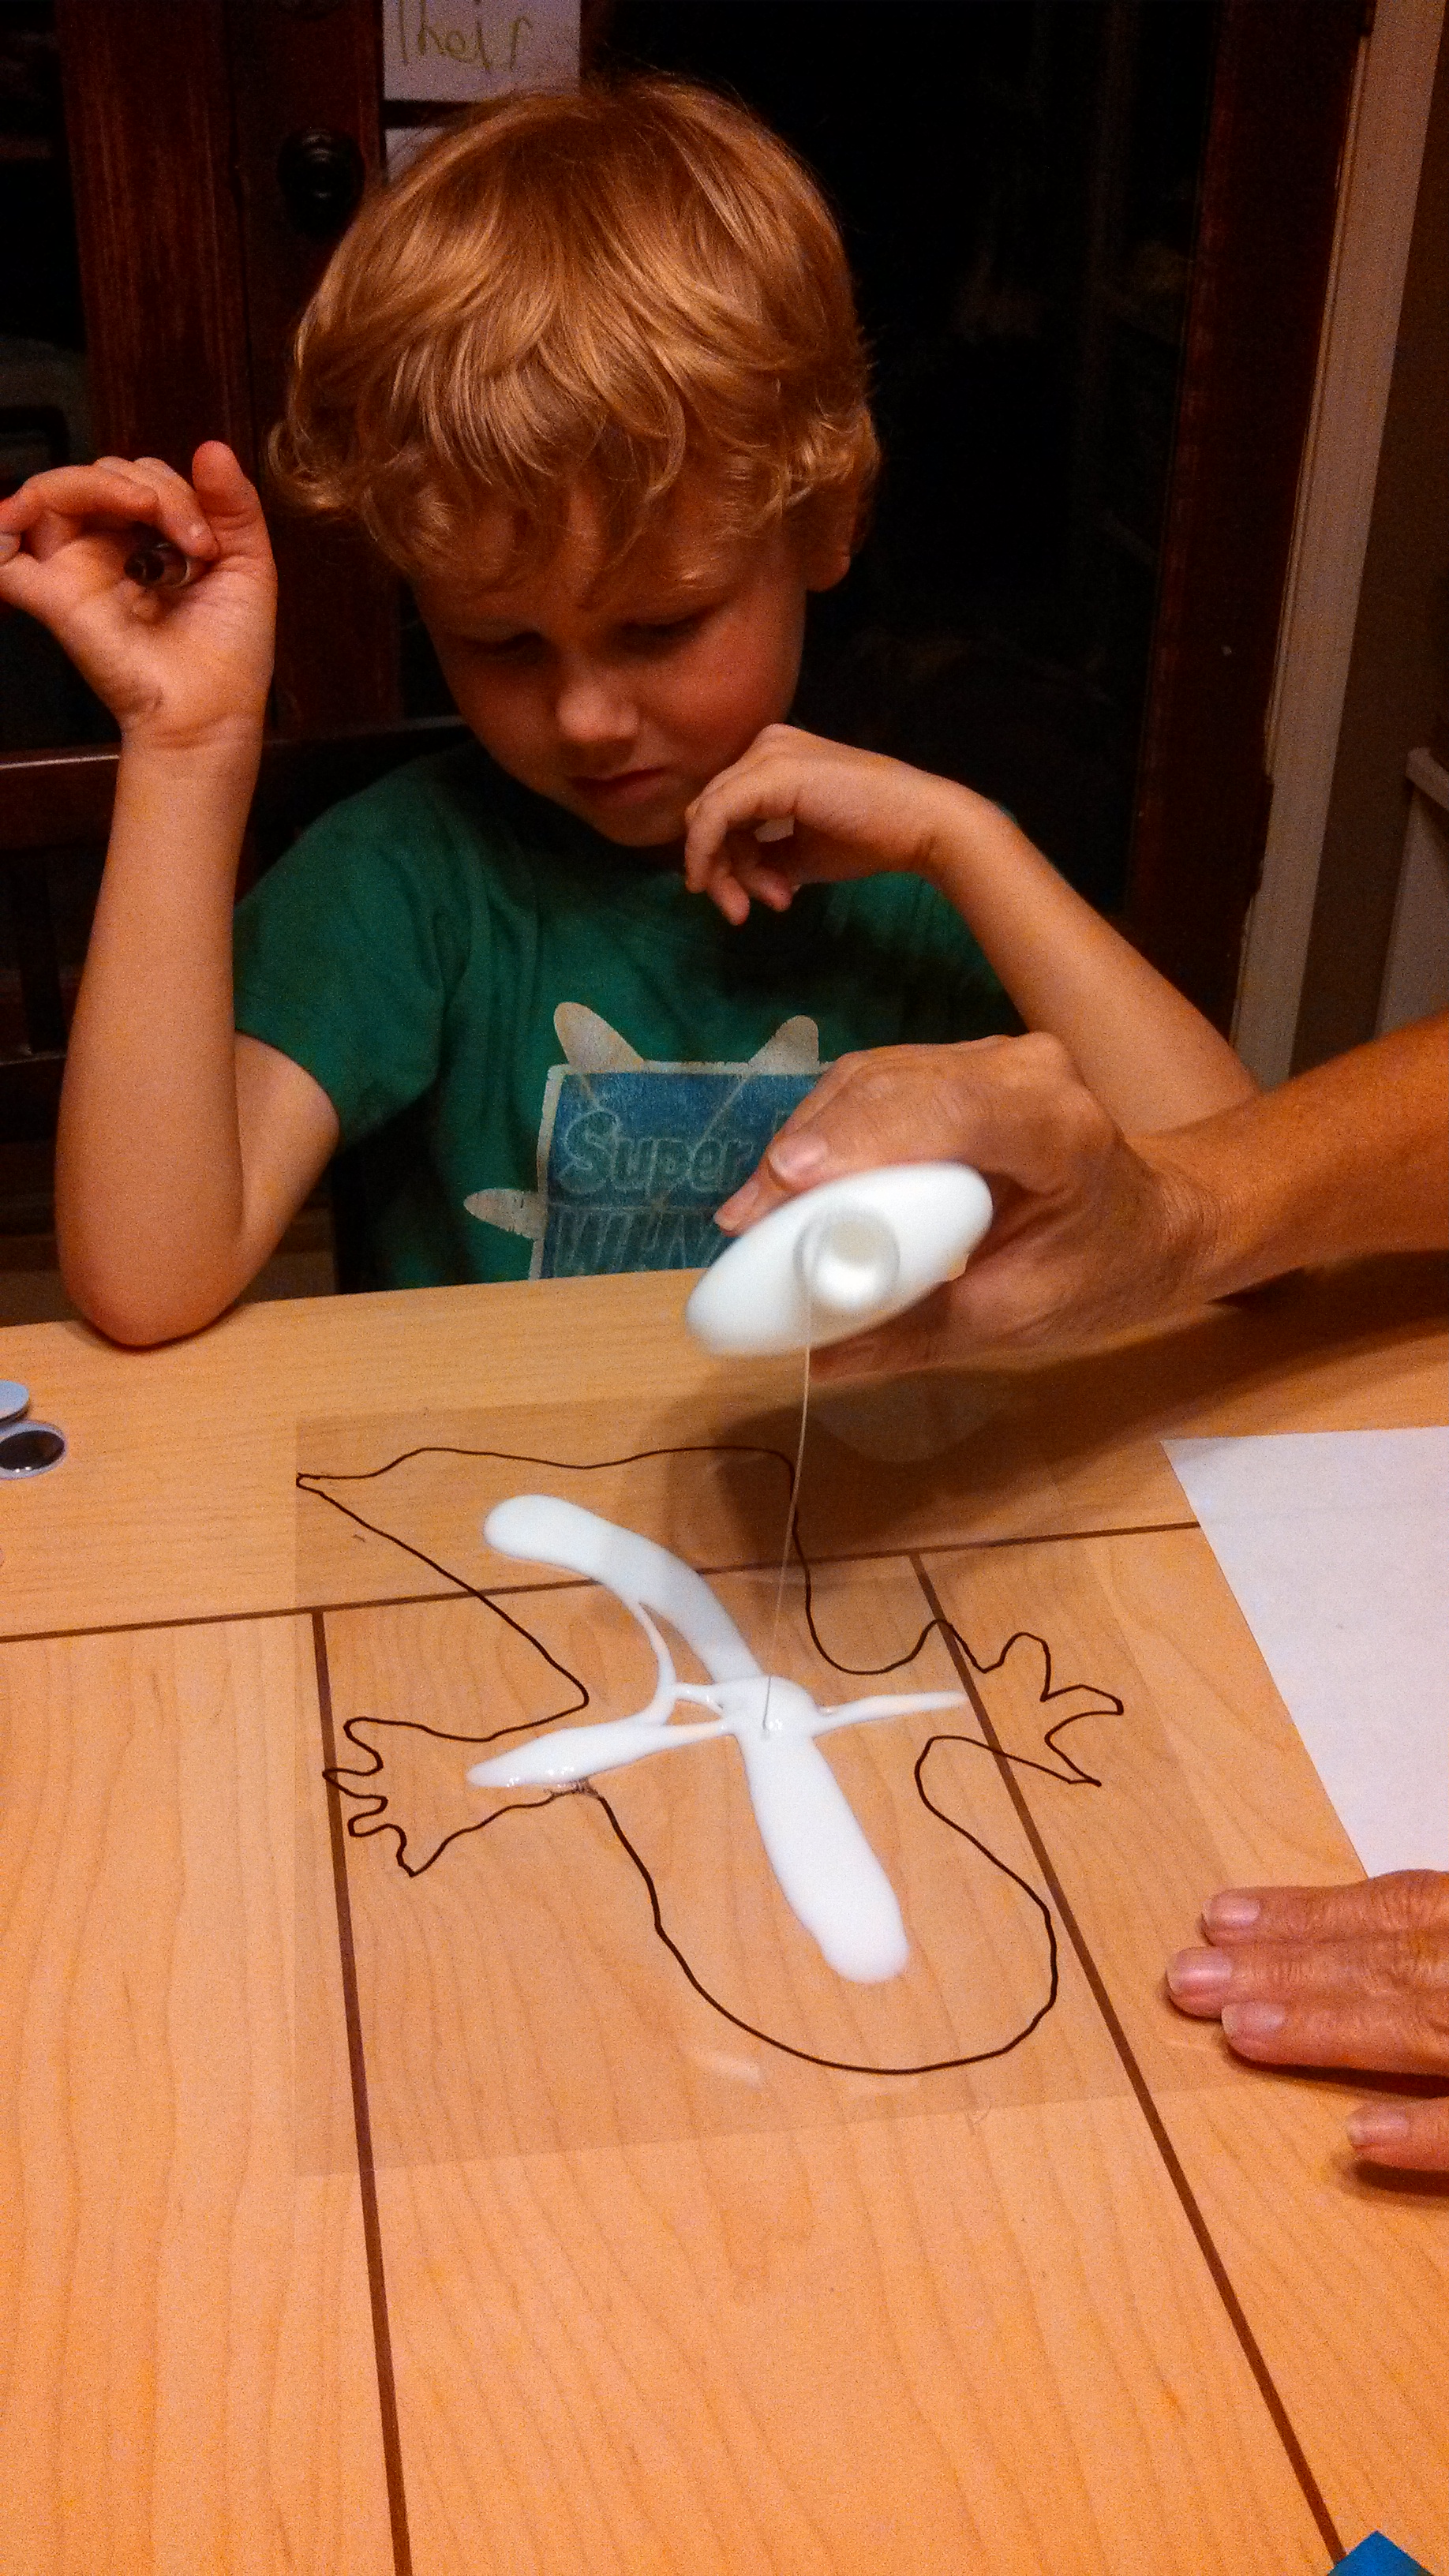
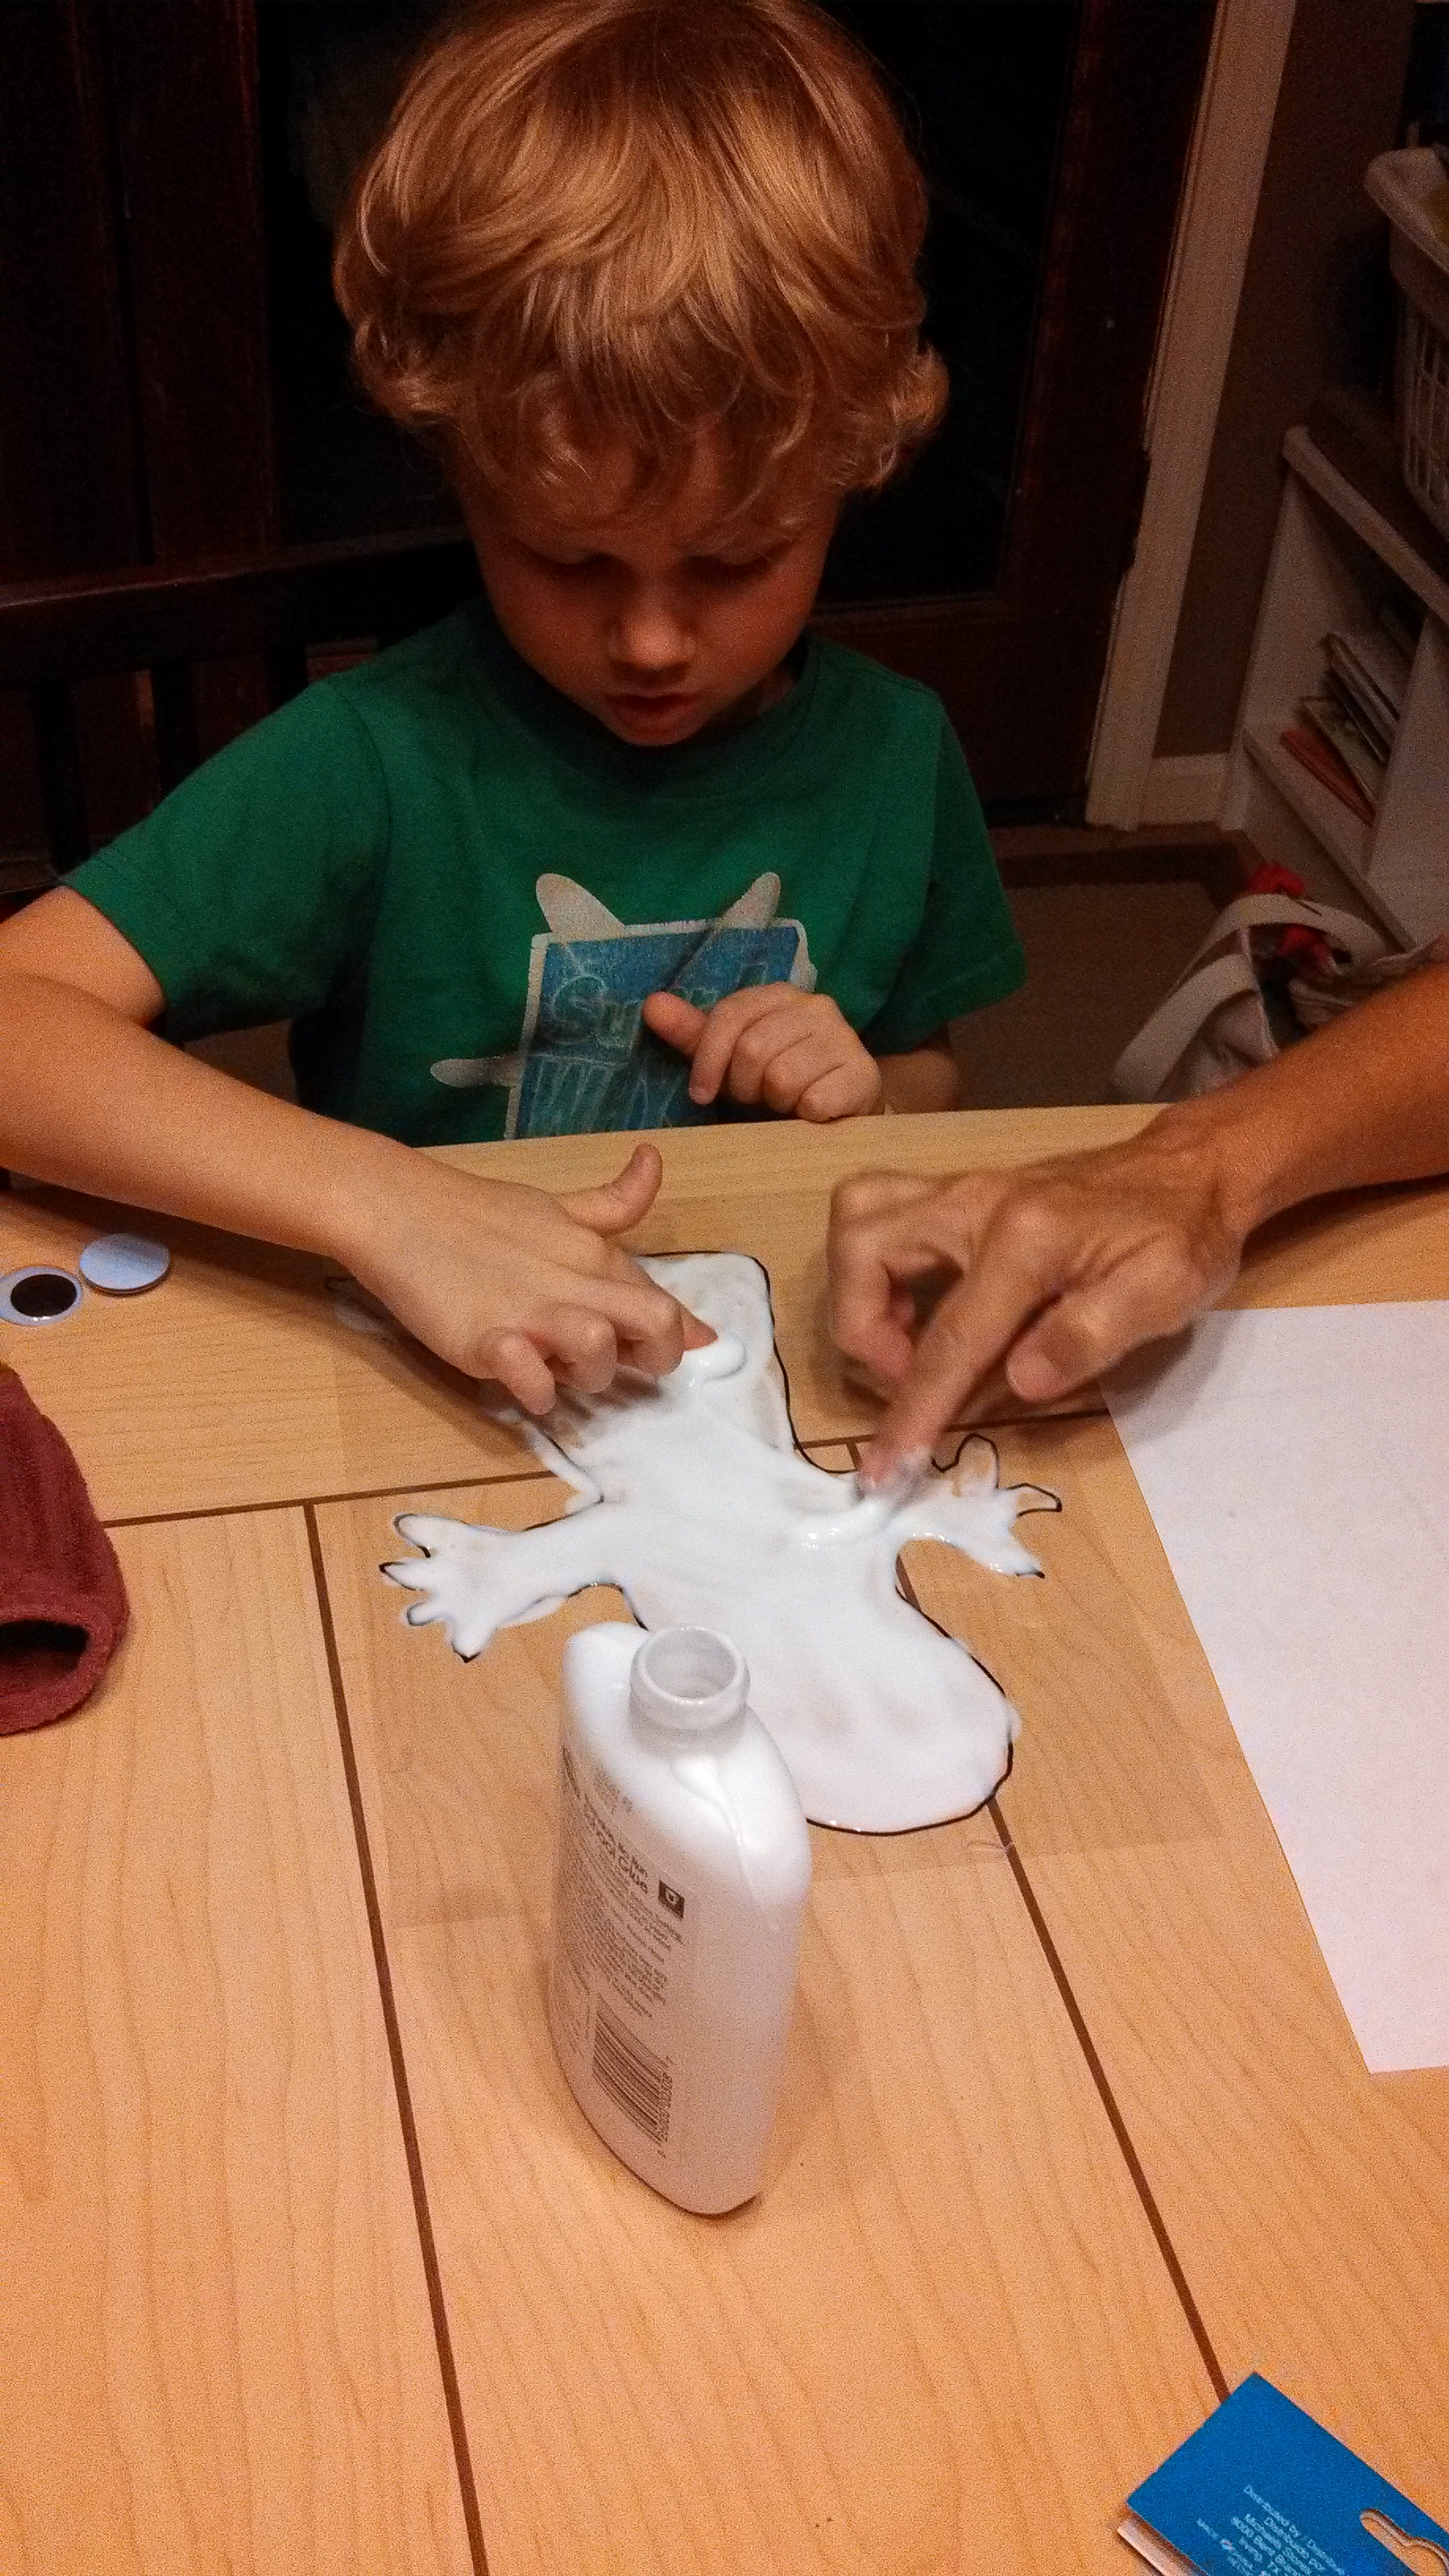
Step 3: Pour a whole lot of glue inside the outline of your picture and use your finger to “paint” the picture.* Make sure the glue is thick and even across your entire picture. It’s ok if the glue goes out of the lines, you can trim that off later.
Step 4: Place your transparencies on a flat surface to dry. You will be finishing your craft tomorrow. When all of your glue has turned from white to transparent, it is dry. (We let ours sit for about 24 hours).
Step 5: Using a small amount of glue, place googly eyes on your ghost. Wait for the glue to dry.
Step 6: Peel off and stick to your window or mirror! (Getting it started to peel off is the tricky part. Try bending the transparency while using your finger nail to lift it from the sheet. Then gently peel it off.)
Step 7: Use nail polish remover to erase the permanent marker from the transparencies and begin the craft all over again!
*To make COLOR decals, when doing Step 3, add a few drops of food coloring to your glue and mix together while you are spreading it. For our pumpkins, we added 4 drops of yellow to 1 drop of red in the glue and mixed it together to make orange.
Another option is to use fabric paints instead of glue, but 1. I love finger painting with glue, and 2. using glue is a cheaper alternative to fabric paint.
I was going to wait til’ Monday to share this with you, but I couldn’t wait any longer and I wanted to give everyone enough time before Halloween to make this happen in your neighborhood if you wanted to.
We wen’t “boo”ing in our neighborhood all morning and it was a blast!
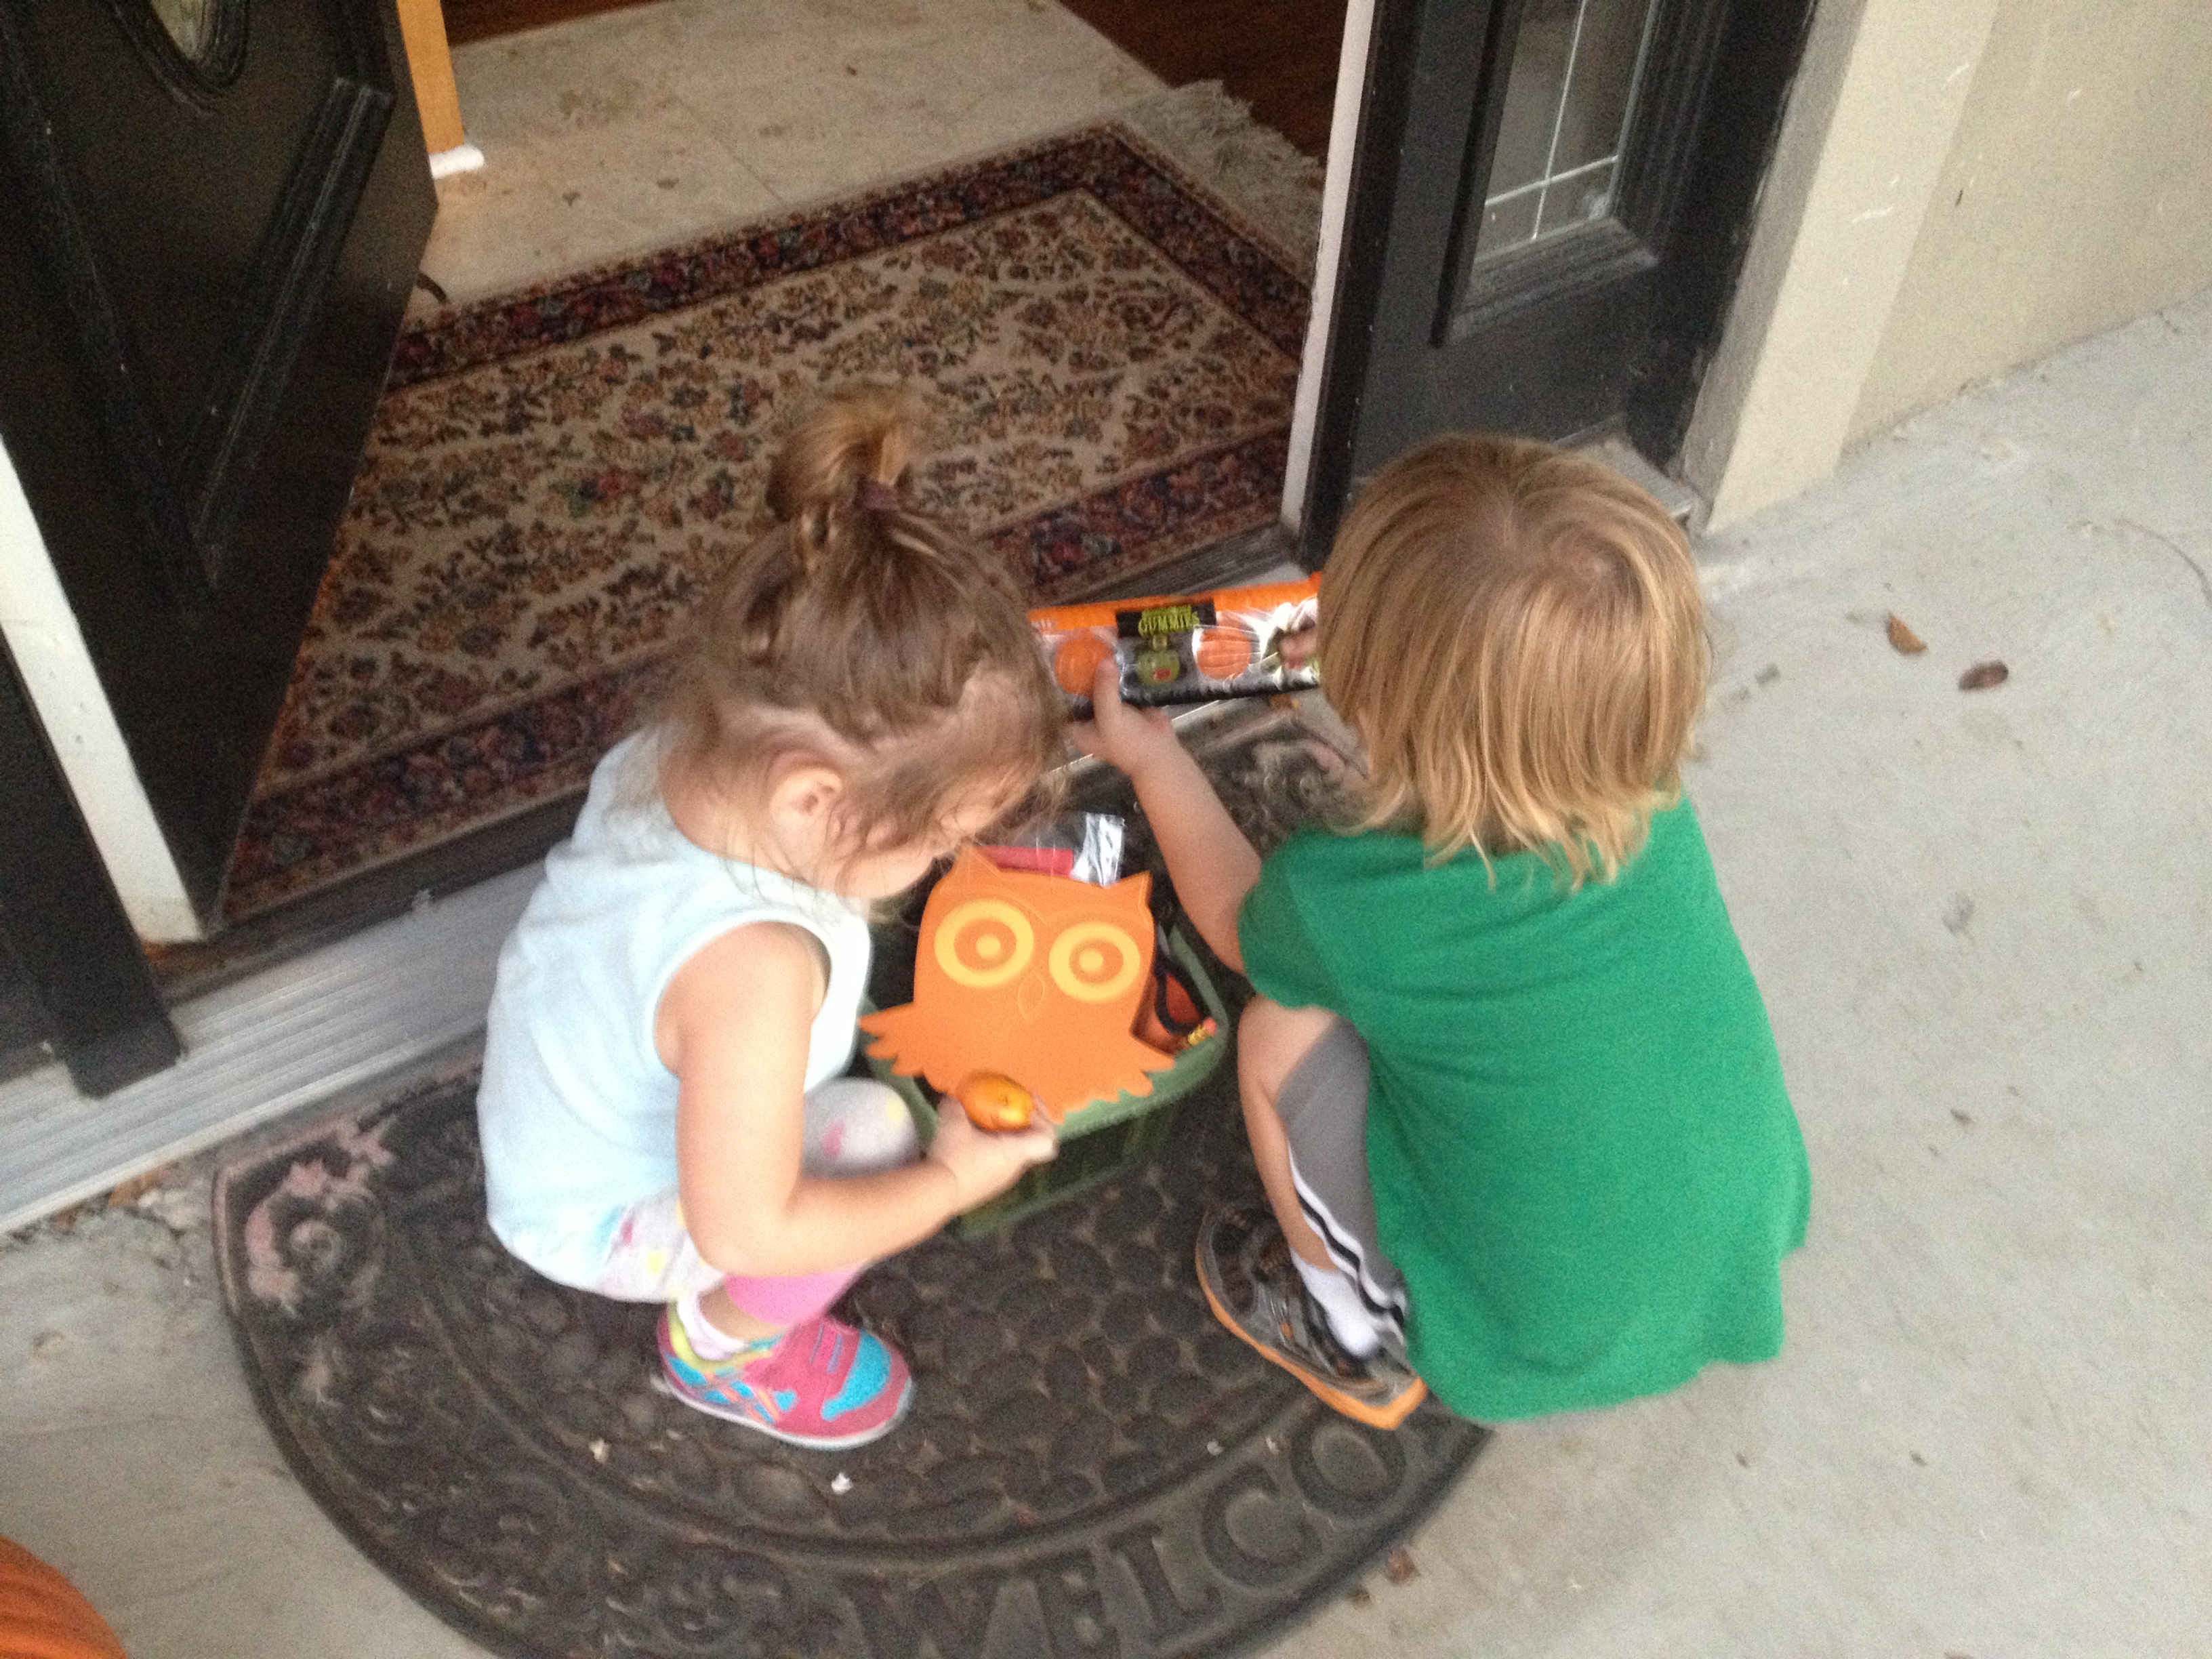
Two days ago we were surprised by a basket of Halloween goodies on our doorstep… I still don’t know who did it but it was so fun!
Whoever “boo’d” us colored jack-o-lantern faces on oranges, gave us two little craftivities, jack-o-lantern stickers, pencils, gummies, glow-in-the-dark vampire teeth, and bib for our baby girl. They did a great job! The little seasonal sticker activity was so cute…
I couldn’t wait to keep this going because I knew how much fun we would have putting the little treat baskets together and delivering them.
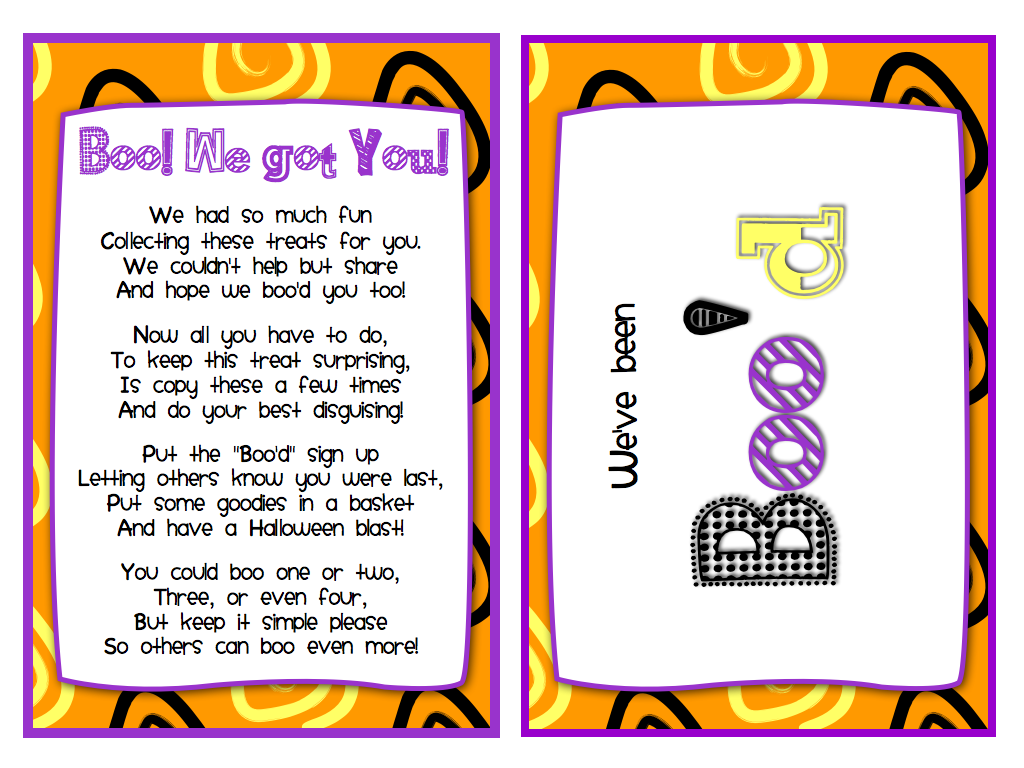
But, I couldn’t find the template so I made my own, and wanted you to have it!
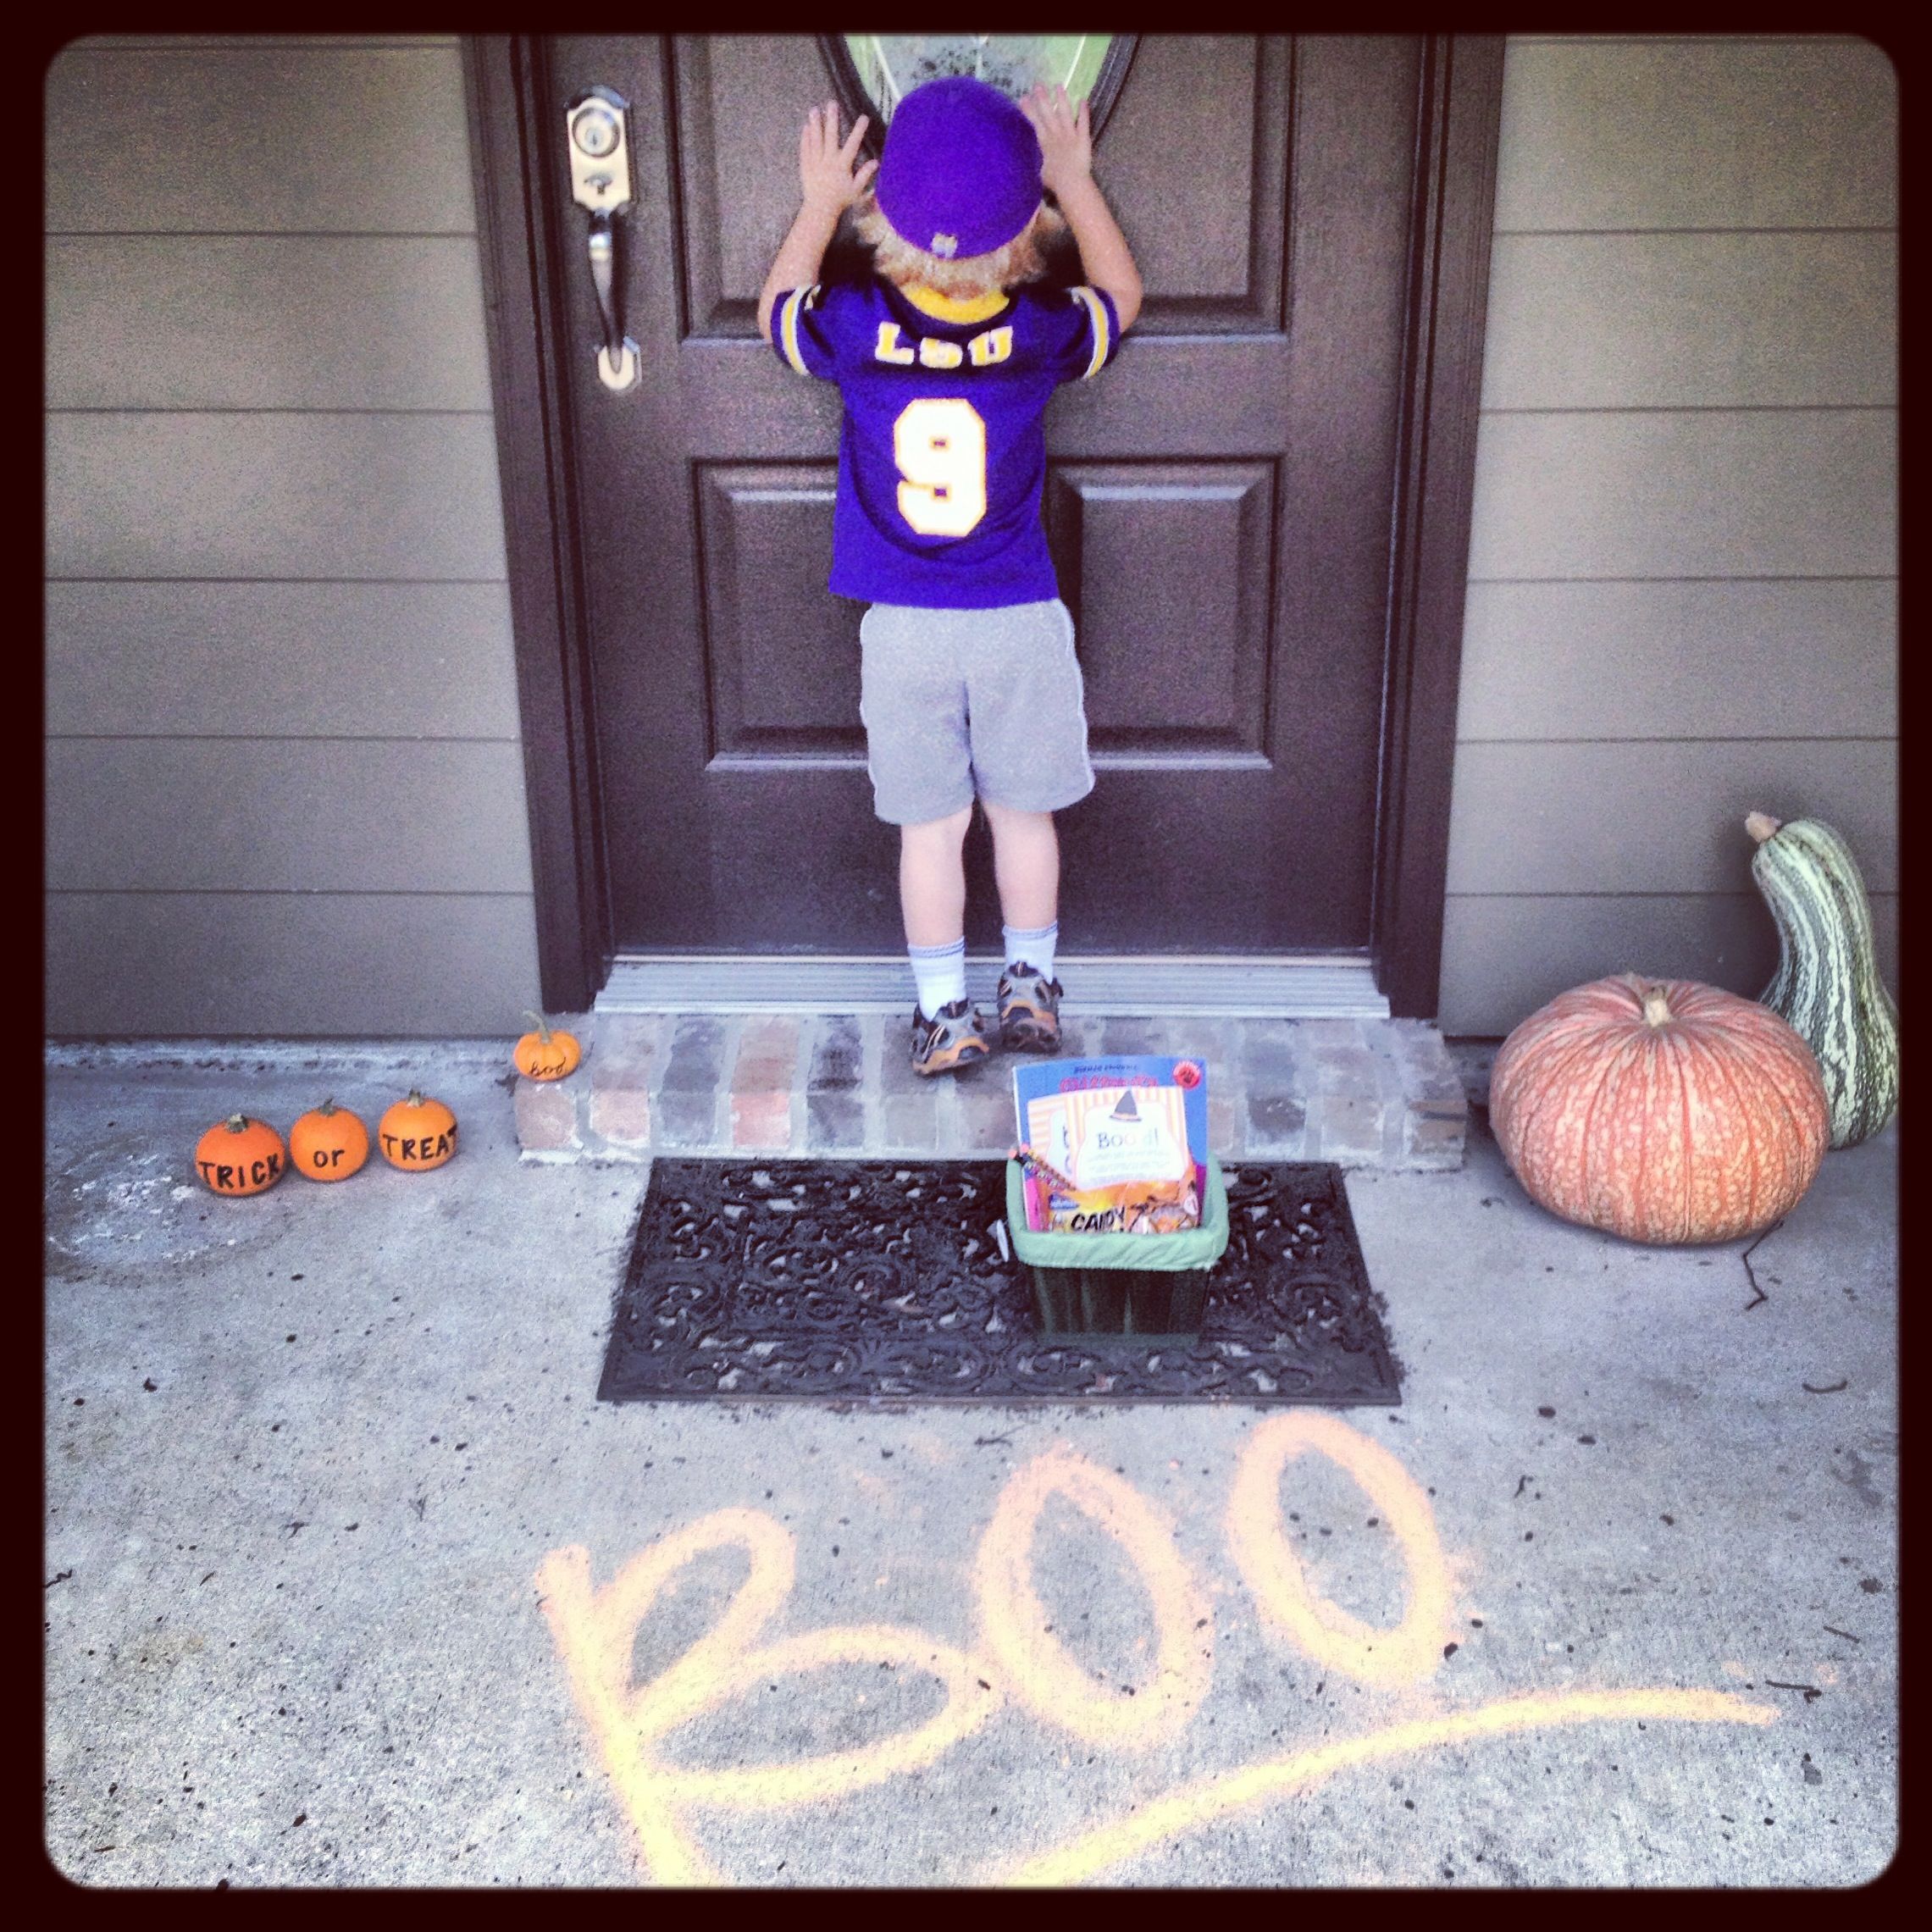
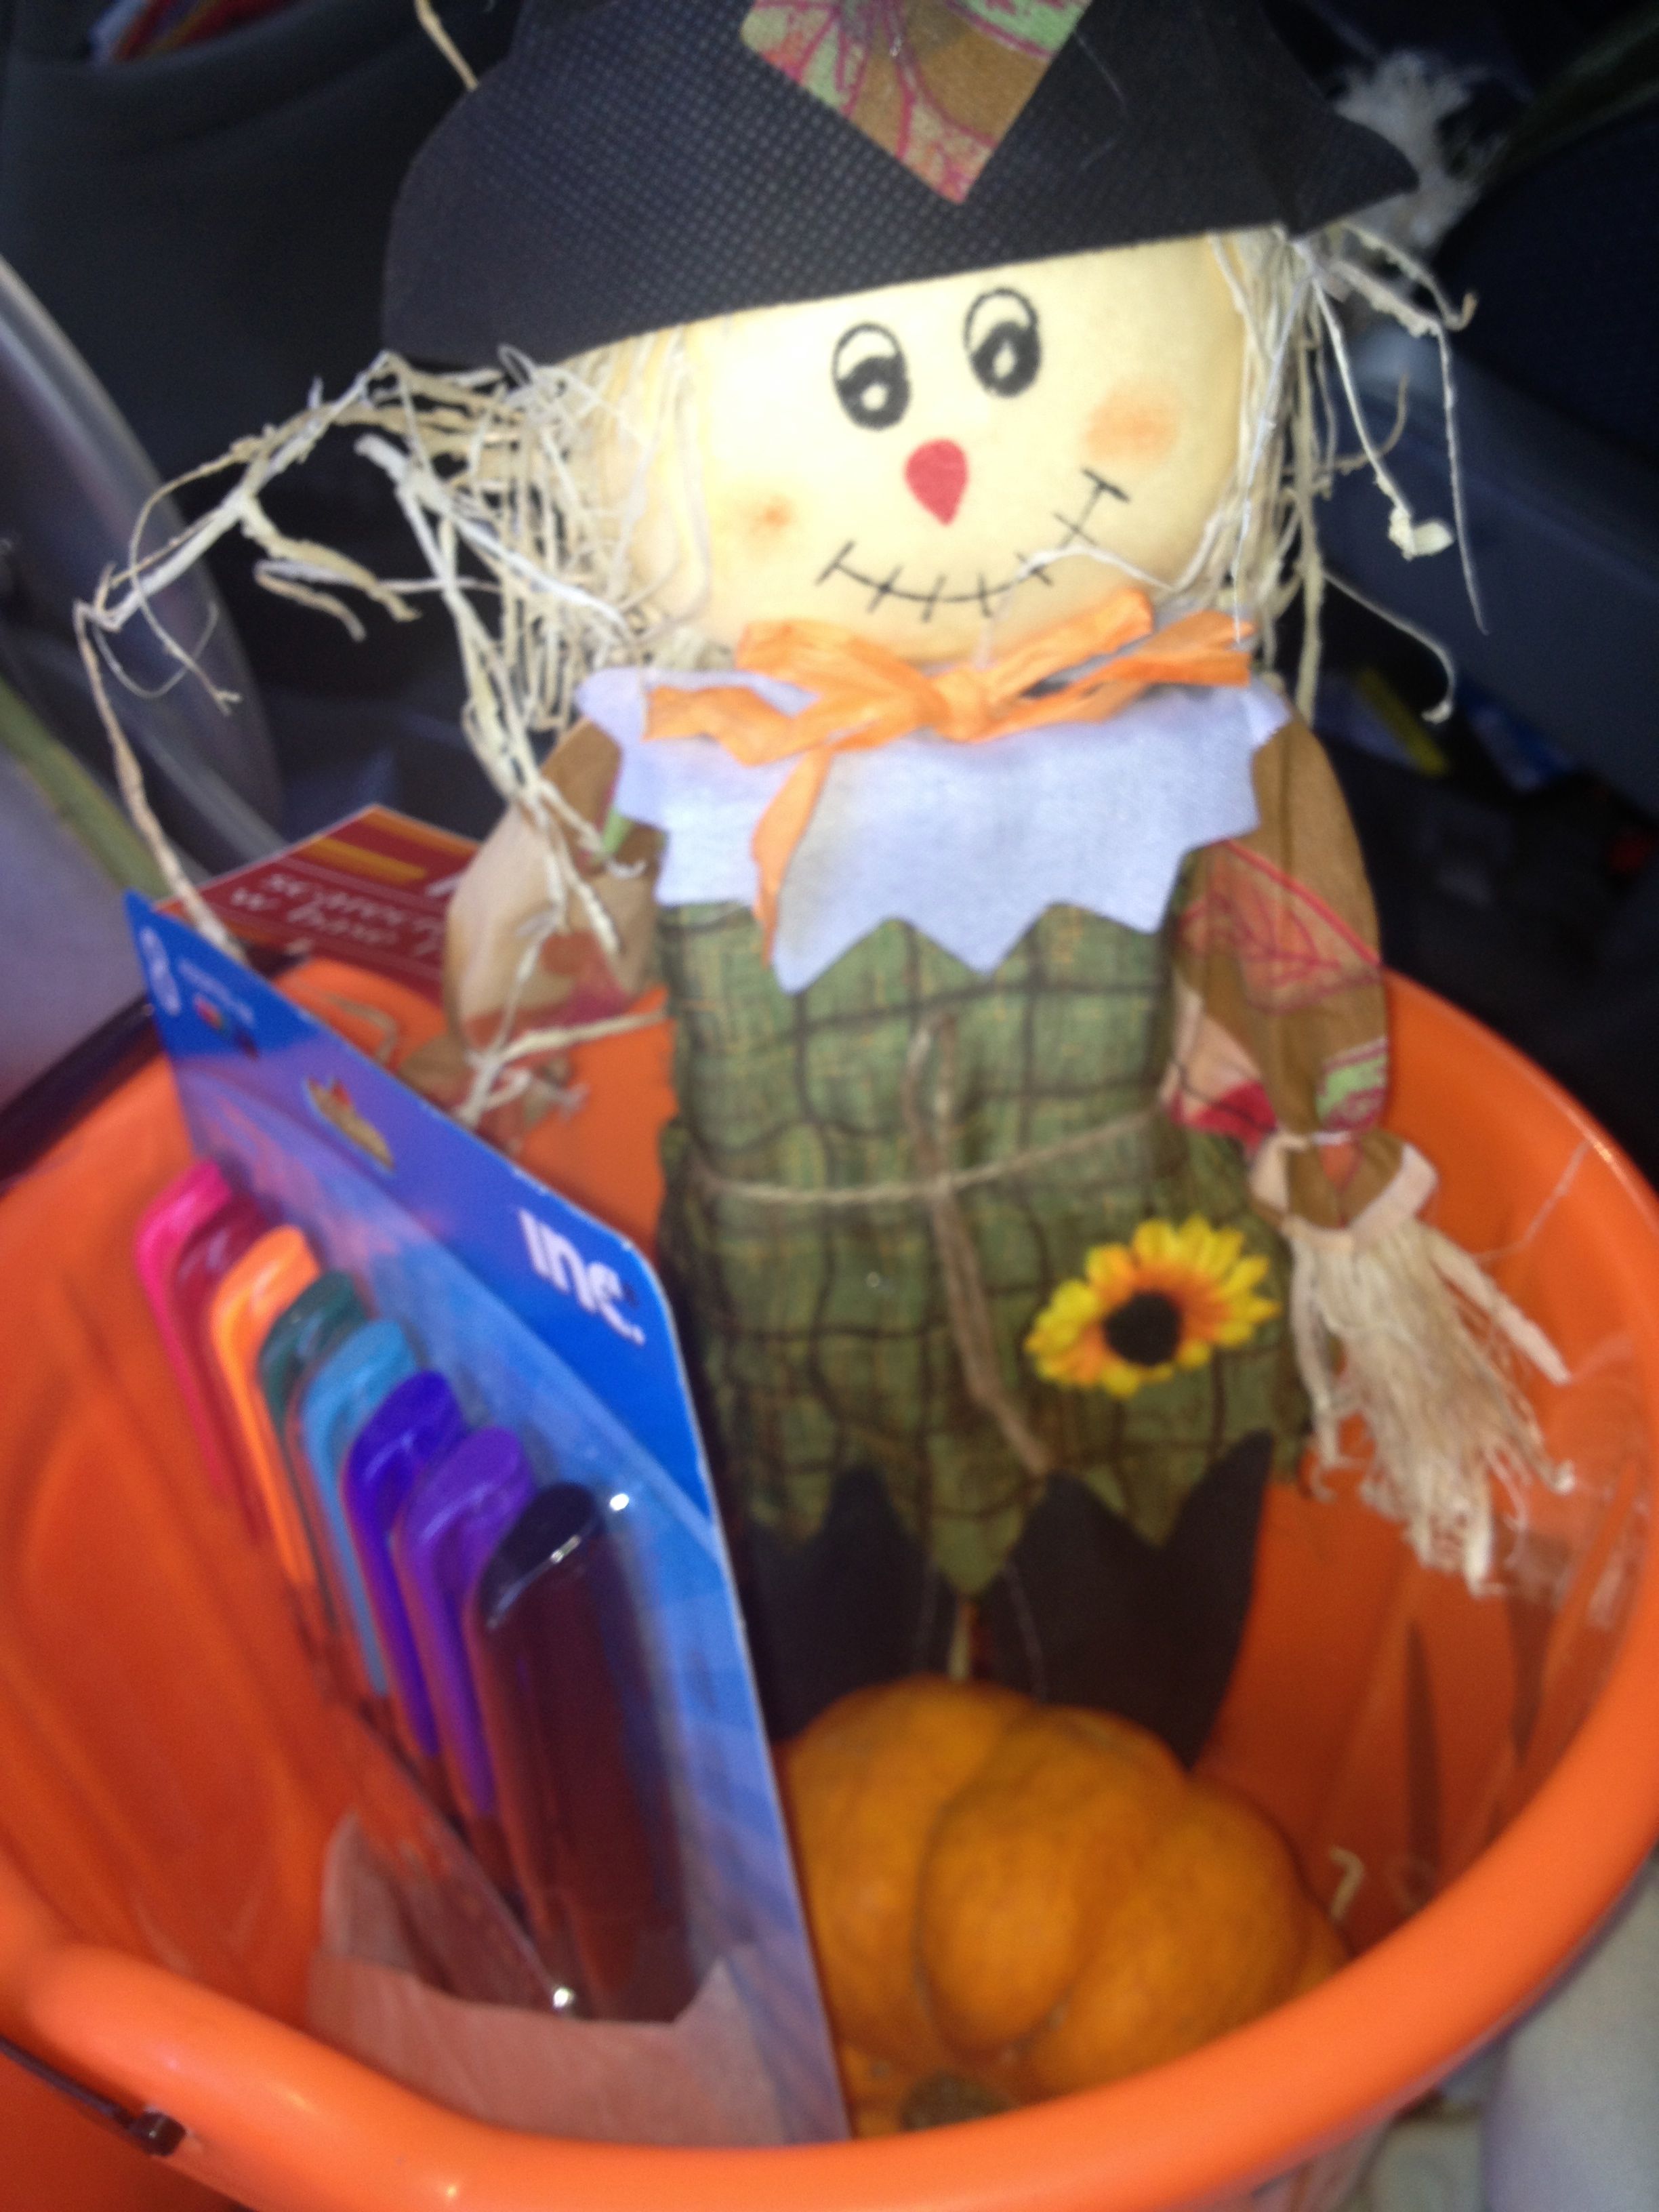
So, Sean Patrick helped me pick out some little pumpkins and then we went to family dollar and got a jack-o-lantern bucket, a little scarecrow, some spooky ring pops, and colorful sharpies (to decorate the pumpkins).
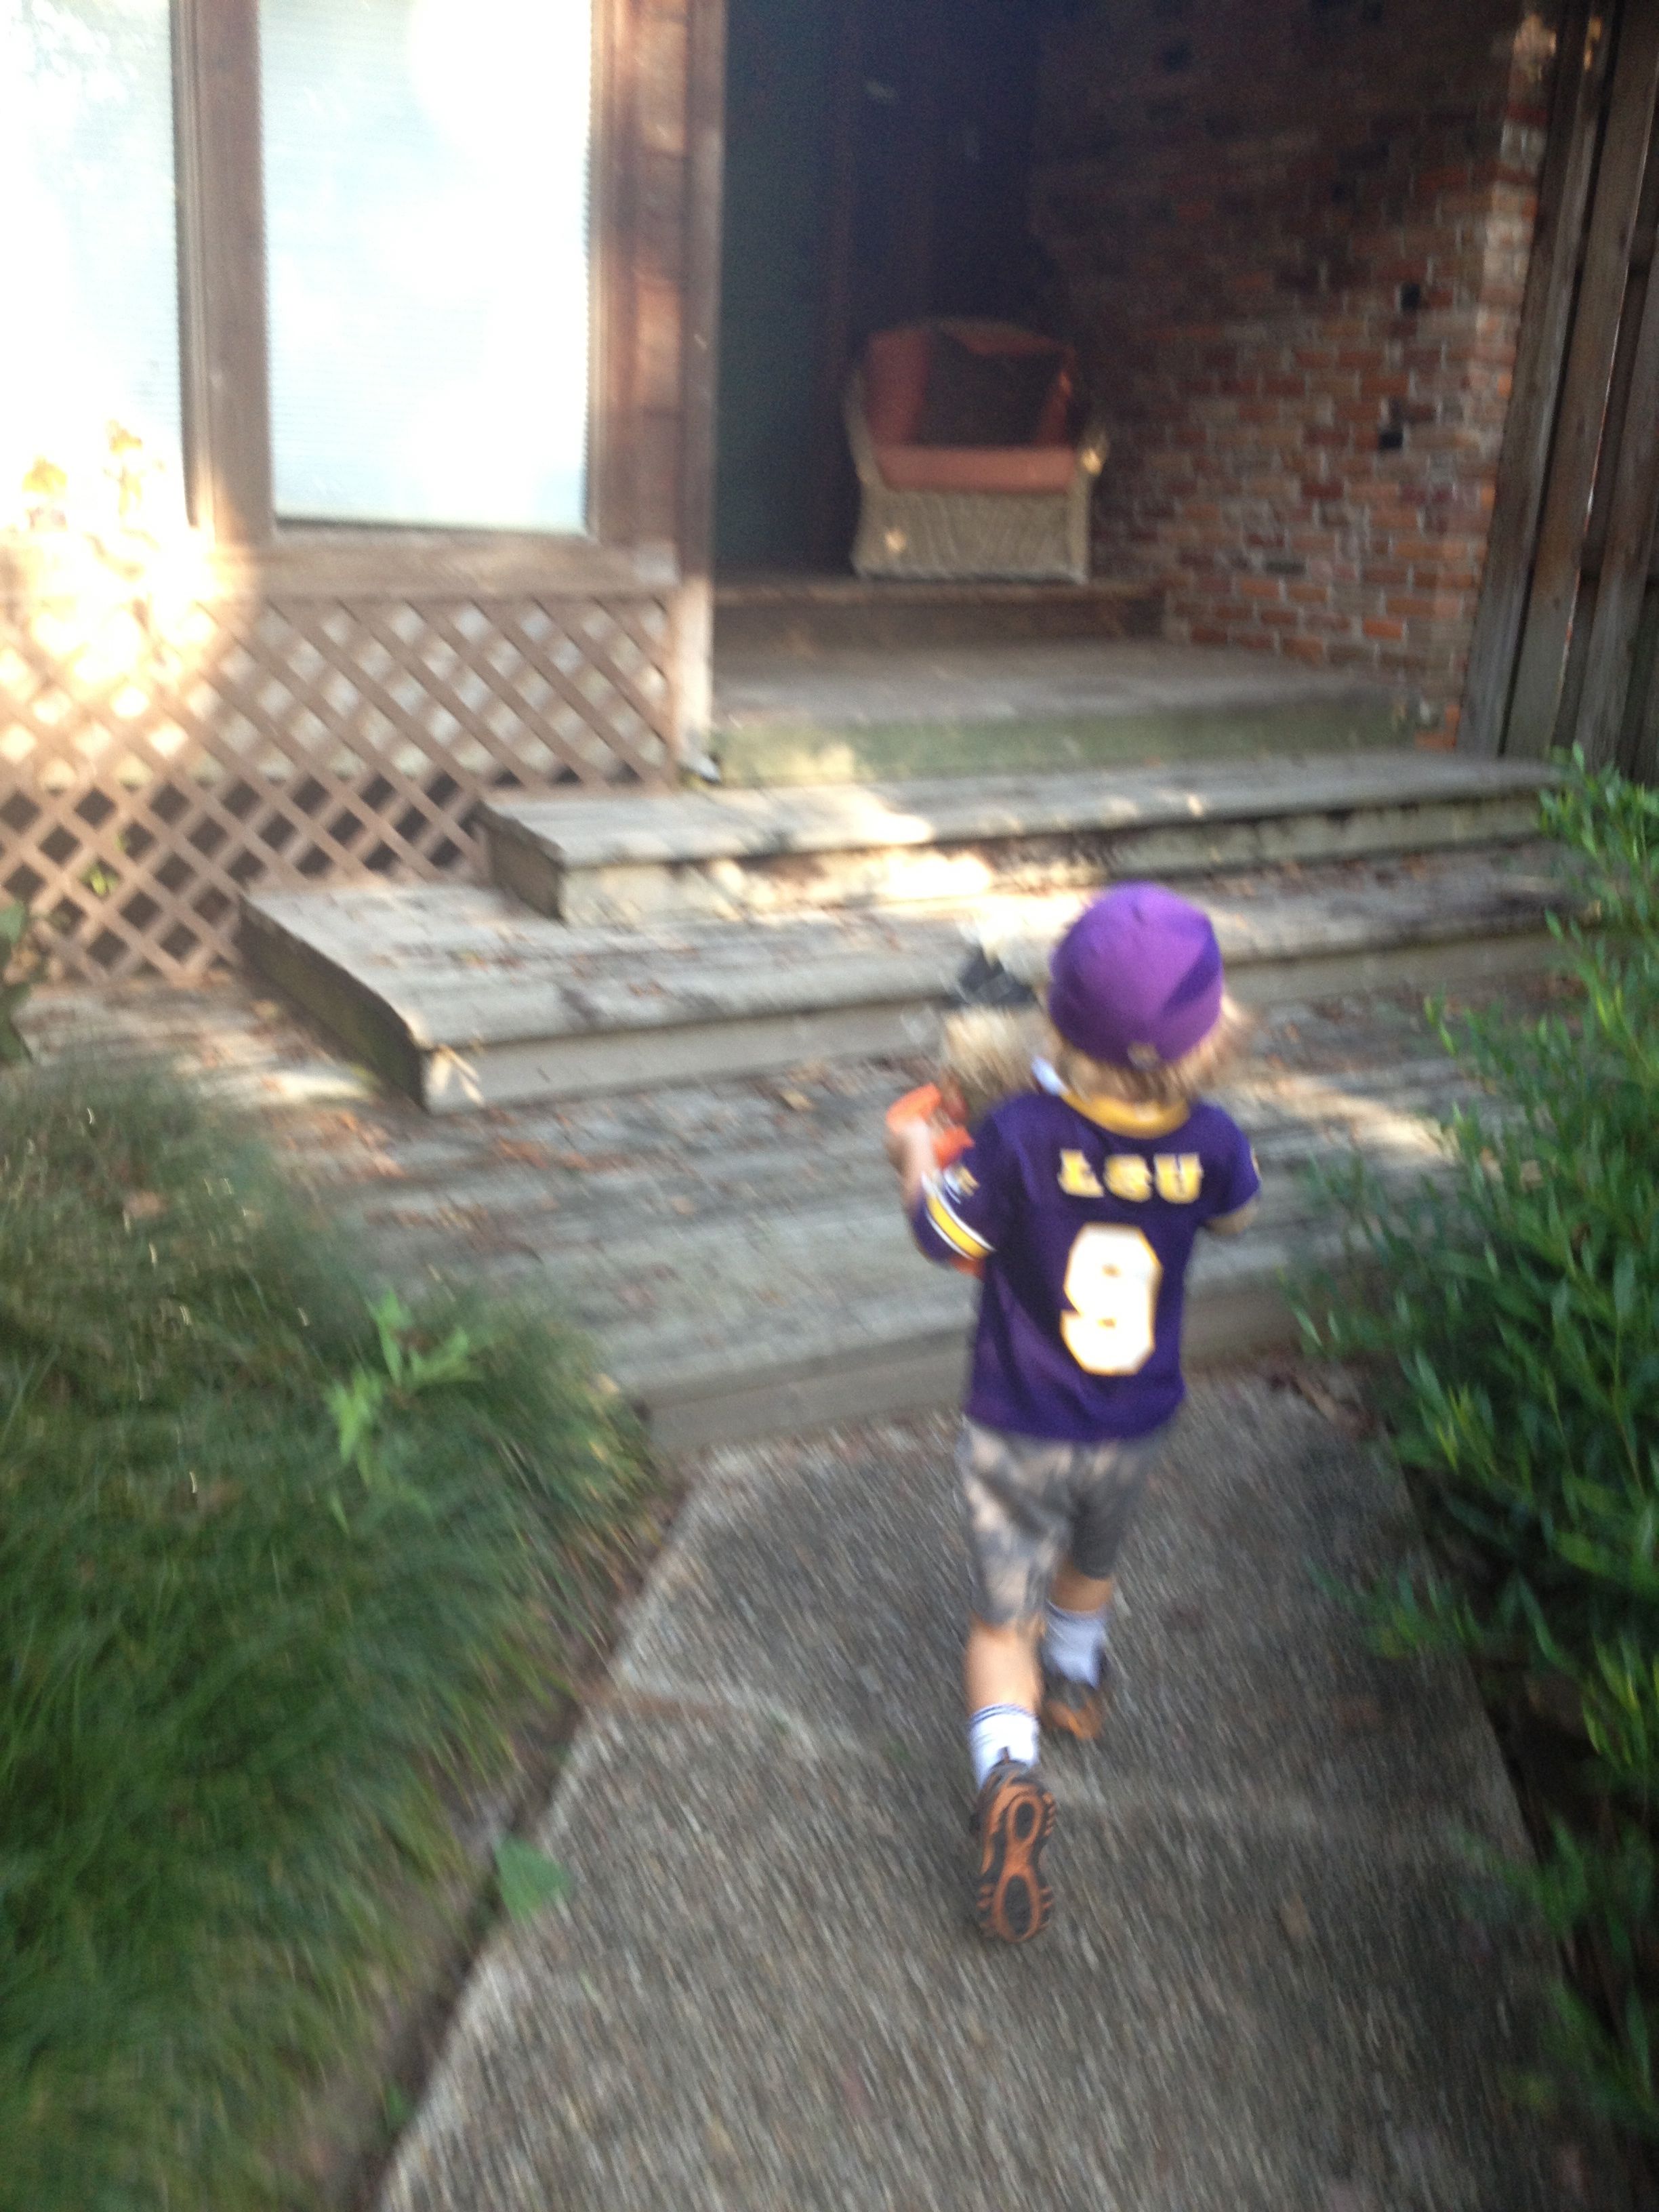
Then I encouraged Sean Patrick to carry the goodie basket to their door, knock, and tip toe away and watch from the car so it could be a surprise.
We had so much fun…he was running!
And if friends caught us outside it was fun too!
I hope you make the time to do this… It doesn’t have to be fancy…. You could drop off a little ziploc of something with the printable and it would still be fun for the whole family! You still have time before Halloween!
Disclaimer: the friend already had the chalked word “Boo!” but I would totally ask a neighbor if they wouldn’t mind and do that because it looked so cute!
HEAD’S UP, MOMMY TEACHERS! This Sunday is Grandparents Day! My kids love their grandparents so much and wanted to make them a special gift for their big day!
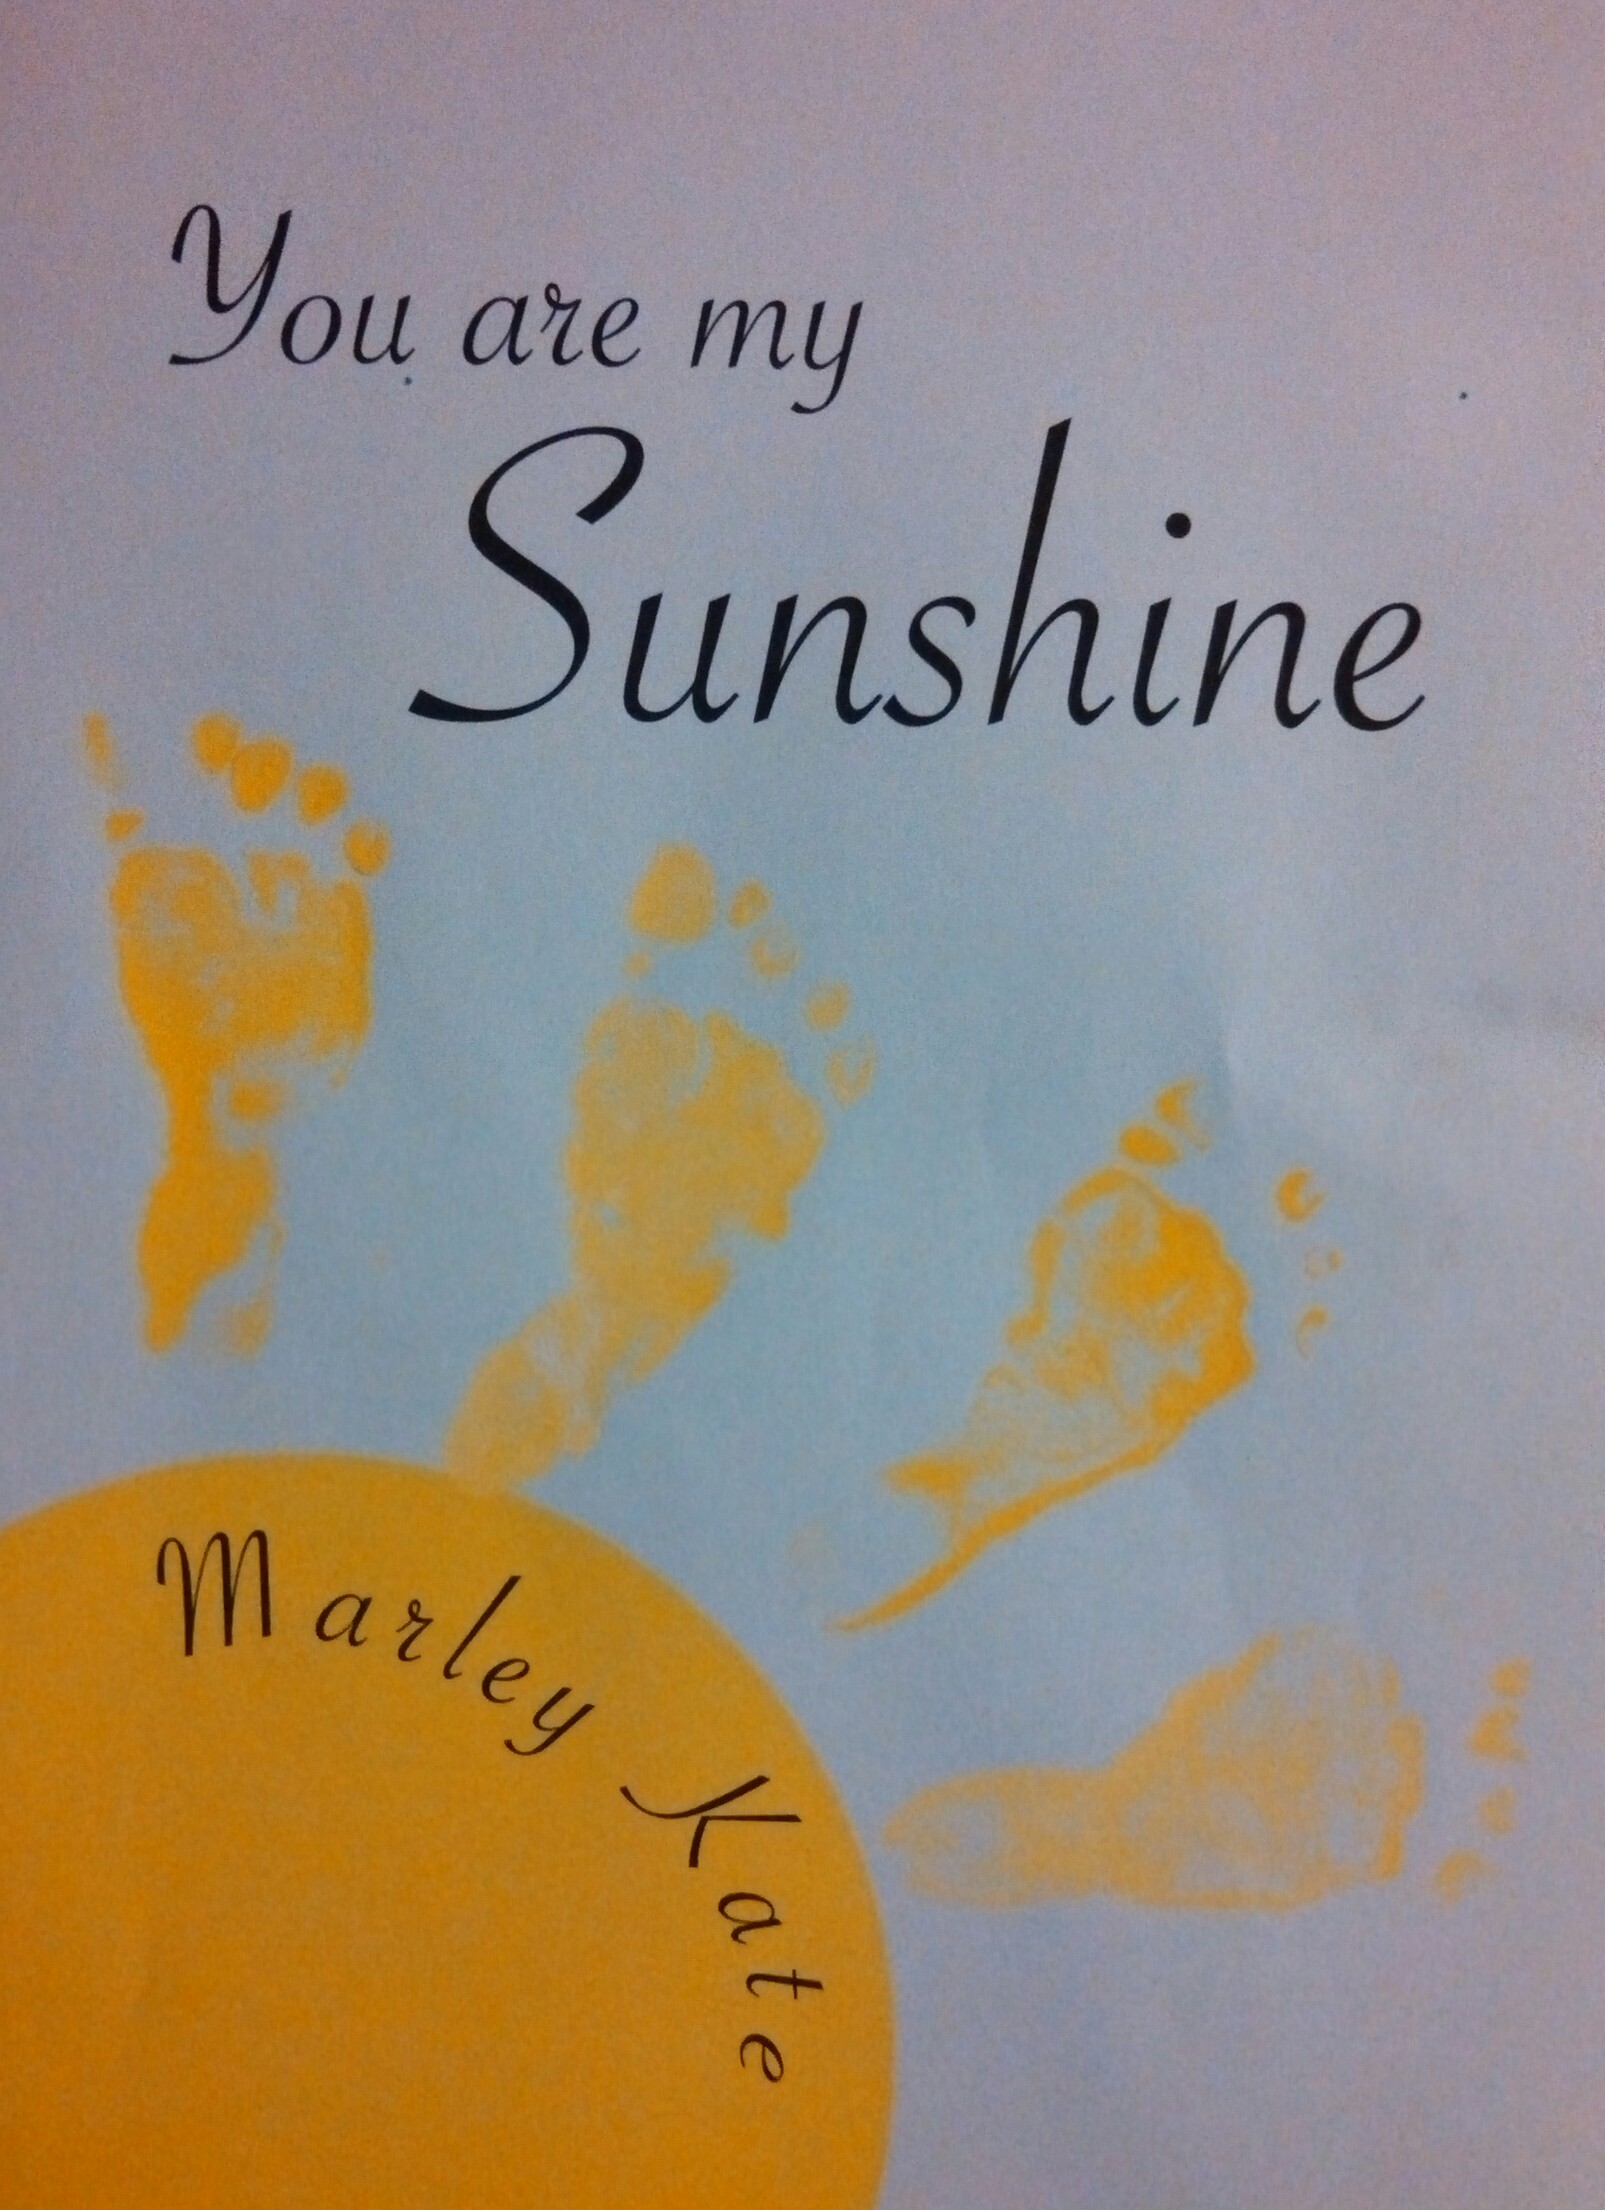
My 4-month old niece, Marley Kate, recently sent me a cute letter and it inspired our Grandparents Day gifts.
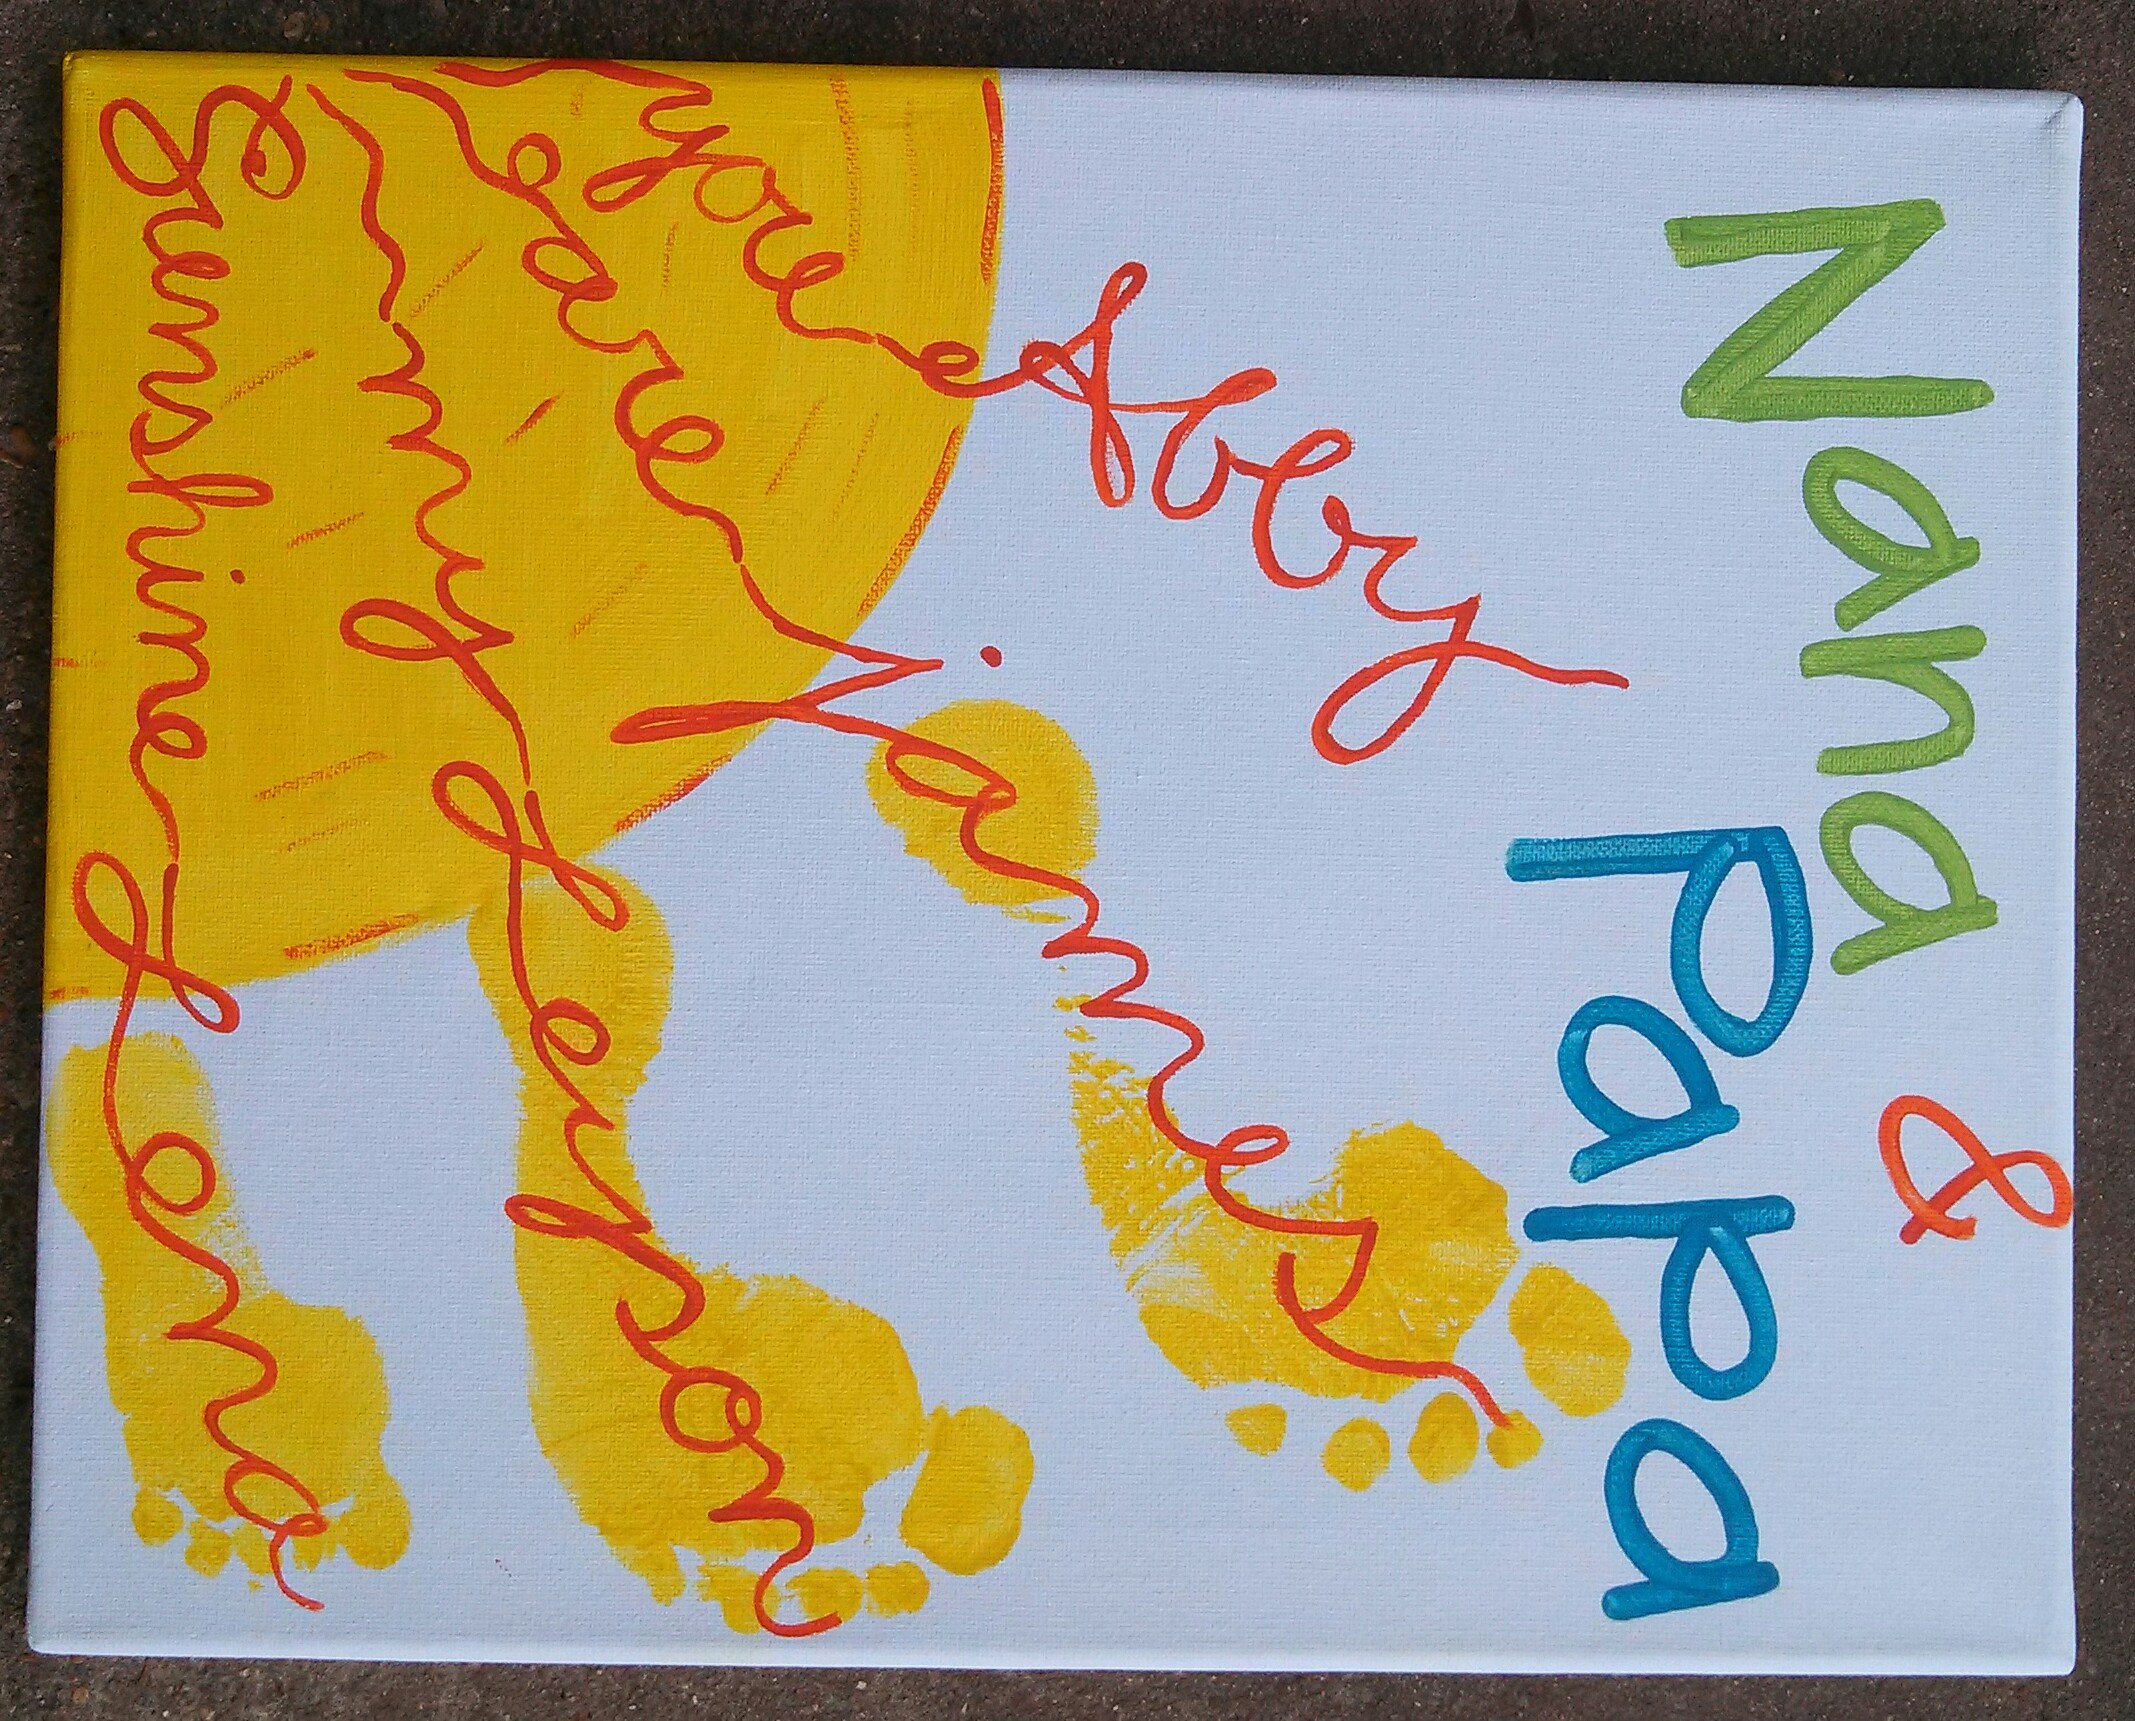
Since our printer is broken, I decided to hand paint ours, and leave a spot open for my niece, Abby, to stamp her foot, too. This one below is on its way to Oklahoma right now.
Then I thought it would be a great idea to make a few hand print art templates for you to purchase and download so your children can make beautiful art for their grandparents too!
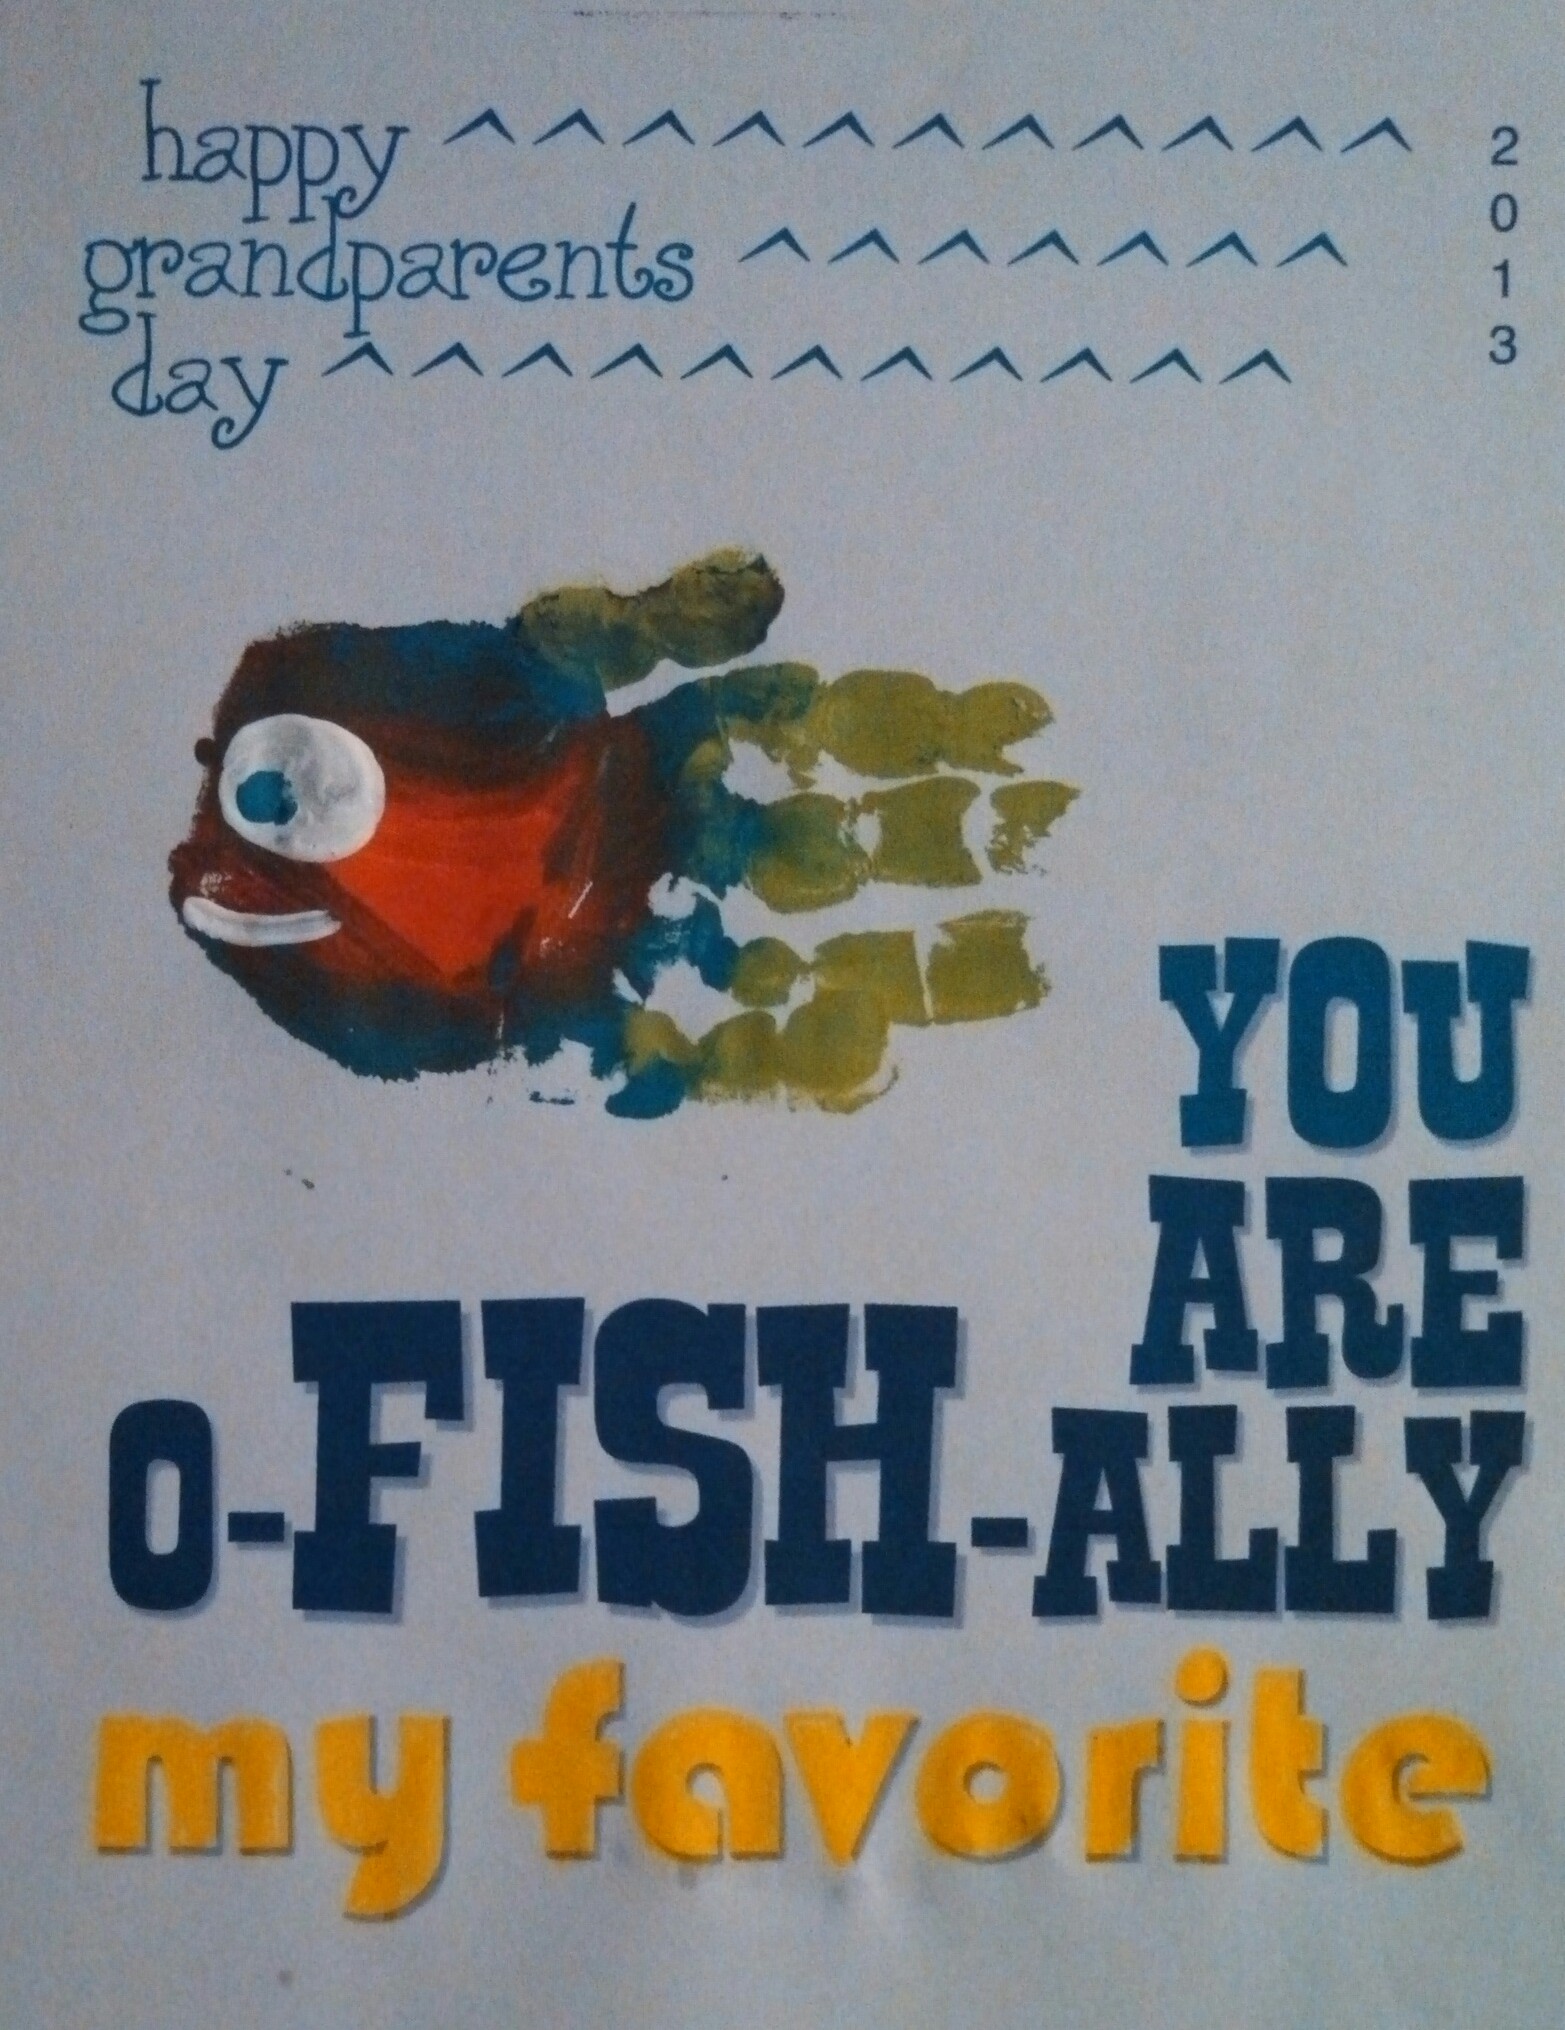
In addition to a “You Are My Sunshine” template for your baby/toddler’s footprints, I have also made a “You Are o-FISH-ally My Favorite” template for a sideways hand print and an “Owl Always Love You” template for a palm hand print and thumbprints for wings.
These templates are available to download this week for just $1 for all 3! Enjoy!
Happy Grandparents Day to all of you Grammy and Grampy Teachers out there!!! Thank you for all that you do! Your grandchildren love and appreciate you!
Summer break is about halfway over here in Louisiana! If you are just now joining our summer quest to never hear the phrase, “I’m bored,” please go back and read Part 1 and Part 2 of our summer learning curriculum and activity schedule. On the right hand column, you will see all of the summer schedule posts neatly organized for you to have quick access!
WEEK 5: OCEAN LIFE
So I apologize for the delay in the post about Ocean Life. I’d love to give you my reasons (my computer crashed so I’m having to sneak around to borrow one and we went on a vacation) but no one wants to hear those!
The kids had a great time learning about Ocean Life despite the fact that they never really showed too much interest in Finding Nemo – I’ve tried… what’s not to like about it? But as you all know, kids tend to have their own opinions about things no matter how much we try to mold their little minds ;-).
Anywho, our favorite activity from the week was our Ocean Life PUPPET THEATER! This activity was super cheap and was instant entertainment for DAYS! It is also a great way to encourage storytelling which increases skills in reading comprehension, writing and illustrating stories (this skill starts as early as kindergarten) and oral communication.
Materials:
Painters Tape, poster board, scissors, long skewers/craft sticks, 1 blue and 1 yellow plastic table cloth, black sharpie marker
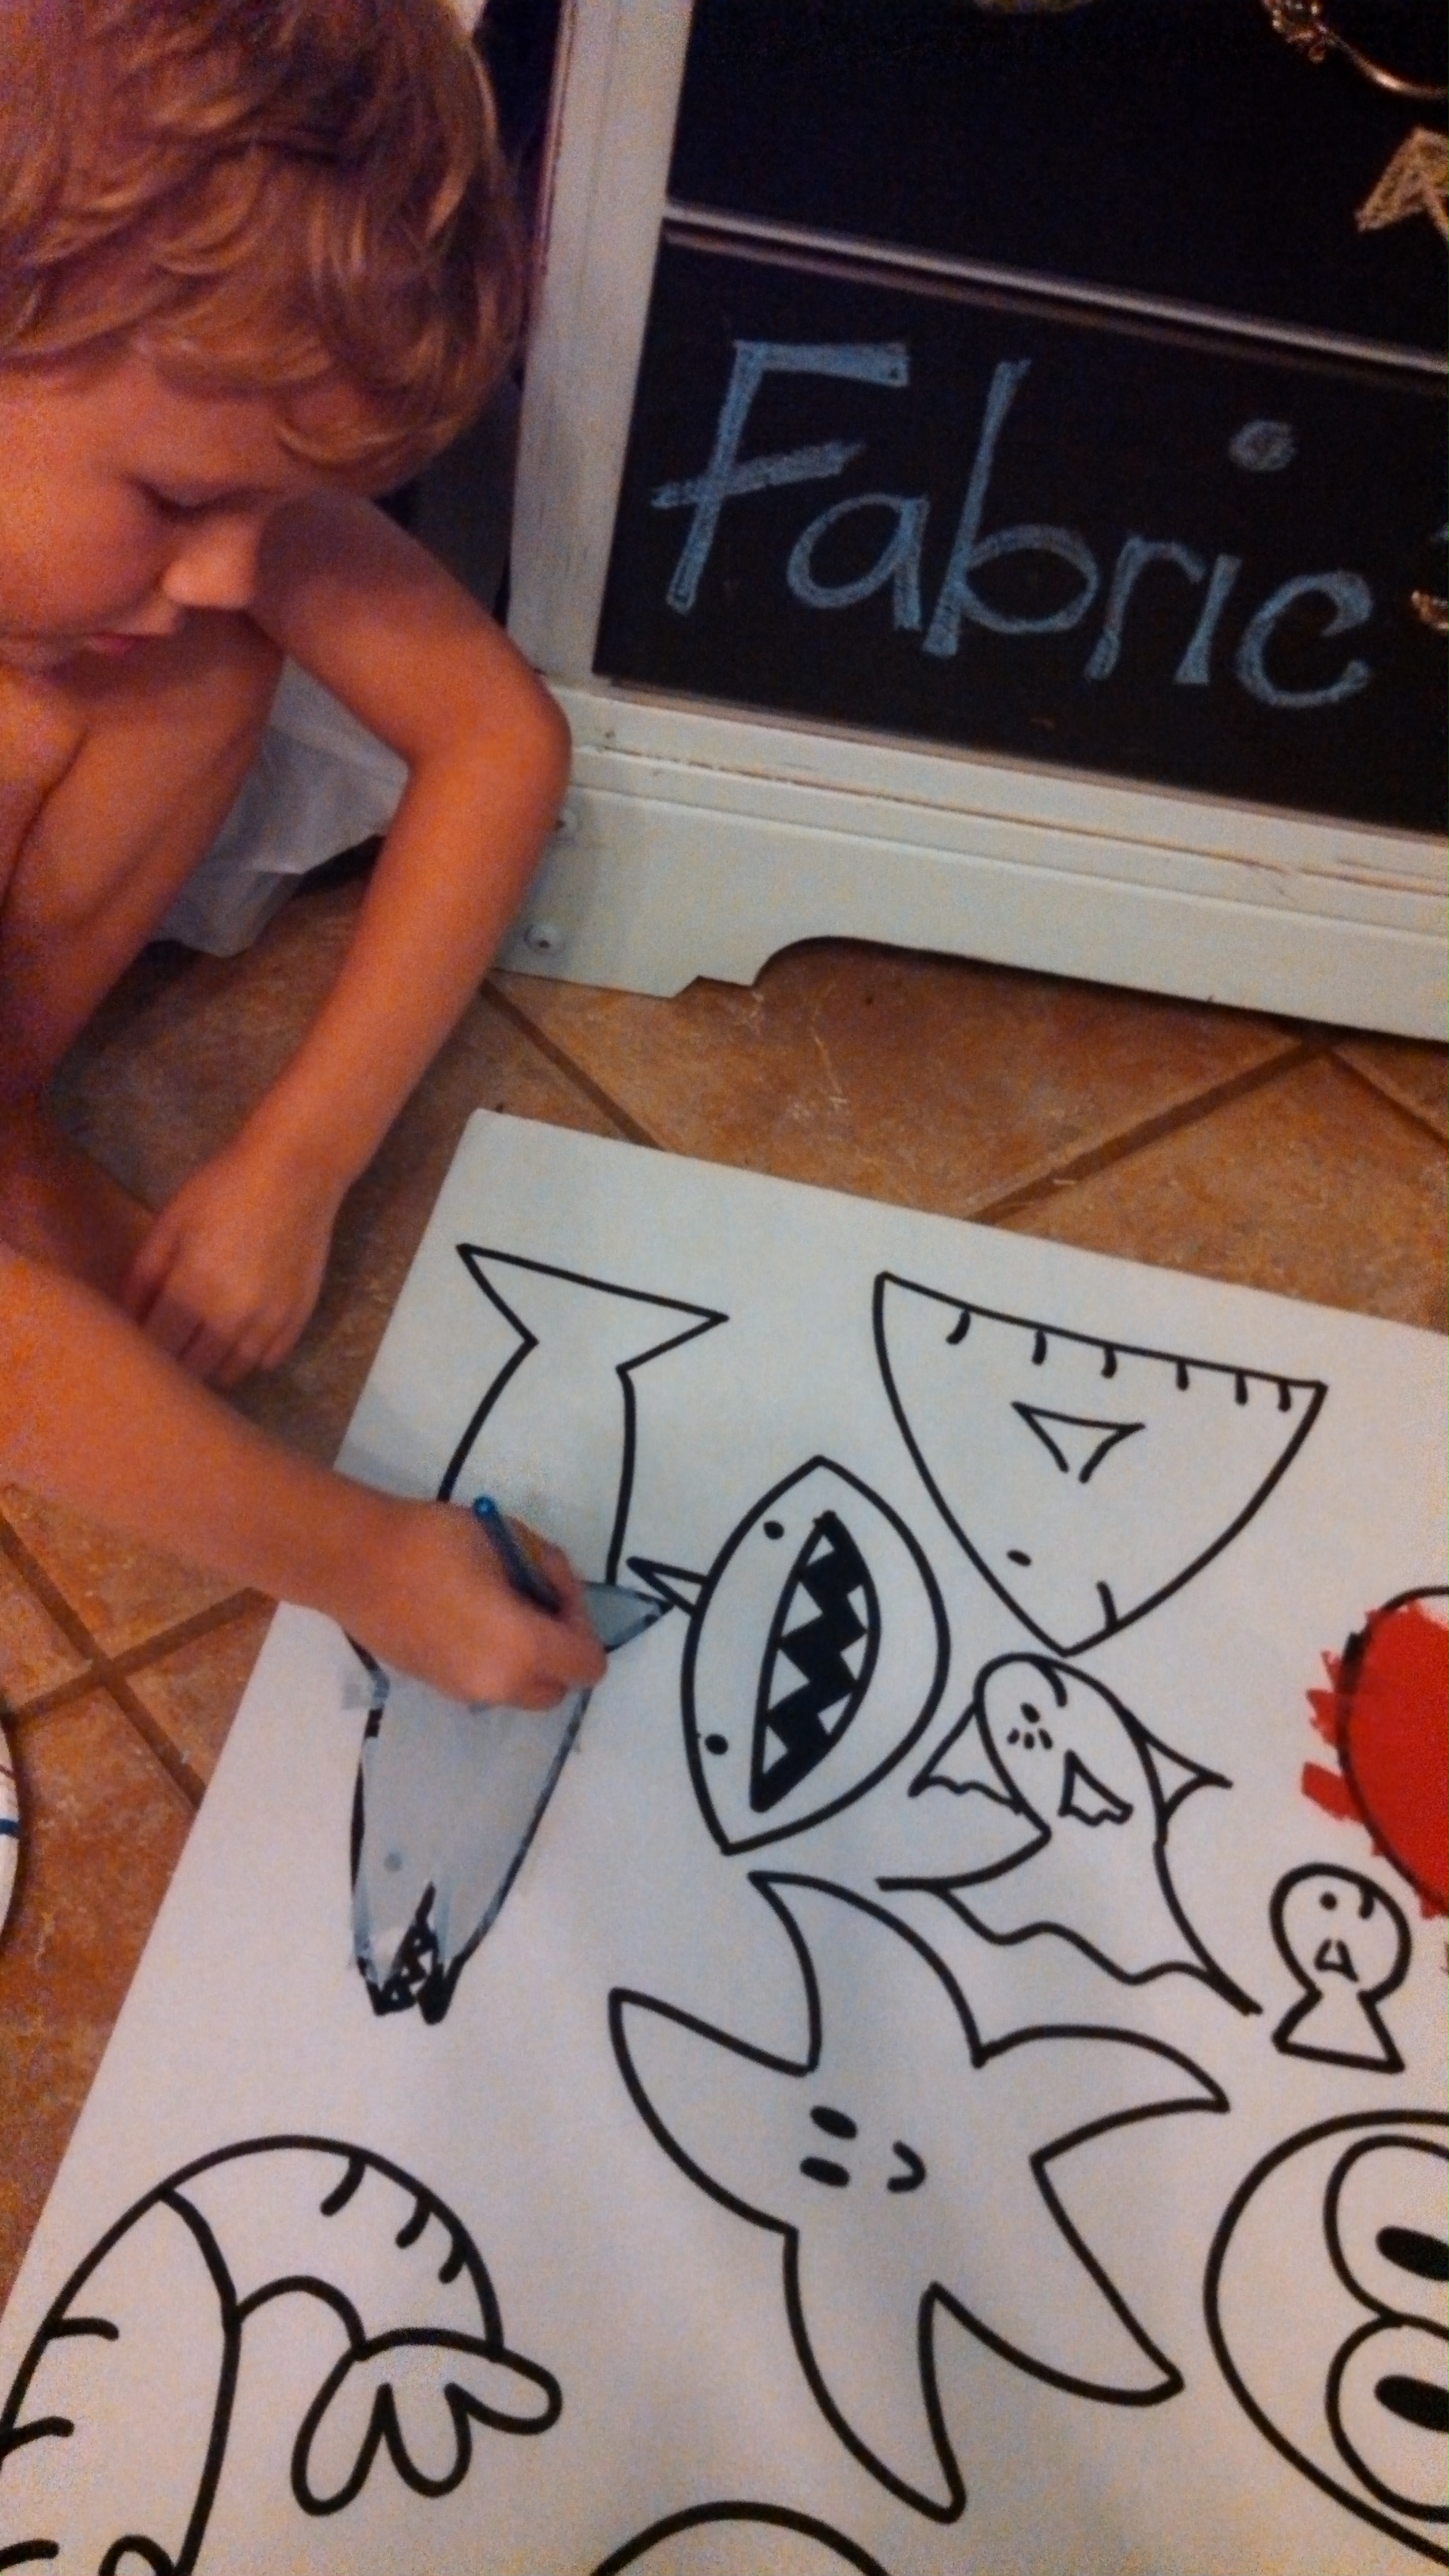
To make the puppets, I used a foam board. YOU, however, should NOT use a foam board. That sucker was a pain to cut out all of the fishy shapes with all of the twists and turns. I ended up breaking most of the fish when cutting them out and had to play “doctor” to fix them all back together (great tie-in to our Community lesson). Just use 1 white poster board and it will save you time, energy, and unnecessary frustration.
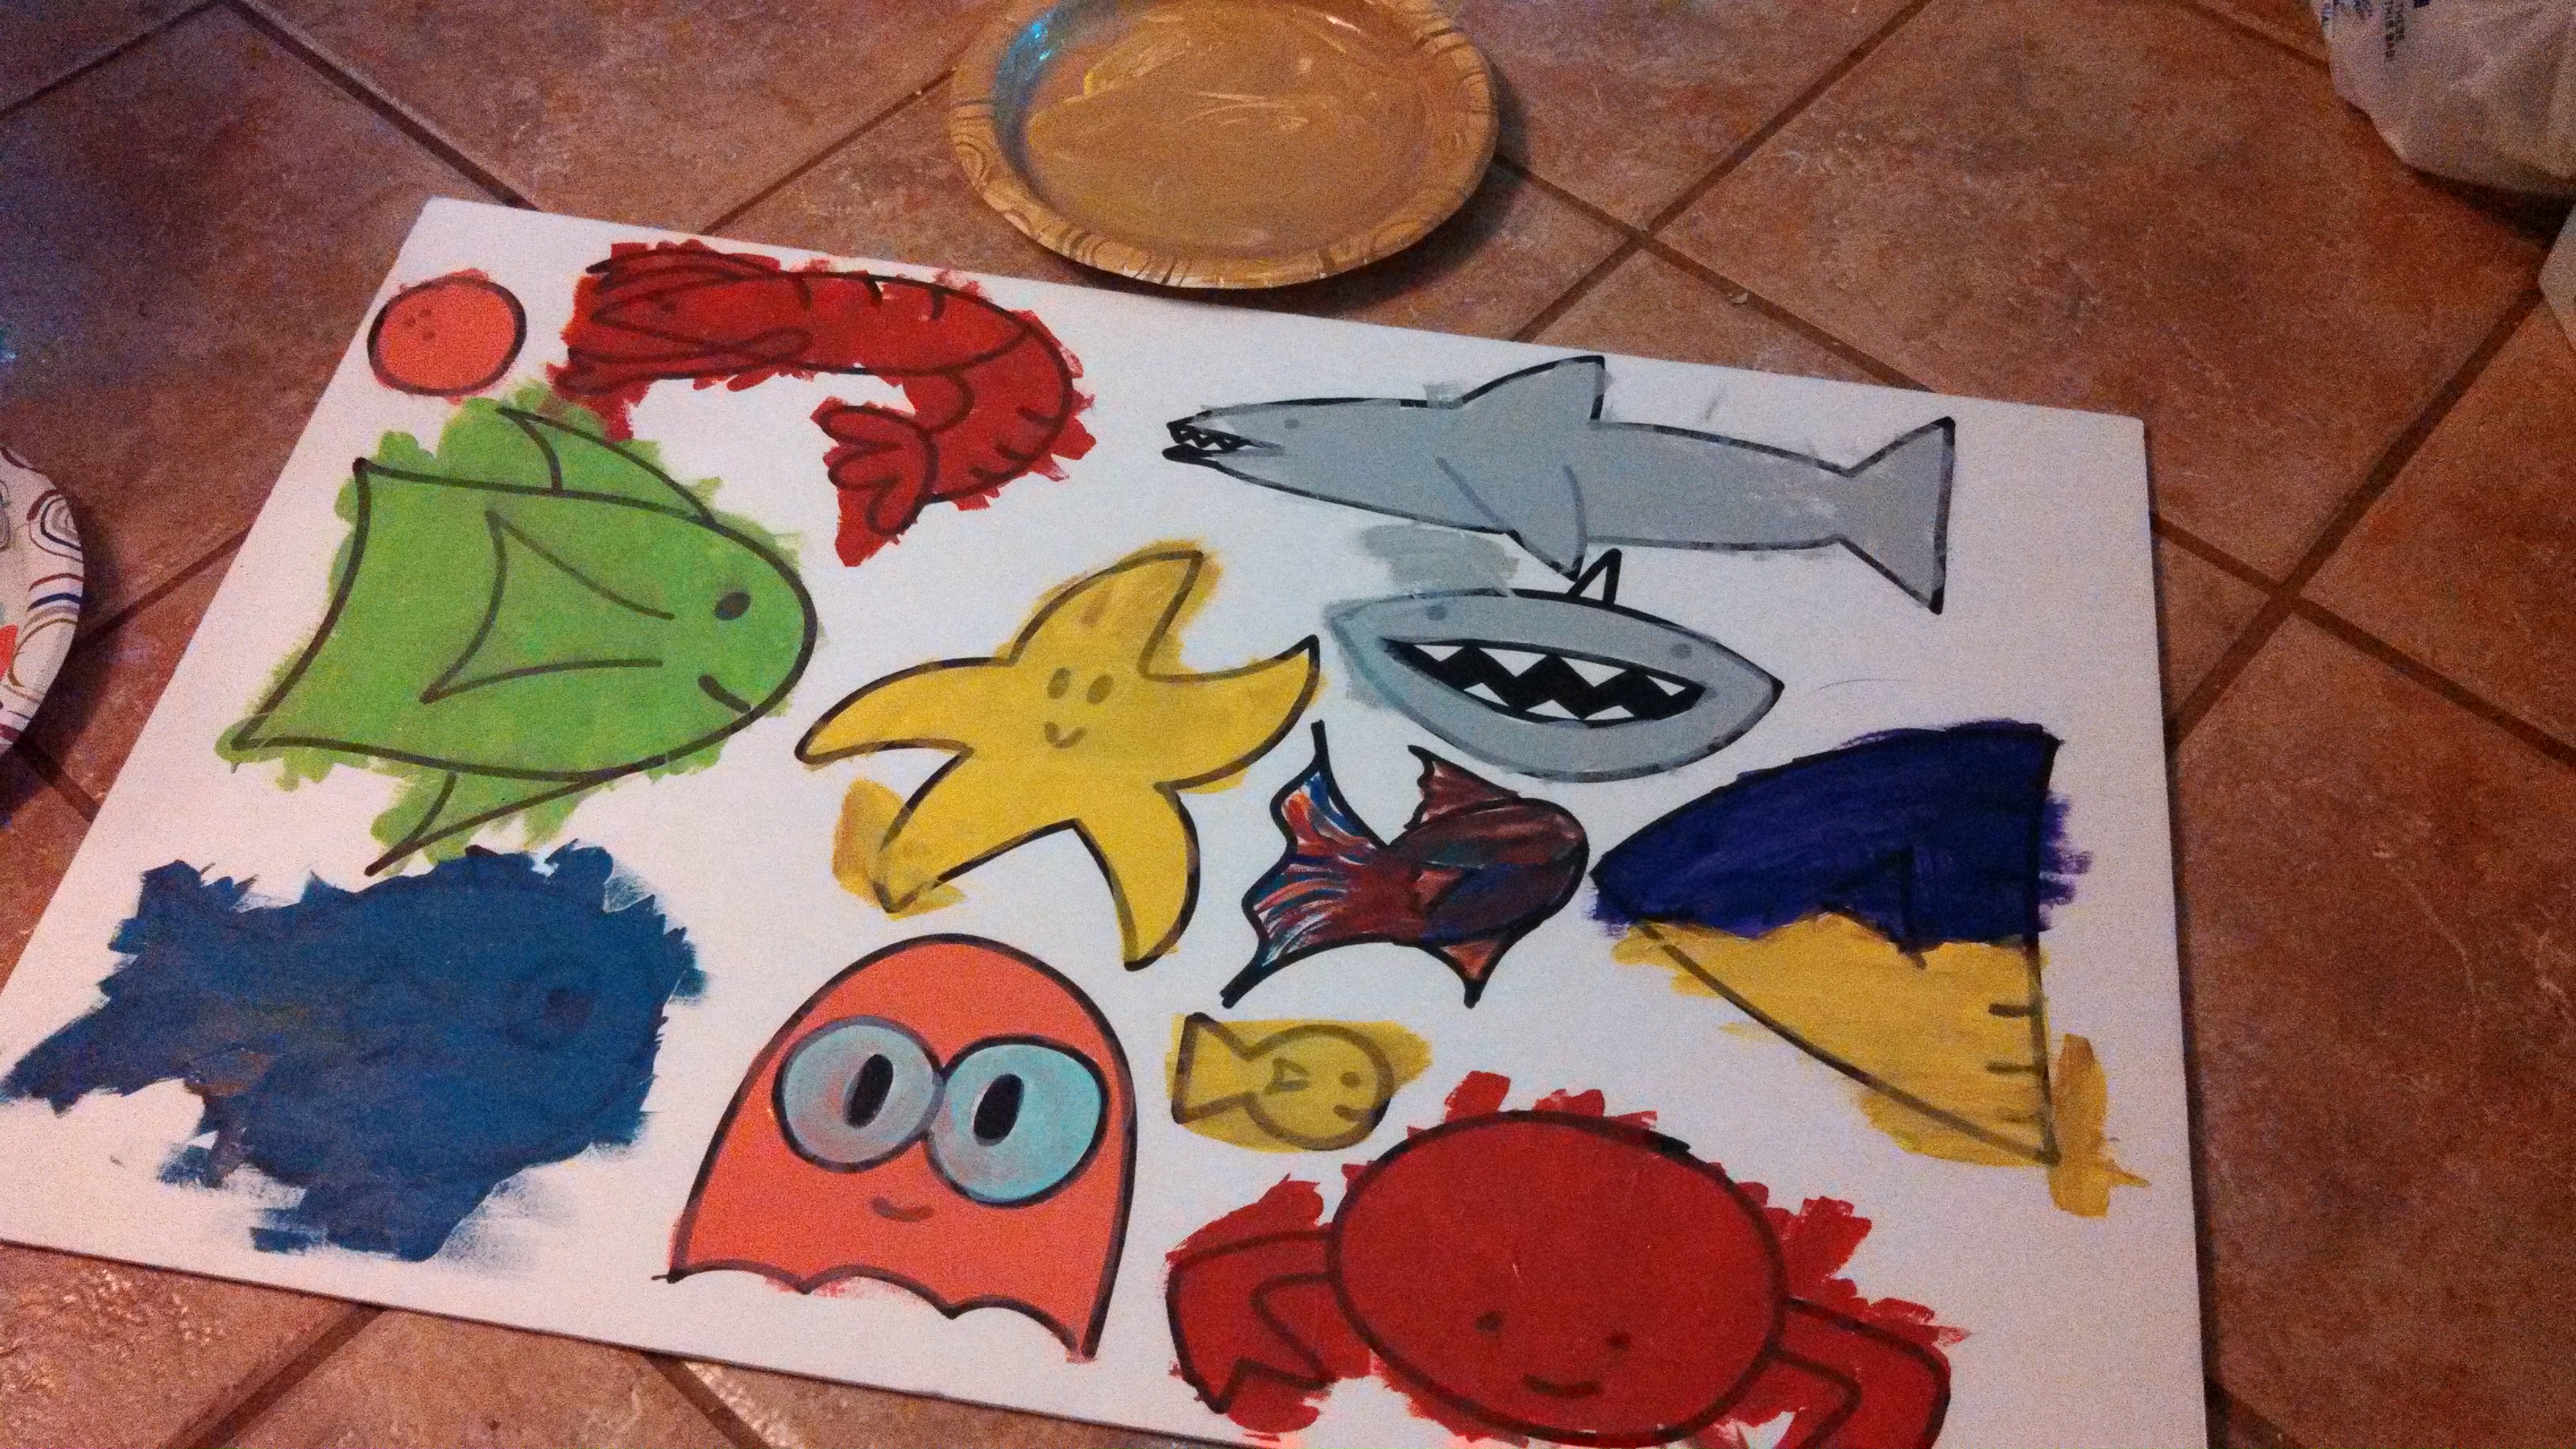
I drew the fish onto my board using a black sharpie. The kids painted the fish and then went down for their naps (good timing on my part so they didn’t have to wait for the paint to dry). I cut the fish out and taped the long skewers to the back of the fish. (I ran out of skewers and used Popsicle sticks for the starfish, crab and crawfish* since they don’t swim too far from the bottom of the ocean anyway).
*I understand that crawfish are not normally found in the ocean, but as they have been raised in South Louisiana, my kids insisted we have a crawfish in our puppet show.
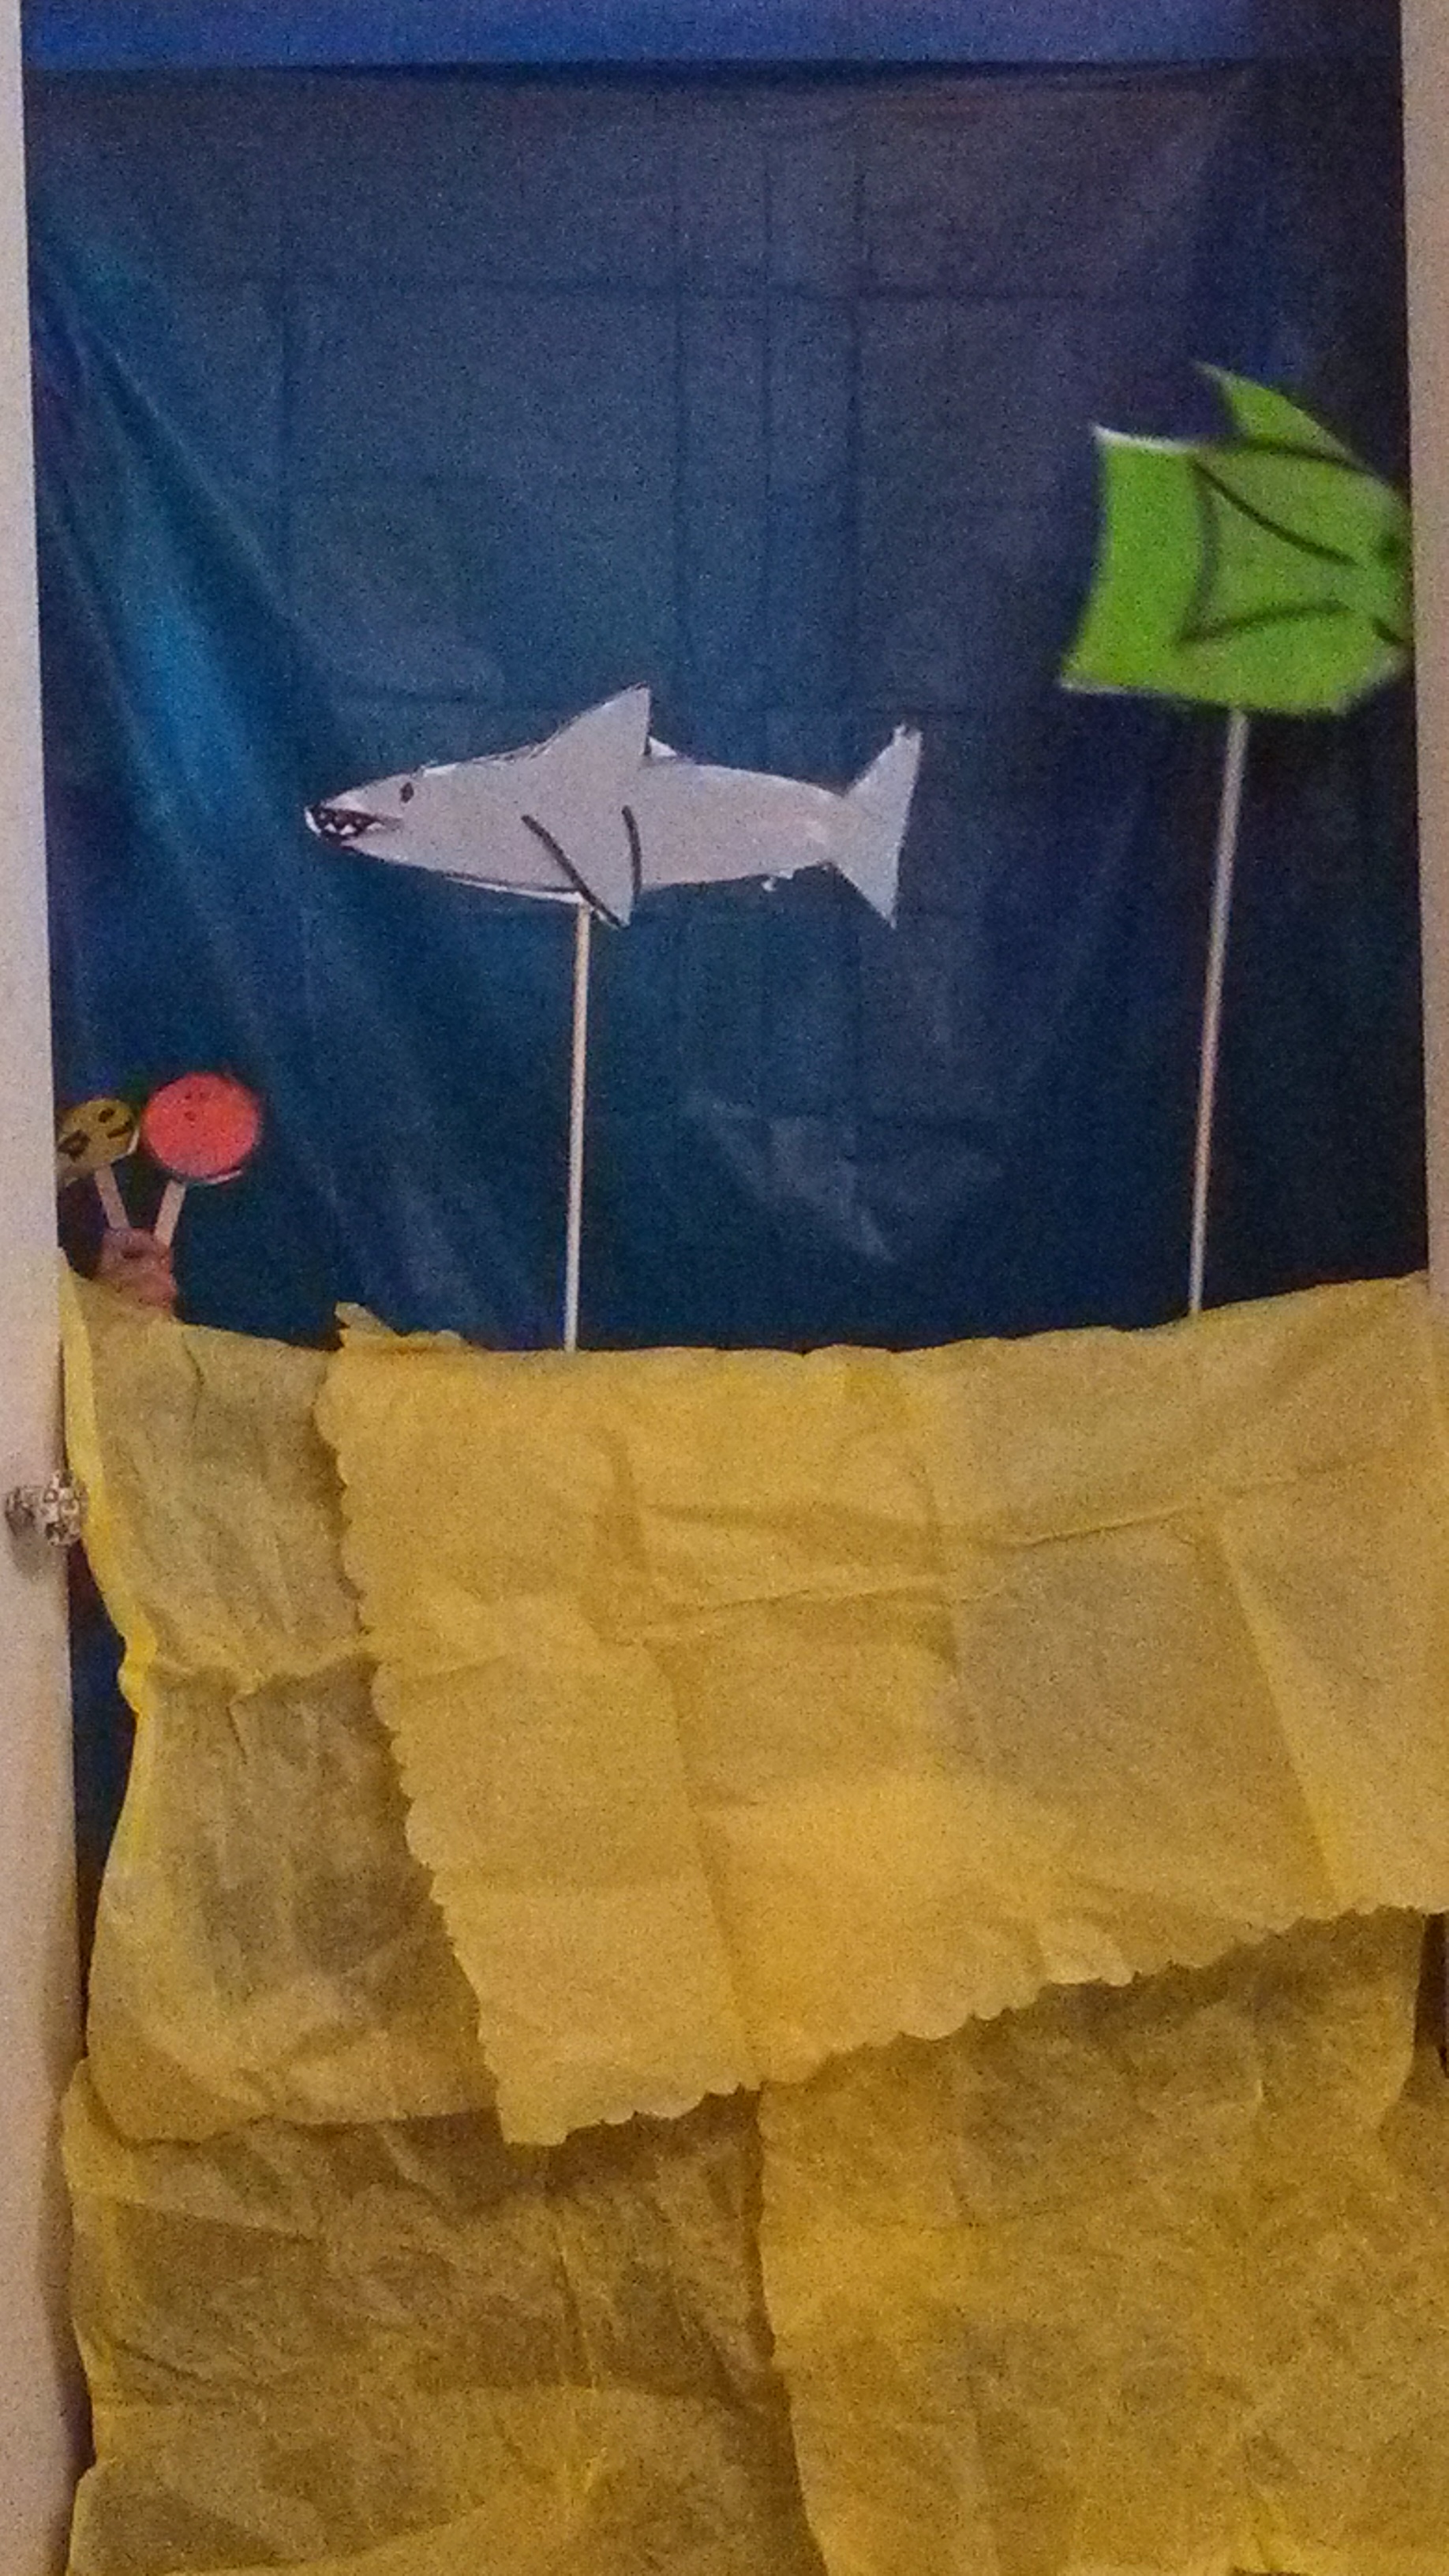
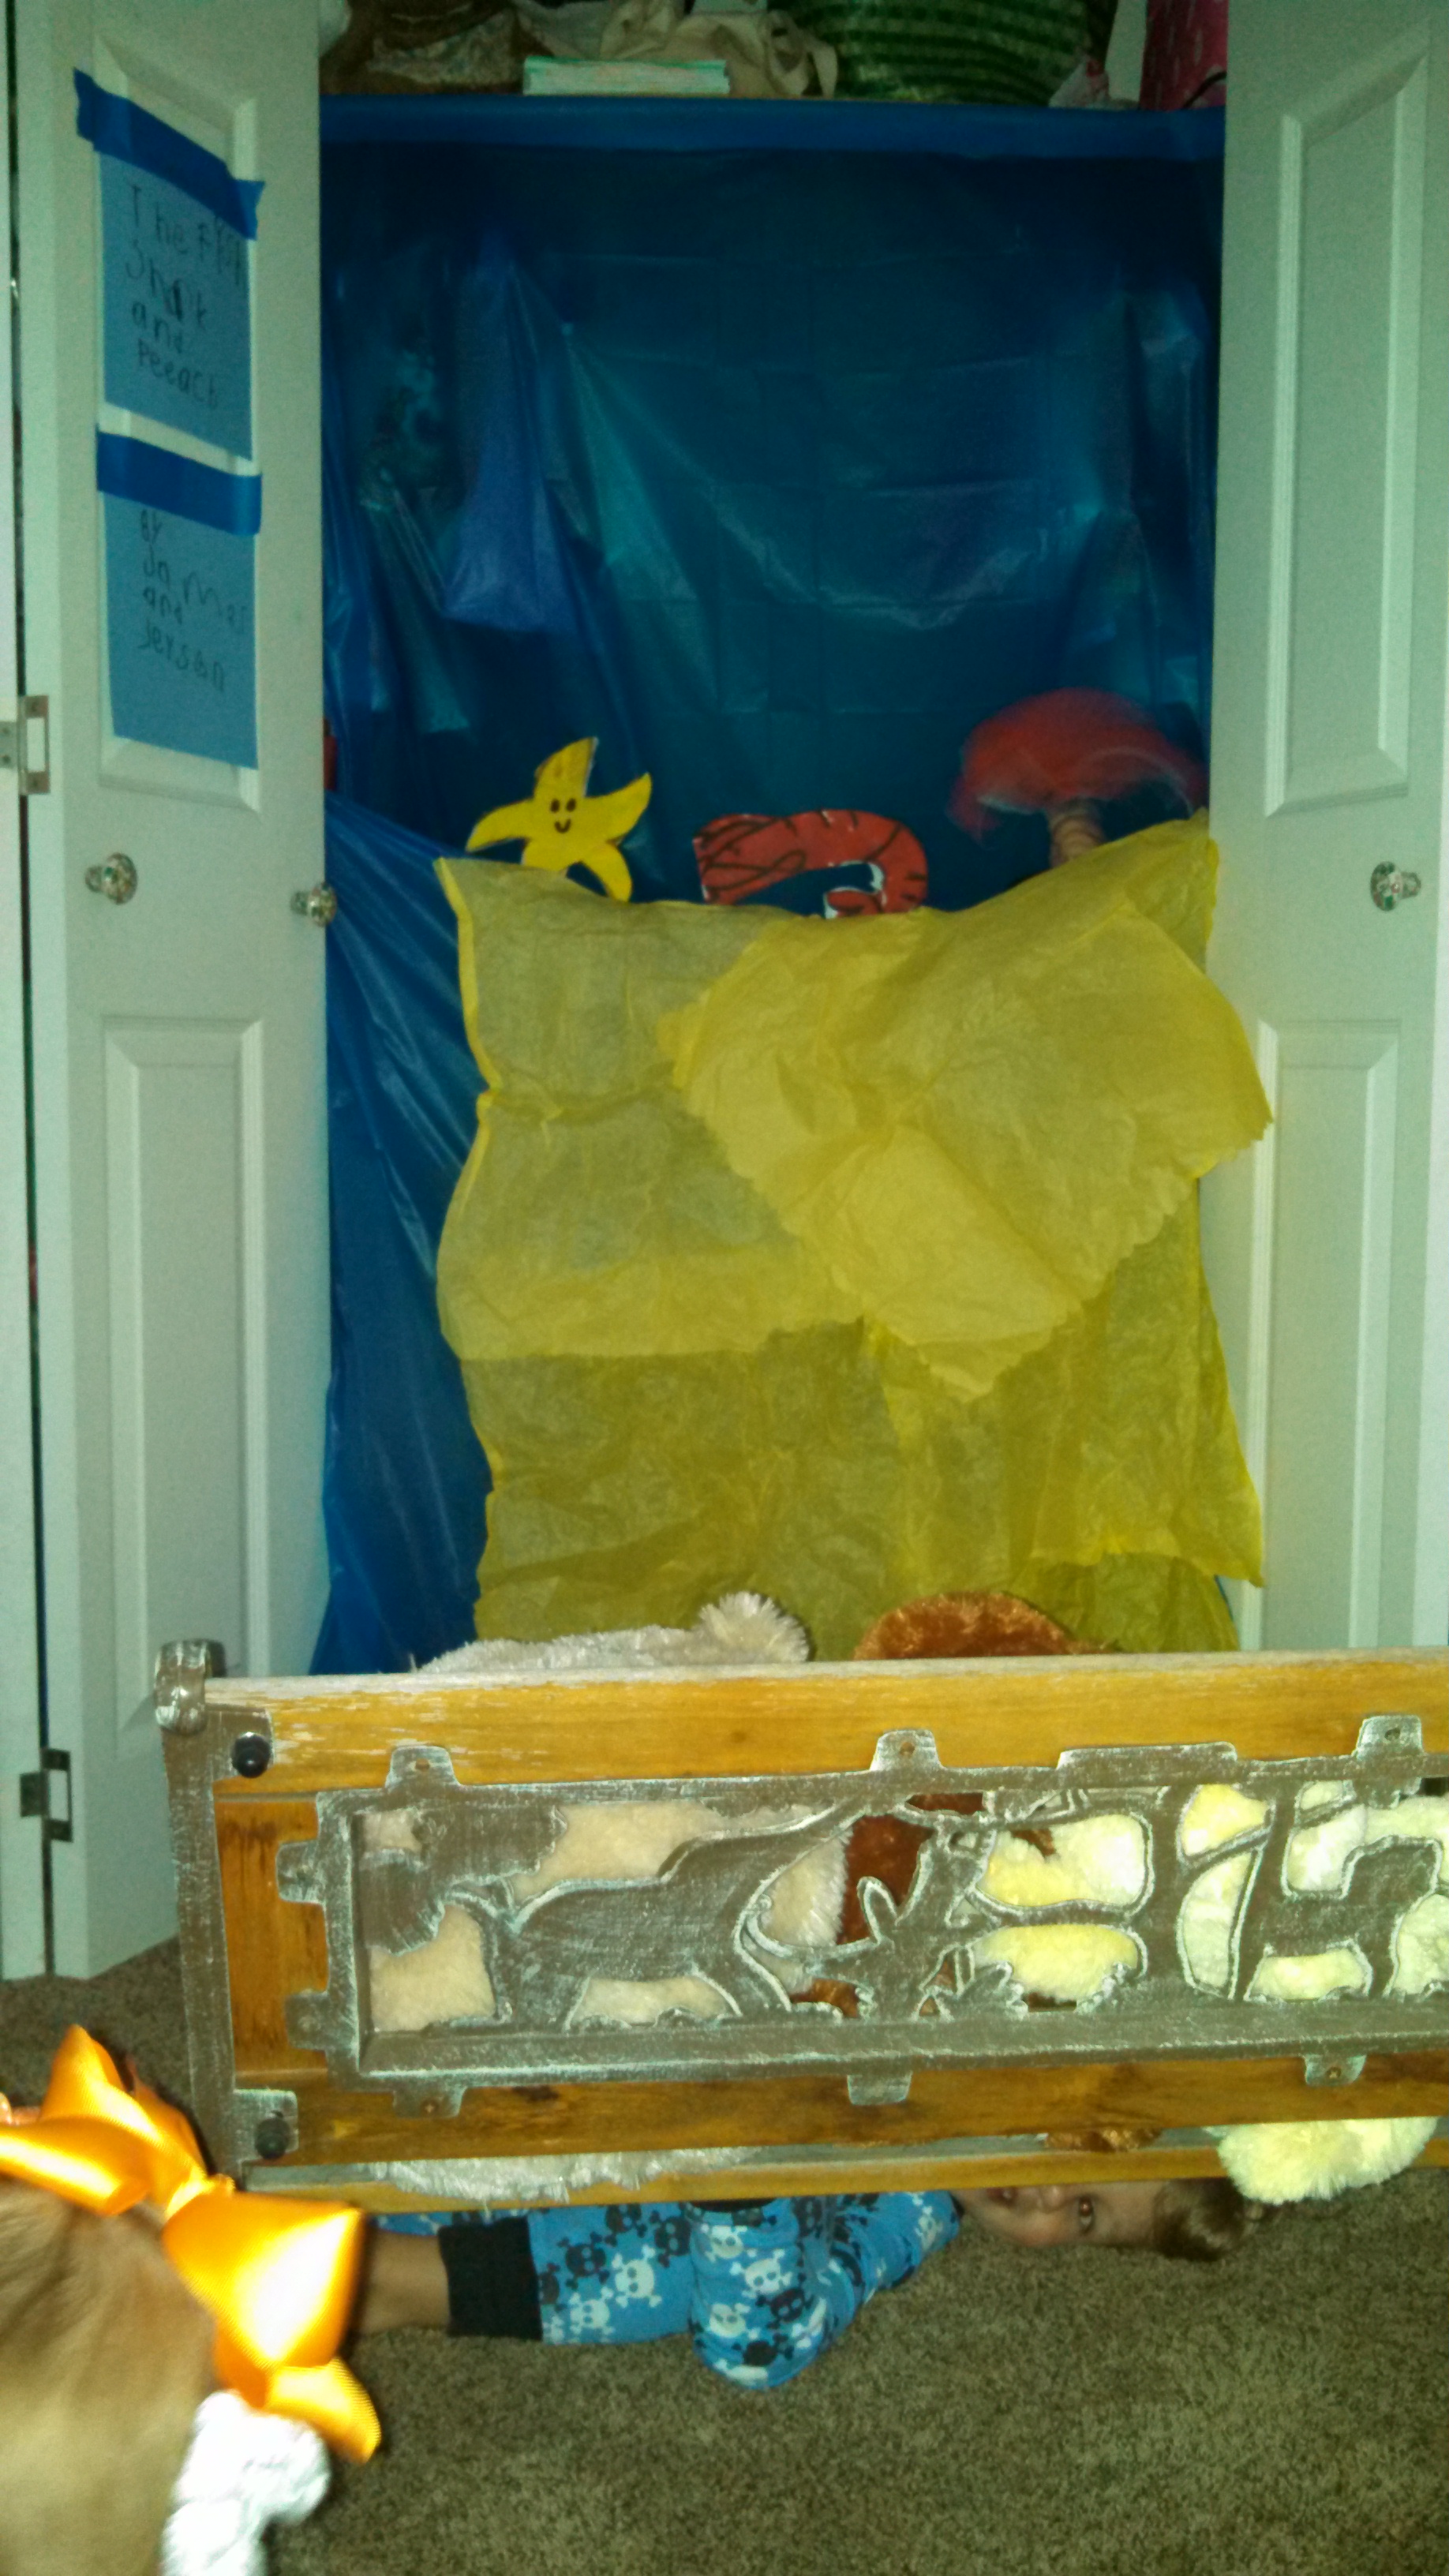
After nap time, the kids could not WAIT to put on the puppet show! My daughter’s room was the PERFECT theater because 1. she had the audience (stuffed animals galore) and what show would be complete without an audience? and 2. her closet made the perfect stage for the show!
We took the blue table cloth and hung it with tape from the clothes rod, and the 2nd table cloth (we used blue and taped yellow tissue paper to make “sand” but just using a yellow table cloth would be so much easier) was taped across the doorway of the closet at door knob level. This gave the kids enough space to crouch under and behind the yellow (sand) curtain and in front of the blue (ocean) curtain.
James had the idea to make a sign with the title and performers names and hung it on the closet doors for all of the audience (stuffed animals) to see. He also had the idea to use one of our lamps as the spotlight and designated his Mimi to be the lighting technician.
There are several different ways you can perform plays with your kids!
1. REENACTMENT: You can take a story that your kids know really well (a great one for this theme would be The Rainbow Fish or even Finding Nemo) and your kids can reenact the story. To simplify this, you can make sequencing cards for your kids to act out:
1. Nemo and his dad lived in an anemone.
2. Nemo swims out to sea and is captured by the scuba diver.
3. Nemo’s dad and Dori search for Nemo and meet a lot of friends on the way.
4. Nemo makes his great escape.
5. Nemo and his dad are reunited.
2. MAD LIB: You write a short story out and leave blanks for the kids to fill in.
Once upon a time there was a fish named name. He was color and color. His best friends was name the ocean animal. Together they liked to activity.
3. NARRATE: You can narrate the story and the kids can move and talk for the puppets.
4. STORY WRITING: This is great for older kids! Your kids write the story and include a beginning, middle and end!
5. TAKE TURNS WRITING THE STORY: Each person adds a new adventure to the story! Things can get a little crazy here!
Person 1: “Once upon a time there was a fish named Bob.”
Person 2: “Bob loved to swim to the middle of the ocean.”
Person 3: “He made lots of friends along the way.”
Person 1: “His best friend was a starfish named All Star.”
Person 2: “All Star loved to play basketball in the water.”
As for my kids? They preferred to #6, JUST PLAY! Sit back and see what your kids come up with! This is my favorite and each of my kids had such different ideas for the puppets that they each took turns playing puppeteer and audience member. They loved watching what the other came up with and would build off of each other’s stories! I love how these little minds work!
James’ story was great (says the biased mommy)! It was about a little fish who met a shark who wanted to eat him. All of his fishy friends decided to go talk to the shark to stop him from eating their friend. They offered him a peach instead. The shark enjoyed the peach so much that he never ate a fish again and the little fish and the shark became best friends. The play was called “The Fish, the Shark and the Peach” (fitting).
Leyson’s story took place in the river (Mr. 3-year-old wanted to create his own setting) and his fish spent the whole time swimming up and down the river. And then the rest of the time his play sounded very similar to big brother’s play.
CRAFT TIME FAIL:
Another activity we did was a near-complete failure. I say near-complete because the kids could care less that it didn’t work as it was intended.
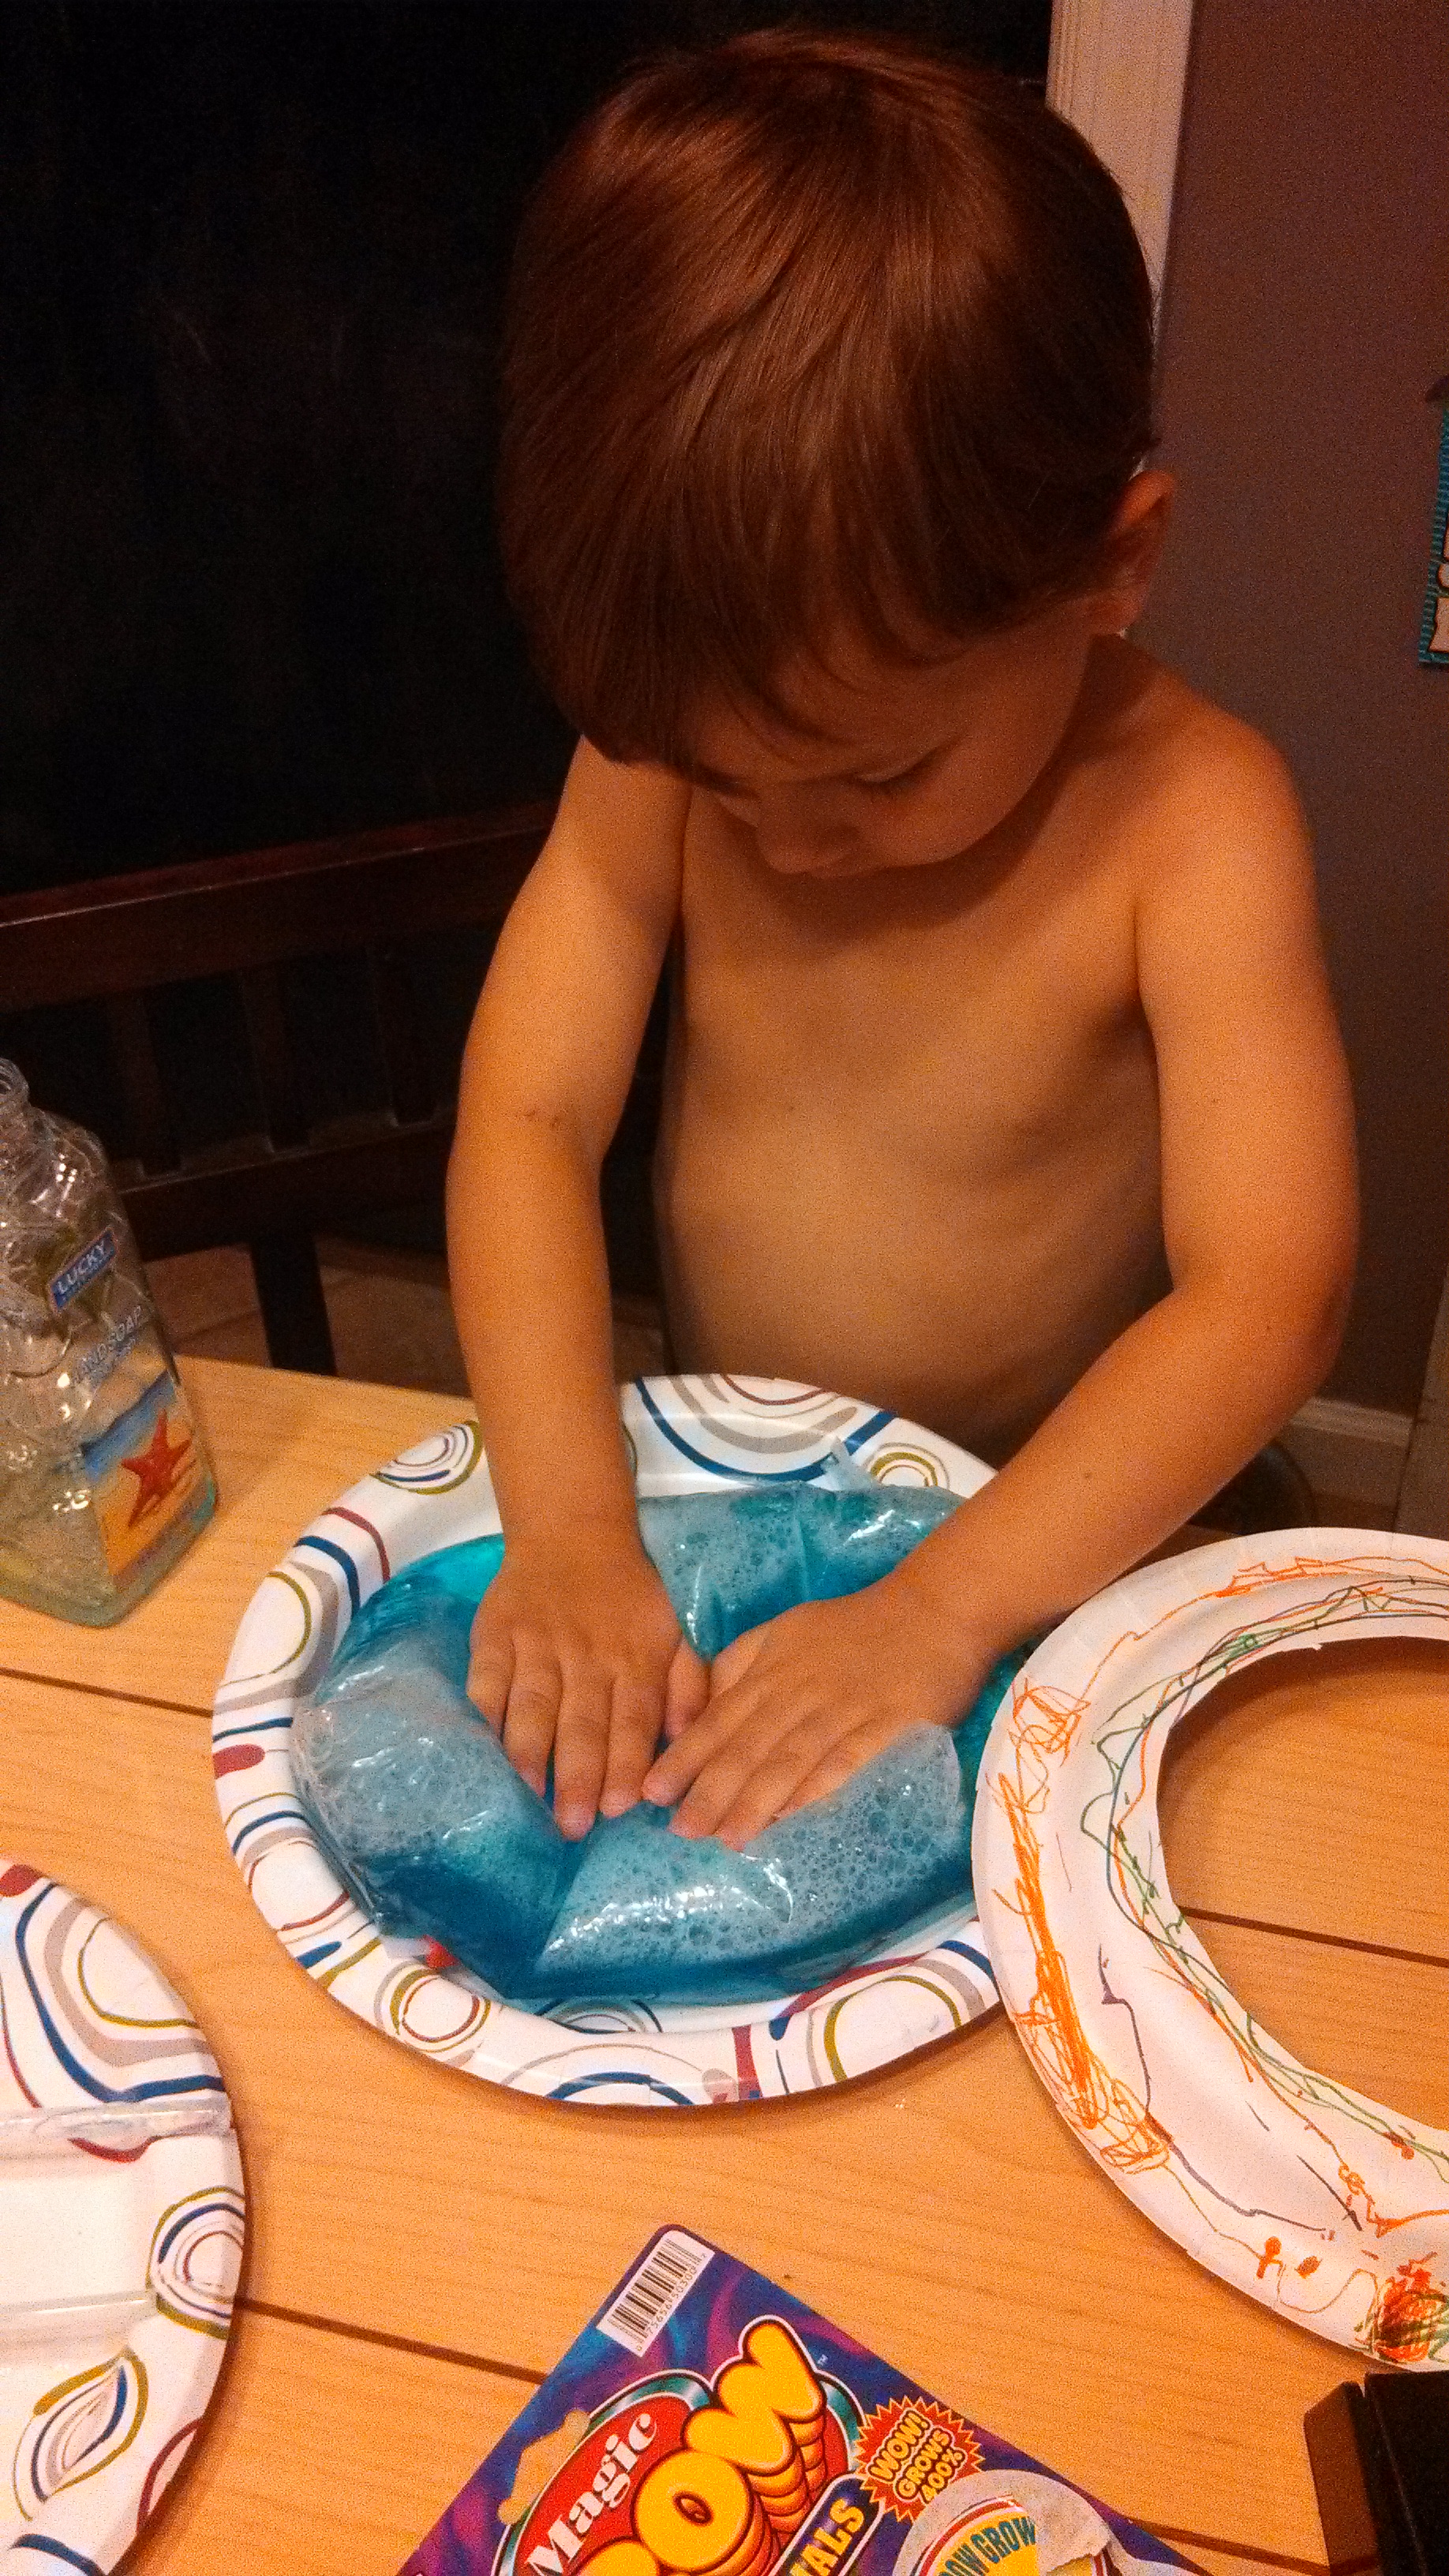
My kids and I ATTEMPTED to make sensory-bag fish bowls. We cut out a hole in a paper plate and glued it to another paper plate – then decorated the plates, of course. We filled plastic zip-lock baggies with blue hand soap (gel probably would have worked better) and put small plastic fish inside. Then we placed the bags inside of the paper plate hole and made “fish bowls,” but yeah, they didn’t work. The kids DID enjoy squishing the fish around in the sensory bags! But then they started leaking because Mommy bought the cheap bags. ::womp womp::
Here is the craft that gave me the idea to make a sensory bag, but I should have just stuck to these directions instead:
“Read it again, Mom” has so many great book ideas, songs and crafts for this theme!

 I found a VERY simple page with the outline of 10 bats in an Elmo activity book (by the Count) and I thought…