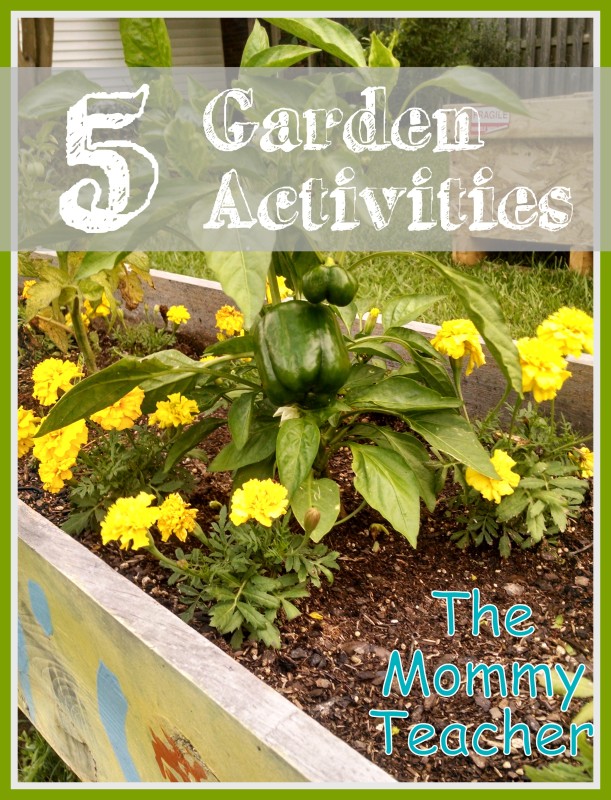
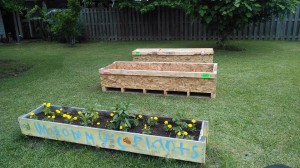
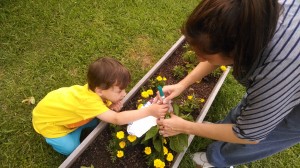
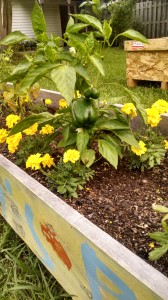
Last Mother’s Day, my kids gave me a great planter for us to start a home garden!
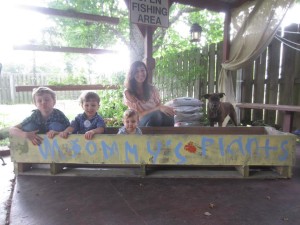 My husband works at a factory and they frequently get shipments of equipment that come in these long crates that are perfect for starting a garden (especially because they are free). Keep your eyes peeled for wooden crates and pallets and you can get free planters as well!
This year we have a few more!
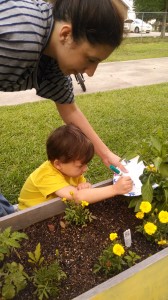
Now, this is a little intimidating for me because I do NOT have a green thumb… but my husband is a little bit better at watering…and my kids are REALLY good at watering… a little too good as they sometimes over water.
So many early childhood teachers will grow plants in the classroom for kids to learn the parts of the plant, how to care for a plant, and what plants need to grow: soil, water, sun. Here are a few activities for you to do at home to teach your kids about growing plants if you have or plan on starting your own garden at home.
1. Journal: Have your kids document plant growth.
- Pre-schoolers – model drawing sketches of what your plants look like each week and then give them a crayon for them to do the same (may not look like much, but they will at least think they are drawing a plant). Introduce vocabulary such as plant, green, grow, sun, soil
- Pre-K – have them add words to their drawings (even if their words are just a mix up of letters – write what they are trying to spell underneath). Vocabulary: the name of the plants, ex: bell peppers, parts of the plant
- Kinder – write a sentence or two describing the plant. Vocabulary and discussion: the name of the plants, ex: bell peppers, parts of the plant, why plants are important
- 1st grade and above – a paragraph (minimum) documenting any changes they may see, how long they watered, what time of the day they watered, etc. Vocabulary and Discussion: the name of the plants, ex: bell peppers, parts of the plant, describe why plants are important, how they reproduce, nutrition and the benefits of eating home grown foods
2. Predict: Have your kids predict what is going to happen throughout the summer with their plants, use your journal from above to help document, then calculate results by a certain date at the end of the summer.
- Calendar Math: Using a summer calendar, mark the day you plant your plants. Have your kids each choose a different date in which they predict they can start picking their ripe produce.
- Measuring: Using a ruler, guess the size of the produce and how tall the plants will become by the end of the summer. Have them draw this out on poster paper to compare at the end of the summer.
- Counting: Predict the amount of produce each type of plant will produce.
- Science – Weather: predict the number of rainy days versus sunny days
- Comparison: predict what type of plant will produce the biggest/smallest, most/least amount, greenest, etc. produce
3. Experiment: Get several seedlings that are the same type and are all similar in size. Experiment with different amounts of sunlight or soil type or watering schedule (choose one) to see what is the optimal amount for that particular plant. Plant several seedlings in each of the different conditions to get the best average outcome. And, go back to the first activity: journal 🙂
4. Create a Cookbook: As your plants are growing, decide as a family what you are going to use your plants for and create a family cookbook together! Take pictures of your growing plants to include in the “ingredients” section of each recipe.
BONUS: Include a raw versus cooked taste test of each fruit/vegetable to include that 5th sense that we often don’t get to use in a classroom.
5. Dissect the Plants:
- Science: learn about the different plant parts including the parts you don’t see… inside the stem, the roots, inside the fruit and flowers. When you are finished, use the roots, stem, leaves, flowers to make art on a poster board.
- Math: Compare/Contrast the different types of plants: length, leaf shape, fruit, root length and thickness and number of roots
- Art: Create leaf prints by placing a piece of paper on top of the leaves and using the edge of a crayon to etch the shape of the leaf. Draw the type of produce next to each leaf.
BONUS: One of my friends started a private Facebook group for some of her friends who wanted to start a home garden. On it we are sharing pictures and knowledge with each other and when the produce is ripe, we will be having garden picking parties! It is nice to see what everyone else is growing (and these ladies know way more than I do about gardening so it’s helpful too)! I encourage you to start a similar group for your friends with green (or slightly unripened) thumbs.
It is so wonderful seeing how excited my kids are to watch our plants grow! Right now, we just have bell peppers and cherry tomatoes, but we hope to fill our other planters soon!
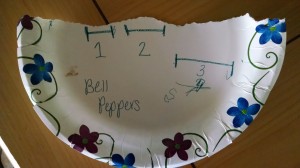
Leyson and I tore a paper plate in half to draw our measurements of the peppers (paper plates are sturdier than sheets of paper thus easier to measure the peppers on). We used a marker to draw a line on each side of the paper and later use a ruler to measure from line to line. We numbered our peppers 1, 2 and 3. Measure them week by week so you can see how much they grow in one week.
How does your garden grow??? How have you involved your children in your garden?

