Bat-Math Printable

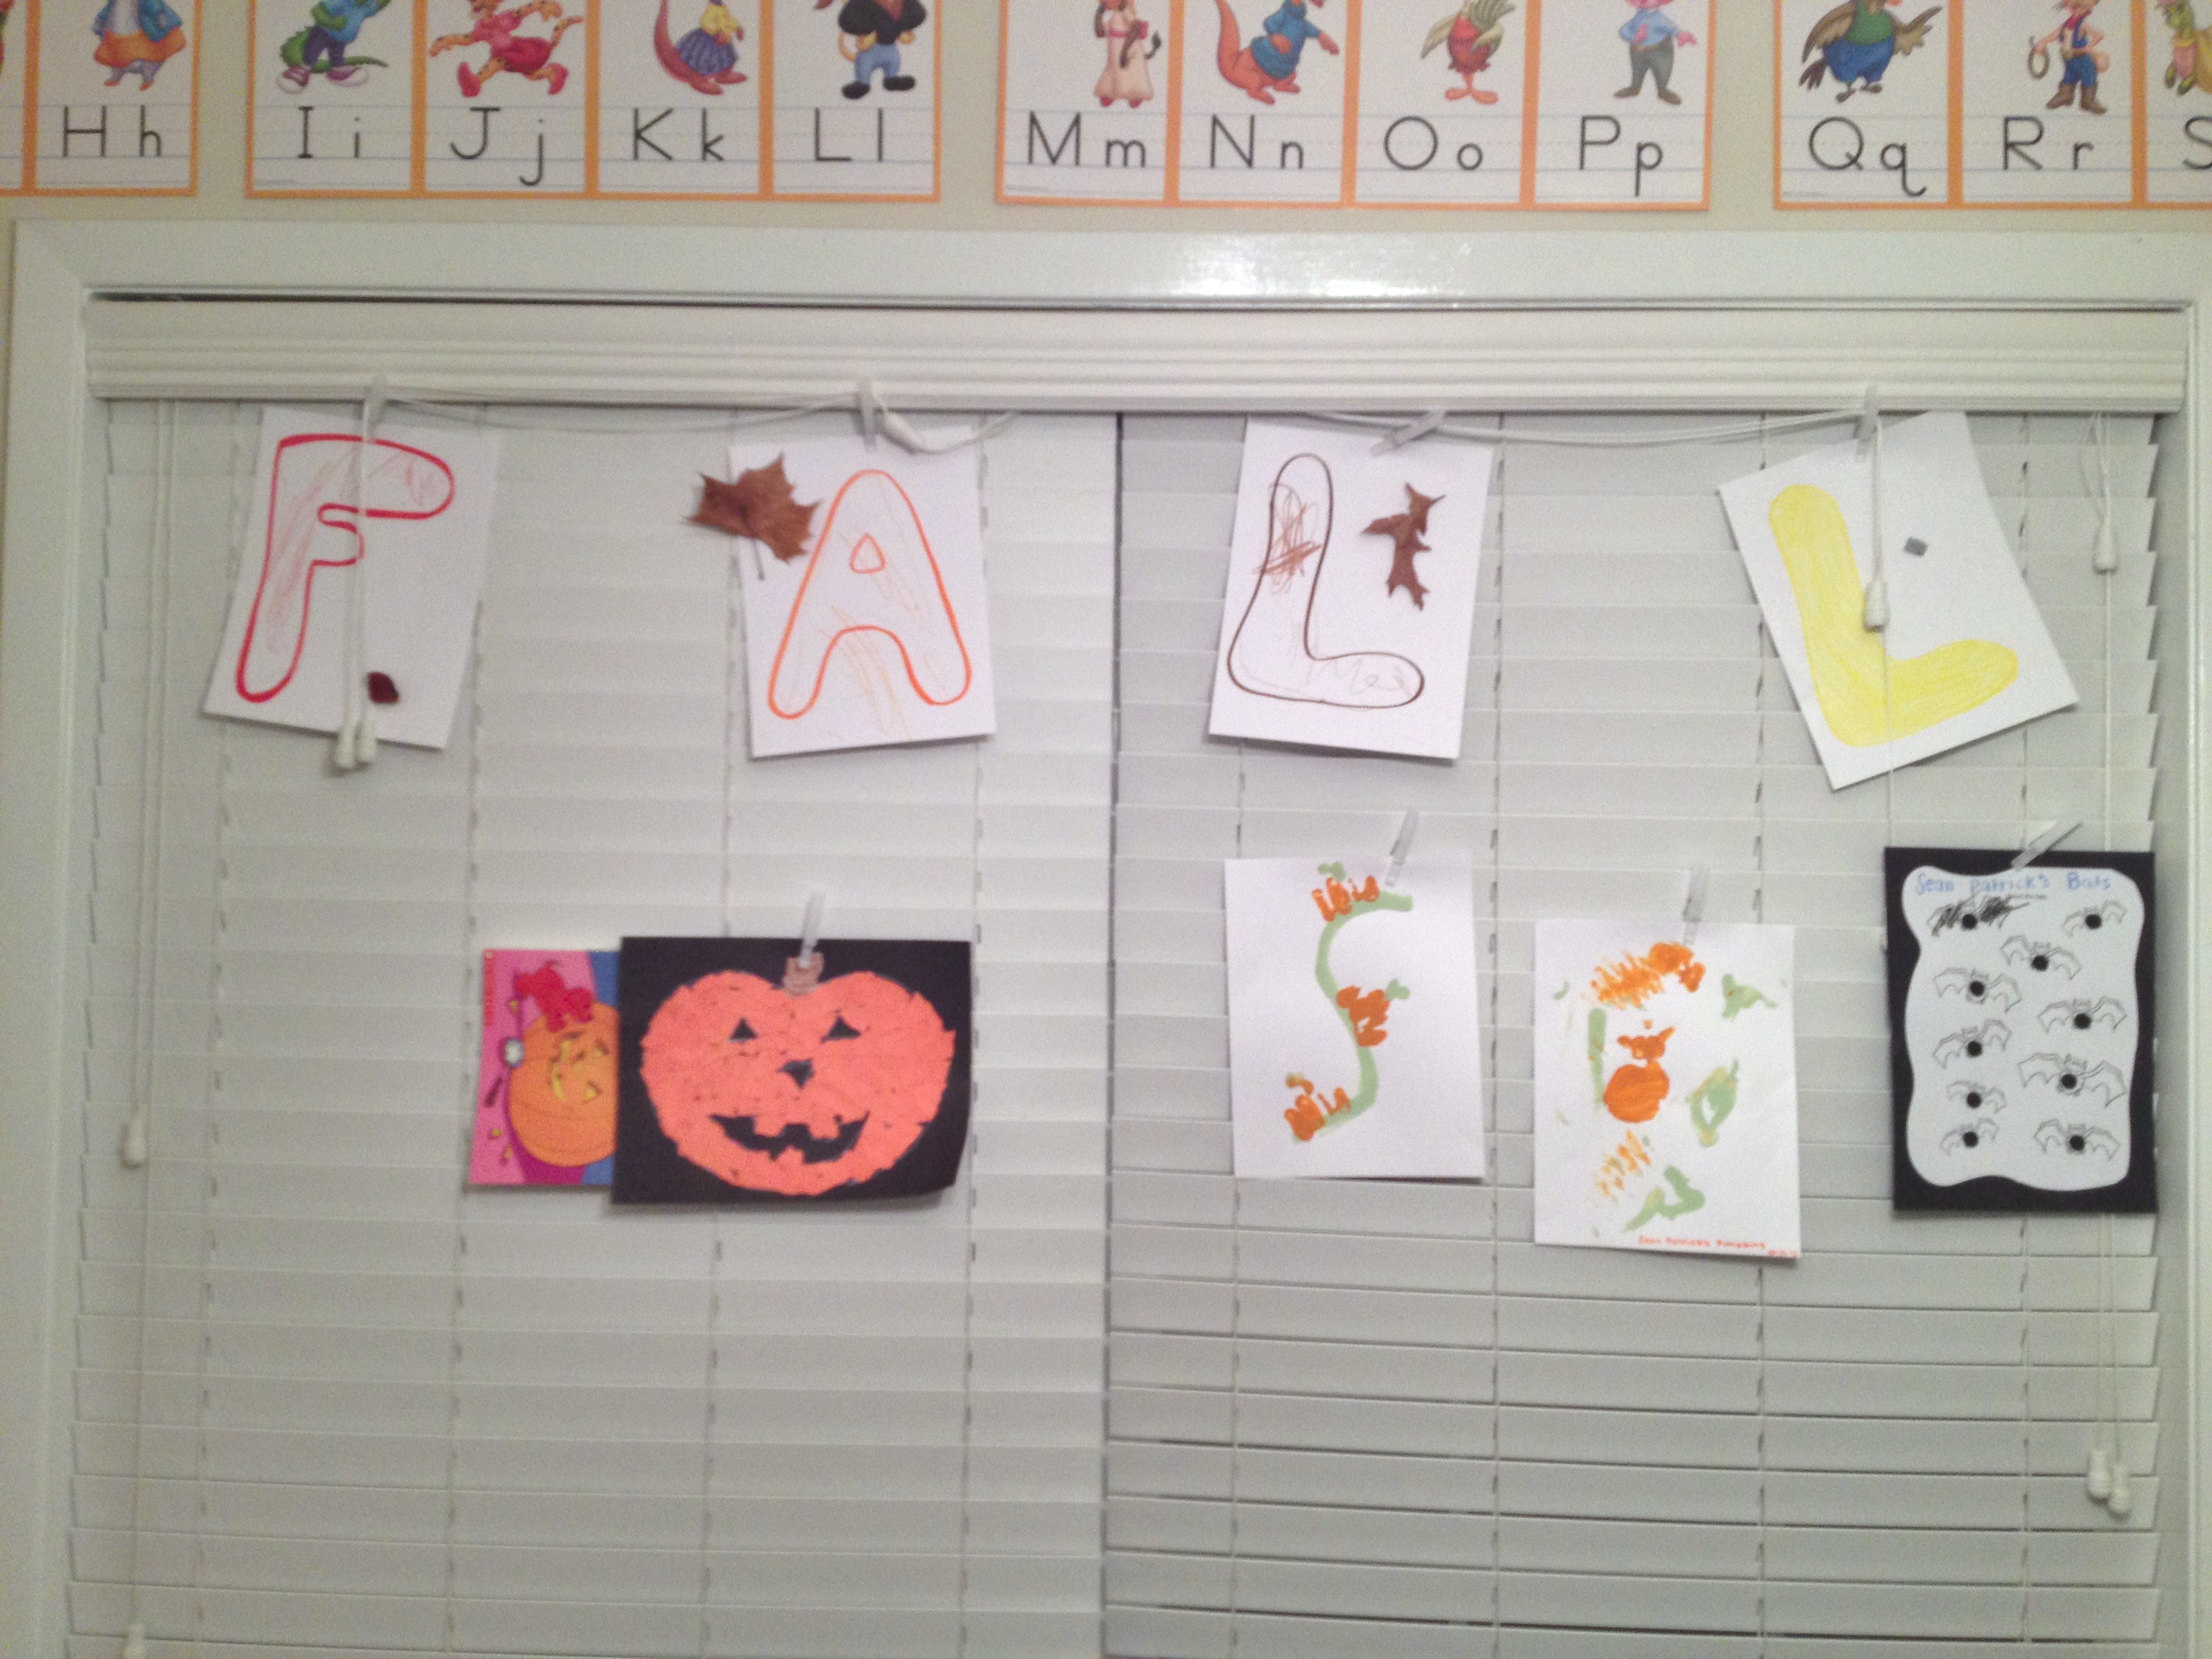
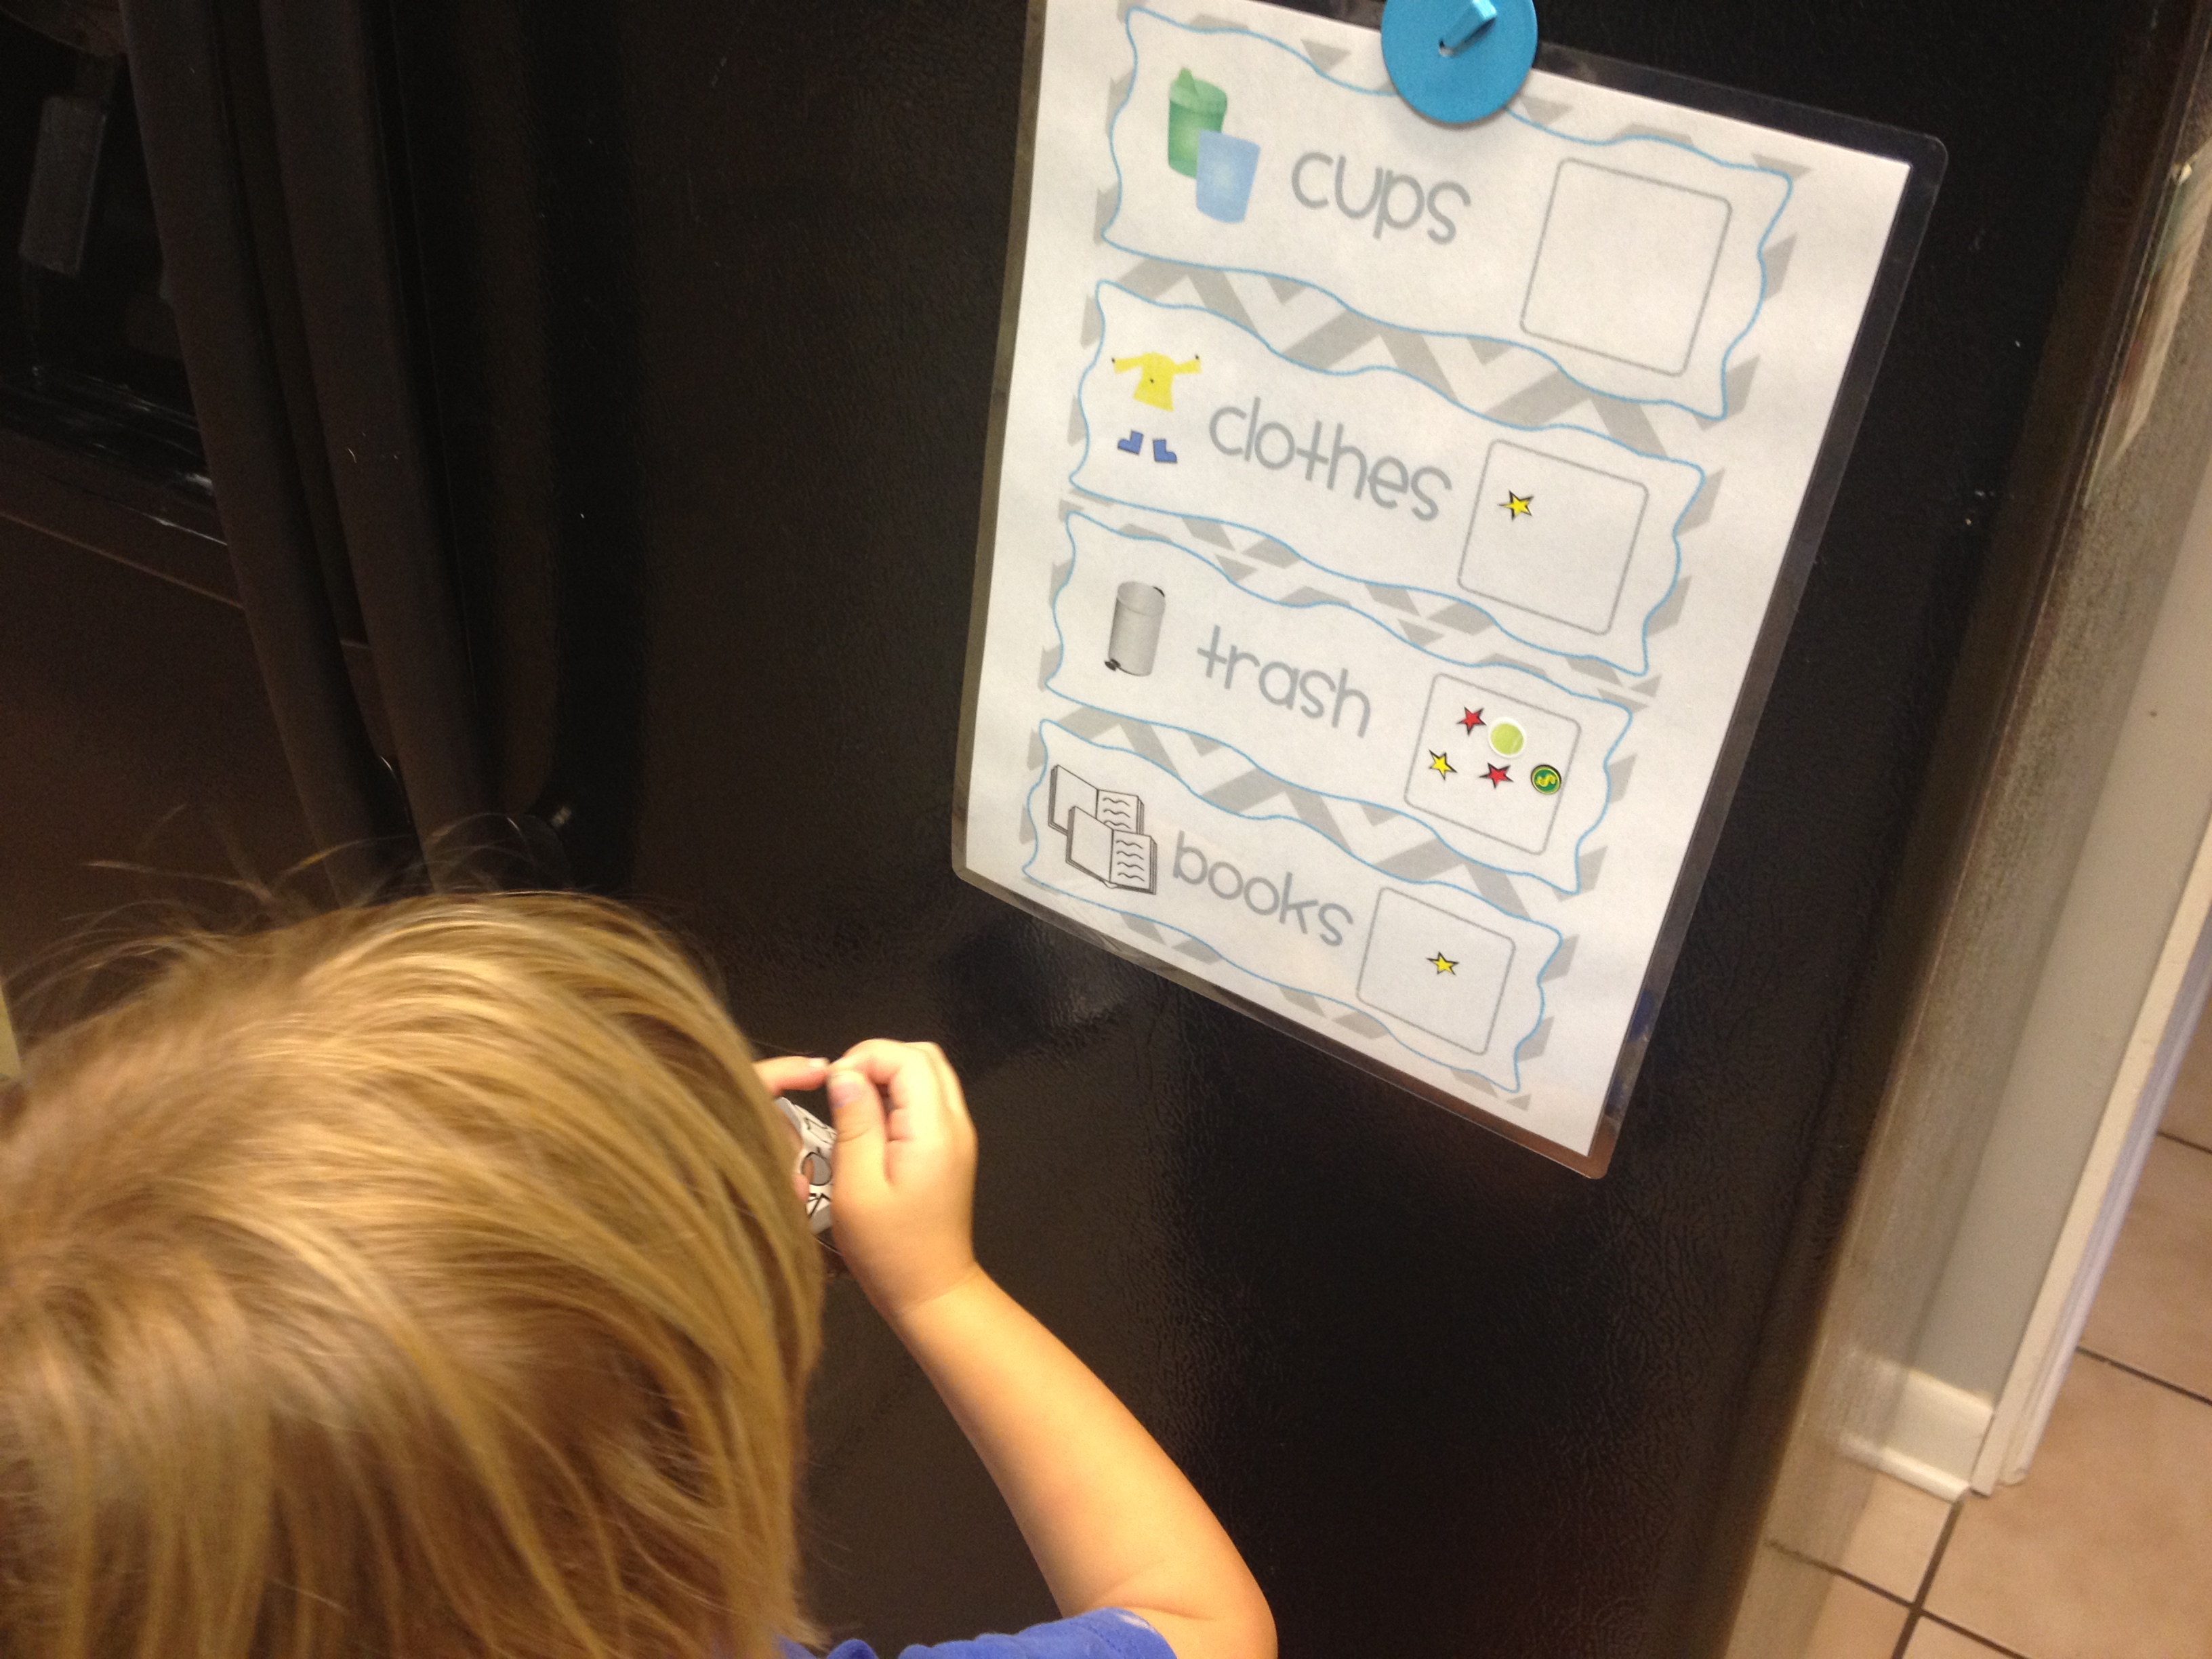
I was inspired by another mommy teacher and finally got my act together and started hanging our Fall activities on the blinds of the playroom and it got me SO motivated to purpose even more seasonal teaching moments.

I am not over-zealous… I purpose one activity a day… and today’s activity was “Bat- Math.”   I wanted to give y’all the step-by-step breakdown in case you wanted to print this FREE Bat-Math Printable and have some duh nuh nuh nuh nuh nuh nuh nuh da nuh nuh nuh nuh nuh BAT – MATH.  Sorry, had to set the tone for this.

The way that my mini bat-math lesson started is funny… Bat Printable I found a VERY simple page with the outline of 10 bats in an Elmo activity book (by the Count) and I thought…

Today, Sean Patrick is going to learn that The LAST NUMBER he says when counting is the AMOUNT of bats that there are on this page.  (I know that that is an abnormal thought).  That is a common core math standard – that children can simply recognize that the last number they say represents the amount in the group they are counting. (Example: If there are 5 bats on the page then when I count 1-2-3-4-5, I know that there are FIVE bats because it was the last number that I said when I counted the last bat).

I started with too many – I will be honest.  The page had 10 bats.  He can count to 10 but I wish I would’ve started with 5…. which is why I made this free printable with 5 and with 10 because you know your kiddo and can choose.

Skittle one to one

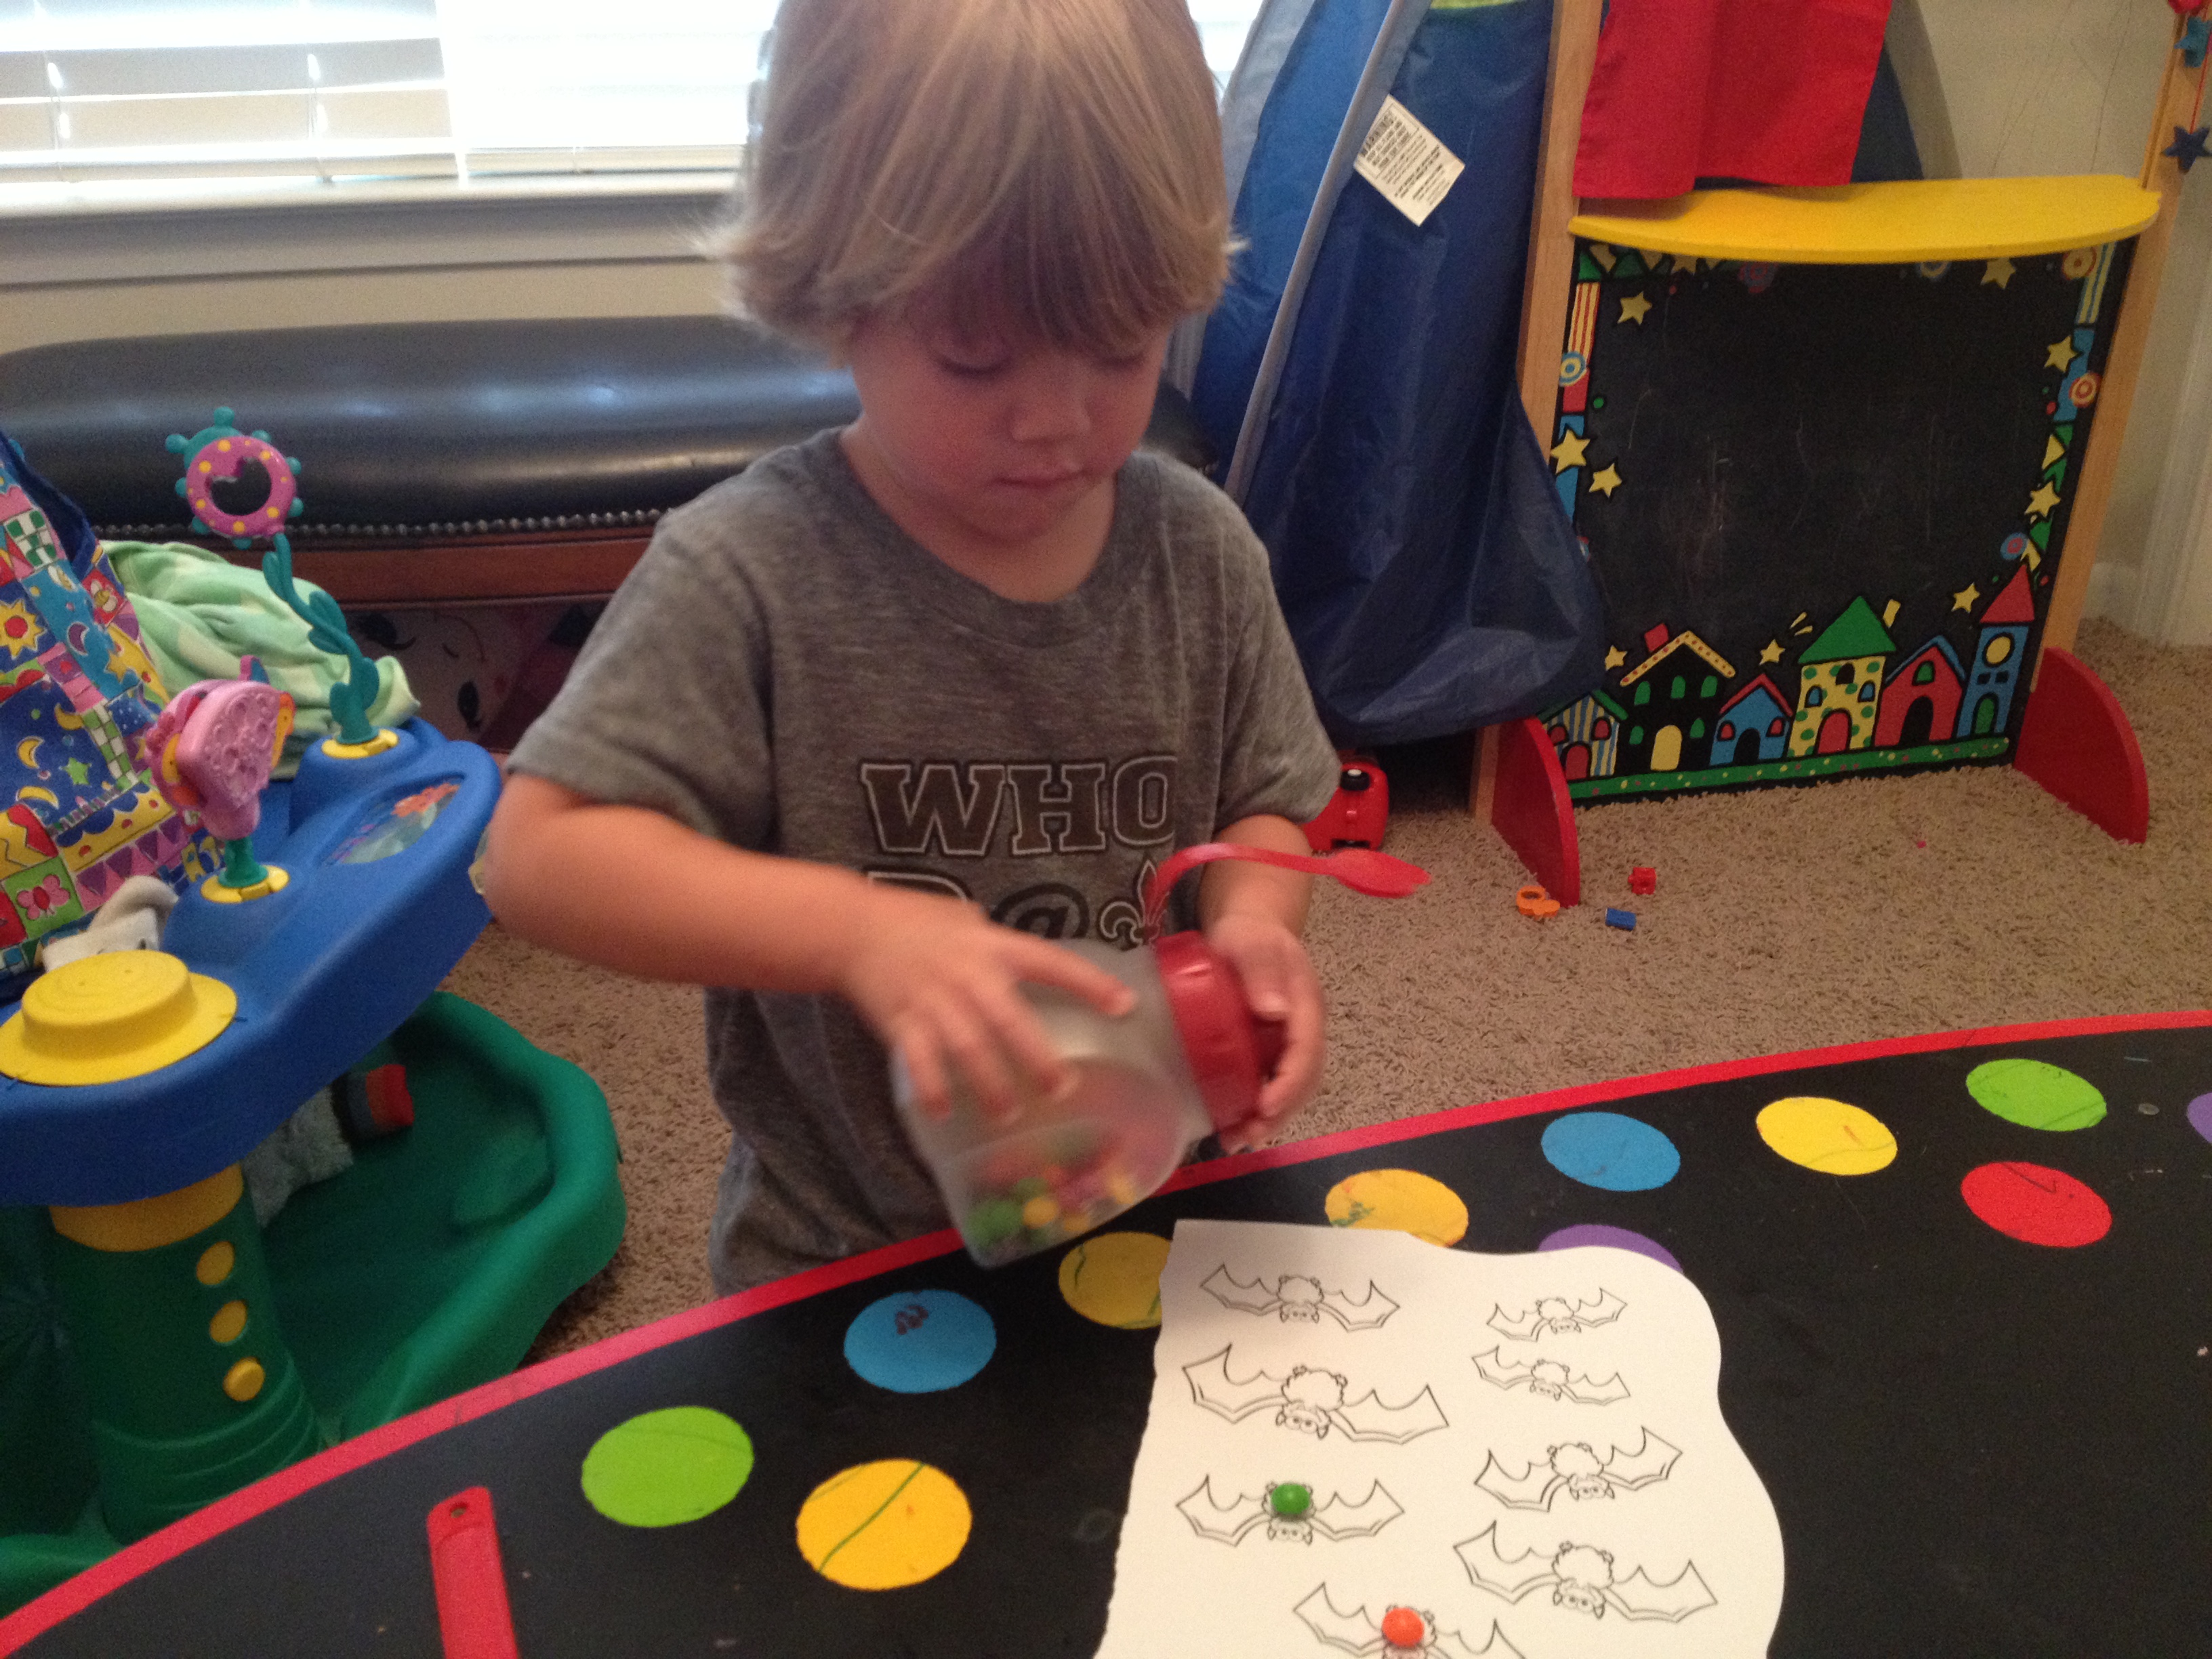
First I said “Alright Sean Patrick… today lets cover up each one of these bats with skittles.  Each bat gets ONE skittle so that we can count how many bats there are.  When we figure out the right number of bats then we can eat that many skittles!” (once again… he normally only gets to eat THREE skittles so I wish I would’ve started with my own printable haha).

bat printable with skittles

He covered up each bat (one skittle on each bat) and then started to count.  He counted slow – one number for each skittle which is GREAT, but he miscounted because he didn’t count strategically (he started at the bottom and jumped up and around) so I said “Okay baby, try counting from the top then over, and go to the next line so we can count the right number. “

He tried again and he said “ten” but kept counting.

So I said “That was great counting…. lets try it one more time and when I say STOP, try to remember the number that you said!”

He counted it again and then I said “What was the last number you just counted to?”…. he said “five” haha okay this is great….this is the moment I realized 10 was too high to count a group number, and it was the moment that I realized we could work on this one skill all week.

Then we counted it again and I said “Did you hear yourself count to ten…. watch mommy and listen…. I shouted “10!” when I counted to that number and then said “How many?” and he finally said “Ten!”

I said “YEAH! lets celebrate great counting… eat your treats and then we will give all TEN bats a sticker, then we can color them.  Let’s put the stickers on in the same “smart way” to count…. from the top to the bottom.

Bat With Stickers

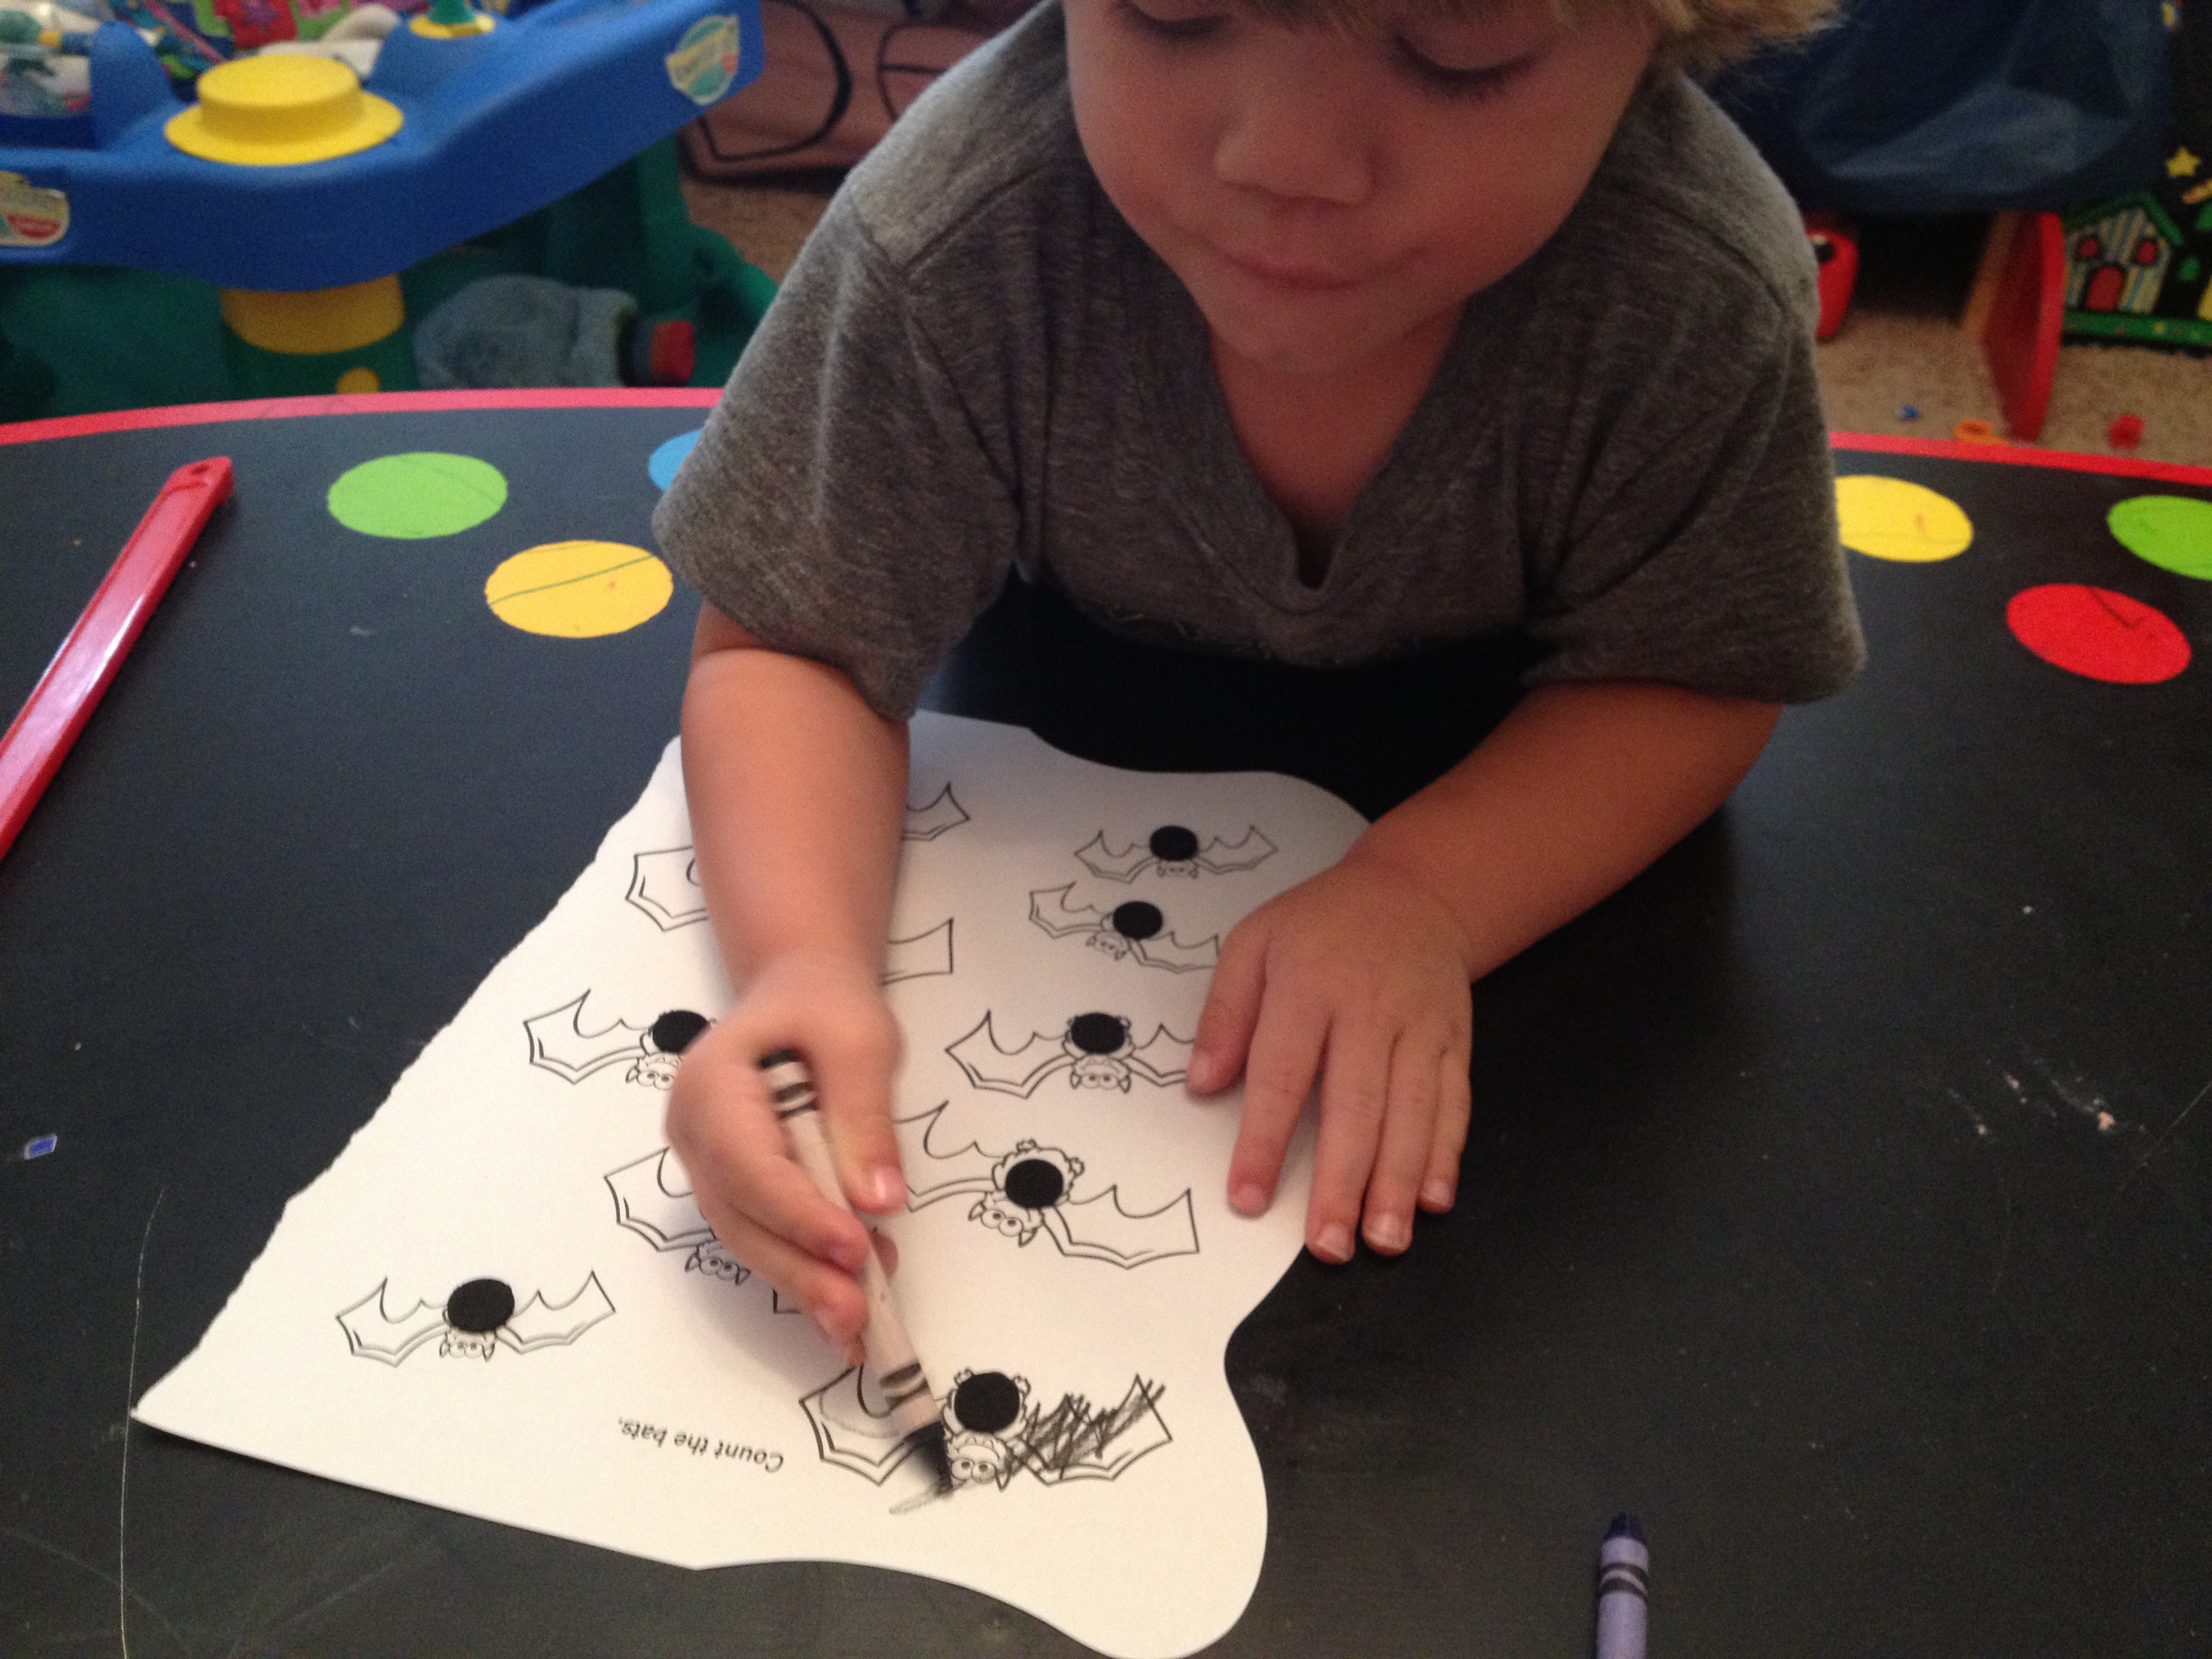
He was content with coloring just one bat so we glued the “finished” product onto a black sheet of construction paper and hung it up on our “fall art” wall…. (which I will share the play-by-plays of those activities next week).

fall playroom wall

DIY Peel & Stick Window Decals

IMG_20131013_082342_031 My mother-in-law just did a super fun and easy Halloween craft with the kids (and me…she brought extra supplies because she knew I’d want to do one too!).

We made ghost and pumpkin window peels/decals and decorated the kid’s bathroom for Halloween.  We had so much fun doing this super easy craft that I think we might just have to make our own window decals for every holiday!


Materials for Ghost Window Decals:

  • transparency sheets
  • white paper
  • school glue
  • permanent marker
  • googly eyes (optional)
  • nail polish remover

Step 1:  Place a blank paper underneath your transparency (easier to see that you are not writing on your table with a permanent marker).

Step 2:  Draw your picture onto your transparency using your permanent marker.

IMG_20131011_210820_181 IMG_20131011_210842_900


Tip:  My 6-year-old had the genius idea to TRACE a picture.  Look through a few coloring books or print a picture off the computer of a simple shape to trace.

IMG_20131011_210849_334

Step 3:  Pour a whole lot of glue inside the outline of your picture and use your finger to “paint” the picture.*  Make sure the glue is thick and even across your entire picture.  It’s ok if the glue goes out of the lines, you can trim that off later.

IMG_20131011_210958_639 IMG_20131011_211328_667

Step 4:  Place your transparencies on a flat surface to dry.  You will be finishing your craft tomorrow.  When all of your glue has turned from white to transparent, it is dry.  (We let ours sit for about 24 hours).

Step 5:  Using a small amount of glue, place googly eyes on your ghost.  Wait for the glue to dry.

Step 6:  Peel off and stick to your window or mirror!  (Getting it started to peel off is the tricky part.  Try bending the transparency while using your finger nail to lift it from the sheet.  Then gently peel it off.)

IMG_20131012_203007_822

Step 7:  Use nail polish remover to erase the permanent marker from the transparencies and begin the craft all over again!

*To make COLOR decals, when doing Step 3, add a few drops of food coloring to your glue and mix together while you are spreading it.  For our pumpkins, we added 4 drops of yellow to 1 drop of red in the glue and mixed it together to make orange.

IMG_20131011_212046_150

Another option is to use fabric paints instead of glue, but 1. I love finger painting with glue, and 2. using glue is a cheaper alternative to fabric paint.

If you do this craft with your children, please post pictures to The Mommy Teacher Facebook page!

Halloween “We’ve Been Boo’d” Free Download

I was going to wait til’ Monday to share this with you, but I couldn’t wait any longer and I wanted to give everyone enough time before Halloween to make this happen in your neighborhood if you wanted to.

Neighborhood "Boo"
We wen’t “boo”ing in our neighborhood all morning and it was a blast!

Two days ago we were surprised by a basket of Halloween goodies on our doorstep… I still don’t know who did it but it was so fun!

Halloween Surprise

Whoever “boo’d” us  colored jack-o-lantern faces on oranges, gave us two little craftivities, jack-o-lantern stickers, pencils, gummies, glow-in-the-dark vampire teeth, and bib for our baby girl.  They did a great job!  The little seasonal sticker activity was so cute…

sticker activity

I couldn’t wait to keep this going because I knew how much fun we would have putting the little treat baskets together and delivering them.

But, I couldn’t find the template so I made my own, and wanted you to have it!

Boo'd.001

Click here to download.

So, Sean Patrick helped me pick out some little pumpkins and then we went to family dollar and got a jack-o-lantern bucket, a little scarecrow, some spooky ring pops, and colorful sharpies (to decorate the pumpkins).

Halloween Gift Basket

Then I encouraged Sean Patrick to carry the goodie basket to their door, knock, and tip toe away and watch from the car so it could be a surprise.

We had so much fun…he was running!

IMG_0614

And if friends caught us outside it was fun too!

I hope you make the time to do this… It doesn’t have to be fancy…. You could drop off a little ziploc of something with the printable and it would still be fun for the whole family!  You still have time before Halloween!

Disclaimer: the friend already had the chalked word “Boo!”  but I would totally ask a neighbor if they wouldn’t mind and do that because it looked so cute!

Simple Chore Chart Checklist – Tidying !

I would classify myself as a “clean as you go” mom.  I am NOT a clean freak but I do like a tidy house.

I play with my kids and I pick up after my kids (admittedly)  a lot.

With three under three, tidying up after my little tornadoes is an ongoing discipline.  But as I approach the ages of chore-chart readiness I wanted to give my little ones a bit of familiarity with the responsibilities they can handle, and those that are age-appropriate.

So, I made a simple checklist of the things that I would like them to be responsible for…. to pick up:

Shoes (We have a shoe basket)
Toys (Toy Chest)
Cups (Sink)
Clothes (Hamper)
Trash (Can)
Books (Book Bin)

chore checklist

I printed my checklist two per page and then laminated it (I have an affordable self-laminator from Walmart) and put this on our fridge with a square of small stickers held by a magnet nearby.

I introduced this checklist by saying that from now on when we are responsible and pick up after ourselves we get a sticker for each thing we pick up.  Then we picked up one of each item and put it where it goes, getting a sticker for each one.

Sticker  Checklist
Letting him take the sticker off helps develop his fine motor skills!

Now every time my kids pick up and put away something I give them a sticker to put in the box beside the chore.  I give my kids stickers now even if I encourage them to clean by singing or ringing a bell… not just if I “catch” them cleaning, but if they do it without me asking I give them two.

Every time my kids put a sticker up, I say “Oooh we are going to fill up all the boxes and we will be able to see how hard we work.”  This week our “trash” box is getting full so I asked Sean Patrick what he thinks we pick up the MOST of and what we needed to pick up MORE of so that I can keep him familiar with important math terms.

photo 3

I am not giving him some big reward for filling up the boxes at this time because I want to get him accustomed to working hard because it pleases God not just to get the incentive. 🙂

Enter your e-mail in the sidebar to get this printable FOR FREE!

[Click HERE to become a member for just $5.00 and get unlimited access to ALL The Mommy Teacher Printables including this one!

OR CLICK HERE to see it in my TeachersPayTeachers Store.

Blog Recommendation: “Just 30 Days”

I have to apologize to all the Mommy Teachers who were following my Daily Devotional posts!  As soon as my boys started Awana for the semester (a Christian Bible study for kids age 2 to grade 6.), our daily devotions were substituted by their memory verses for the week – every few lessons or so, they receive either patches or “jewels” for their club vests… very.big.deal.

So you can imagine, that while we were getting into the routine of working memory verses into our daily study, there was little self-control left inside of their little bodies for devotional time.  I am trying to work in a little craft or activity little by little, but so far, I have been left covered in glitter while they run around the house chasing each other.

As soon as we get our new schedule down, I will pick back up with writing the devotional posts so you can join us!  I will include our memory verses too.  Hopefully this is the week where we find our groove!

For now, I want to share with you my friend Megan’s new blog Just 30 Days (www.just30days.org).  When Megan first told me about her new blog adventure, I couldn’t wait to join her!  Each month, she is picking up a new habit to try for 30 days… one of those habits that you always WANT to try, maybe even make it your New Year’s Resolution, but never actually get around to it…

Read part of her “about me” section below:

We’ve all heard the saying that it takes just 30 days to create a habit. I wonder if that’s really true. I’ve decided to try and find out by taking 30 days to try one thing. Whether my goal is to wake up early, eat clean food, stop complaining, meet my neighbors, workout, encourage my husband, live on a budget…I’m going to try one thing at a time for 30 days straight. After 30 days, I will see if I want to keep doing it or maybe I will realize it doesn’t make my grass green at all. But either way, I believe there’s power in a focused life!

So this is my journey of watering my side of the grass…30 days at a time!

In September, she and her followers did 30 days of waking up early.  Phew, that was challenging for this night owl!  But the days that I did follow through were AMAZING!  Just being able to finish my quiet time without someone interrupting, taking a shower without the kids trying to hop in with me, and getting completely dressed with makeup on while being lost in my own thoughts instead of having to hear, “Mooooom!” completely changed my morning attitude!

This month, the challenge is praying for your children.  Each day, Megan has chosen a new virtue to pray about and she blogs about her prayer time, verses that accompany your prayer, and successes or little bumps along the way (because if it weren’t challenging to remember to do this every day, we’d already be doing it).

She also makes it super easy for you to join in the challenge.  Simply click the tab that says “The Next 30 Days” and fill out the contact information.  She will encourage you through e-mails and notifications of new posts.  What a great way to hold you accountable!

I have been praying over the kids each day and our experiences have been so peaceful!  As soon as I explained to the kids what I was going to be doing, they immediately sat down quietly to pray with me.  It has been amazing to see them sit still through my wordy prayers and then ask questions after about the virtue.

I hope you will join us in this challenge!!!  Perhaps my personal challenge next month should be staying on top of weekly devotional posts 😉

Related Posts Plugin for WordPress, Blogger...

1 17 18 19 20 21 82