I went to a little one’s birthday party this weekend and I bought her a gift that I would want to do with my kids….a Pop Up Book gift set.
This one actually:
And then I went browsing around on the internet and there were instructions to making your own pop up books as well as alphabet pop up books, and I loved this one:
But, I thought that if I were to make it myself I would just print the block letters onto cardstock, cut them out, and glue them onto a thin rectangular slice of paper that was folded back and forth over and over again and glue the other end to a book page. Like this:
And then, OF COURSE you need to decorate it with apples, alligators and all the /a/ sound pictures 🙂
I am all about simplicity and I think your little ones will like it all the same. Just give him/her stickers, markers, and a whole lots of crafty stuff to decorate.
You could make a numbers pop up book, a shape pop up book, and more.
Here are some templates for ABC and 123 and change the print settings to “multiple pages per sheet” to save paper:
My sister came over yesterday with purple t-shirts and yellow-gold puff paint so that we could gear up for the Fall – cheering on our LSU Tigers. We wanted to incorporate our kid’s handprints or footprints so we came up with this:
I will definitely be wearing this to the LSU games 🙂
So, this gave me the idea to make a book of the alphabet making each letter formation out of footprints, handprints, fingerprints, or a combination of all three. This would be up to you and your little one to brainstorm ways to make each letter because that way it forces your little one to concentrate on the letter and problem solve in order to allow for better memory storing of the letter and letter recall.
If your little one is concentrating on letter sounds and words that begin with the letter sounds then you could make a handprint/footprint art book of pictures that start with A (angel) B (bear) and so on and so on…..if you choose to do the activity this way, I recommend this site: http://funhandprintart.blogspot.com/
I haven’t been bowling in a while, but every time I go I really have a great night. Some time ago I noticed that the “graduates puffs” containers for babies look like bowling pins without the wrappers…as a teacher my mind was always turning when I threw things in the recycle bin. Save 10 of those cans and you have your very own bowling lane for your kids.
Bowling is a GREAT way to teach subtraction. Always ask your little one to count the pins to find out how many pins you have to start with, then count how many were taken away, and finally ask how many are left? These three questions will ingrain in your little one’s mind how subtraction works in a concrete way….even if they can’t figure out the abstract concepts of subtraction just yet….you are showing your little one the process of subtraction in a hands on way.
Sean Patrick opens puff cans with his teeth haha
And when he is finished I take the wrappers off and there you have it….bowling pins!
If you dont have kids…I used to collect these from my sister before I had kids, but if you don’t know anyone who has them then collect something that you might buy for groceries (pringles cans, soda liters, etc.) Make it work for you!
Thank you SO much for everyone who participated in the giveaway! I really loved reading all your great feedback and comments as well as appreciated everyone who shared my site 🙂 I will be doing another giveaway somewhat soon so if you didn’t win, keep up with me and keep trying!
There were close to 100 entries but when I plugged all the names into a list randomizer from random.org the name that appeared at the top of the list was…..
……………Sandi W.!!! Congratulations Sandi!!! When I clicked on her name to learn about my winner I found her blog called homeschool endeavors….which I thought was really cute, and maybe a blog that my mommy and daddy teachers might like as well.
Hi Mommy Teachers! It’s Casey stopping over from Kidspired Creations! As a former Pre-K and Kindergarten teacher, and a current stay-at-home mommy, I always try to think of different ways I can approach play time to make it a great learning experience too!
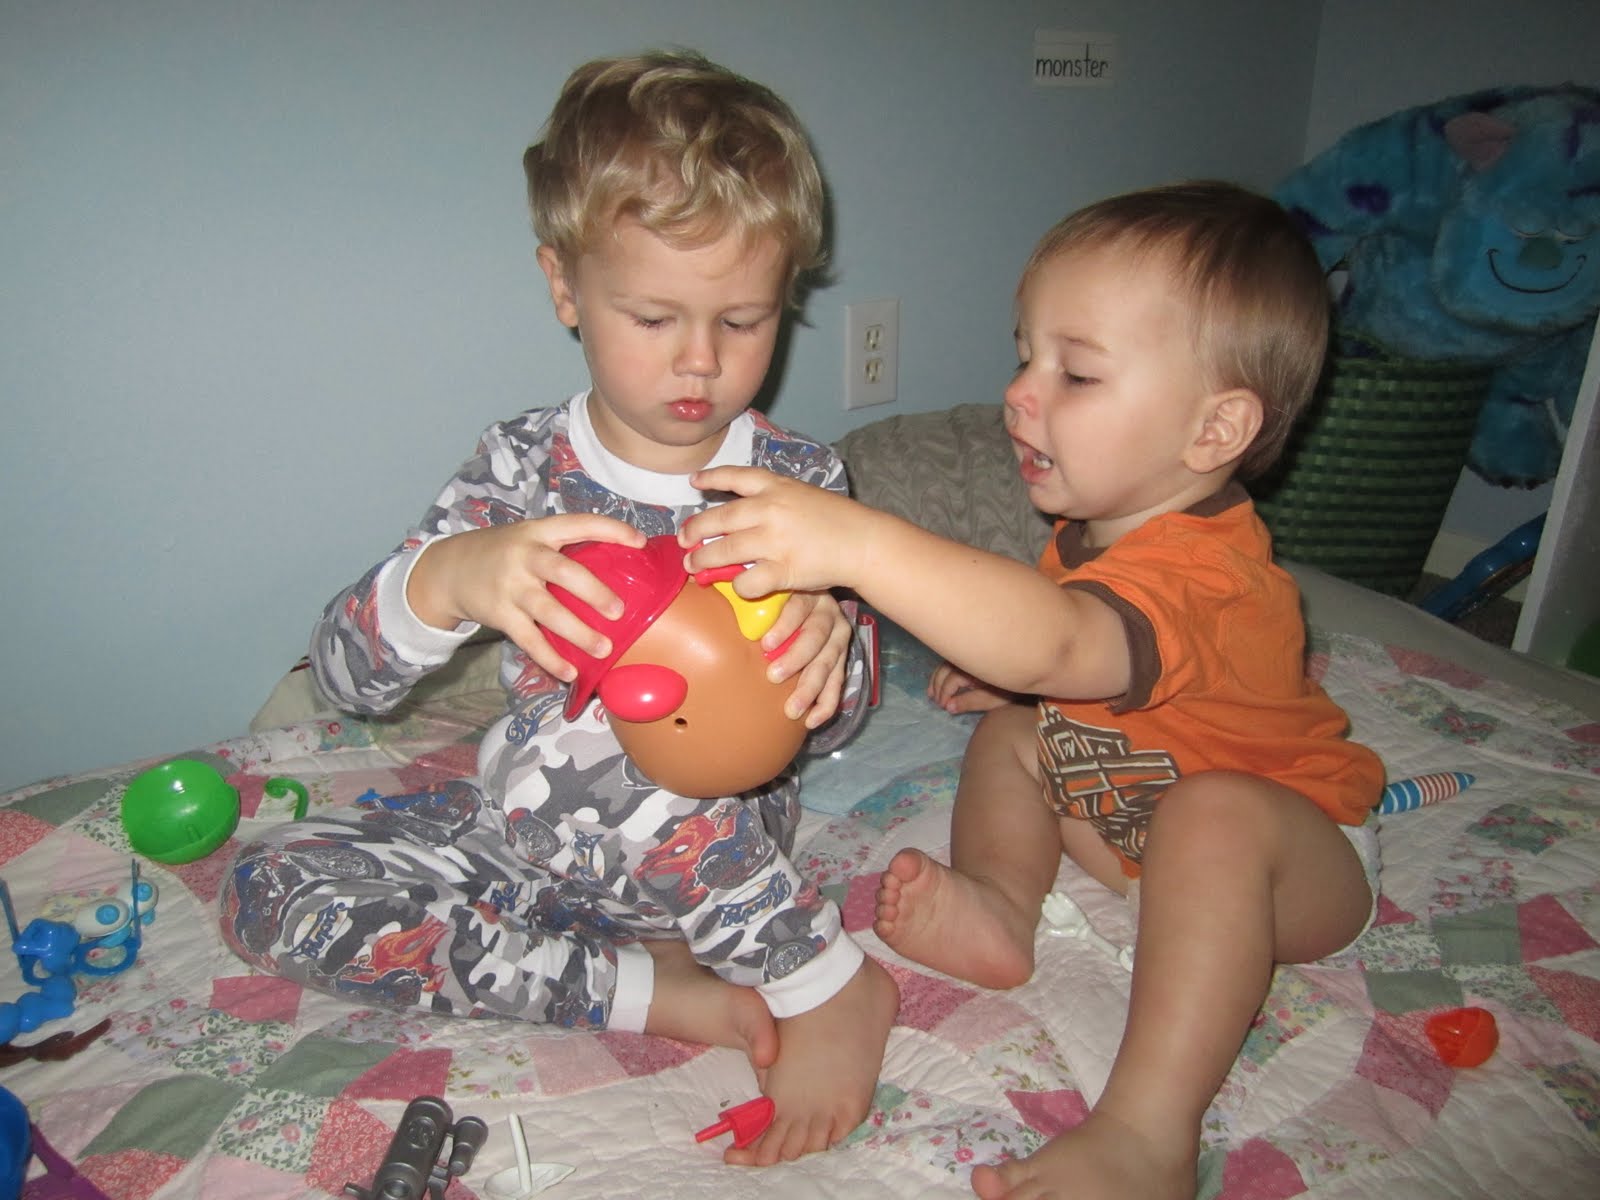
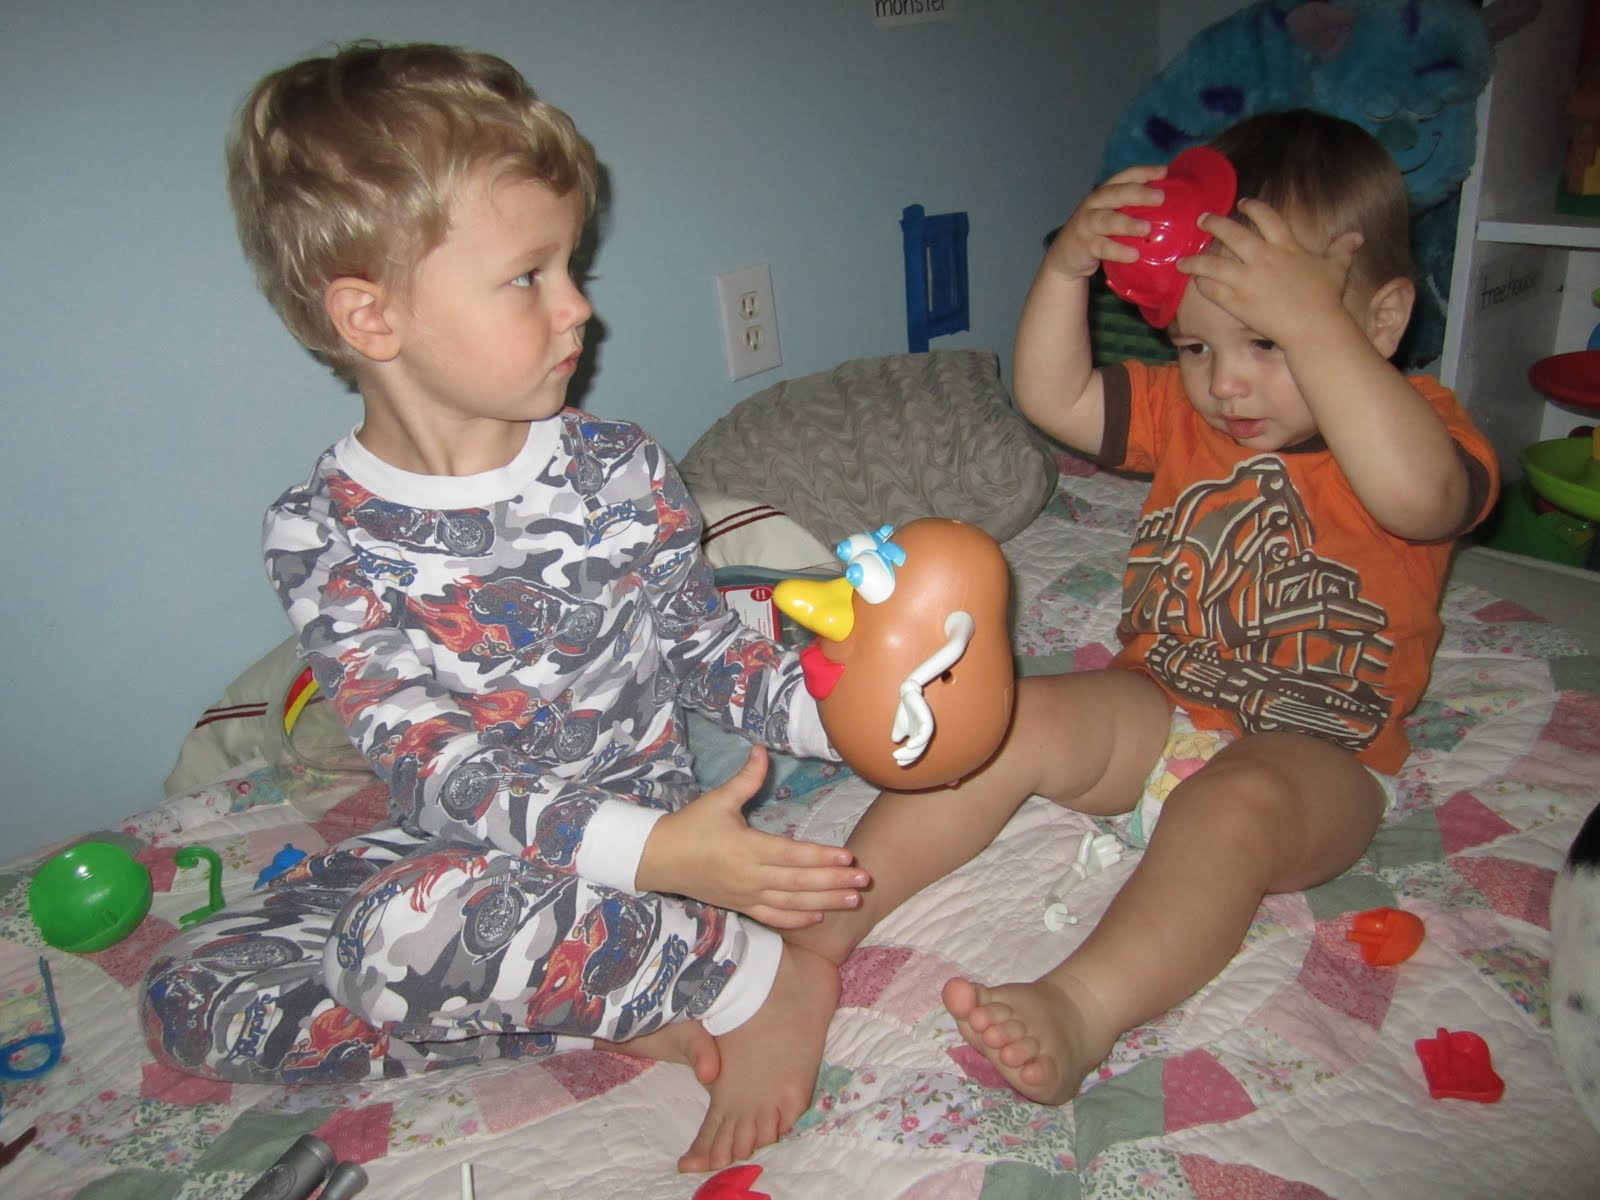
Today, we invited Mr. Potato Head to join in on our fun. My boys and I were all sitting around MPH and adding different parts to his head. He looked like a monster with an arm sticking out of his eye socket, eyes where his feet should go and a nose in each ear. As I watched my boys, James (turning 4 next week), was holding MPH and bossing Leyson (20 months) about what he should do with the nose in his hand.
I then turned this into a learning opportunity about sharing. I took all of the parts off of MPH and then told the boys that they can only put one body part in at a time and then it was Brother’s turn. An eye in for James, a nose in for Leyson, then back to James. See what kind of a cool monster we can make together!
This reminded me of a time that I subbed for a 2nd grade classroom. I had the students all participate in creating a monster that I drew on the board based on their descriptions. They each told me one thing to describe what the monster looked like and I added that to our drawing. I then had each student write a paper describing in complete detail what the monster looked like so that anyone who had not seen the monster that I drew could draw the same monster on their own. (What? The teacher didn’t leave a lesson plan for me and I taught the wee little ones… no clue what to do with 2nd graders).
So I asked James to describe the monster to me: “MPH has a huge blue muscles on his arm that is sticking out where his nose should be.”
Then, I got to thinking… how else can we learn with Mr. Potato Head? Here are my top 10 ways that you can join in on the fun!
1. SHARING
2. DESCRIBING / USING DESCRIPTIVE LANGUAGE
3. STORYTELLING
(We made up a story about Mr. Potato Head’s adventures as a Firefighter)
4. 5 SENSES
Mommy: “If MPH is a firefighter, what is he going to use to smell if there is smoke?”
Child: “Nose!”
Mommy: “Great! What is he going to use to hear if people need his help?”
5. HAND-EYE COORDINATION
(My little one was having trouble putting the parts into the little holes, but after a few tries, he became a pro!)
6. BODY PARTS
(Placement and Name Recognition)
Easy: “Where is the nose?” (baby points)
Harder: “Is this a nose?” (baby says “yes” or “no”…or nods or shakes)
Even Harder: “Is this a nose or mouth?” (baby says “nose”)
Hardest: “What is this body part?” (baby says “nose”)
7. RIDDLES
Mommy: “This part helps keep his head warm when it’s cold.”
Child: “A hat!”
8. RHYMING
Mommy: “This next body part rhymes with ‘south.'”
Child: “Mouth!”
9. SORTING
10. MYSTERY BODY PART
Place 1 pair of eyes, 1 nose, 2 ears, 2 arms, 1 mouth, 1 hat, 1 mustache and 1 pair of shoes in a bag. Have your child reach his/her hand in the bag without looking and grab one body part. They must then guess which part they have in their hand.
Now, if you don’t have a Mr. Potato Head, he’s everywhere… in fact, he pretty much has his own website where you can search for all of the different Mr. and Mrs. Potato Head kits available. ENJOY!!!
A special THANK YOU to the ultimate Mommy Teacher, Jessica, for allowing me to share my playtime experiences with every one!