Begin With Vocabulary

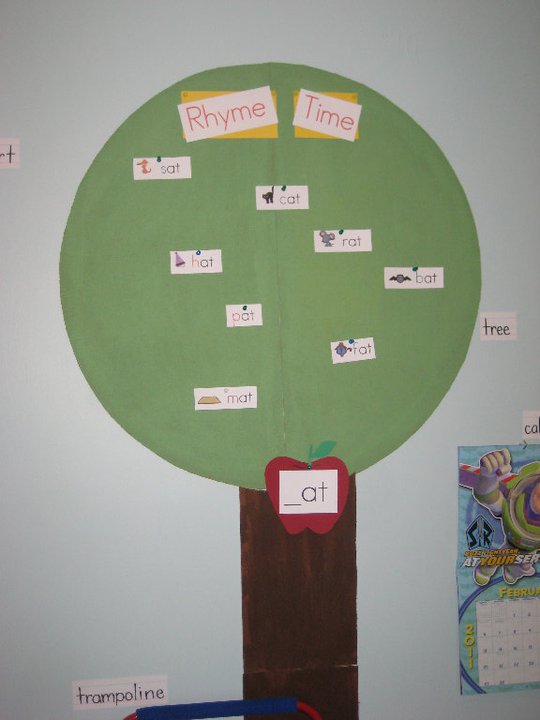
Do you remember the rhyming tree from Casey’s Playroom?

I love this tree and think that if your little one is READY for this skill, then it is a great space to create. Creating spaces for interactive learning is so beneficial for your little learner, but making those spaces age-appropriate and developmentally-appropriate is MUCH more beneficial. Your child may not be at an age where the rhyming tree is appropriate for him/her; maybe your little one still needs to work on the bulk of their oral vocabulary. Think about it….if you are trying to teach your child that “king” and “ring” rhyme but you haven’t introduced those words with pictures first then your little one is going to have a hard time understanding what you are asking of them.

So, I am suggesting that you take some time to figure out what type of information to display for your little one:
1. Start with just the pictures of shapes, colors, animals, people, places, things, etc. (NO WORDS)
2. Letters –upper and lower -they can match them 🙂
3. Pictures of opposites (Big & small, open and closed, etc.)
4. Pictures of rhyming words
5. Environmental print (Burger King, Cheerios, etc)
6. After introcuding vocabulary start to include pictures combined with the words for colors, shapes, animals, opposite words, rhyming words, etc. So, an example would be a picture of a cat with the word cat written on it.
7. Sight words
8. Spelling words

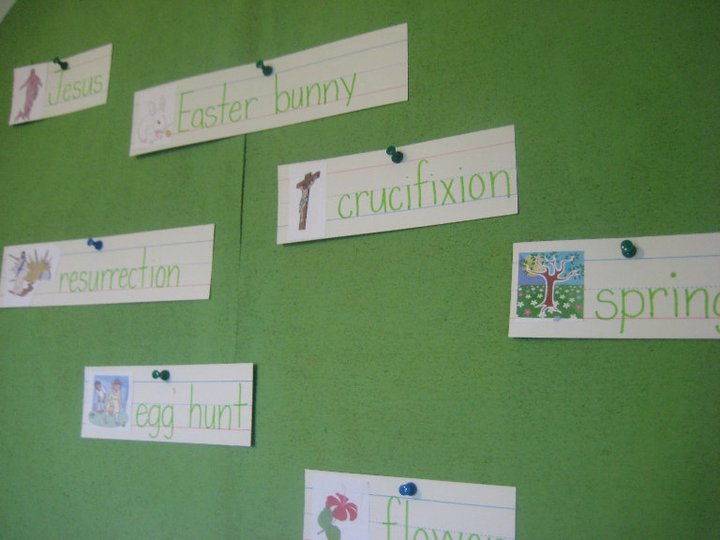
Casey with Kidspired Creations shared yet another variation to her playroom Tree….an Easter tree!!! Because another GREAT way to introduce RELEVANT oral vocabulary is by displaying SEASONAL pictures and words. This gives you so much material to talk to children about the season, the holidays, and to introduce a world of knowledge that pertains to their world. Casey came up with the idea to make an Easter Tree so that she could introduce all of the vocabulary that James would be exposed to over the course of the next few weeks.  So not only did Casey share her picture, but she decided to make it super-easy for you to re-create….she shared her images:  Click here to get them!
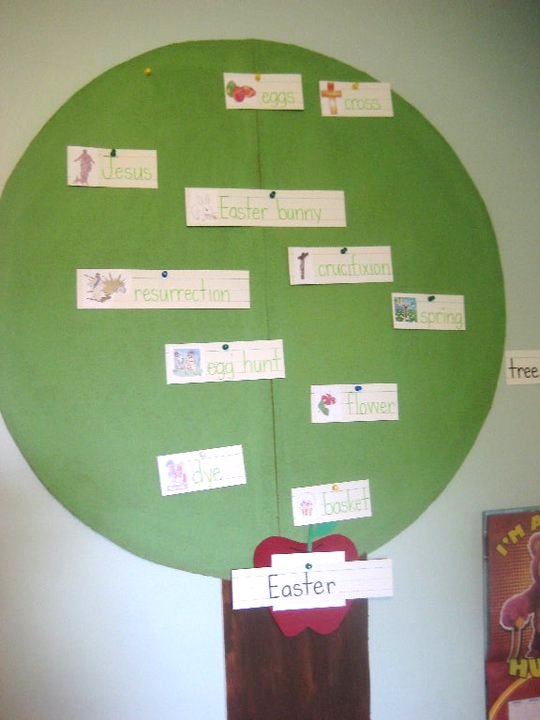
Here is how she modified the tree for Easter.

And here is the close up!

And a word from Casey:

“James and I brainstormed different words that are associated with Easter and we discussed what they mean. We read “The Jesus Storybook Bible” about the crucifixion and resurrection of Christ. We then wrote down our new words and searched for clip art on the computer to match. I wrote the words on word strips, and James glued the pictures with the corresponding word.
This activity is a great way to build ORAL language. I used the words and pictures of the word to help James create a visual association to what the words mean. The goal of this activity was not to have James learn to READ the words and SPELL the words, but to have him be able to understand the words, use them correctly in a sentence, and explain what they mean. Visuals help kids to learn oral vocabulary because they can now relate the oral word to a picture.”

We expect children to understand everything about the language and culture they were born into, but it takes time and there is so much to learn.  Mommy Teachers have the opportunity to shape our little one’s understanding of their world, one word at a time!

Please share your variation of the vocabulary tree on the Mommy Teacher Facebook Page!

For Parents who like Routine….and Sanity

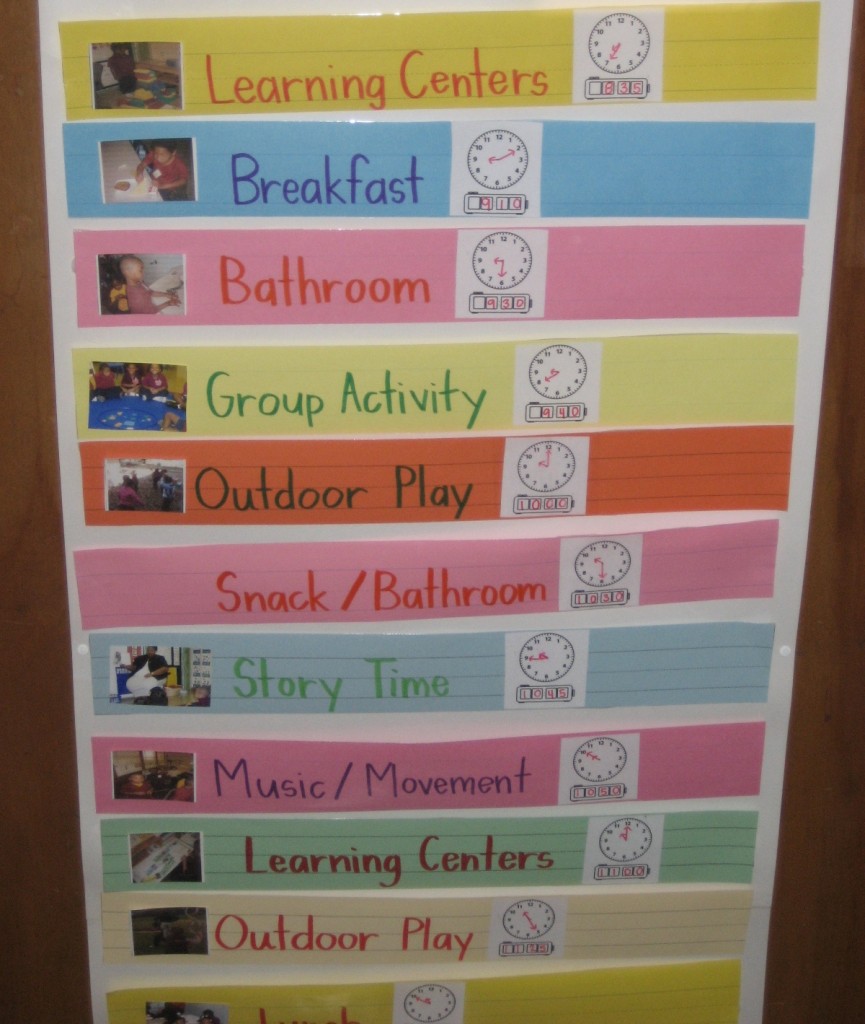
I don’t know about you, but I like to stick to a routine for sanity’s sake. I know that it is bound to change at times, but I am a creature of habit and like to keep it that way as much as I can. In fact, one of my favorite things about teaching was having a schedule posted on the wall for all to see. The kids loved it too. They started to inform me when we had to be somewhere or when it was time to move on to another subject.


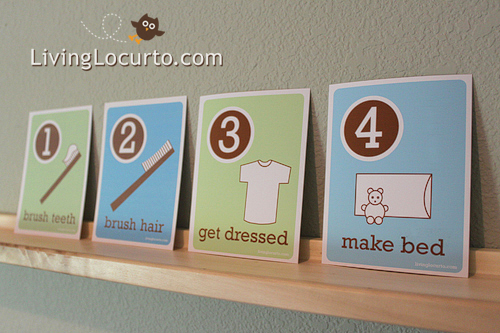
Kids thrive on routine, but I am not suggesting that you post a schedule in your house because I know things change on a DAILY basis (unless you are homeschooling-then I absolutely recommend it). But, I am suggesting that you post the things your children know to expect like brushing their teeth, making their bed, getting dressed, etc.
There is SO much research on smooth transitions.  And let me tell you… displaying a child’s routine so that it is predictable and consistent definitely paves the way for smoother transitions in the morning.

So, good news, Casey shared with me that http://www.Livinglocurto.com has FREE printable routine cards that are so cute. Not only are they cute but they have very kid-friendly images for all the words that describe the steps in their routine. She also has some after school cards. I am interested to see how creative my Mommy Teachers are in how you display and use them. I recommend printing them on cardstock and maybe even getting them laminated for durability, but it’s up to you! 🙂

An LSU professor, Dr. Buchanan, highlighted that adding pictures of your children “brushing their teeth,” “making the bed,” etc. really makes the chore more personal and meaningful to your little one. I definitely recommend taking the time to add pictures! 🙂

An Activity For Active Children

I love how little kiddos get so excited to participate in activities that include moving around. So many kids learn through movement; in fact, kids with this learning style are called kinesthetic learners. For this reason, I used to come up with a lot of little activities that I could pull out at any moment that would get the kids moving and that would reinforce some of the things that I was teaching (numbers, letters, shapes, colors, etc.)

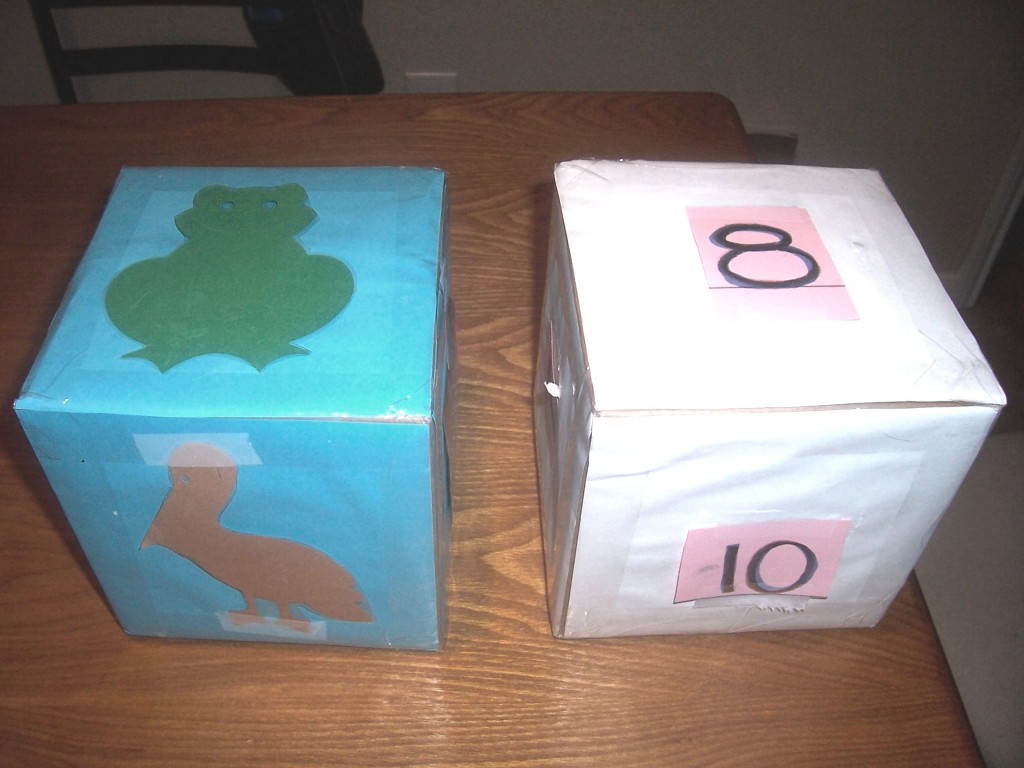
SO today’s activity is to roll two dice.  One that reads a number and the other that reads an action clue.  This way, your little one will have to move the way the dice tells them to, and move however many times the dice tells them to.

To make these dice, you simply cover an empty, square-shaped tissue box with paper, and write numbers on each side. This does not have to be fancy! If you have a small mailing box or present box, use it!

If your child is already REALLY familiar with their numbers 1-10 and you have started teaching the numbers 10-20 you can reinforce those numbers by writing them on the cube (make sure you use the language “cube” with your little one when referring to the dice because it is great to introduce 3-D geometry terms early).

Then make another dice and choose the theme of the game that you might want to play, and make clip art to represent the motions or cut the pictures out of a magazine and tape them on the sides of the cube.

My action cube is pictures of animals so when playing the game you might have to hop like a frog 10 times, or flap your wings like a bird 7 times, etc.

You might want to make one with exercise motions on it and do jumping jacks, push-ups, or sit-ups for each number.

You could even do colors and find that many items of that color around the house.

Learning in the Kitchen

This past Thursday night, I cooked a meal for a group of college students, and one of them told me “I hope I’ll be able to cook meals like this one day.” 

That one comment got me thinking about SO many things:

My first thought, to be honest, was satisfaction – who doesn’t like to make a crowd-pleaser? 

Second thought, I was proud of how far I’ve come because before I got married I couldn’t cook macaroni and cheese.

Thirdly, I wanted to help this college student learn to cook because I love to teach about anything I have learned about (hints this site!).

Finally, I thought about how it was sad that I didn’t take the time to learn cooking tips from my mom and dad when I was young.

This reminded me of one of my FAVORITE things to do with kids, when permitted: bake or cook!

Maybe you already do this, but I have a couple suggestions to pack this activity full of learning opportunities.

Before starting, read a book like “The Little Red Hen” “Pete’s a Pizza” or another book that prepares your little one for the process and purpose of cooking or baking in a fun and meaningul way.

First, write out the recipe WITH your little one on a large piece of paper, and then read each ingredient as you pull it out.  Ask them questions and give them clues “What ingredient do you think starts with the sound /m/?” (milk!) This will give you a chance to model reading and writing for your little one.

Next, measure each ingredient WITH your little one so that they have the chance to experience measuring for accuracy and to observe large and small amounts and they will naturally observe science in action as dough rises and ingredients mix together, etc.

Finally, let them take on as much ownership as you are willing to share: stirring, spreading, sprinkling, watching the timer, or whatever your recipe calls for.

Ask your little one what he or she wants to make or bake! Have fun! 

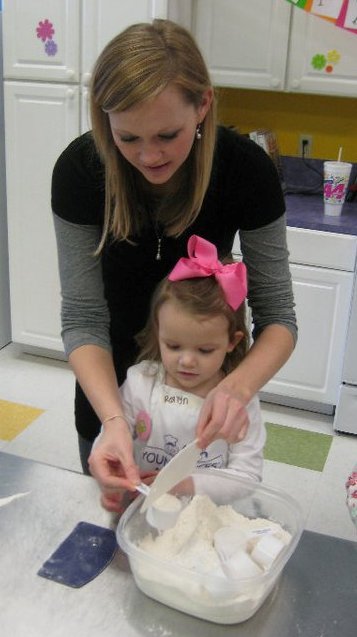
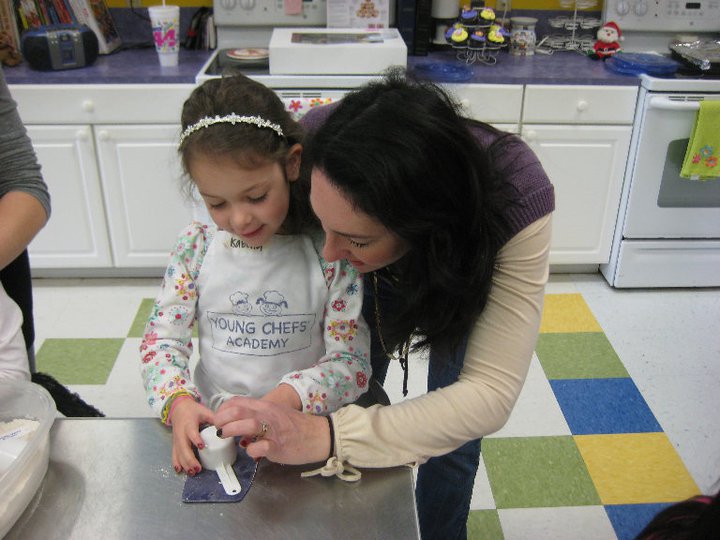
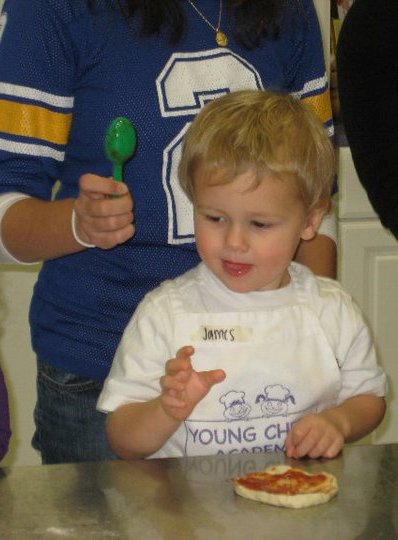
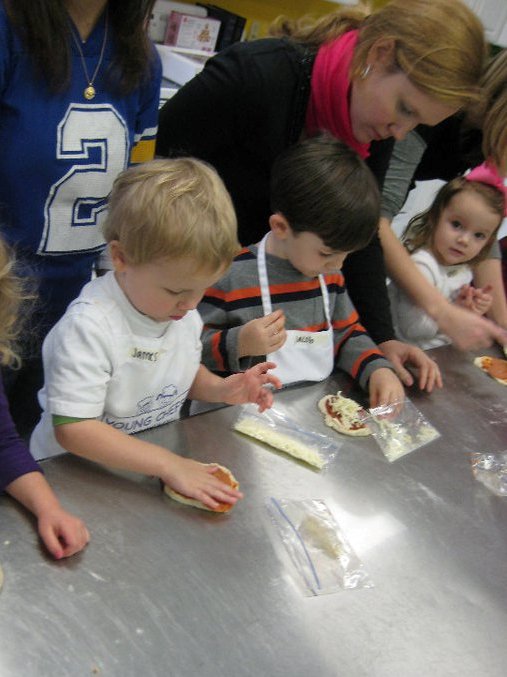
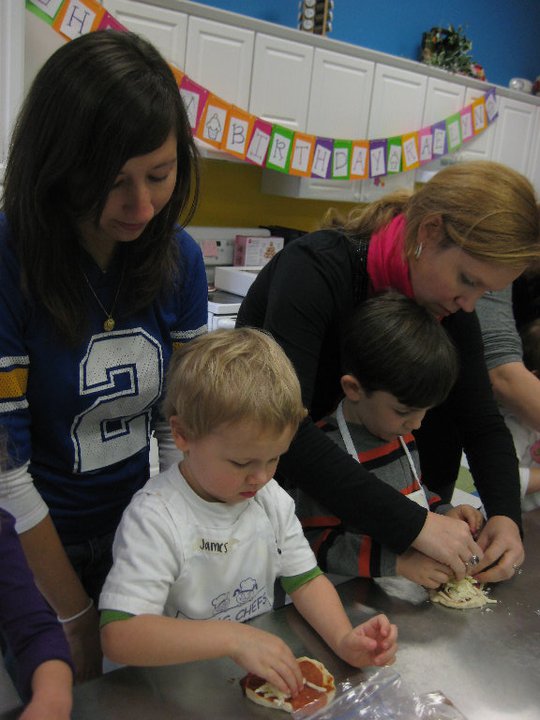
Casey shared these pictures with me from the Young Chef’s Academy

Mommy and daughter measuring to make the dough from scratch – ambitious!

Mommy and Daughter making the measurements precise. 

Mommy and her big boy rolling out the dough.

James is enjoying the pizza sauce…mmmmmmm.

Putting on the cheese….my favorite part of pizza making.

And last step of prep….toppings of choice!

Here is a pizza recipe you can write out, cut out the pictures and use them when you write out the directions for the recipe.

Please share pictures on my mommy teacher facebook page of other FUN cooking experiences you share with your little one!

Stuffed Animal Overload

I have a very vivid memory of myself as a five year old running into my mom’s room, trying to convince her that I needed to sleep with her because there was just not enough room in my bed.  When she walked me back to my room to see what I was talking about I showed her all 20 of my stuffed animals tucked under my covers too snug to move them.  Of course at that point my mom figured out a way to re-arrange them without completely crushing my hopes that they could all sleep in my bed, but she made sure that I stayed in my own bed. 

I know you might be considering purging your stuffed animal collection, but before you give them ALL away, here are a couple ideas of how you can teach your little ones two important math skills:

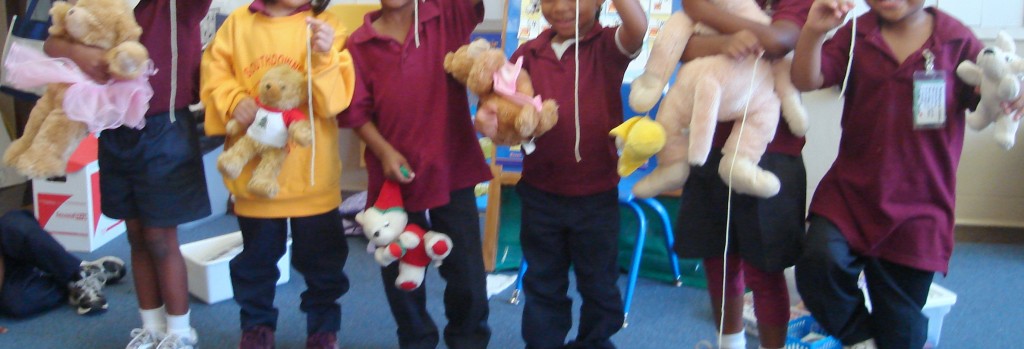
1. Measure those Teddy bears:  Two important standards to teach young children when it comes to measurement is to measure with “non-standard” units and to measure with “standard” units.  Some non-standard tools for measuring would be tape, cubes, your hands and feet, or yarn (as pictured below).  Standard measuring tools would include rulers, yard sticks, measuring tape, etc.

So, help your child measure his/her stuffed animals, and then compare which is longer, shorter, taller, etc.

2.  Sequence those stuffed animals:  This would be a perfect activity for following up measuring your child’s stuffed animals.  Simply ask your little one to put them in order from smallest to biggest, or shortest to tallest. 


Related Posts Plugin for WordPress, Blogger...

1 61 62 63 64 65 82