5, 6, Pick Up Sticks

I am always encouraging you to find materials in your house for teaching opportunities. Why?

1. I like to save money!

2. You are more likely to do the activity if you can access the materials right away.

3. It is more meaningful.

4. Did I already say that I’m  a penny pincher? 

Well, here is a GREAT idea from A Mommy Teacher named Casey and you probably even have the materials in your house already (because you can always substitute), but if not she gets her materials for this activity at the Dollar Tree….Penny pinchers think alike!

From Casey:

“This is our new math activity that James and I do. I bought all of these little tins at the Dollar Tree 3 for $1 in the wedding favor section. So, I bought 12 for $4. Then we got 1000 Popsicle sticks at Hobby Lobby for like $3. We could have used a 40% off coupon if I had it, or waited until they went on sale for 50% off to get them cheaper, but I was impatient.
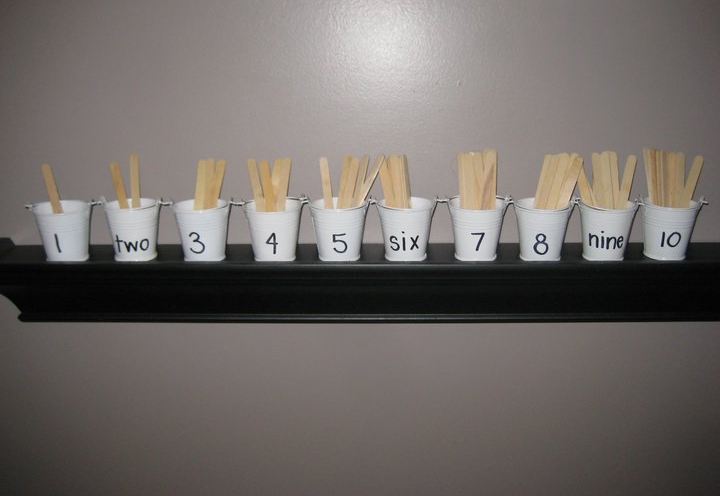
With a permanent marker, I wrote the numeral on one side, and spelled out the number on the other. We do lots of different things with these…
– put them in numerical order
– put the correct number of Popsicle sticks in each of the tins
– add (he can see the quantity of sticks then count them all to see how many he has)
– subtract
– count by 2s
– find the missing number in the number line (put out the tins for 1…2…_…4… and find which number is missing)
– count backwards
– read the words for the numbers (have all of the numbers facing us, then turn one number around showing the word so he can start recognizing the spellings)
– count by 2’s

Things we do with the popsicle sticks:
– count by 5’s
– count by 10’s
– draw things in sand or rice
– use them to make squares, rectangles, triangles or letters with straight lines

Hitting lots of math standards for only $7 w/o waiting for stuff to go on sale ”

Thanks again my Friend!

LOVE-ly After-School Activity

Ahhhhh…I remember when I was a kid and I would come home with heart shaped paper-plates, stapled together,and full of candy on Valentine’s Day.  My dad wrote us poems that he would read to us (I am a grown woman and he still does this-what a sweetheart).  He would then ask us about our Valentine’s Day party and we would pour out all of our candy on the floor so that my dad could “check” to make sure it was safe, picking out his favorites of course haha.

My advice for your time spent with your kiddos is an educational spin on my after-school activity with my dad. 

First, the no-brainer, ask them about their Valentine’s Day.  What activities did their teacher choose for Valentine’s? Reviewing is great for memory recall so be specific like “What was your favorite craft? What did you do first thing in the morning? What was your group time about? Or Did you get a chance to share today?”

Second, ask your little one to sort out their candy to see how many of the same candy there is and how many different kinds of candy there are. Or sort small, medium, and large candies.

Third, compare piles, have your child estimate which pile has more than the others or ‘the most’ (explain that most means the highest number and give some examples first).

Have a Happy Valentine’s!

Last minute Valentiners!

I am a certifiable procrastinator.  And I don’t know about you, but how many of you are running around like cupid trying to buy and fill out Valentine cards, buy candy and bake cookies all before tomorrow morning?!?

Well, simplify just a bit…if it is already too late for you….remember this tip for next year!

Here is a FREEBIE (as usual because that is how I roll)…

  1. Open Valentines Quick Templates I found on Microsoft
  2. Choose a POWERPOINT template that your child likes from the sidebar
  3. Download and Open
  4. When you click Print choose to print it as a HANDOUT with 6 slides per sheet
  5. Then Print them onto any colored paper/cardstock your child chooses
  6. Have your child write the students name first (with your help)
  7. Finally, have your child write their name on each card and voila!


***If your child cannot write well at all you can always insert text on the template such as to: and from: your child’s name in tracing font, but to save paper write the other children’s names yourself.

Cheap and easy and a writing activity to keep your child busy while you bake cookies!

Formation Fun with CARS

When I was chatting with my friend about her 3 year old, very active little boy, she told me how hard it can be to sit him down with a writing utensil of any kind.  She often does other tactile (syn. tangible) means of getting him to write like writing in shaving cream or rice, but when I suggested “highway letters” – writing with cars, she printed them right away knowing that he would love this activity! So, here is a link to the Highway Letters  from makelearningfun.com and this is how I suggest using them:

1)      Print each letter onto cardstock (bought almost anywhere paper is sold…walmart, hobby lobby, etc)

2)      Place them (back to back) in sheet protectors.

3)      Focus on a few letters at a time.

4)      Give them 5 minutes to free play with them first so they get their excitement out.

5)      Show your child how to drive the car along the “A” to make the right formation.  Teach them to “stay on the road”.

6)      Drive the car with your child “Let’s try it together” by holding his/her hand while you do it.

7)      Let your child drive without your help.

For more activity ideas that go along with these letters Click Here!

Rhyming Tree

What do you do when you have a friend who is an awesome mom, is super creative, and she shares her ideas with you, you share her ideas with everyone right?!?

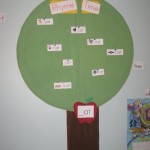
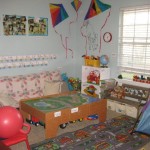
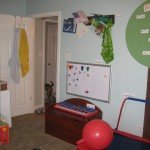
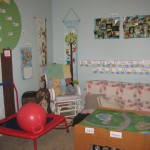
Well, if you read my post “Read the Playroom” then you know how much I LOVED this:  Look at the pictures and notice a few things…. 1) She has a print-rich room with a lot of the objects labeled and the room is a great place to be active and still function as a learning environment.  Loving this!  She has a rhyming tree and this is what she says about it:

 “I saw the idea when I googled ‘playroom’ and someone had this as a bulletin board and I just made it specifically for rhyming. Anyway, this was super cheap to make! $15 for a roll of cork at Hobby Lobby (get it when it goes on sale for 50% or go online to print a 40% one item coupon and it’s even cheaper). Stuck it to the wall using double sided hanging tape, then at the Dollar Tree, bought a foam board for $1, cut it in half for the trunk. $0.99 for each bottle of paint at Hobby Lobby… I used 1 dark brown for the trunk, and 2 foliage green for the tree, printed off the words and used clip art from MS Word…. made this tree for under $12.
When I typed up the words on the computer, the first sound of the word I used a different color, and then all of the “at” rimes I used black so James can see that the ENDING sound is the same and the beginning is different.
I am working on putting a mailbox near the trunk of the tree that will hold letters of the alphabet so we can pull one letter out at a time and make a rhyming word, most will be nonsensical of course, but it will add to the fun of rhyming!”

Casey has a pre-k blog called http://prekplease.blogspot.com/ and her incredible kidspired creations are too cool to pass up!

If you get a chance to do a spin-off of the rhyming tree activity, please share it with all The Mommy Teachers!

Update from Casey: “The Dollar Tree had word strips (solid line at the top and bottom, dashed line in the middle) $1 for 30 so that I could label everything in the room.”

Related Posts Plugin for WordPress, Blogger...

1 69 70 71 72 73 83