I was itching to do some q-tip painting with the kids but I didn’t feel like googling to find a good turkey art template.
So,
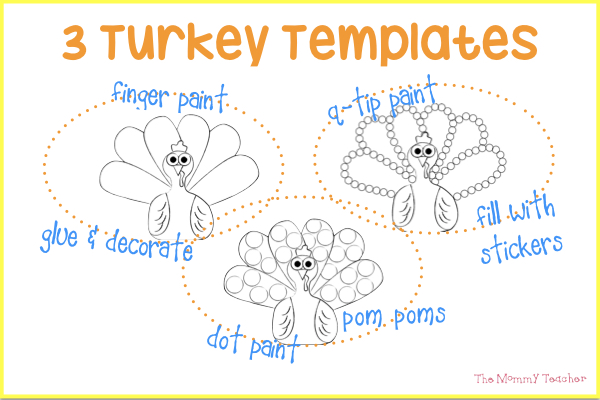
I made three turkey art templates –
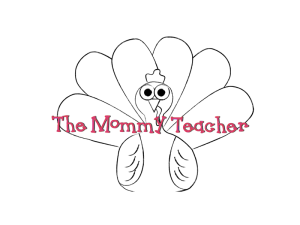
1) I made a plain template that you can color, decorate with feathers, glue and glitter, etc. Or, just use any other material you have in your house that you don’t have to shop for.
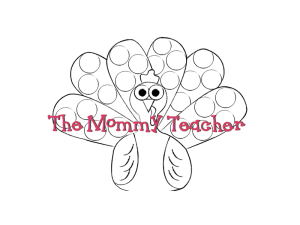
2) The next template is a turkey that is easy to fill with larger circular materials like pom poms (cotton balls), dot paint, big circle stickers, etc.
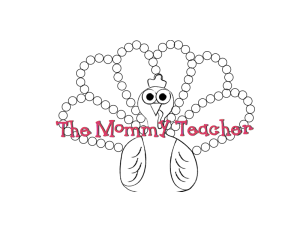
3. And, my inspiration for making these… the turkey with feathers perfect for painting with q-tips. Small incentive stickers also fit in these circles if you want to use it more that once!
[Click HERE to become a member to get unlimited access to ALL The Mommy Teacher Printables including this one!
OR CLICK HERE to purchase these Turkey Templates individually from my TeachersPayTeachers Store.]
And here is what some of our time looked/sounded like:
First, I asked Sean Patrick which turkey he wanted to paint first. He told me that he wanted to paint with dot paint first.
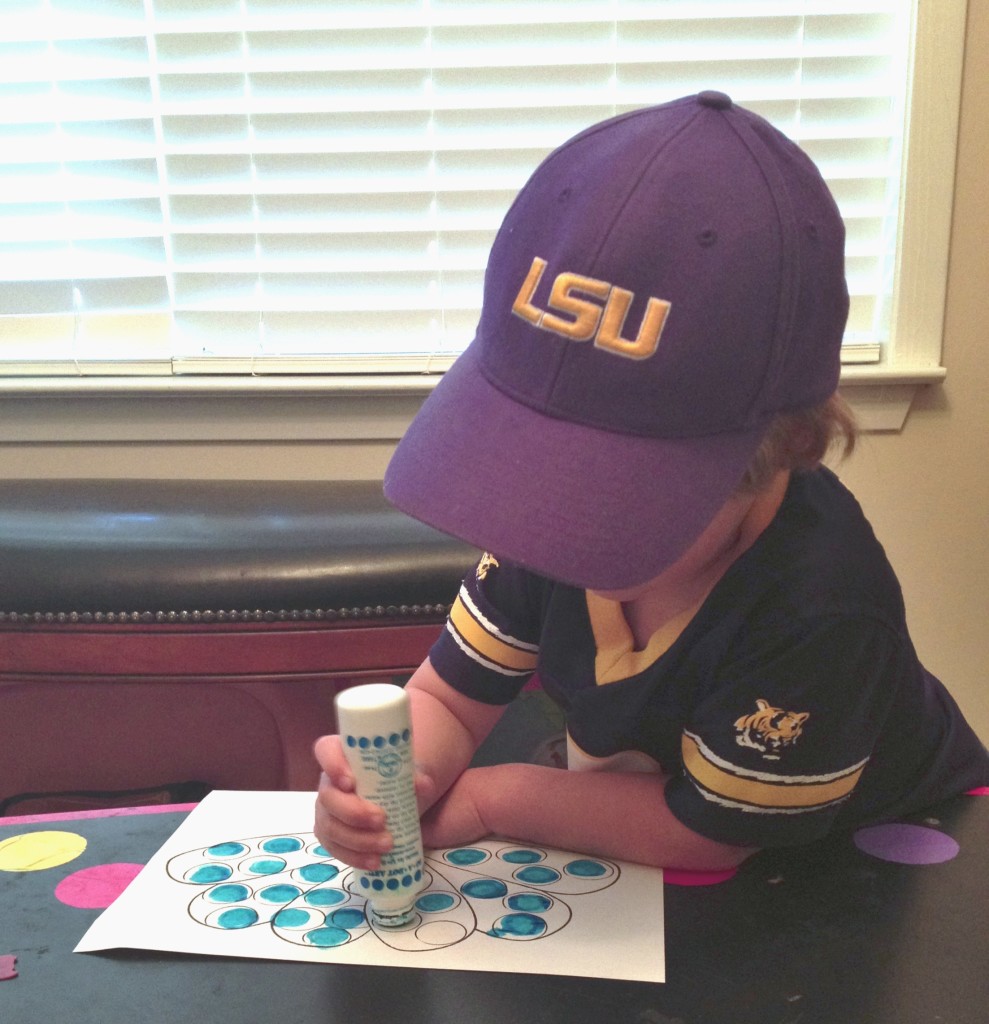
So, we put the template with the large circles in front of us first. He picked “blue” paint and I encouraged him to fill in the circles on each tail feather, one at a time. I demonstrated how he could do this on my template in front of me quickly.
(Notice we have already discussed colors, shapes, parts of a turkey, and one-to-one correspondence; your children are learning even when you don’t realize it).
Then, I asked him questions like “How many more do you have left to fill your whole turkey?” “Can you find any feathers that have three circles?” “Which feather has the most circles?” And “What do you think this turkey would say about his new blue tail feathers?” (That last question was just for fun but it gets him thinking outside the box.”
Before moving on to the next template, I encouraged him to color in the other parts of the turkey so he learned/reinforced (beak, wattle, feet, feathers, wings, and I had to google “snood” – the part on top of the head – because I had no clue what it was called).
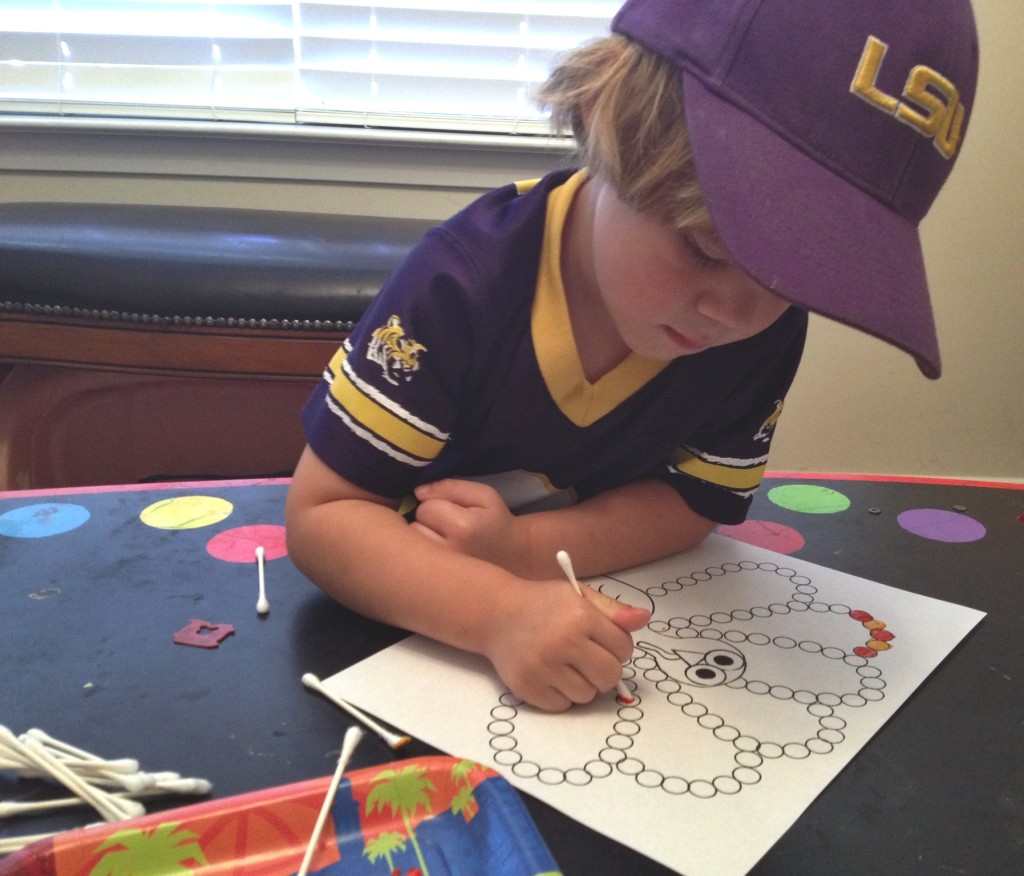
For the q-tip painting we worked on patterns. I always treat patterns as if I have never taught him about what they are by saying something like, “Oooooooh let’s make a pattern. A pattern is something that repeats itself over and over and over and over and over again.”
“If mommy makes a red and orange pattern I would sing my song red-orange-red-orange-red-orange the whole way through so that I don’t forget my pattern or what comes next.”
If he doesn’t want to do a pattern I don’t stress about it…. this is his time to express himself. I’m just close enough to build on what he is learning.
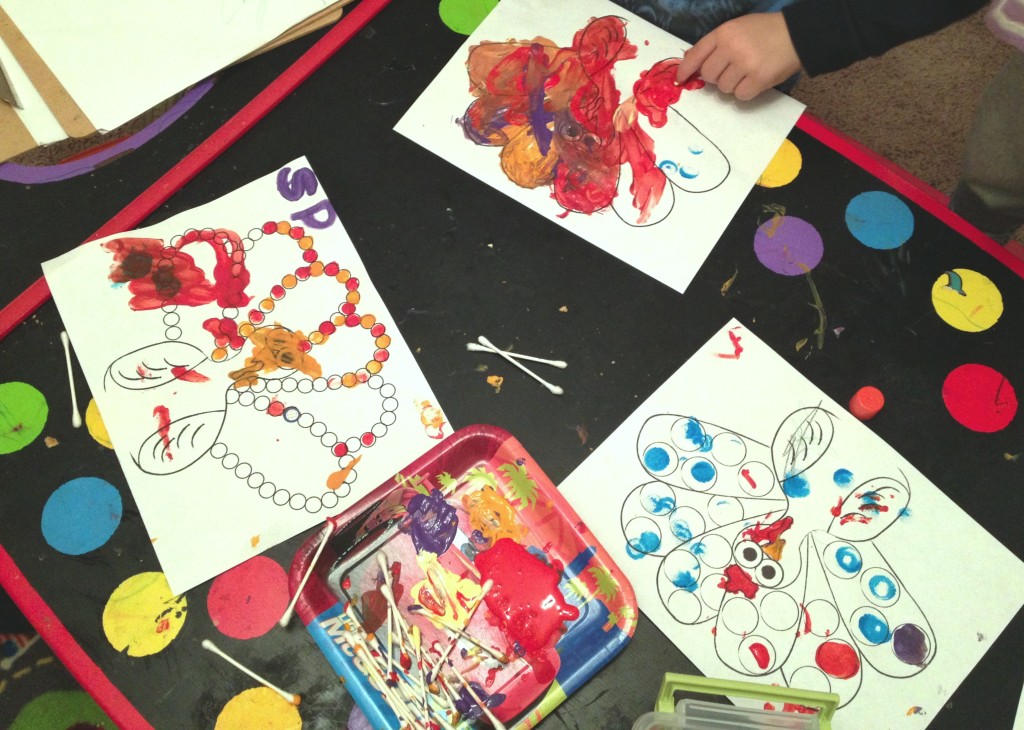
Finally we did some finger painting to experience the sensory exploration of smearing paint all over, and the science exploration of seeing colors mix together.
Most importantly, we had fun! Isn’t that what it is really about after all?

I love the #1 art table! I am in the process of creating my daughter a “school” room 🙂 I hope that this can be added. What a great giveaway!!!!