Writing Practice

Bubble Letters

I stay up late sometimes….it is 10:30.  But it feels much later so maybe I am being a little dramatic.  Being dramatic reminds me of my jr. high days of writing bubbly at all times.

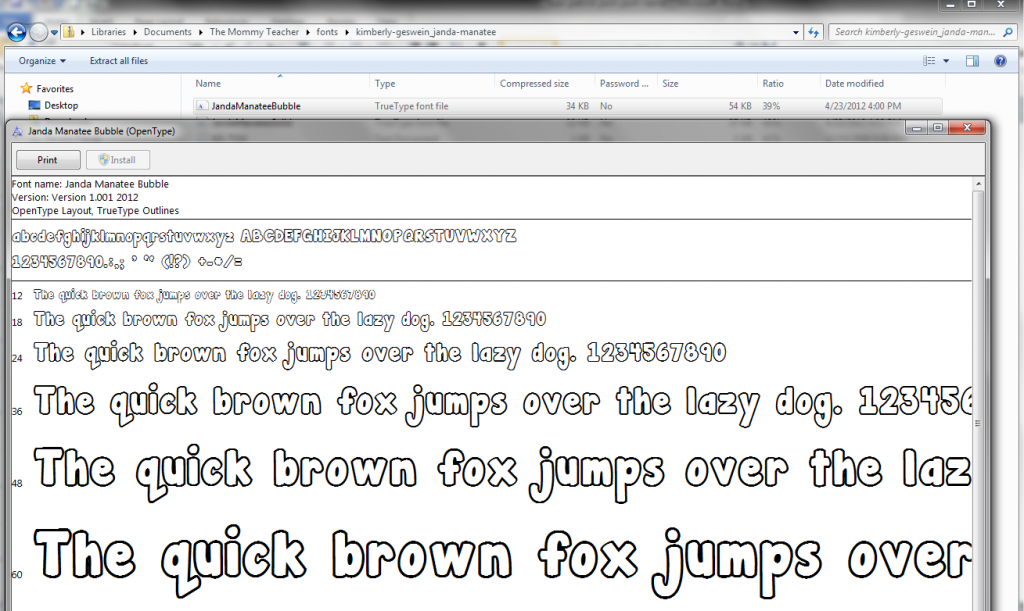
And  tonight, I got the itch to download a free bubble letter font….it happens.  I went to fontspace.com, searched for a bubble letter font, and I downloaded one called “Janda Manatee” because I liked it the best.

I opened the file, clicked “Install”

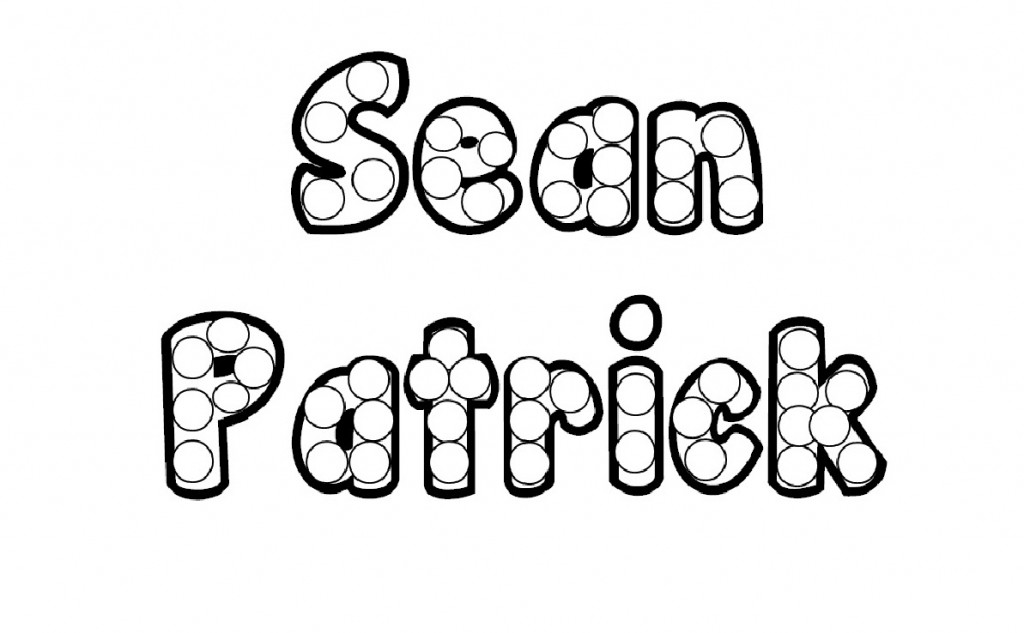
And then I opened a Word document, changed the page orientation to Landscape, and typed Sean Patrick’s name using the new cute font.

I then clicked “Insert Shape” and filled his name with circles (I copied the circle size I liked and pasted it a lot of times first to make this go by fast!)…

I had to blow it up a little in the “Paint” Program to make it the size I wanted, but tomorrow I plan to do one of three things (if not all three) with this simple activity:

1) Encourage SP to cover each circle with little “poms poms.”

2) Encourage Sean Patrick to stamp the circles with his dot paint markers.

3) Encourage SP to stamp his finger print (ink pad style) on each circle.

This is a great pre-writing skill that develops his fine motor skills while emphasizing letter formation of the letters that are most meaningful to him, with a concentration on lower-case letters at this time.  Do you have any other ideas??!?  Cover each circle with a sticker maybe?  Please share your thoughts!

Update: HOw the lesson went down>

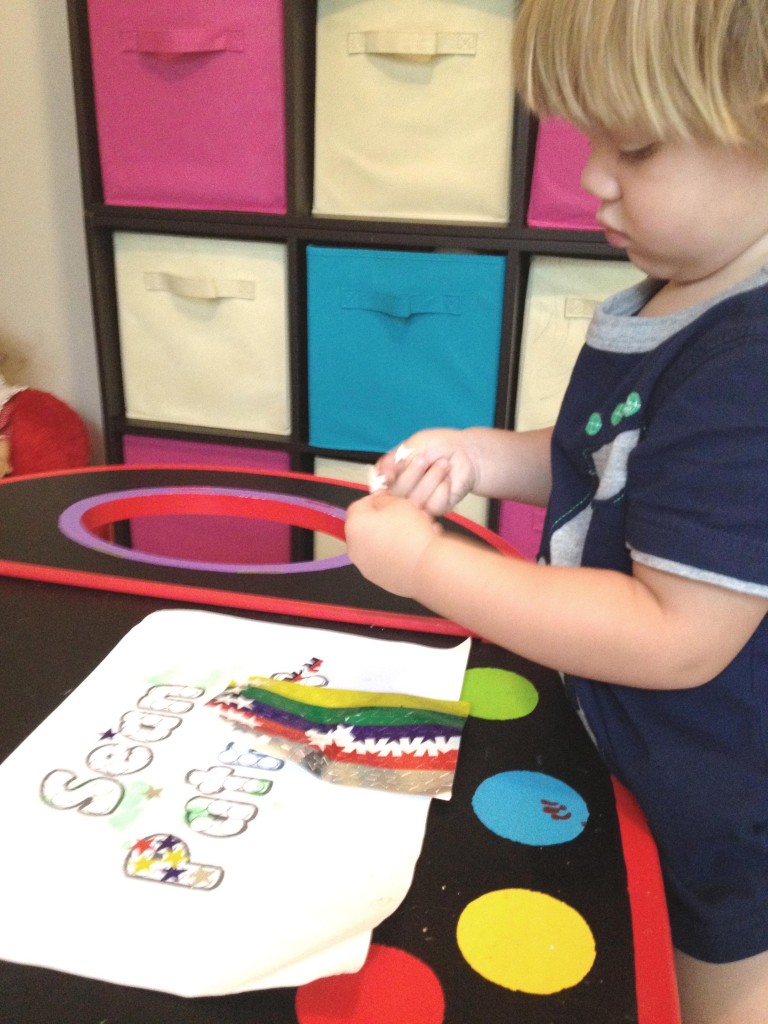
I used two print outs; one to show him ideas and the second to let him explore on his own.  I talked to him about the letters.  “Look Sean Patrick…mommy made your name with circles in the letters.  Can you still read the letters?  What letter is this? ” etc.
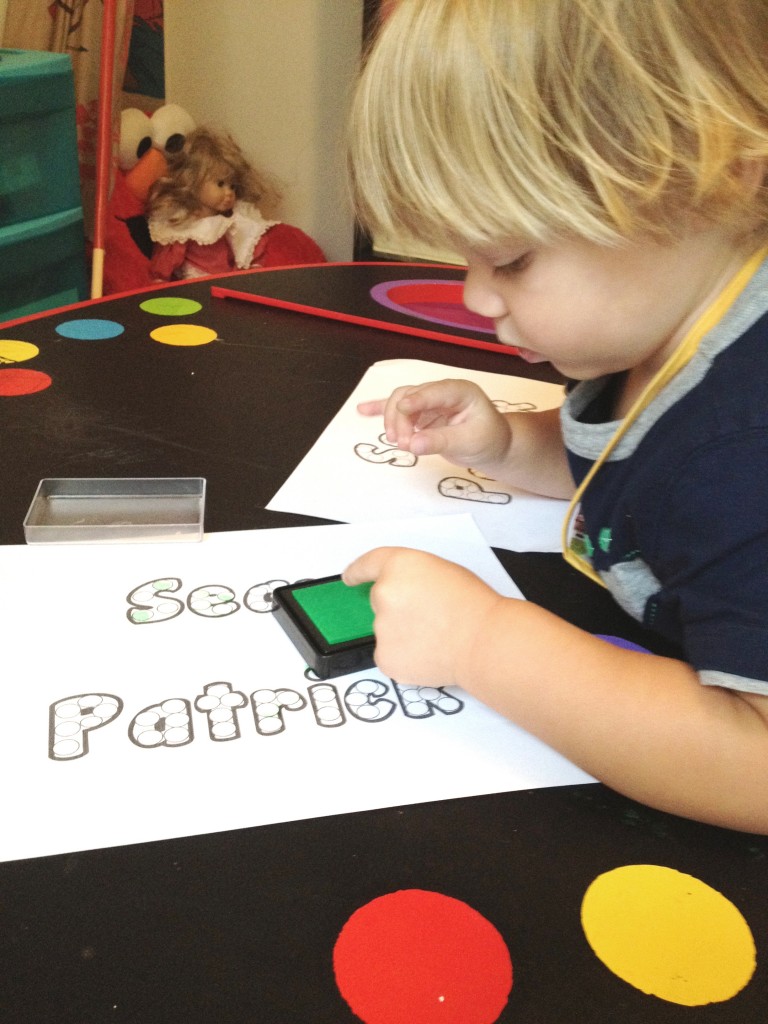
   We explored covering the letters with pom poms but that didn’t last long.  Sean Patrick had more fun stamping the letters with his fingers and decorating his name with star stickers.

Pack Your ClipBoard!

This past weekend our little family took a day trip to the zoo, and when I got home I thought…Why didn’t I pack the clipboard?  In my classroom I always allowed the kids to “document” the nature walks or other outdoor events for several reasons:

1) Kids love to feel “professional.”

2) Kids like to have a (fun) job/task.

3) Kids need a great age-appropriate recording sheet to “write about” or “draw” what they see.

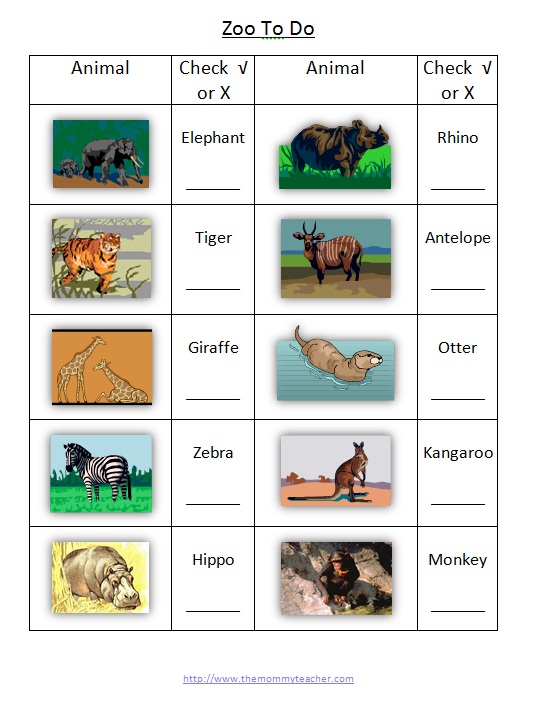
So, I made it easy on you…  Not only did I make a Zoo Animal Checklist :

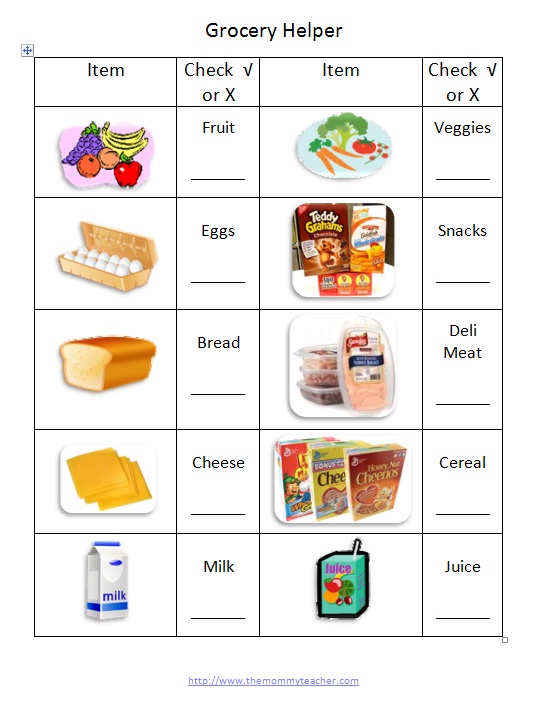
I also made a Kid’s Grocery Checklist with all the staples:

I made the grocery checklist because if I keep a stack of them on the clipboard in my bag then grocery trips can go smoothly.  The picture to the left shows the calm before the craziness.  This is when the clipboard comes in handy! Your child can either check or “x” what he sees or doesn’t see.  OR check off items as you place them in the cart.

Kids love this kind of thing!

Need a clipboard?

This gave me ideas for more clipboard checklist fun so I’ll be posting two more checklist printables THIS WEEK! Stay TUNED 🙂


Chalk It Up

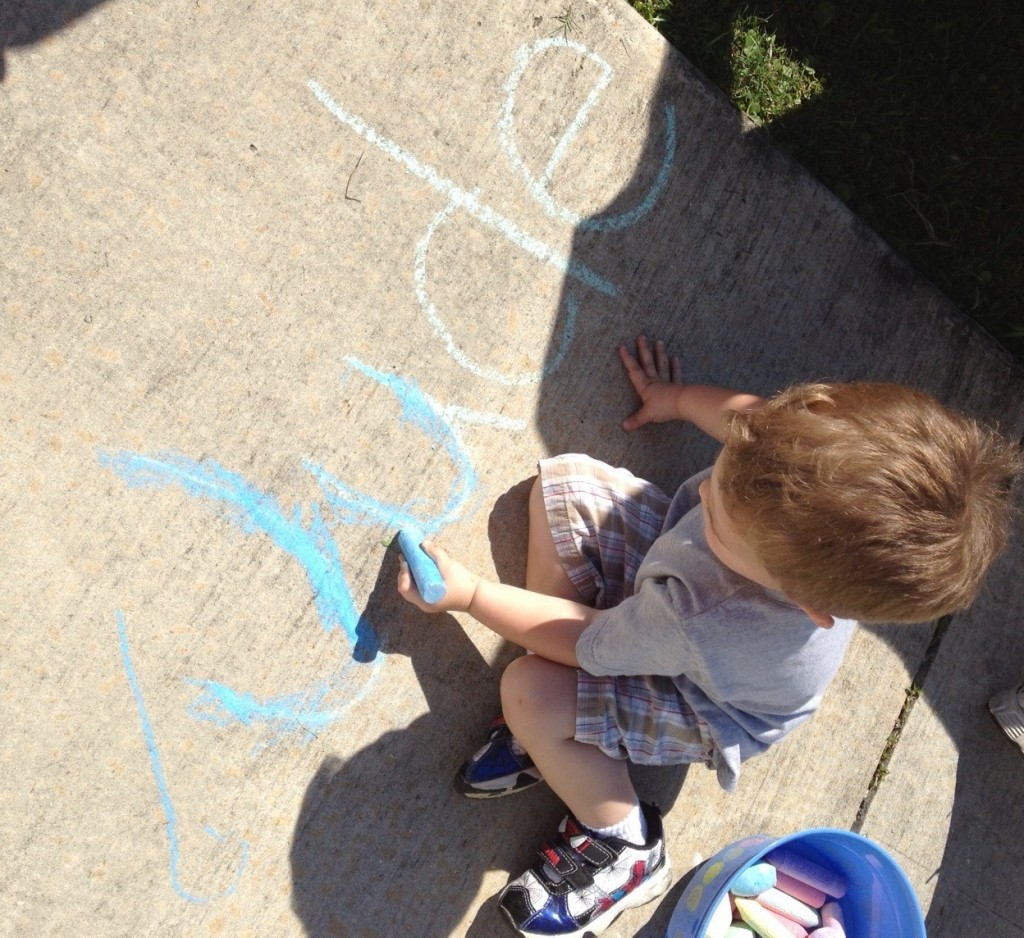
I really love chalk….I love to observe what kids will choose to write/draw, I love to see how kids hold and control a big fat piece of chalk, I love to take a piece of chalk and feel like a kid again myself.

If you are like me, you keep sidewalk chalk in your tote bag for an on-the-go activity accessible when you need it (We go to the park a lot and we spend a lot of time in the courtyard at my mom’s assisted living home). Well, I wanted to suggest some teaching tips to maximize your outdoor play…

1) I start almost every activity with free play for exploration and observation….no prompts, no directions, but I make observations and comments….”Ohh, you drew a line (a squiggle, a swirl, etc.) “I wonder what you are drawing/imagining in your mind” or “What does it look like to you?” “Does it remind you of something?”
2) After about 5 minutes I might ask “Can you show me how you hold the chalk?” “Is that comfortable for you?” Then you might model the proper way to hold it by saying “This is how I hold it because this is the way grown ups hold the tools they write with….I wonder if you are able to hold the chalk this way?” (If this is complicated for your little one or takes the fun out of it, move on! You might say “Well for now, hold the chalk however it feels right and we can learn the way grown ups hold chalk another time.”
3) “What pictures would you like to draw most? I’m imagining a flower in my mind….I wonder if we can draw a flower out of JUST circles”
4) “What can we write? Letters, numbers, words? Which would you like to write? Write a ____ with me”
5) “Can you trace (or write on top of) my writing?

Ideas:
-Draw sets of shapes and teach your little one to draw a line to make matches.
-Draw a hopscotch.
-Draw the alphabet out of order and have your little one hop around trying to step on the letters in order.
-Draw a house out of shapes.
-Draw different types of lines (dashed, zigzag, semi-circles, etc) and have your little one try “copy cat” your writing

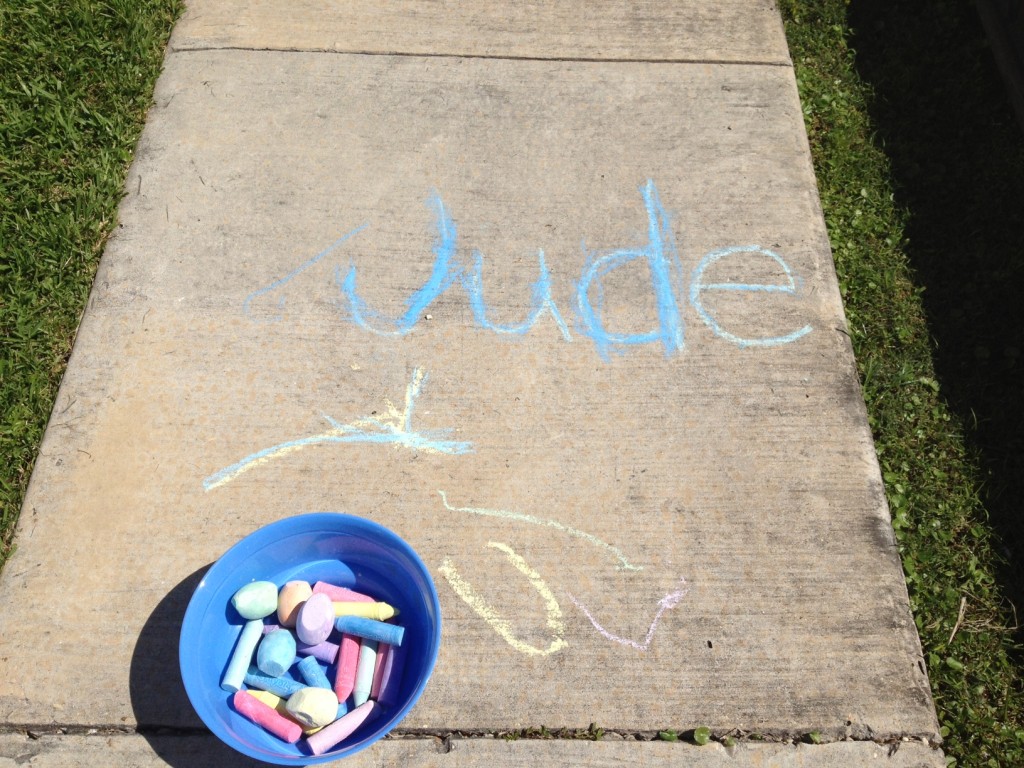
Jude traces his name!

Great job Jude!

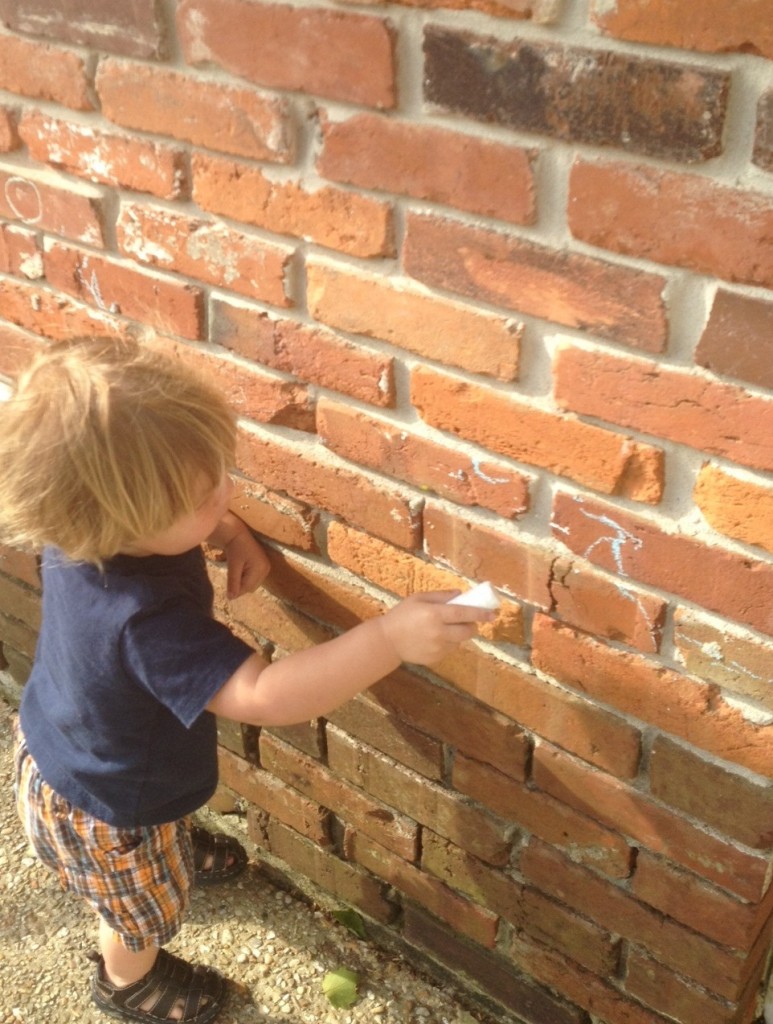
Sean Patrick freewrites on our brick exterior

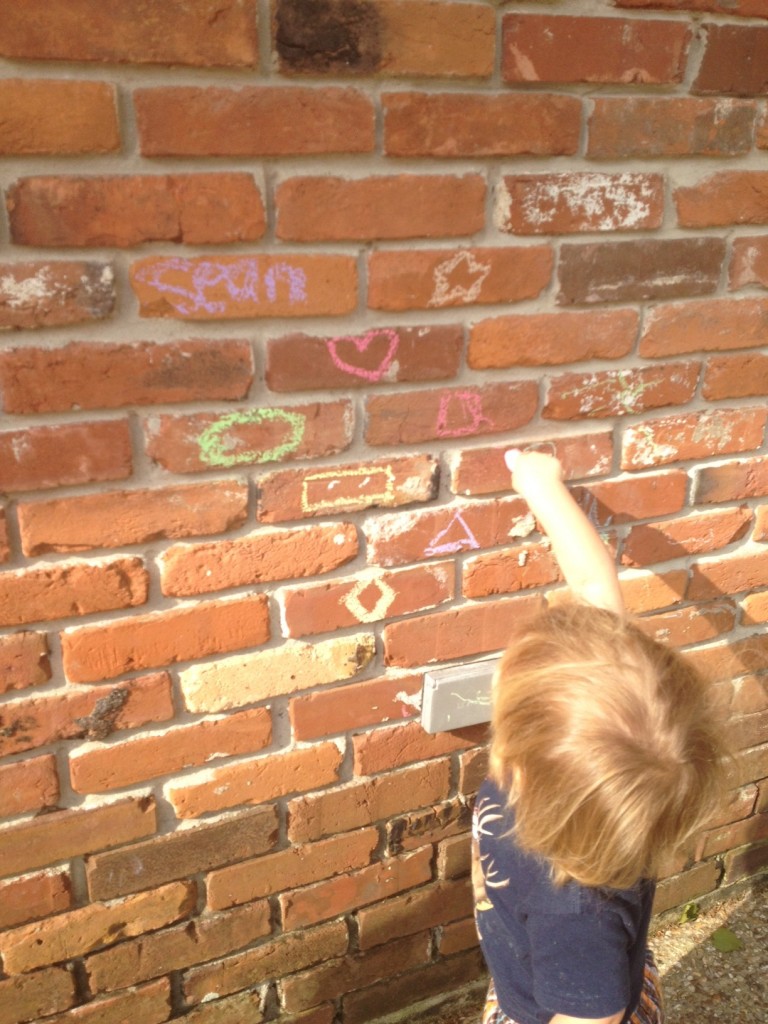
Sean Patrick writes on top of mommy's shapes.

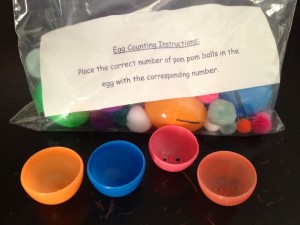
Busy Bag (Take Three)

I started adding step-by-step teaching tips for some of my recent Busy Bag activities that Sean Patrick is experimenting with but this is taking me some time for a few reasons:

1) I like to introduce one activity every few days and really spend time maximizing the teaching opportunties from that “game” as Sean Patrick calls them.

2) I am a mommy teacher so I don’t spend much time on the computer – this blog is my hobby and I try to carve out more time in my day actually spending time working with and playing with my little ones 🙂

3) I like to spend time adding teaching tips for older children as well because I believe that EVERY activity can be and should be accommodated to each individual child.

So….at that….here is another activity….and one just in time to make use of all those Easter Eggs floating around your house 🙂

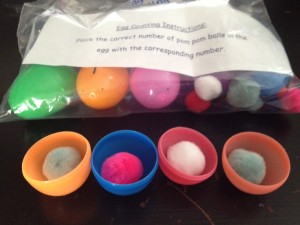
Egg Counting (The Link attached has other GREAT ideas, but try not to take them at face value….make a little step by step teaching plan for each activity because a “lesson plan” can structure the pace and aid the learning process)

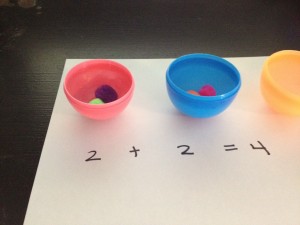
This activity has MULTIPLE uses… to teach counting one to one and to teach addition in the most organic way by teaching about all the ways to get to a number (1 + 1 + 1 + 1= 4 ; 2 + 2 = 4 ; 4 + 0 = 4)


I suggest that you work on counting to, or adding to, ONE number at a time.

1) Start with the smaller side of the eggs on their backs….if you are working on the number four then place four egg halves on their backs.

2) “Let’s use the Easter Eggs to see all the different ways we can count to four!” or for older kids “Let’s……ways  we can add to the sum of four”

3) Place one pom pom in each egg (I switched to the small pom poms after the first try because I wanted all of them to be able to fit in one egg half when attempted) One and one and one and one is four! (four younger kids you can use “and” in  place of “plus” and “is” in place of “equals” just for now while they are being introduced to adding.

3) Dump them out and say – let’s see if there is another way to fill the eggs to count to four …One, two and one and one is four so two and two more is four.

4) Continue this until you have exhausted every means of arriving at the sum of four.  For older children model and demonstrate how to write out each problem.

5) Pick a number close in proximity to the number you worked on (like 5) and do it again….together this time.

6) Pick a number easier than the original number (like 3) and allow your little one to try on their own as you watch and make encouraging comments.

Real Life Lessons From The Mommy Calling Blogger

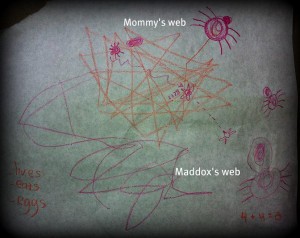
I was following “Mekmommy” on Instagram and saw this fun, illustrated picture:

The Mommy Teacher that I am had to know the play-by-play and story behind this authentic, on-the-spot mini lesson.  Krista (this particular mommy teacher) is a mommy of three and the blogger behind “The Mommy Calling.”

So, here is the story shared by Krista that I hope inspires you the way that it inspired me:

“It all started b/c Maddox ran inside freaking out because our yard was full of spider webs. Of course, living in the country cobwebs will always be there, so I had to figure out a way to help him understand. It actually turned into a lesson about counting, adding, habitats, the food chain, a ton of things!

I tore some paper off of the butcher roll and drew a spider. As I drew it, we talked about how it has 2 parts to its body, the head and the body, setting up for a later conversation about the difference between insects and arachnids. Then we counted out the 8 legs as I drew them and talked about how there are 4 on each side and how 4+4=8.

I used a different color crayon to draw the “silk”. I drew some in the spider’s belly, and drew a line coming from the spider and as I drew a random “web” pattern I explained that as the spider moves with the silk behind him it makes the web. After I drew the web I talked about the uses of the web. I broke it down by first drawing the spider in the web telling Maddox that the spider lives in his web. Then I drew an egg sac and explained that this is where the spider lays its eggs and they hatch. I drew a bug flying on the outside of the web and a dotted line leading to the web explaining that as the bug is flying it gets caught in the web because it is so sticky. I explained that the sticky web is how the spiders catch their food to eat. I drew an arrow from the spider to the bug and explained how the spider will then eat the bug. I then asked him if he remembered what the web was for and we broke it down into living, laying eggs, and eating.

Maddox then got his own crayon to copy what I drew and he explained it back to me while I reinforced that there were 2 body parts and counting and adding of the legs (making sure he drew 4 on each side rather than just drawing out 8 random legs so he could visually see the 4+4=8). We didn’t go into the details of the web again, but again we discussed the live, lay eggs, eat. All-in-all it was about 15 minutes and he was so proud that he spent the next 15 minutes talking about it over and over and hung his picture up and called his daddy to tell him about it. In 30 minutes he learned so much about so many things. And it wasn’t anything that was hard to explain or too over his head. It was such a great reminder of how many important things they can learn without a classroom and without making it a boring ‘lesson.'”

Related Posts Plugin for WordPress, Blogger...

1 5 6 7 8 9 14